More and more people are choosing affordable vinyl flooring as their floor of preference.
Regardless of the kind of luxury vinyl flooring along with the kinds of the wear layer of its, all vinyl floor coverings are prepared with built-in cushion underlayment. Vinyl flooring tends to take in some discolorations or spills that ever cover it or it is possible you can scratch, mark or rip the vinyl floor of yours. The tendency to stain as well as moisture makes them an excellent prospect for installing in such areas as the basement, kitchen or the bathroom. Excessive water is able to finish the seams and cracks, which may destroy glue bonds that hold the vinyl ceramic tiles to the base flooring. Plus, you are able to paint all the lines that your sports require on them without any worries.
Images Related to How To Install Karndean Vinyl Flooring
How To Install Karndean Vinyl Flooring
Vinyl Kitchen flooring is the perfect option for children. This requires more hours and motivation to install. Some people prefer to focus their money on furniture or perhaps paintings to upgrade the style in their house. But, when installation isn't produced by professionals, the errors below may possibly occur. Vinyl floors installation actually demands the skills of a pro.
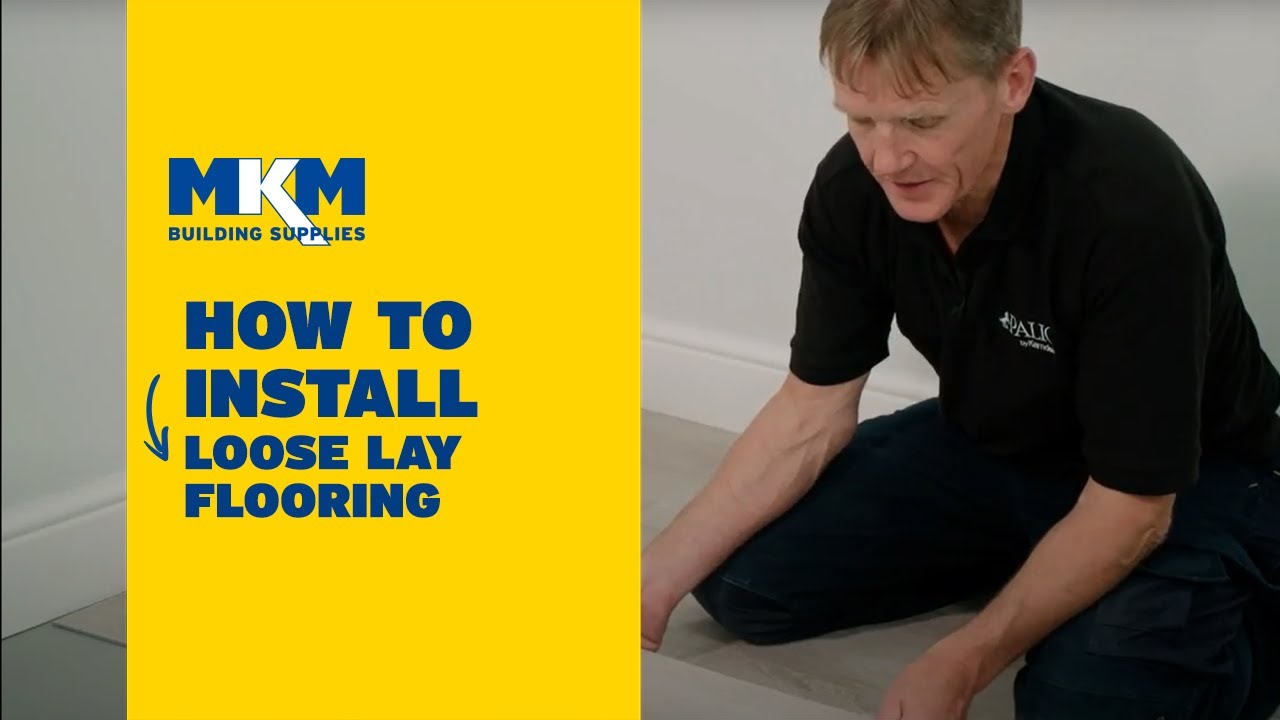
5 minute video guide to laying Karndean vinyl flooring
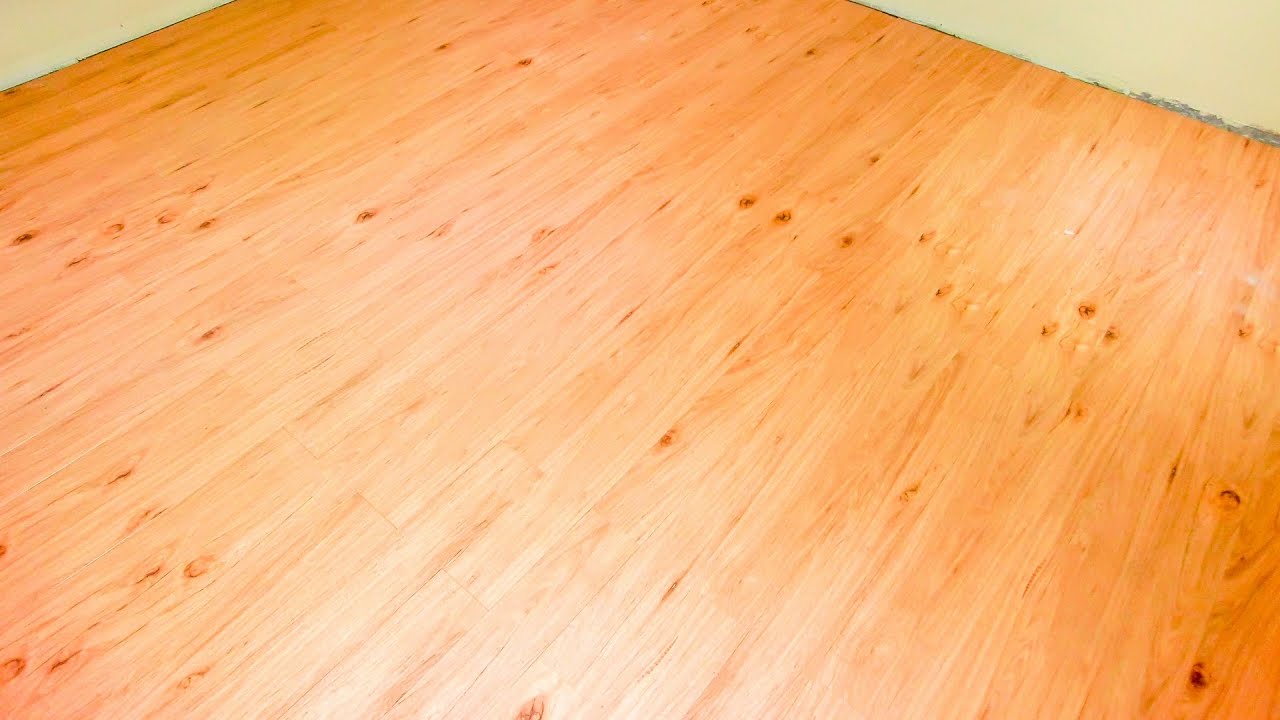
Modern technology has the ability to make the regular vinyl flooring of yours straight into a luxurious one. The process used to imprint the pattern of the flooring is able to imitate a lot of patterns like wood grain, tile, marble and stone. Vinyl flooring can be bought in many forms. You can even have vinyl flooring with wood pattern in your basement or bathroom, areas which are a clear no-no for wood floors due to their closeness to water.
Luxury Vinyl Tiles with Karndean
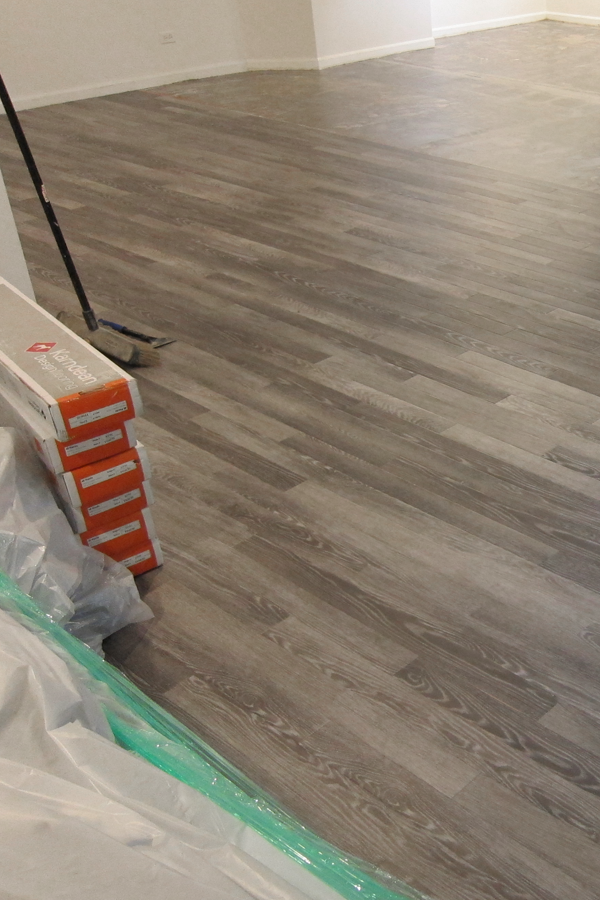
Fitting Karndean Vinyl LooseLay Flooring Review
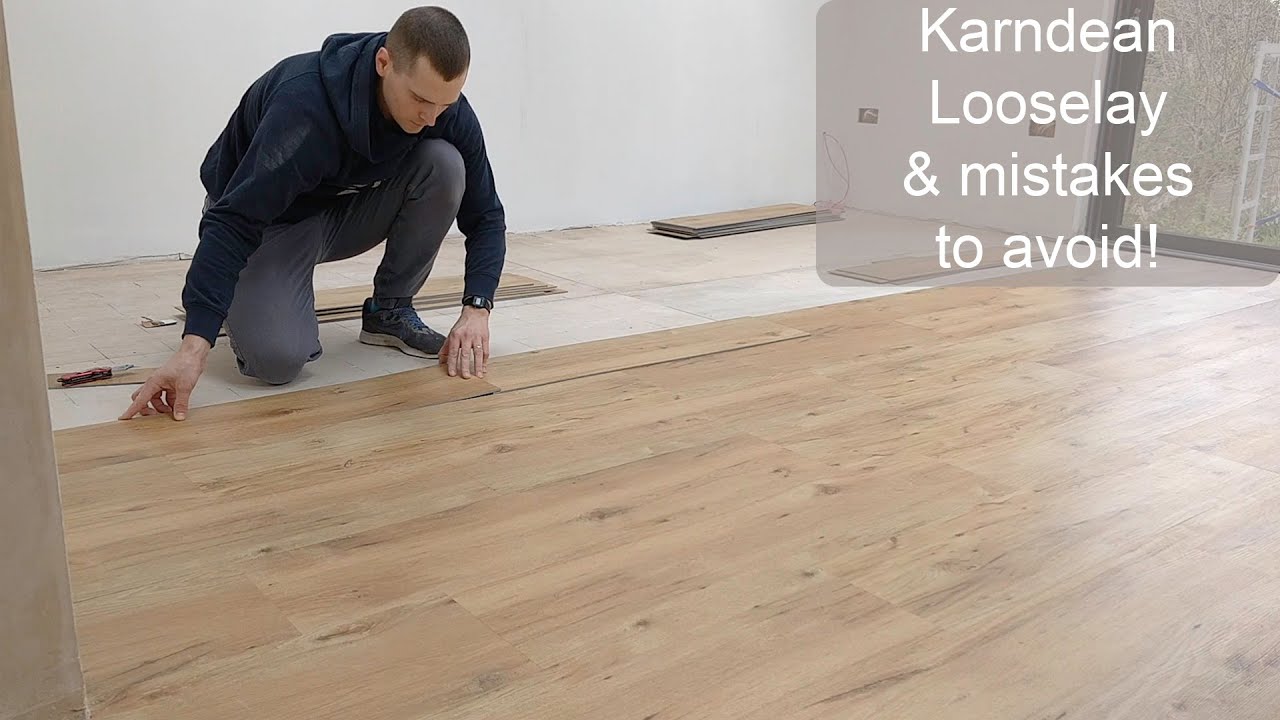
Installing Karndean Looselay flooring + mistakes to avoid!
Karndean Vinyl Flooring Install – House Of Hipsters
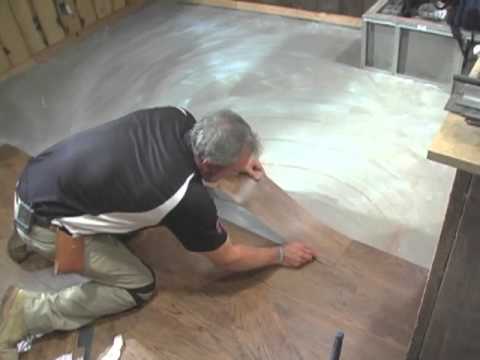
Karndean Installation Demo Pt#2
Luxury Vinyl Plank Floor Installation
Karndean Vinyl Flooring Install – House Of Hipsters
Karndean How To SeriesCutting and fitting a plank to a wall – Rigid core 5G
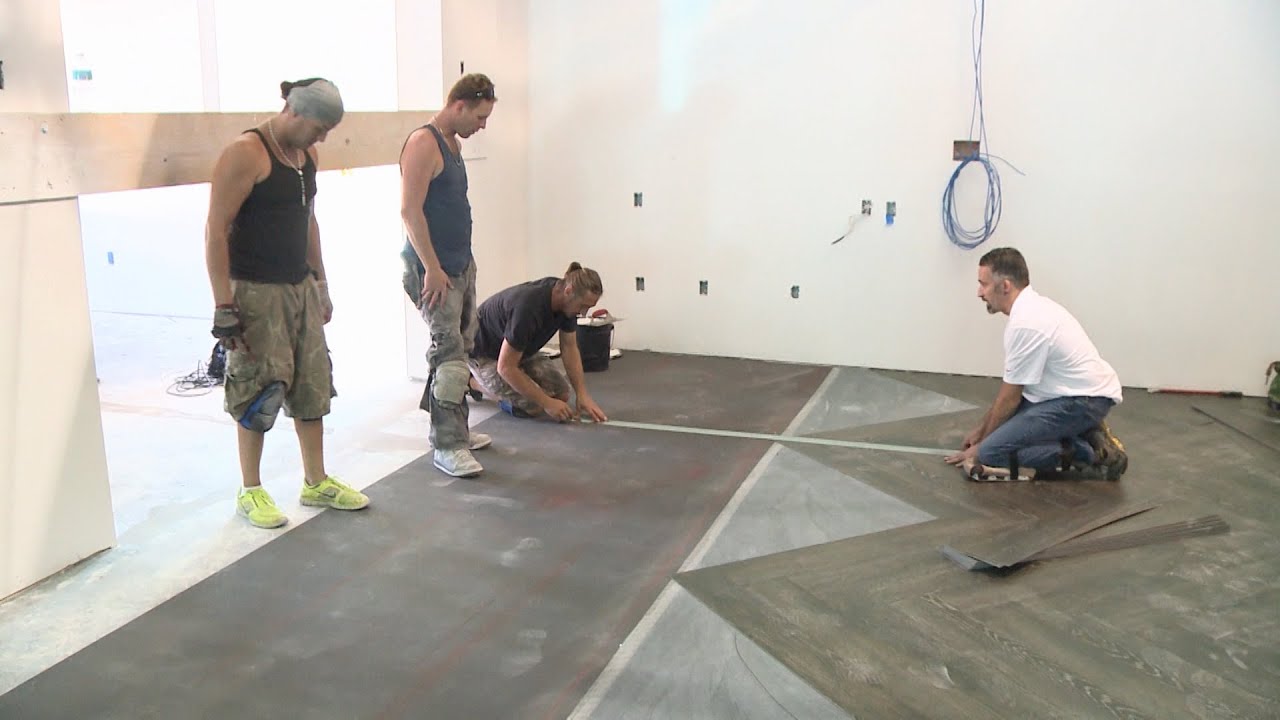
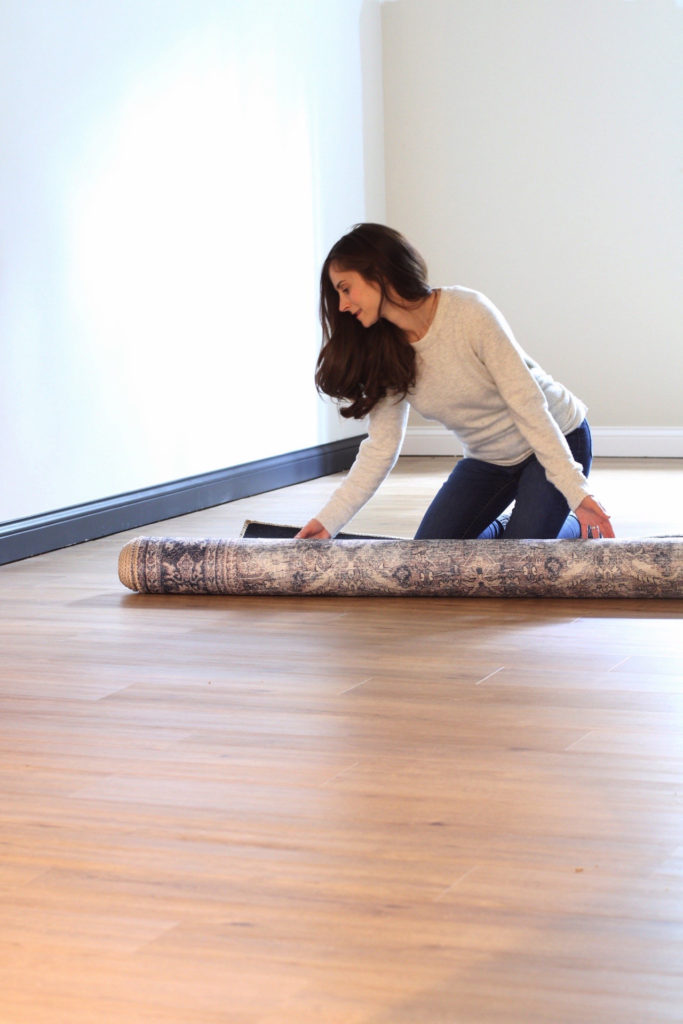
Laying Patterns

Laying Vinyl Planks the Right Way Expert Guide by Fantastic Handyman
Karndean Vinyl Flooring Basement u0026 Stairs Westfield, NJ

Karndean Vinyl Plank Laying Pattern

Related articles:
- Vinyl Flooring Bathroom Tile
- Modern Vinyl Flooring
- Funky Vinyl Flooring
- Vinyl Flooring For Kitchen
- Vintage Look Vinyl Flooring
- Kitchen Vinyl Floor Tiles Ideas
- Vinyl Flooring With Wood Look
- Waterproof Vinyl Flooring
- Vinyl Flooring For Cheap
- How To Remove Vinyl Flooring
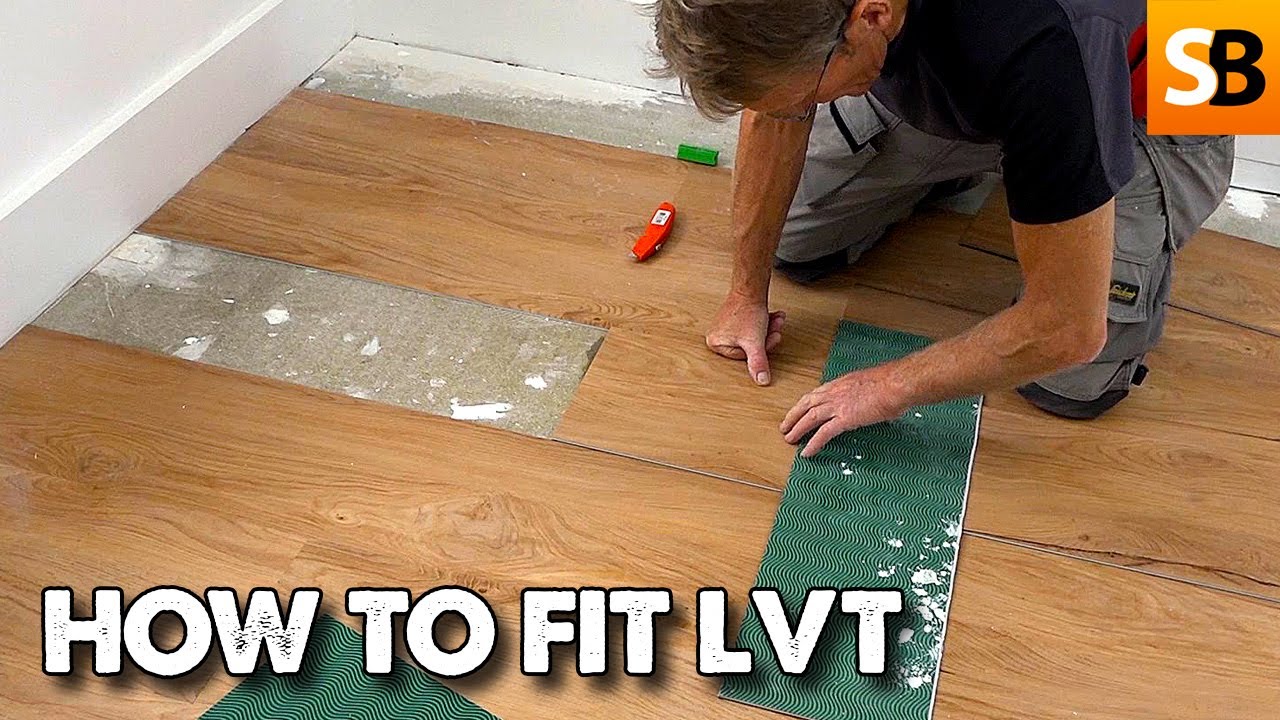
Karndean vinyl flooring is a long-lasting and attractive flooring option that can provide a low-maintenance, hassle-free finish to any room. This type of flooring is quick and easy to install, making it well-suited for DIY projects. Here’s a comprehensive guide on how to install Karndean vinyl flooring in your home.
Preparation
The first step in the installation process is to prepare the area. Start by ensuring the subfloor is clean, dry and level. If any repairs are necessary, use a suitable filler or adhesive to fill any gaps or holes. Once the subfloor is ready, you can start laying the Karndean vinyl flooring.
Laying The Planks
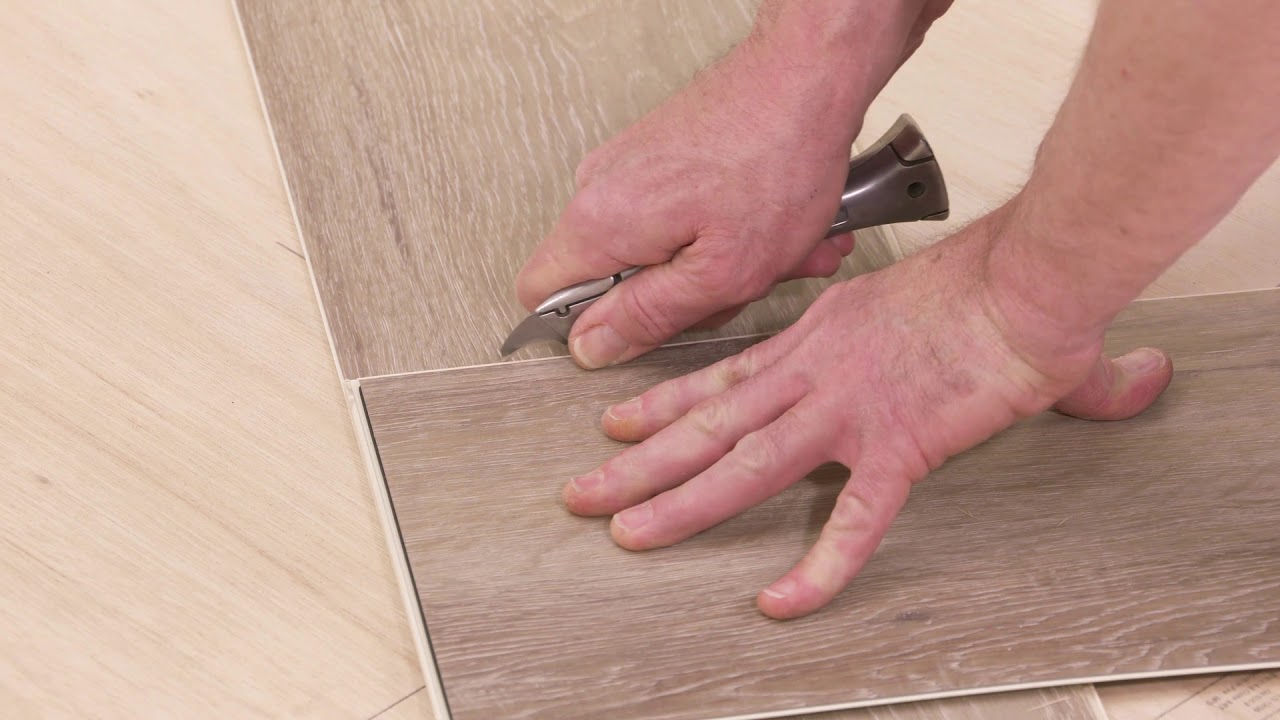
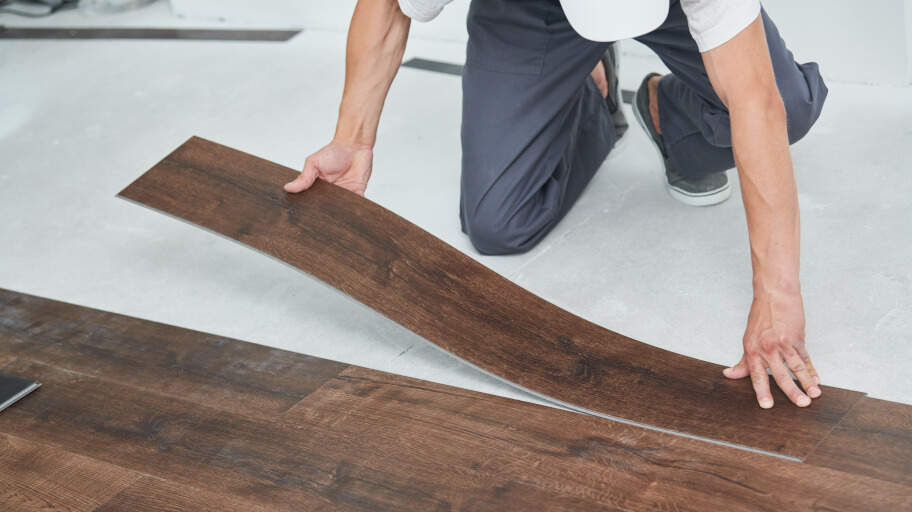
Start by laying out the planks in the room where they will be fitted. Make sure that the planks are laid out in straight lines and are arranged in a way that will create an attractive finished look. One of the advantages of Karndean vinyl flooring is that it can be cut into shape with a sharp Stanley knife or mitre saw if needed.
When all of the planks have been laid out, it’s time to start fitting them. Begin at one corner and start fitting each plank one at a time, using a suitable adhesive. Make sure to press down firmly to ensure an even finish. When all of the planks have been fitted, use a rolling pin or heavy object to press down and ensure an even finish.
Trimming and Finishing
Once all of the planks have been fitted, it’s time to trim any excess material around the edges of the room and at corners where two walls meet. Use a sharp Stanley knife or mitre saw for this step and make sure to be careful when cutting as it is easy to create mistakes.
When all of the edges have been trimmed, use a sealant or filler around skirting boards, door frames and other areas where necessary. Finally, use a damp cloth to wipe away any excess adhesive or dirt from the surface of the Karndean vinyl flooring and leave it to dry for 24 hours before walking on it.
Frequently Asked Questions
Q: What tools do I need to install Karndean vinyl flooring?
A: You will need a sharp Stanley knife or mitre saw for cutting, a suitable adhesive for attaching the planks, a rolling pin or heavy object for pressing down, sealant or filler for skirting boards and door frames, and a damp cloth for wiping away excess dirt or adhesive from the surface of the flooring.
Q: How long does it take to install Karndean vinyl flooring?
A: The amount of time it takes to install Karndean vinyl flooring depends on the size of the room but typically ranges from two to four hours for an average-sized room.
Q: Can I walk on Karndean vinyl flooring straight away?
A: No, you should wait 24 hours after installation before walking on it as this will give time for any excess adhesive or dirt to dry completely.