Vinyl floor tiles do not demand waxing. Rather than wasting your hard earned dollars on cheap, DIY vinyl that is going to end up easily ruined, have a seasoned install sheet vinyl for the flooring of yours. The moisture may cause the floor to swell or discolor. Not only is it going to help out with that spending budget, it'll still maintain the amazing look of a properly selected floor. It is simple to set up, and even to clean and maintain.
Images Related to How To Install Free Floating Vinyl Flooring
How To Install Free Floating Vinyl Flooring
Resilient vinyl flooring is so versatile since it is now made to simulate the look of so many natural substrates. With a little amount of tender looking care, your sleek new floor is going to be in mint condition for many years to come. Your hands and arms are going to be very grateful you did. In this article we will discuss some of these items to assist you determine whether they are the right choice for the home of yours.
How to Install Vinyl Plank Flooring as a Beginner Home Renovation

The experts will be able to deal with and avoid the unnecessary blunders. As well as it being long-lasting, vinyl flooring is supplied in a wide variety of patterns like tile, natural stone, or marble along with wood, many of which look very similar to the natural counterparts of theirs. If however the room is larger than what would be considered normal next you might have to get someone to assist you to get the job done properly.
How to Install Vinyl Plank Flooring
DIY Guide: How to Install a Floating Vinyl Floor u2013 The Good Guys

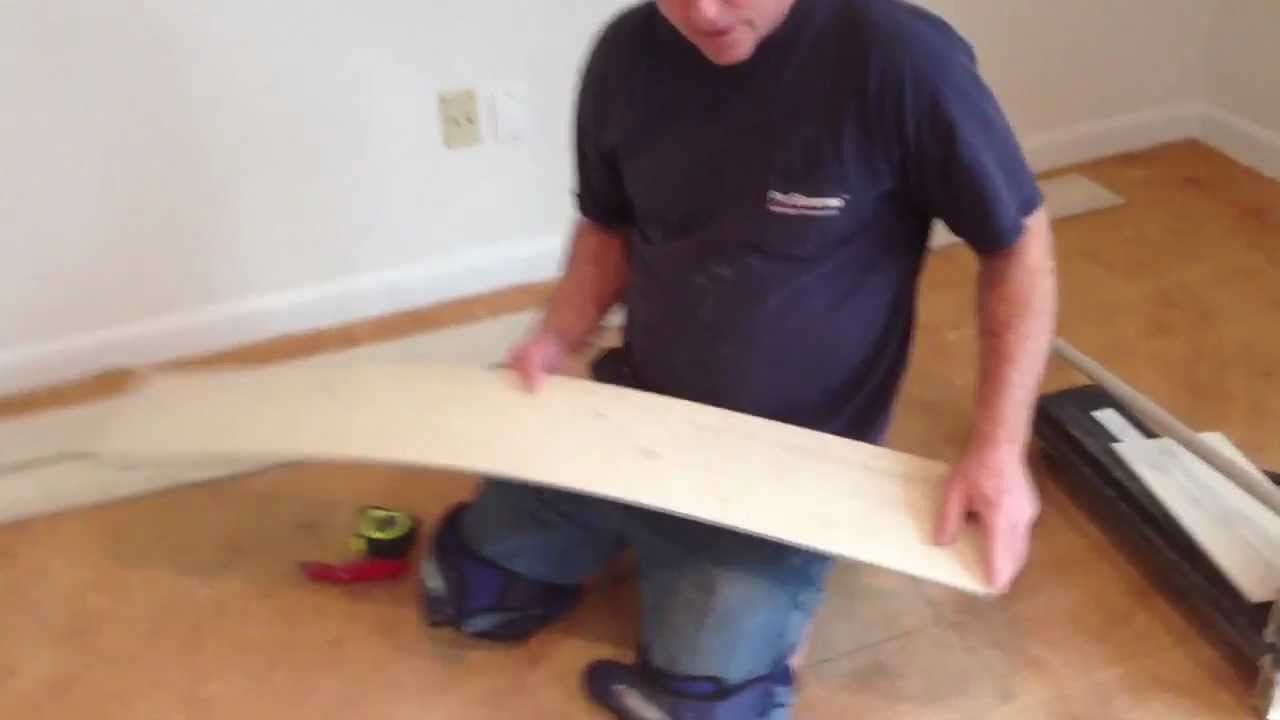
10 Beginner Mistakes Installing Vinyl Plank Flooring – YouTube

DIY Guide: How to Install a Floating Vinyl Floor u2013 The Good Guys

How to Install Floating Vinyl Flooring Over Old Floors

DIY Guide: How to Install a Floating Vinyl Floor u2013 The Good Guys

Free Floating Vinyl Floors Continental Flooring Company
How to Install Vinyl Plank Flooring as a Beginner Home

How to Install Floating Vinyl Flooring
How to Install Vinyl Plank Flooring
How To Install Vinyl Plank Flooring – Kitchen Infinity
:max_bytes(150000):strip_icc()/easy-install-plank-vinyl-flooring-1822808-06-3bb4422ca1bd49b080bfa73bce749acc.jpg)
How to Install Vinyl Plank Flooring
Related articles:
- Vinyl Flooring Bathroom Tile
- Modern Vinyl Flooring
- Funky Vinyl Flooring
- Vinyl Flooring For Kitchen
- Vintage Look Vinyl Flooring
- Kitchen Vinyl Floor Tiles Ideas
- Vinyl Flooring With Wood Look
- Waterproof Vinyl Flooring
- Vinyl Flooring For Cheap
- How To Remove Vinyl Flooring
Free floating vinyl flooring is a popular choice for homeowners looking for a durable and easy-to-install flooring option. This type of flooring is designed to be installed without the need for nails or glue, making it a great DIY project for those with some basic handyman skills. In this article, we will discuss how to install free floating vinyl flooring step by step, as well as answer some common questions about the process.
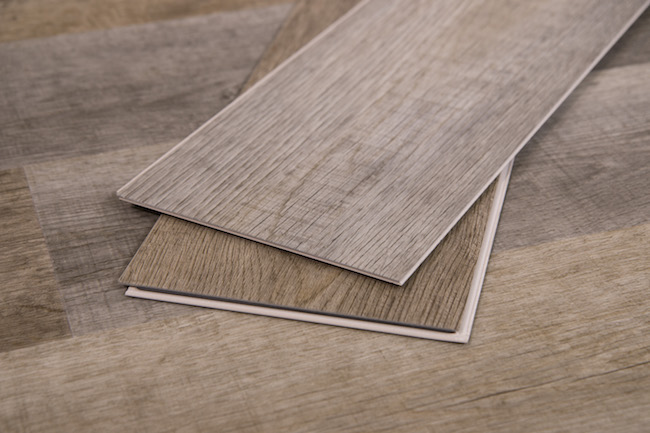
**Choosing the Right Flooring**
Before you begin the installation process, it’s important to choose the right type of free floating vinyl flooring for your space. There are many options available, including different colors, patterns, and thicknesses. Consider the traffic level in the room where you will be installing the flooring, as well as any special requirements such as waterproofing or soundproofing.
**Preparing the Subfloor**
The first step in installing free floating vinyl flooring is to prepare the subfloor. Make sure that the subfloor is clean, dry, and level before beginning installation. Remove any existing flooring materials and repair any damaged areas. If necessary, use a self-leveling compound to even out any uneven spots on the subfloor.
**Acclimating the Flooring**
Before you start laying the flooring, allow it to acclimate to the room temperature for at least 48 hours. This will help prevent any expansion or contraction of the planks after installation.
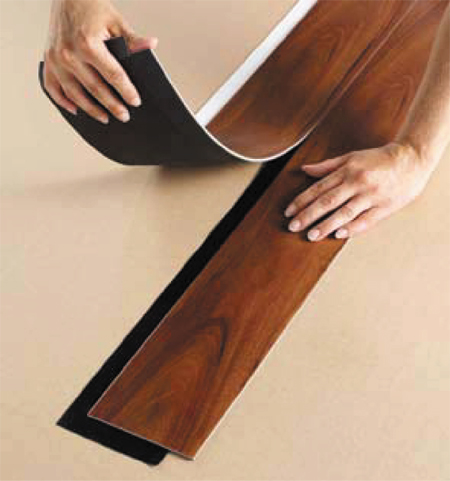
**Laying Underlayment**
Next, lay down a suitable underlayment over the subfloor. The underlayment will provide added cushioning and help reduce noise when walking on the floor. Make sure that the underlayment is smooth and free of wrinkles before proceeding.
**Installing the First Row**
Begin by laying out the first row of vinyl planks along one wall of the room. Leave a small gap between the planks and the wall to allow for expansion. Use spacers to maintain an even gap between planks.
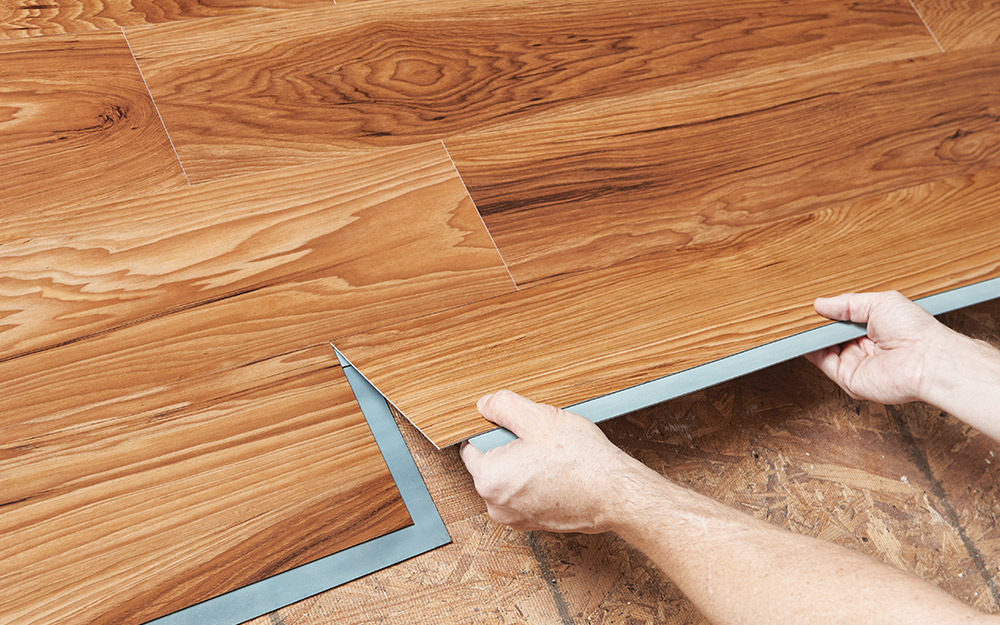
**Installing Subsequent Rows**
Continue installing additional rows of vinyl planks, locking them together using the manufacturer’s recommended method. Make sure that each row is straight and tight against the previous row to create a seamless look.
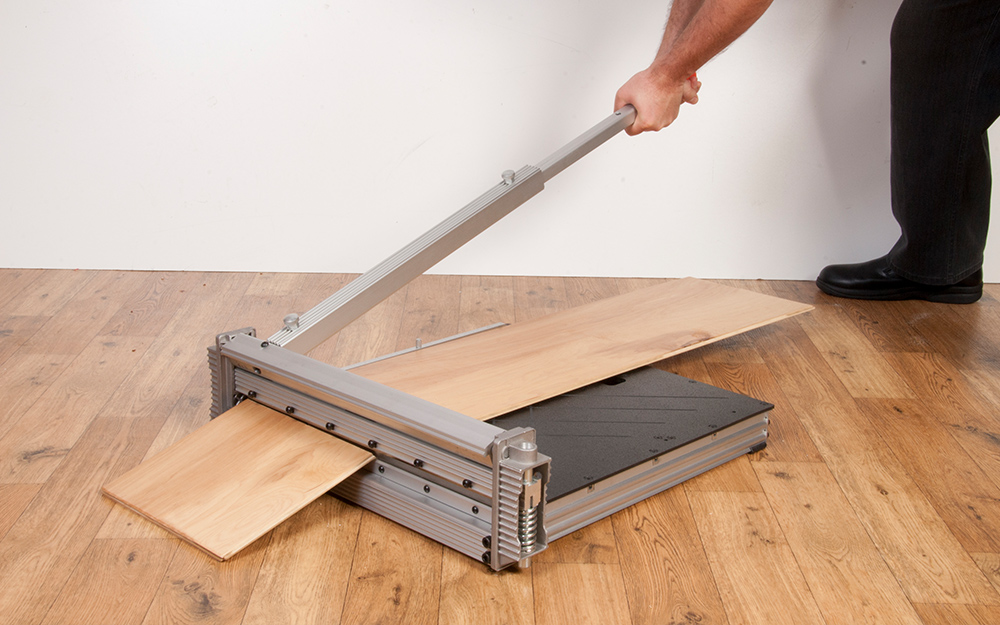
**Cutting Planks**
When you reach the end of a row, you may need to cut a plank to fit. Use a utility knife or a table saw to make precise cuts. Remember to leave a small gap between the end of the plank and the wall.
**Finishing Touches**
Once all of the planks are installed, remove any spacers and trim any excess underlayment around the edges of the room. Install transition pieces where necessary to cover gaps between rooms or different types of flooring.
**FAQs**
1. **Can I install free floating vinyl flooring over existing tile or hardwood floors?**
– Yes, you can install free floating vinyl flooring over most existing hard surface floors as long as they are clean, dry, and level.
2. **Do I need special tools to install free floating vinyl flooring?**
– While you don’t necessarily need specialized tools, having a utility knife, tape measure, and rubber mallet can make installation easier.
3. **How long does it take to install free floating vinyl flooring?**
– The time it takes to install free floating vinyl flooring depends on factors such as room size and skill level but typically ranges from one day to a weekend for most DIYers.
In conclusion, installing free floating vinyl flooring can be a rewarding project that can transform the look of your home. By following these steps and taking the time to properly prepare the subfloor, acclimate the flooring, and install the planks correctly, you can achieve a beautiful and durable floor that will last for years to come. If you have any questions or encounter any issues during the installation process, don’t hesitate to consult with a professional or reach out to the manufacturer for guidance. With patience and attention to detail, you can enjoy a stunning new vinyl floor in your home. **Cleaning and Maintenance**
To keep your free floating vinyl flooring looking its best, regularly sweep or vacuum the floor to remove dirt and debris. You can also use a damp mop with a mild cleaning solution specifically designed for vinyl flooring to clean any spills or stains. Avoid using harsh chemicals or abrasive cleaners, as they can damage the surface of the floor.
Additionally, place felt pads on the bottom of furniture legs to prevent scratches and dents on the floor. Use caution when moving heavy furniture or appliances to avoid damaging the planks.
**Preventing Damage**
To prevent damage to your free floating vinyl flooring, avoid dragging heavy objects across the floor and refrain from wearing high heels or cleats indoors. Place doormats at entryways to trap dirt and moisture before it reaches the floor.
In areas prone to direct sunlight, consider using window treatments or rugs to prevent fading and discoloration of the flooring. Additionally, maintain consistent humidity levels in your home to prevent warping or expansion of the planks.
By taking these preventative measures and following a regular cleaning routine, you can ensure that your free floating vinyl flooring remains in top condition for years to come.
**Final Thoughts**
Installing free floating vinyl flooring is a cost-effective and versatile option for updating your home’s interior. With proper preparation, installation, and maintenance, you can enjoy a durable and stylish floor that enhances the overall aesthetic of your space.
If you’re considering installing free floating vinyl flooring in your home, be sure to follow the manufacturer’s guidelines and consult with professionals if needed. With careful planning and attention to detail, you can achieve professional-looking results that will stand the test of time.
We hope this guide has provided you with valuable information on how to install and care for free floating vinyl flooring. If you have any further questions or need assistance with your project, feel free to reach out for help. Good luck with your installation! Remember, proper installation and maintenance are key to ensuring the longevity and beauty of your free floating vinyl flooring. By following the tips outlined in this guide, you can enjoy a stunning and durable floor for years to come. If you have any questions or need additional assistance, don’t hesitate to seek help from professionals or the manufacturer. With the right care and attention, your new vinyl floor will continue to enhance the look and feel of your home.