This's why, with regards to renovating you floor surfaces, you should install epoxy flooring. Thus to be exact, epoxy resins have almost limitless uses & benefits. As a result, if you are into redefining storage area or maybe warehouse flooring, try out epoxy coating for classic pro appeal to the floor. Therefore, you will need to remove a polyurethane or perhaps latex floor before putting on epoxy.
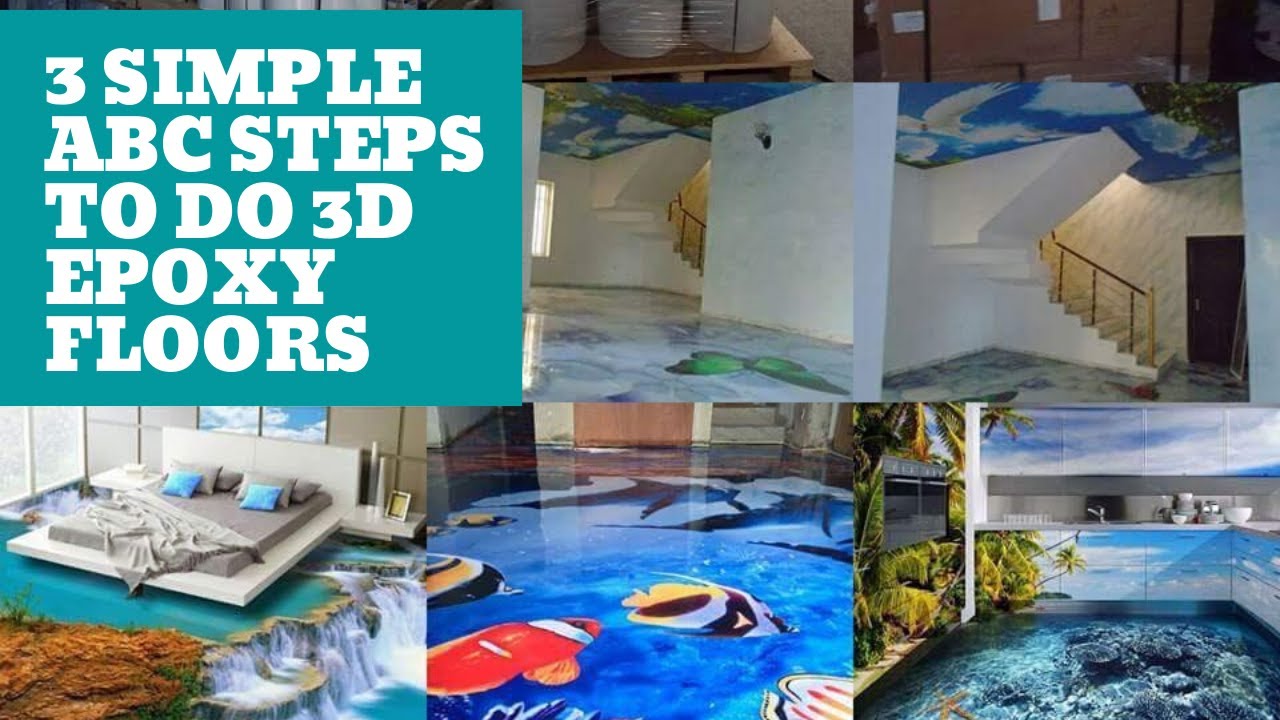
Here are Images about How To Do 3d Epoxy Flooring
How To Do 3d Epoxy Flooring

Epoxy layer for floors are additionally very inexpensive in comparison to various other kinds of floor finishes including carpeting, tile, wood and vinyl. It also extends the lifetime of your concrete and also preserves it. Above all these rewards the most important is its affordable cost. Hardwood floors are pricey and can be swiftly damaged by water.
3 Easy steps to make 3d epoxy flooring Installation like ABC quick tutorial. Letu0027s create Magic
Its longevity and reliability can endure damages and still keep its look. The looks of flooring more improves with impressive chances of color combinations. They are tough, enduring, and comes in colors which are many. The substance covering not only makes the floor look very good but also increases the longevity of the floors subsequently reducing the maintenance cost.
Images Related to How To Do 3d Epoxy Flooring
How to Get Epoxy Flooring With a 3D Effect

Epoxy 3D Floors u2013 Everything You Need to Know – Ocean Mural 3D Art

Top 8 of the Coolest 3D Floors Created with Epoxy

Step by step to install 3d epoxy flooring and how to make 3d floor

Epoxy 3D Floor u2013 Everything You Need to Know – Advance Industrial

3D Epoxy Floor and walls Bathroom – how to make an 3D Floor, Step by Step Guide – Bathroom Design
What Is 3D Epoxy Flooring And How To Apply

35 Really Beautiful 3d Epoxy Flooring That You Can Do For Less

3d Epoxy Flooring for Bedrooms, Kitchens, and Living Areas (Costs)
3D Epoxy Flooring – How to Make 3D Floor Art With Epoxy Resin
Epoxy 3D Floor u2013 Everything You Need to Know – Advance Industrial

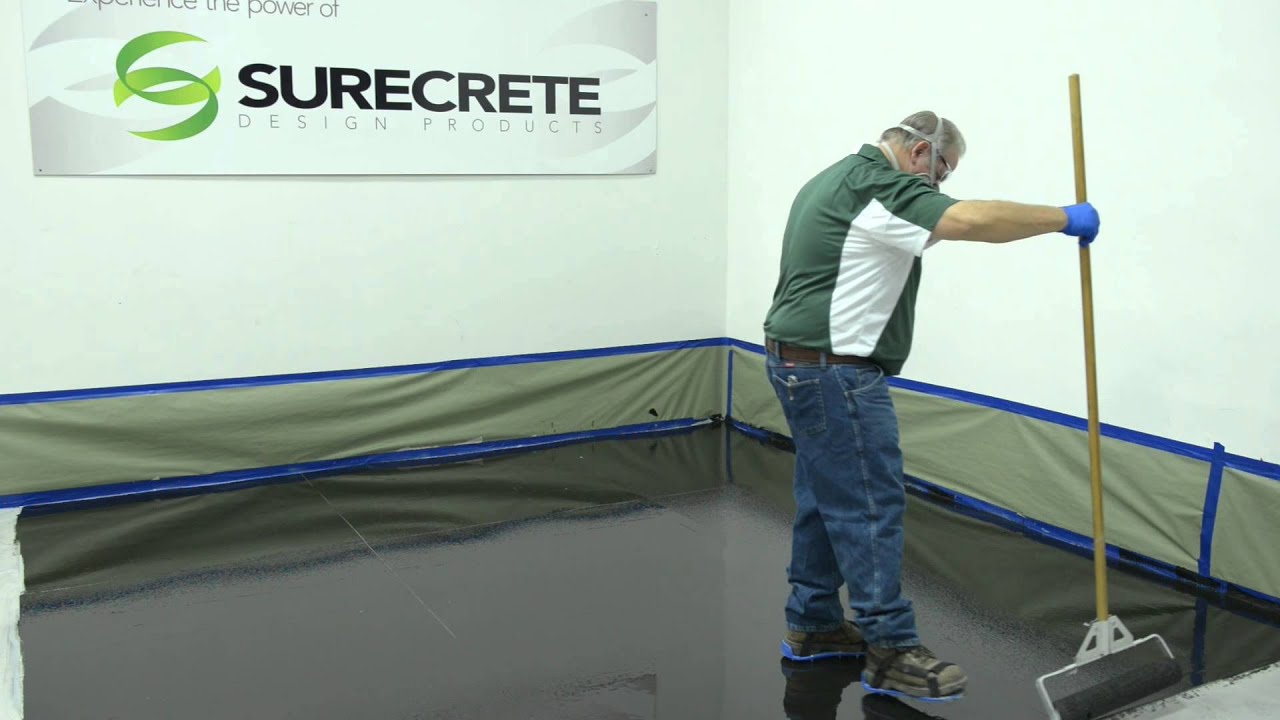
How to Make a 3D Metallic Floor – System by Surecrete
Related articles:
- Epoxy Flooring Living Room
- 3D Epoxy Flooring
- Epoxy Flooring Ideas
- Residential Epoxy Flooring
- Epoxy Flooring Waterproof
- Epoxy Floor Coating Tips
- Metallic Epoxy Floor Designs
- Epoxy Flooring Contractors
- Epoxy Floor Coating Material
- Epoxy Floor Coating With Flakes
Epoxy flooring is a popular flooring solution for many homes and businesses. It is durable, easy to maintain, and provides a unique look that can add a touch of style to any space. Recently, 3D epoxy flooring has become increasingly popular as a way to create stunning designs with the same durable, long-lasting benefits of traditional epoxy flooring. In this article, we will explore how to do 3D epoxy flooring and the materials you need to get started.
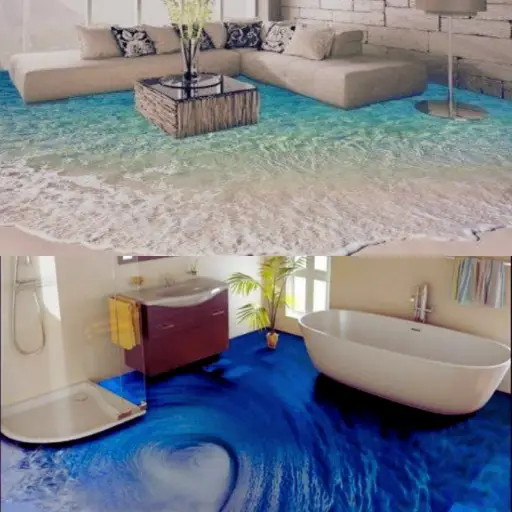
What is 3D Epoxy Flooring?
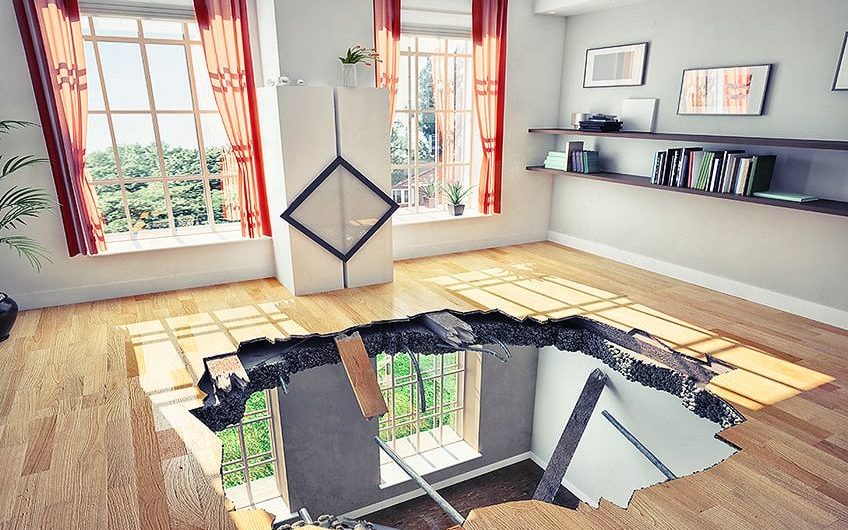
3D epoxy flooring is a type of epoxy flooring that incorporates three-dimensional elements into the design. It is created by applying a thick layer of epoxy onto the surface and then adding layers of colored panels in interesting shapes. The result is an eye-catching design that will add a unique touch to any space.
Materials Needed For 3D Epoxy Flooring
Before you begin your 3D epoxy flooring project, make sure you have all the necessary materials. This includes:
-Epoxy resin
-Base color paint
-Colored panels
-Mixing container
-Protective gloves
-Mixing paddle
-Flat trowel
-Roller or brush
-Painters tape
-Foam roller or brush
-Safety glasses
-Drop cloths
Preparing the Surface for 3D Epoxy Flooring
Before you start applying the epoxy, it is important to prepare the surface. Begin by cleaning the surface with a vacuum or broom and then scrubbing away any dirt or debris. Once you have finished cleaning, use painters tape to cover any edges that you do not want to be covered in epoxy. Then apply a base coat of paint in the color of your choice. Allow it to dry completely before moving on to the next step.
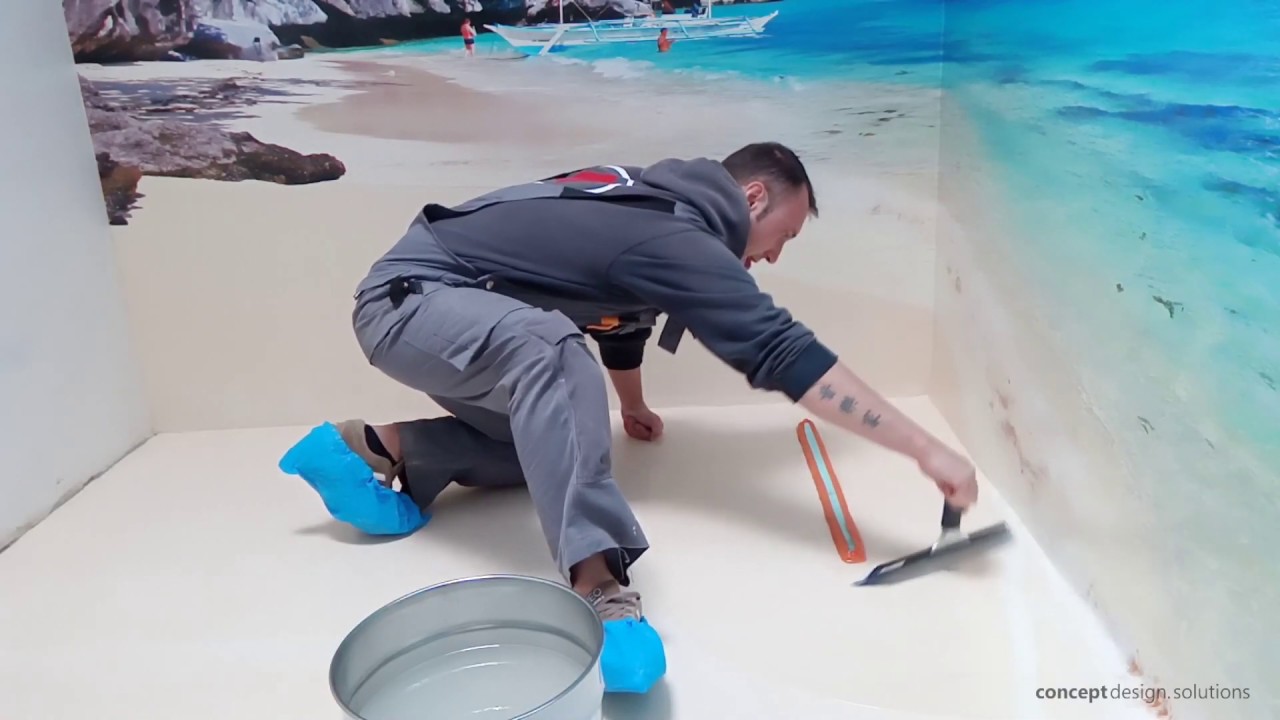
Applying the Epoxy Resin
Once the base coat has dried completely, it is time to mix and apply the epoxy resin. Begin by combining the resin and hardener according to the instructions on your package and mix them together until they are completely blended. Once they are mixed, use a flat trowel or roller/ brush to spread it evenly across the surface in thin layers. Allow each layer to dry completely before adding another.
Adding the Colored Panels
Once all of your layers of epoxy have dried completely, it is time to start adding your colored panels. Begin by measuring out the area where you would like your panel to be placed and then draw a template on your surface with painters tape. Then cut out the panels and apply them using foam rollers or brushes. Allow them time to dry completely before moving on to the next step.
Finishing Touches for Your 3D Epoxy Flooring
Once all of your panels are in place and dried completely, it is time for some finishing touches. Begin by applying several layers of clear coat sealant over your entire floor for added protection. After that, you can add any additional decorative elements such as glitter or metallic flakes for extra sparkle and shine.
Conclusion
3D epoxy flooring is an exciting and beautiful way to transform any room in your home or business into an eye-catching work of art! With patience and care, anyone can create stunning 3D epoxy floor designs that will last for years to come. With these simple steps, you can easily learn how to do 3D epoxy flooring and create something truly unique and special!