After one day or so, look to determine if any moisture accumulated underneath the clear plastic sheet. Nevertheless, in terms of picking a floor covering for basements, your choice is usually a well informed or perhaps costly one. It's a good deal of area that is usually out of the manner in which.
Here are Images about Fix Basement Floor
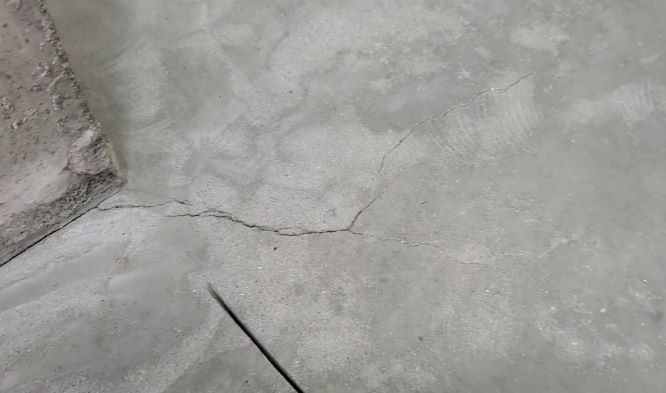
Fix Basement Floor
Thinking about the seasonal weather, you are interested in garage and basement flooring that will be resistant to harsh temperatures as well as chemicals. You may possibly need to install a working wet bar and also a major screened television to football parties on the weekend. There are numerous things to take into account if you choose to set up the basement floor.
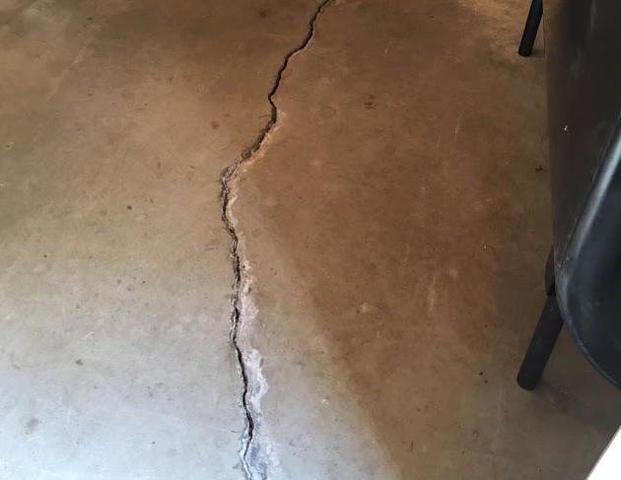
Causes of Basement Floor Cracks and What to Do About Them News
It's really important to resolve the problems of your basement, whether you use it for storage or not. Though many other living areas in your house may be initially more crucial to you, give thought to what the most effective type of basement floor is for the situation of yours.
Images Related to Fix Basement Floor
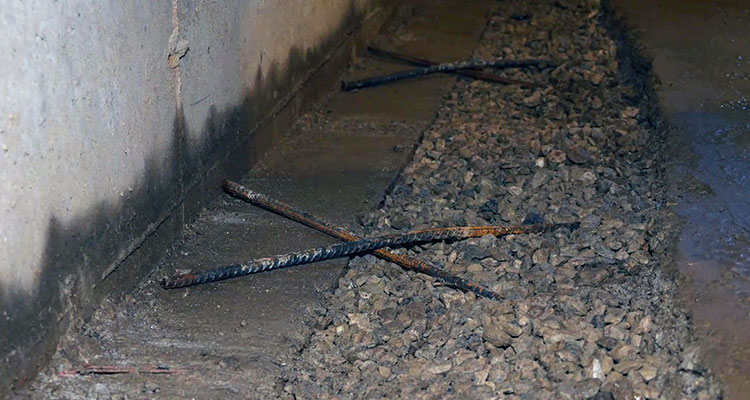
Basement concrete floor repairs
Repairing Common Concrete Slab Problems – Concrete Network
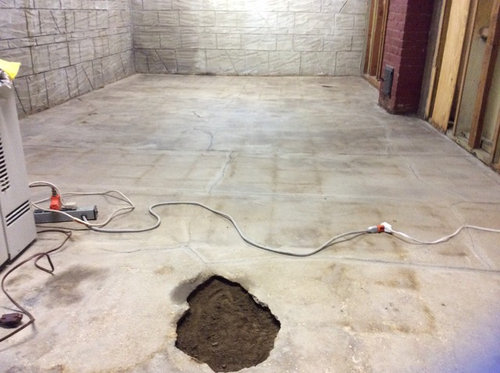
How to repair a hole in a concrete floor Watco
Concrete Slab Crack Repair Instructional Video
What to do About Uneven Interior Concrete Flooring
How to Repair a Concrete Floor: 13 Steps (with Pictures) – wikiHow

Sinking Basement Floors: What to Look For
Twip of the Day – Fixing Basement Floor Cracks – Mar-flex

Why Cracks in Basement Floors Canu0027t be Fixed by U.S. Waterproofing

Concrete Basement / Cellar Floor Crack Repair in Worcester, MA

How to Fix a Wet Basement Floor U.S. Waterproofing

Basement Floor Cracks – How To Fix Cracks In A Basement Floor
Related articles:
- Stained Concrete Basement Floor
- Finishing Basement Floor
- Refinish Concrete Basement Floor
- Best Flooring For Basement
- Basement Gym Flooring Ideas
- Laminate Flooring In Basement
- Basement Concrete Floor Sweating
- Basement Floor Finishing Ideas
- Painting Unfinished Basement Floor
- Unique Basement Flooring
Do you have a damp, uneven, or cracked basement floor? Are you looking for a way to make it look better and last longer? Fixing your basement floor can be a daunting task, but with the right tools and knowledge, it doesn’t have to be. This guide will walk you through the step-by-step process of fixing your basement floor.
Materials Needed
Before you get started on your basement floor repair project, you’ll need to make sure you have the right materials on hand. Here is a list of materials you’ll need:
– Concrete patching compound
– Masonry sealer
– Concrete grinder
– Hammer
– Chisel
– Trowel
– Level
– Plywood or OSB board
– Utility knife
– Caulk gun
– Paintbrush
– Drop cloths
– Protective gloves and eyewear
Step 1: Assess the Damage
The first step in repairing your basement floor is to assess the damage. Take a look at the floor and identify any cracks, holes, or other damage that needs to be fixed. Make sure to mark these areas so that you can easily find them when it’s time to start repairing. Once you have identified the areas that need to be repaired, it’s time to move on to step two.
Step 2: Prepare the Area
Once you’ve identified all the damaged areas in your basement floor, it’s time to prepare the area for repair. Start by removing any debris, dirt, or dust from the area with a vacuum or broom. Be sure to wear protective gloves and eyewear while doing this. Next, use a concrete grinder to smooth out any rough edges or irregularities in the concrete surface. This will help ensure that your repairs will stick properly.
Step 3: Apply Masonry Sealer
Before applying any concrete patching compound or other materials, it is important to apply a masonry sealer to the area. This sealer will help protect the concrete from moisture and help prevent future damage. Use a paintbrush to apply an even coat of masonry sealer over the entire area that needs repair. Allow the sealer to dry completely before moving on to step four.
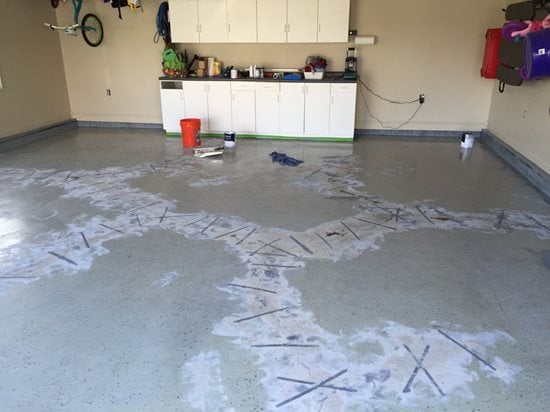
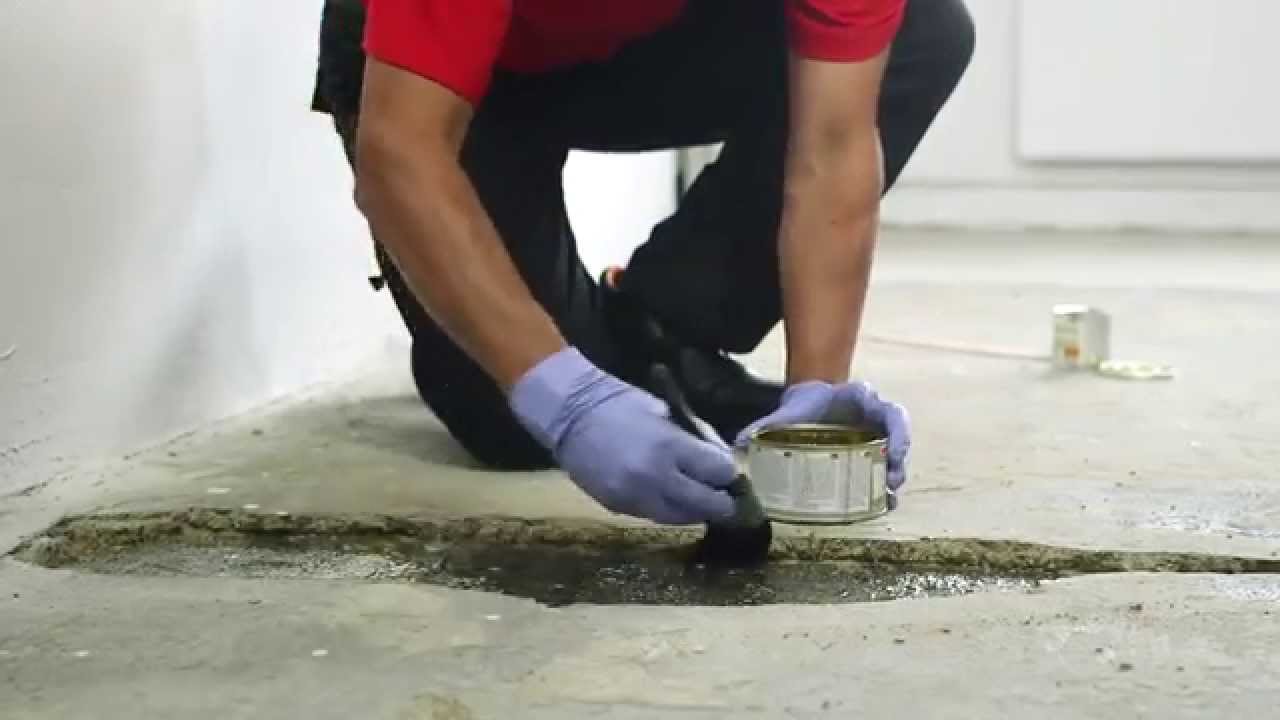
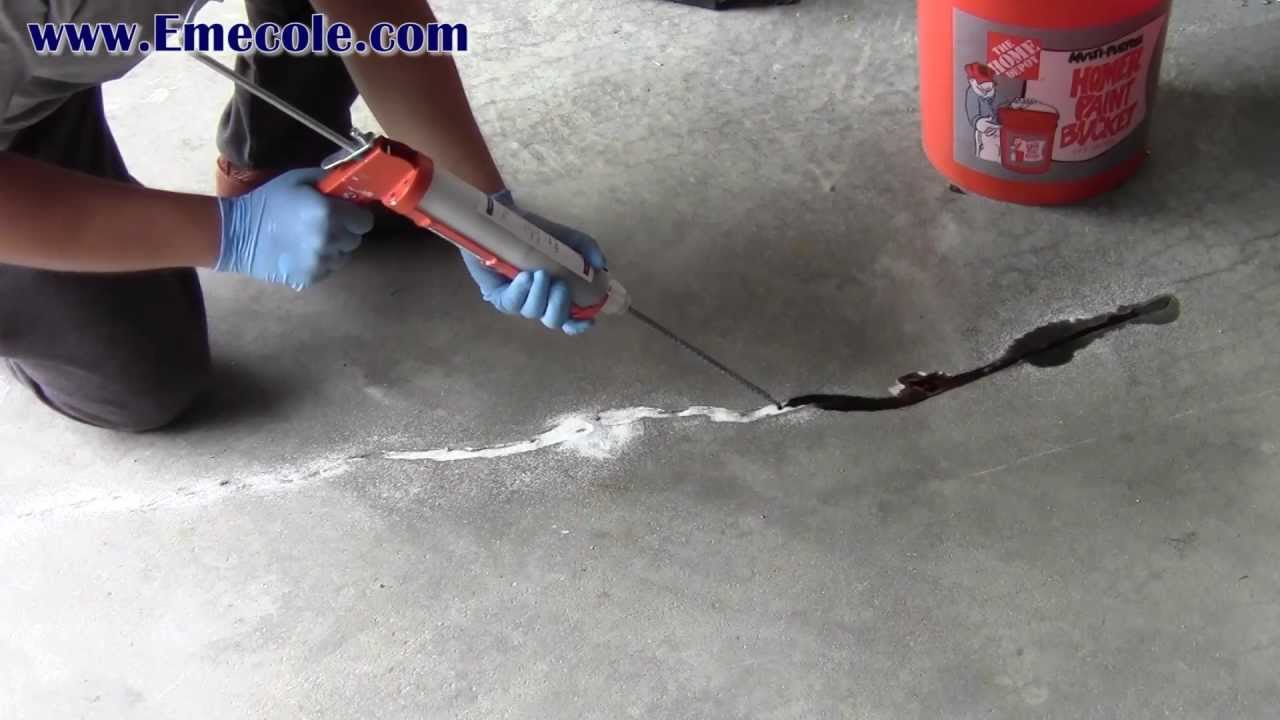
Step 4: Patch Cracks & Holes
Now it’s time to patch up any cracks or holes in your basement floor. Start by filling in each crack or hole with concrete patching compound using a trowel. Make sure that you fill in the cracks completely and smooth out any rough edges with a trowel or chisel. Allow the patching compound to dry completely before moving on to step five.
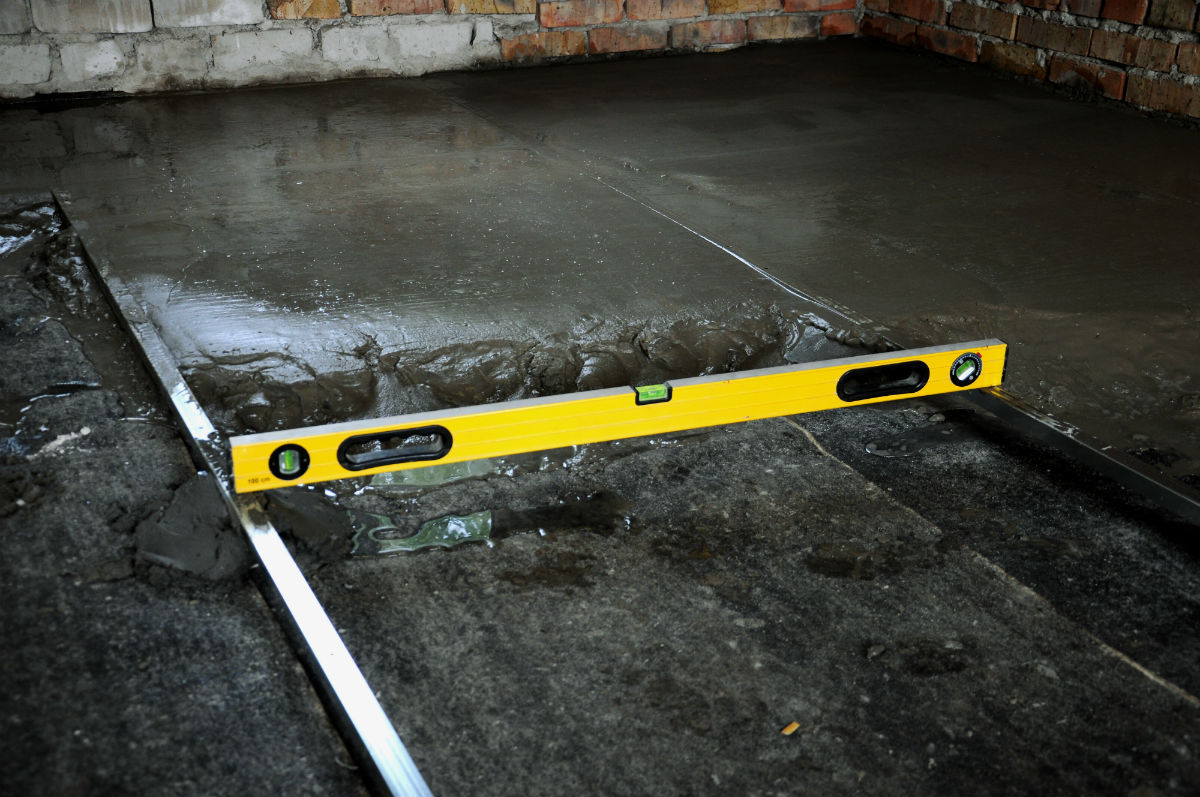
Step 5: Level Out Uneven Areas
Once any cracks and holes are patched, you may still notice some uneven areas in your basement floor. To level out these areas, use plywood or OSB board cut into small pieces and secured with nails or screws. Use a level to make sure that each piece is properly leveled before securing it in place. Once all the pieces are in place, use a utility knife or caulk gun to fill in any gaps between each piece of board. This will help prevent water from seeping through and causing future damage.
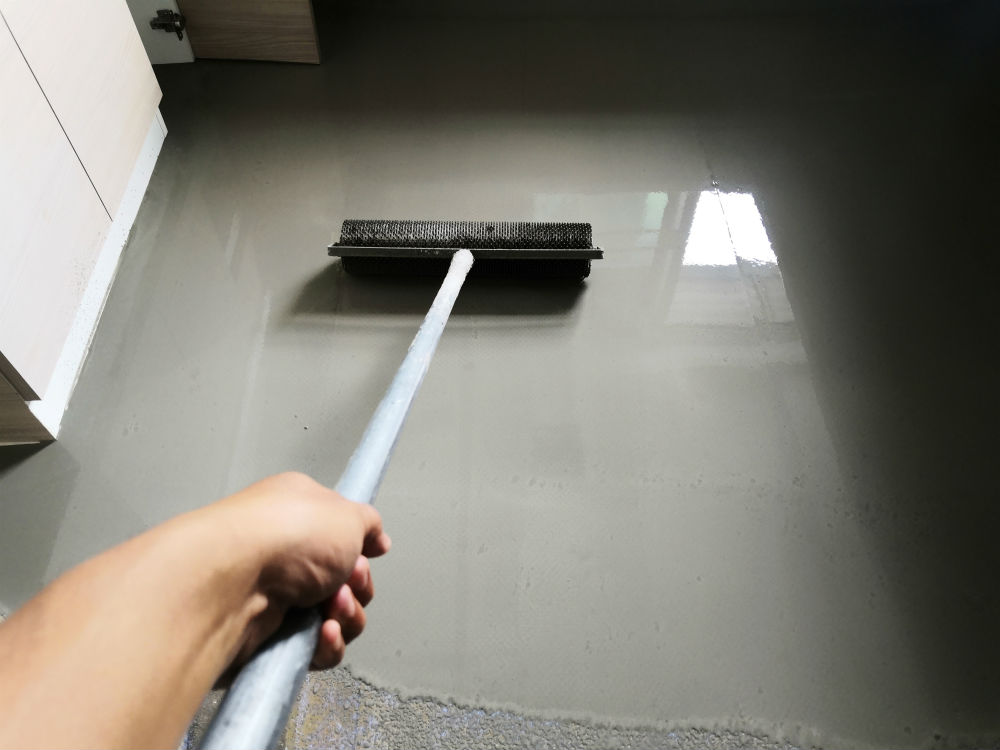
Step 6: Apply Finishing Touches
The final step of repairing your basement floor is applying finishing touches. Use drop cloths and protective gloves and eyewear as needed before painting over any patched areas with masonry paint. This will help protect your repairs from moisture and wear and tear over time.
FAQs About Fixing Your Basement Floor
Q: How long does it take to fix a basement floor? A: