An epoxy flooring coating for the warehouse of yours is going to make the floor of yours in a position to endure the tough environments on which the damage of the fleet of yours of warehouse motor vehicles would usually damage the floor with no epoxy covering. However, not all flooring is able to store epoxy coating. The epoxy flooring paints may be offered the desired color as per the person demands.
Here are Images about Epoxy Flooring Steps
Epoxy Flooring Steps

Epoxy adheres well to surfaces manufactured from concrete, wood, tiles, metal, and more. Epoxy gives floors a glossy, glassy appearance which can make the whole community vibrantly stand out in conditions of high end visual appearance and appeal. It need to have an epoxy resin, a specific or amber viscous liquid. Your floors will usually be in good shape. Anti-slip flecks are actually made of acrylic and provide a decorative touch to an epoxy flooring.
Epoxy Concrete Floor Process – Diamond Garage Solutions NJ

Epoxy coating for floors are additionally really inexpensive in comparison to other forms of floor finishes like carpeting, tile, wood and vinyl. Additionally, it extends the lifetime of the concrete of yours and preserves it. Above all these benefits the most crucial is the economical cost of its. Hardwood floors are costly and can be quickly damaged by water.
Images Related to Epoxy Flooring Steps
How to Do Epoxy Flooring (with Pictures) – wikiHow

How to Apply Epoxy Floor Paint – A 7 step guide
Floor design of stairs with Epoxy Natural Stone!

How to Do Epoxy Flooring (with Pictures) – wikiHow

Epoxy Coating Garage Floor with Acrylic Flake
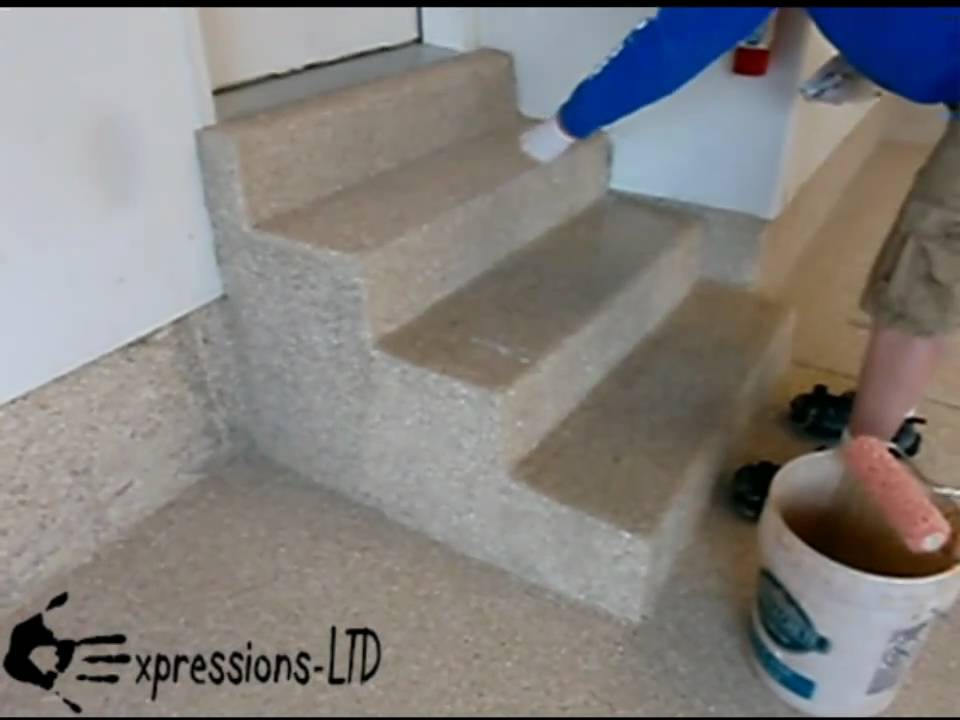
Residential Outdoor Steps Epoxy Flooring in Beachwood, Ohio

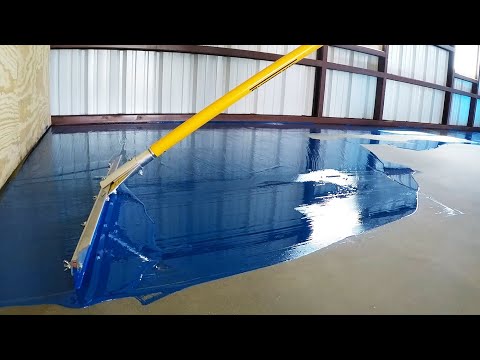
Metallic epoxy floor coating for a truly one of a kind floor

How to Do Epoxy Flooring (with Pictures) – wikiHow

How to do Epoxy Floors – STEP BY STEP GUIDE – S3E3
Anti-Slip Stairs, Anti-Slip Resin Stairs – Impact Flooring

Garage Flooring The Mile High GarageExperts®

A Complete Step-by-Step Guide for Resin Flooring

Related articles:
- Epoxy Flooring Living Room
- 3D Epoxy Flooring
- Epoxy Flooring Ideas
- Residential Epoxy Flooring
- Epoxy Flooring Waterproof
- Epoxy Floor Coating Tips
- Metallic Epoxy Floor Designs
- Epoxy Flooring Contractors
- Epoxy Floor Coating Material
- Epoxy Floor Coating With Flakes
Epoxy Flooring Steps: A Comprehensive Guide to Achieving a Flawless Finish
Introduction:
Epoxy flooring has gained immense popularity in recent years due to its durability, versatility, and aesthetic appeal. Whether you’re considering epoxy flooring for your garage, basement, commercial space, or even your home, understanding the steps involved in the process is crucial. In this comprehensive guide, we will walk you through each step of the epoxy flooring installation process, providing detailed explanations and tips to help you achieve a flawless finish.
1. Surface Preparation: The Foundation of a Successful Epoxy Flooring Installation
Before applying epoxy coatings, proper surface preparation is vital to ensure adhesion and longevity. This step involves thoroughly cleaning the surface, repairing any damages or cracks, and removing any existing coatings or sealers. Here are some FAQs related to surface preparation:
Q: How should I clean the surface before applying epoxy?
A: It is recommended to use a degreaser or a mild detergent along with hot water to remove all dirt, oil, and grease from the surface. Scrubbing with a stiff-bristle brush or using a pressure washer can also aid in achieving a clean surface.
Q: What should I do about cracks or damages on the floor?
A: Cracks or damages should be repaired using an appropriate epoxy crack filler or patching compound. Ensure that the repairs are done well in advance so that they have sufficient time to cure before proceeding with the epoxy application.
2. Priming: Enhancing Adhesion for Long-Lasting Results
Applying an epoxy primer is essential as it promotes better adhesion between the substrate and the subsequent epoxy layers. The primer acts as a bonding agent, ensuring that the coating adheres tightly to the prepared surface. Here are some commonly asked questions regarding priming:
Q: Is it necessary to apply a primer before epoxy coating?
A: Yes, applying a primer is highly recommended. It creates a strong bond between the substrate and the epoxy coating, improving adhesion and overall durability.
Q: What type of primer should I use?
A: The choice of primer depends on the substrate material. For porous surfaces like concrete, an epoxy-based primer is suitable. Non-porous substrates such as metal or tile may require a different type of primer, such as an acid etching or bonding primer.
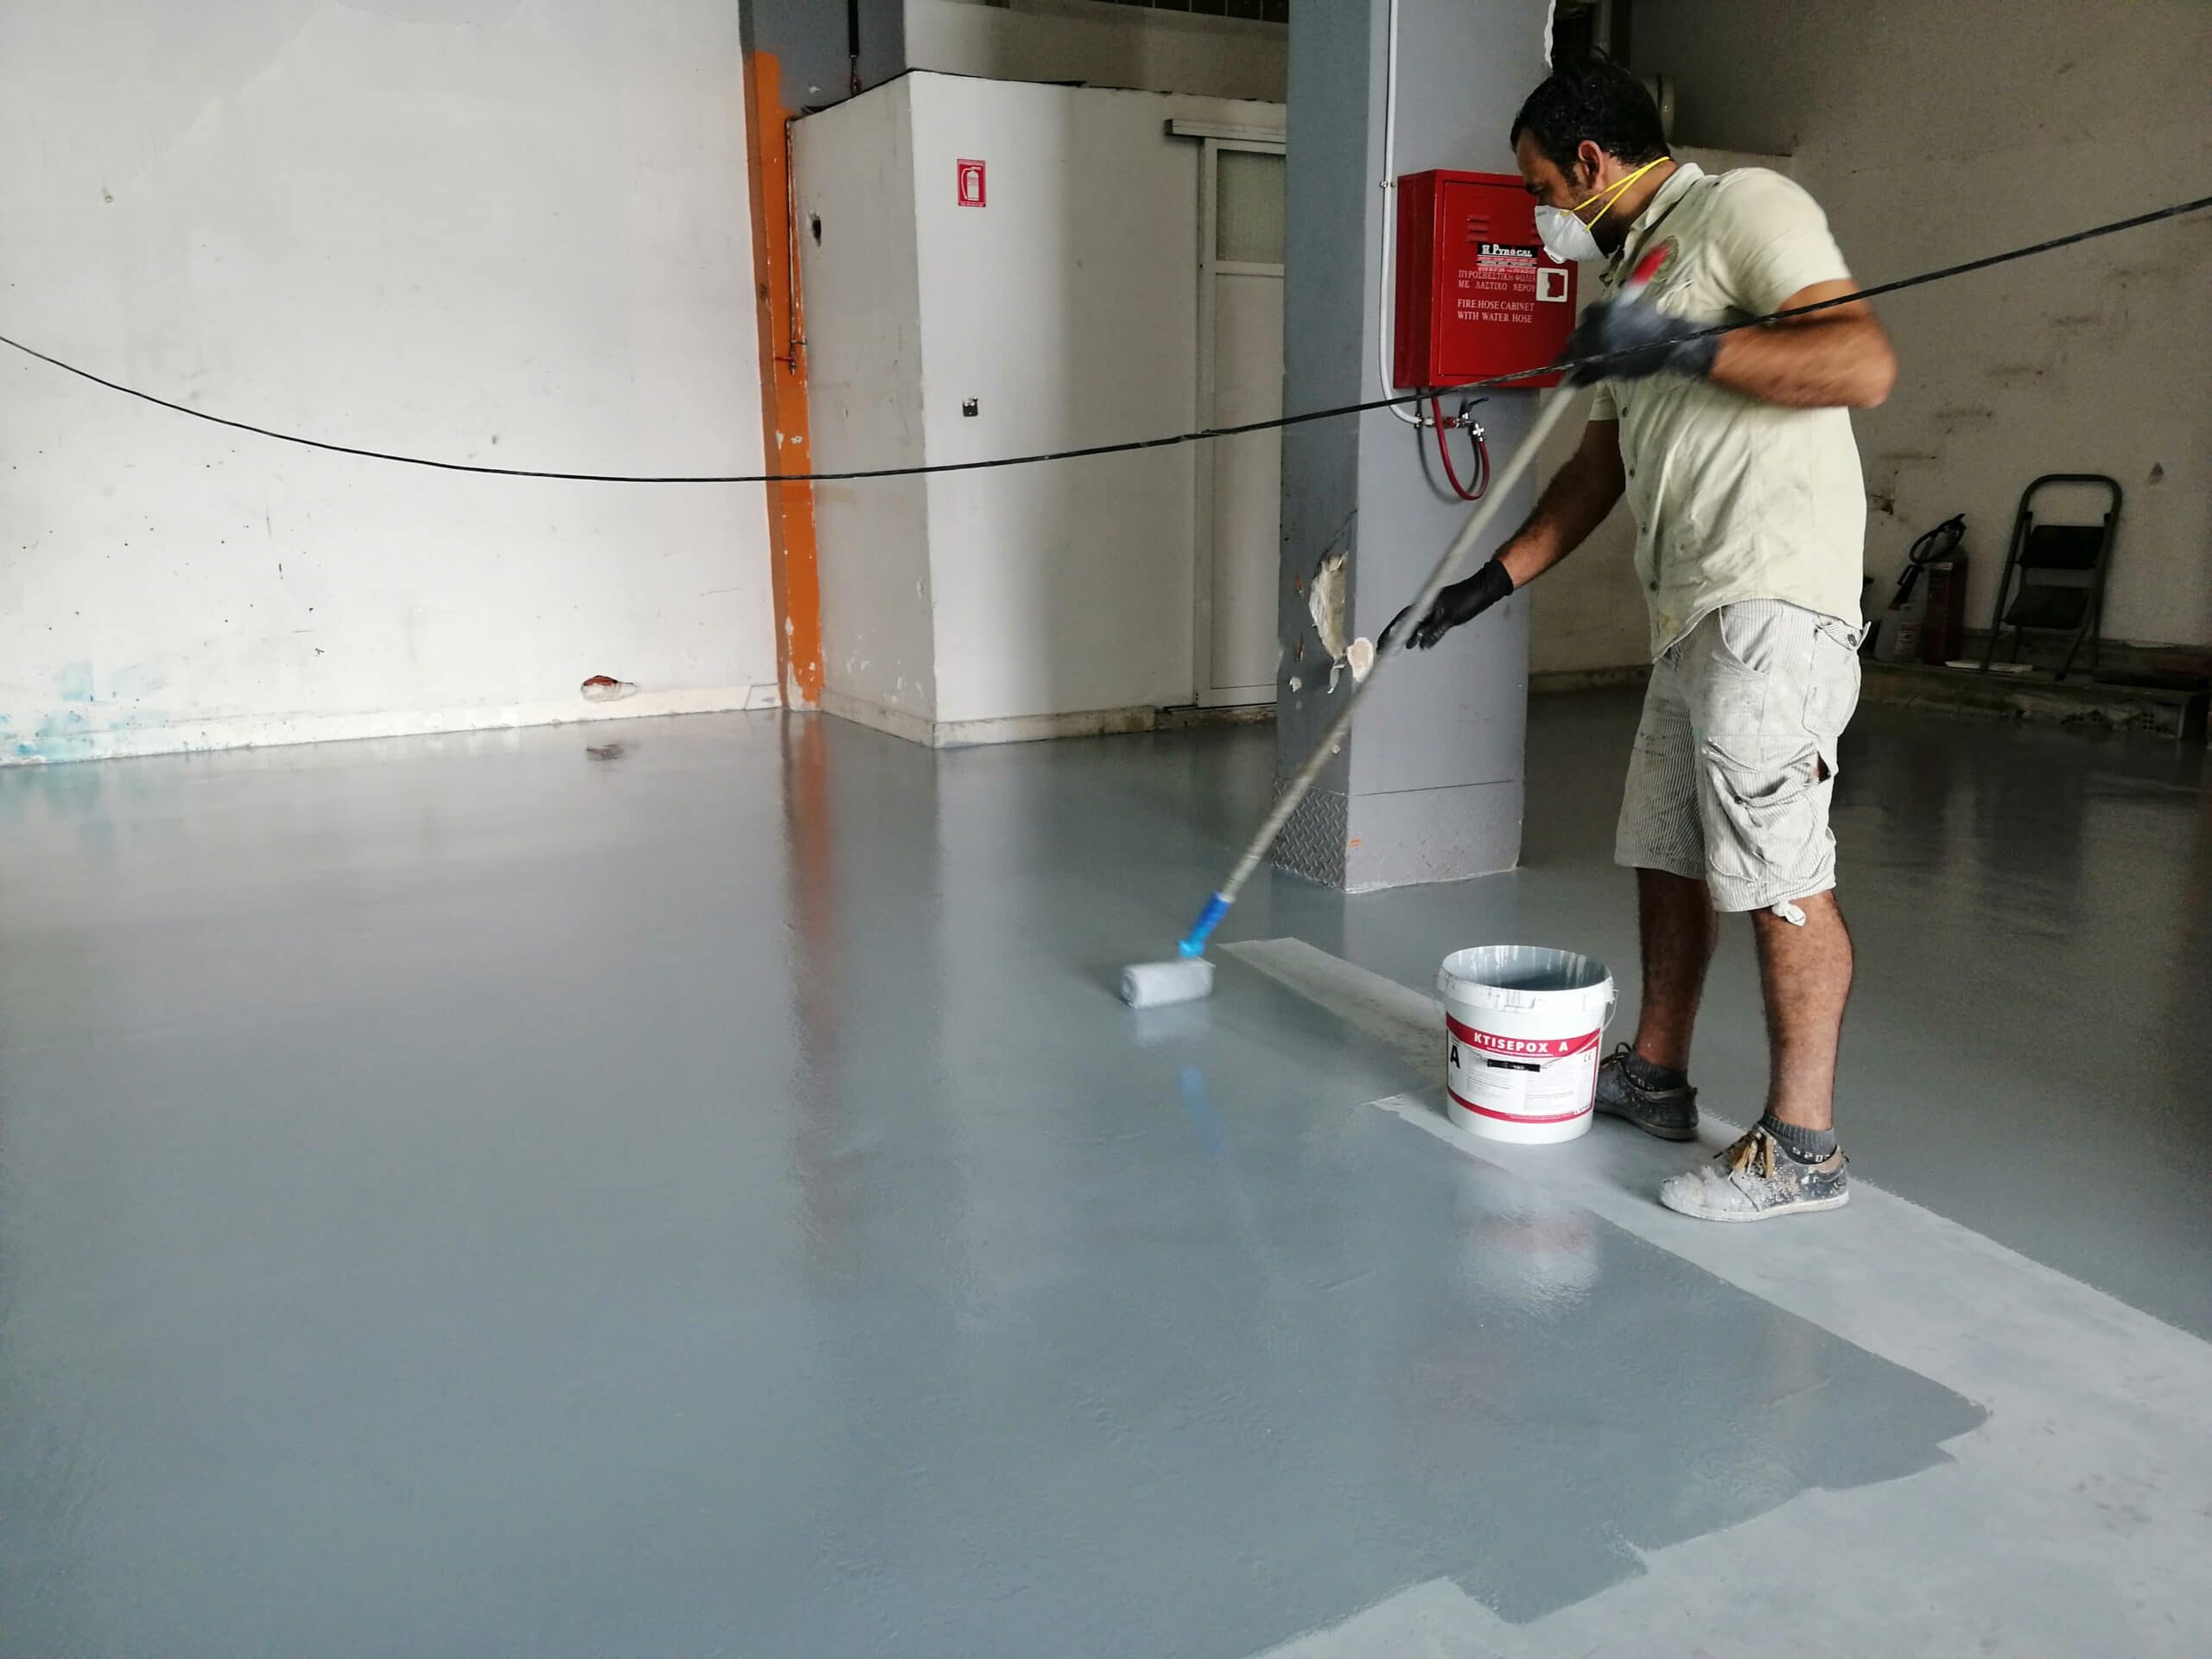
3. Mixing and Applying Epoxy: Achieving a Smooth and Even Coating
Once the surface is prepped and primed, it’s time to mix and apply the epoxy coating. This step requires careful attention to detail to ensure a smooth and even application. Here are some frequently asked questions about mixing and applying epoxy:
Q: How do I mix the epoxy components?
A: Follow the manufacturer’s instructions for specific mixing ratios. Typically, you will need to combine the epoxy resin with a hardener in the recommended proportions. Use a mixing paddle or a mechanical mixer to blend the components thoroughly until they form a homogeneous mixture.
Q: What tools should I use to apply the epoxy coating?
A: The tools needed for applying epoxy can vary depending on the size of the project. For larger areas, a roller with a medium nap is commonly used to achieve an even coat. A squeegee or trowel may be required for spreading the epoxy in smaller or hard-to-reach areas.
4. Adding Decorative Flakes or Pigments: Enhancing Aesthetics and Texture
One of the most appealing aspects of epoxy Flooring is the ability to customize it with decorative flakes or pigments. This not only enhances the aesthetics of the floor but also adds texture for better slip resistance. Here are some commonly asked questions about adding decorative flakes or pigments:
Q: When should I add decorative flakes or pigments?
A: Decorative flakes or pigments should be added after the initial coat of epoxy has been applied and is still wet. Sprinkle the flakes or pigments evenly over the surface, making sure to cover the entire area.
Q: How much decorative flakes or pigments should I use?
A: The amount of decorative flakes or pigments used depends on personal preference. You can choose to have a light or heavy coverage, depending on the desired look. It’s recommended to start with a small amount and gradually add more until you achieve the desired effect.
5. Applying a Topcoat: Sealing and Protecting the Epoxy Flooring
The final step in the epoxy flooring installation process is applying a topcoat. This provides an additional layer of protection and durability to the epoxy surface. Here are some frequently asked questions about applying a topcoat:
Q: Is it necessary to apply a topcoat?
A: While not mandatory, applying a topcoat is highly recommended as it enhances the longevity and durability of the epoxy flooring. It adds an extra layer of protection against abrasion, chemicals, and UV damage.
Q: What type of topcoat should I use?
A: The choice of topcoat depends on the specific requirements of your space. Polyurethane topcoats are commonly used as they provide excellent durability and chemical resistance. However, other options like epoxy-based or acrylic topcoats may be suitable for different applications.
By following these steps and guidelines, you can achieve a professional-looking epoxy flooring installation. Remember to thoroughly prepare the surface, apply a primer for better adhesion, mix and apply the epoxy carefully, add decorative flakes or pigments if desired, and finish with a topcoat for added protection. With proper maintenance, your epoxy flooring can provide years of durability and aesthetics to your space. Overall, the process of installing epoxy flooring involves several steps. First, you need to prepare the surface by cleaning and repairing any damages. Then, a primer is applied to enhance adhesion. Next, the epoxy mixture is mixed and applied using a roller or squeegee. For smaller or hard-to-reach areas, a brush may be used. Decorative flakes or pigments can be added for customization and texture. Finally, a topcoat is applied to seal and protect the epoxy flooring.
Some commonly asked questions about the process include when to add decorative flakes or pigments and how much to use. Decorative flakes or pigments should be added after the initial coat of epoxy has been applied and is still wet. The amount used depends on personal preference, with options for light or heavy coverage.
Applying a topcoat is not mandatory but highly recommended as it enhances durability and longevity. It provides an extra layer of protection against abrasion, chemicals, and UV damage. The choice of topcoat depends on specific requirements, with polyurethane topcoats being commonly used for their durability and chemical resistance.
By following these steps and guidelines, you can achieve a professional-looking epoxy flooring installation that will provide years of durability and aesthetics to your space. To summarize, the final step in the epoxy flooring installation process is applying a topcoat. This is highly recommended as it provides additional protection and durability to the epoxy surface. Some frequently asked questions about applying a topcoat include whether it is necessary, what type of topcoat to use, and when to add decorative flakes or pigments.
While not mandatory, applying a topcoat is highly recommended as it enhances the longevity and durability of the epoxy flooring. It adds an extra layer of protection against abrasion, chemicals, and UV damage.
The choice of topcoat depends on the specific requirements of your space. Polyurethane topcoats are commonly used for their excellent durability and chemical resistance. However, other options like epoxy-based or acrylic topcoats may be suitable for different applications.
To achieve a professional-looking epoxy flooring installation, follow these steps: prepare the surface by cleaning and repairing any damages, apply a primer for better adhesion, mix and apply the epoxy carefully using a roller or squeegee, add decorative flakes or pigments if desired after the initial coat of epoxy has been applied and is still wet, and finish with a topcoat for added protection.
With proper maintenance, your epoxy flooring can provide years of durability and aesthetics to your space.