The majority of the individuals are opting for epoxy flooring usually for garage floors. The reason behind the differing schools of thought lay within the car maker's instructions as well as the manner in which the contractors use the product and the encounters of theirs with this. You ought to start browsing to find the leading choice. Epoxy floor coatings are available in a number of styles.
Here are Images about Epoxy Floor Repair Kit
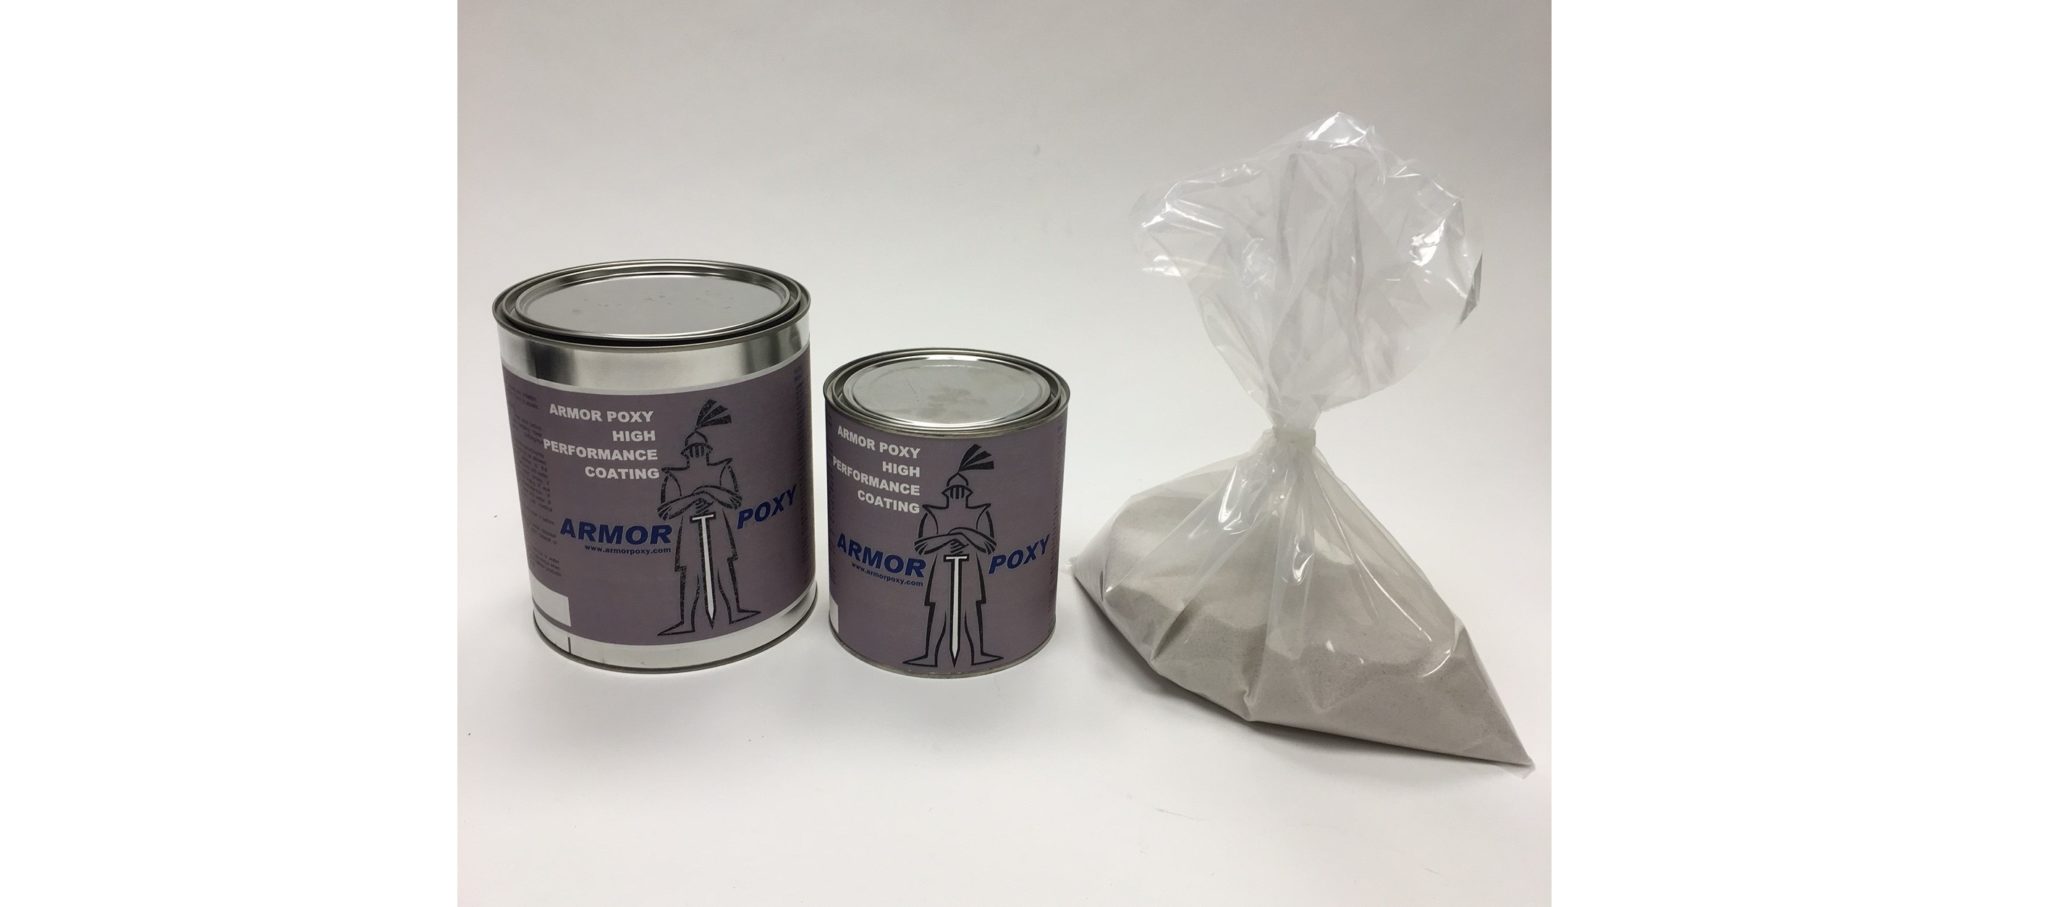
Epoxy Floor Repair Kit

This makes epoxy a great solution for the garage floor coating. Epoxy floors are incredibly effective and may be worn in the most demanding manufacturing locations and also present a beautiful add-on to a typical trafficked floor. Epoxy resins are employed at a number of applications for construction from floors to counter tops.
Epofill Kit by Diasen – Epoxy filler for concrete floors repairing

Epoxy will protect as well as extend the life of concrete if used over the previous concrete flooring. They're available in different colors as well as combos and the application of theirs hinges only on the budget and the area to be covered.
Images Related to Epoxy Floor Repair Kit
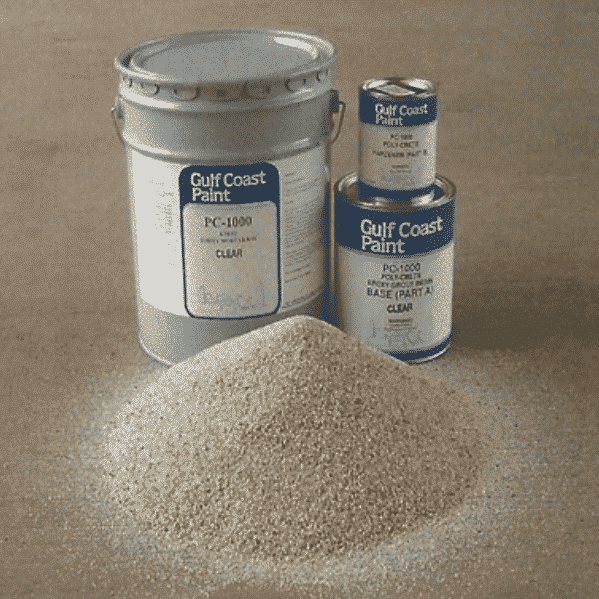
Floor-Clad Concrete Repair Kit

FAST SET EPOXY PATCH KIT, 1 u0026 2 GAL
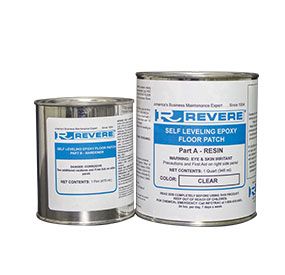
Self Leveling Epoxy Floor Patch Clear
Power-Patch Concrete Epoxy Kit (Grey)

FAST SET EPOXY PATCH KIT, 1 u0026 2 GAL
E1000 Epoxy Concrete Repair Kit Up to 1″ Deep Repairs 100% Solids
Vinyl Floor and Tile Repair Kit 20-689 : 2-Part Flexible Epoxy

3M Epoxy Hardwood Repair Kit City Floor Supply

Epoxy Floor Patch FULL KIT

New Generation Epoxy Patch u0026 Repair Kit™ Spartan Chemical
Epoxy Floor Patch Kit

Fast-Patch Concrete Patching Kit

Related articles:
- Epoxy Flooring Living Room
- 3D Epoxy Flooring
- Epoxy Flooring Ideas
- Residential Epoxy Flooring
- Epoxy Flooring Waterproof
- Epoxy Floor Coating Tips
- Metallic Epoxy Floor Designs
- Epoxy Flooring Contractors
- Epoxy Floor Coating Material
- Epoxy Floor Coating With Flakes
Epoxy Floor Repair Kit: Restoring the Beauty of Your Floors
Introduction:
Epoxy floors have gained immense popularity in recent years due to their durability, ease of maintenance, and aesthetic appeal. However, like any other surface, epoxy floors can suffer from wear and tear over time. Cracks, chips, and scratches may appear, compromising the overall appearance and functionality of the floor. Fortunately, you don’t have to replace the entire floor if such issues arise. With the help of an epoxy floor repair kit, you can restore your floor’s beauty and extend its lifespan. In this article, we will delve into the world of epoxy floor repair kits, exploring their benefits, usage instructions, frequently asked questions, and more.
Section 1: Understanding Epoxy Floor Repair Kits:
Epoxy floor repair kits are specially designed products that allow you to fix minor damages on your epoxy floor without the need for professional assistance. These kits typically contain a combination of epoxy resin and hardener along with other necessary tools and materials required for the repair process. The epoxy resin acts as a powerful adhesive that bonds with the existing floor surface, providing a seamless finish.
Section 2: Benefits of Using an Epoxy Floor Repair Kit:
2.1 Cost-effective Solution:
One of the primary advantages of using an epoxy floor repair kit is its cost-effectiveness. Instead of hiring professional contractors or replacing the entire flooring system, these kits offer an affordable alternative. By investing in a high-quality repair kit, you can save a significant amount of money while still achieving impressive results.
2.2 Time-saving:
Another key benefit is that epoxy floor repair kits save you valuable time. Rather than waiting for contractors to schedule a visit and complete the repairs, you can take matters into your own hands. With clear instructions provided in the kit, you can quickly address any issues in no time at all.
2.3 Seamless Repairs:
Epoxy floor repair kits offer seamless repairs, ensuring that the fixed area blends seamlessly with the rest of the floor. This results in a uniform appearance without any visible patches or marks, enhancing the overall aesthetics of your space.
2.4 Long-lasting Results:
When properly applied, epoxy floor repair kits offer long-lasting results. The repaired areas become as strong and durable as the original surface, ensuring that your floor can withstand heavy traffic, chemical spills, and other potential damages for years to come.
Section 3: How to Use an Epoxy Floor Repair Kit:
3.1 Surface Preparation:
Before beginning the repair process, it is crucial to prepare the surface properly. Start by cleaning the damaged area thoroughly using a mild detergent and water solution. Remove any loose debris or dirt using a brush or vacuum cleaner. Once cleaned, rinse the area with clean water and allow it to dry completely.
3.2 Mixing the Epoxy Resin:
Most epoxy floor repair kits consist of two components – epoxy resin and hardener. Follow the instructions provided in your kit to determine the appropriate mixing ratio for these components. In a clean container, combine the resin and hardener, stirring them together thoroughly until they form a homogenous mixture.
3.3 Applying the Epoxy Resin:
Using a putty knife or trowel, apply a thin layer of mixed epoxy resin onto the damaged area. Ensure that you spread it evenly, covering all cracks or chips completely. For larger repairs, you may need to apply multiple layers, allowing each layer to cure Before applying the next one. Smooth out the surface using a trowel or roller to achieve a seamless finish.
3.4 Curing Time:
Allow the epoxy resin to cure according to the instructions provided in your kit. This typically involves leaving the repaired area untouched for a specific period of time, allowing the resin to harden and bond with the existing floor surface.
3.5 Finishing Touches:
Once the epoxy resin has fully cured, you can apply any necessary finishing touches. This may include sanding down any rough edges or imperfections and applying a topcoat or sealant for added protection and durability.
Section 4: Maintenance Tips for Epoxy Floor Repairs:
4.1 Regular Cleaning:
To maintain the appearance and longevity of your repaired epoxy floor, it is important to regularly clean it. Use a gentle cleaning solution and a soft mop or cloth to remove dirt, dust, and stains. Avoid using harsh chemicals or abrasive cleaners that can damage the epoxy surface.
4.2 Prompt Repairs:
If you notice any new damages or issues on your epoxy floor, it is essential to address them promptly. Small repairs can prevent further damage and extend the lifespan of your flooring system.
4.3 Protective Measures:
To protect your repaired epoxy floor from potential damages, consider implementing protective measures. This may include placing mats or rugs in high-traffic areas, using furniture pads or coasters to prevent scratches, and avoiding dragging heavy objects across the floor.
Conclusion:
Using an epoxy floor repair kit can be a cost-effective and time-saving solution for fixing damages on your flooring system. By following the proper steps and maintenance tips, you can achieve seamless repairs and enjoy long-lasting results. Epoxy floor repair kits are a convenient solution for fixing damages on your flooring system. By following the instructions provided in your kit and following some maintenance tips, you can achieve seamless repairs and enjoy long-lasting results.
Here is a step-by-step guide on how to use an epoxy floor repair kit:
1. Mixing the components: Follow the instructions provided in your kit to determine the appropriate mixing ratio for the resin and hardener components. In a clean container, combine the resin and hardener, stirring them together thoroughly until they form a homogeneous mixture.
2. Applying the epoxy resin: Using a putty knife or trowel, apply a thin layer of the mixed epoxy resin onto the damaged area. Ensure that you spread it evenly, covering all cracks or chips completely. For larger repairs, you may need to apply multiple layers, allowing each layer to cure before applying the next one. Smooth out the surface using a trowel or roller to achieve a seamless finish.
3. Curing time: Allow the epoxy resin to cure according to the instructions provided in your kit. This typically involves leaving the repaired area untouched for a specific period of time, allowing the resin to harden and bond with the existing floor surface.
4. Finishing touches: Once the epoxy resin has fully cured, you can apply any necessary finishing touches. This may include sanding down any rough edges or imperfections and applying a topcoat or sealant for added protection and durability.
To maintain the appearance and longevity of your repaired epoxy floor, here are some maintenance tips:
1. Regular cleaning: To keep your repaired epoxy floor looking its best, regularly clean it using a gentle cleaning solution and a soft mop or cloth. Avoid using harsh chemicals or abrasive cleaners that can damage the epoxy surface.
2. Prompt repairs: If you notice any new damages or issues on your epoxy floor, address them promptly. Small repairs can prevent further damage and extend the lifespan of your flooring system.
3. Protective measures: Implement protective measures to prevent potential damages to your repaired epoxy floor. This can include placing mats or rugs in high-traffic areas, using furniture pads or coasters to prevent scratches, and avoiding dragging heavy objects across the floor.
By following these steps and maintenance tips, you can effectively use an epoxy floor repair kit and ensure the longevity of your repaired flooring system.