Wooden flooring is going to be a good choice in case the kitchen has cork cabinets, plus it can accentuate ceiling and walls with colors that are dark also the lighting. From my off-work opinion, you are able to choose to have laminate flooring for your kitchen. Revamp your kitchen's floor and yes it can very easily become one of the highlights of the overall home.
Here are Images about DIY Ceramic Tile Kitchen Floor
DIY Ceramic Tile Kitchen Floor
Renovating the home of yours is often a costly affair and around four % of the entire spending budget on the average will be used up by the cost of flooring materials. The very best layer of the floor is moisture-resistant. The kitchen floor continues to be one of most used parts of any house. Take note of the budget of yours for the kitchen floor and you are able to narrow down the search of yours for kitchen floor tiles.
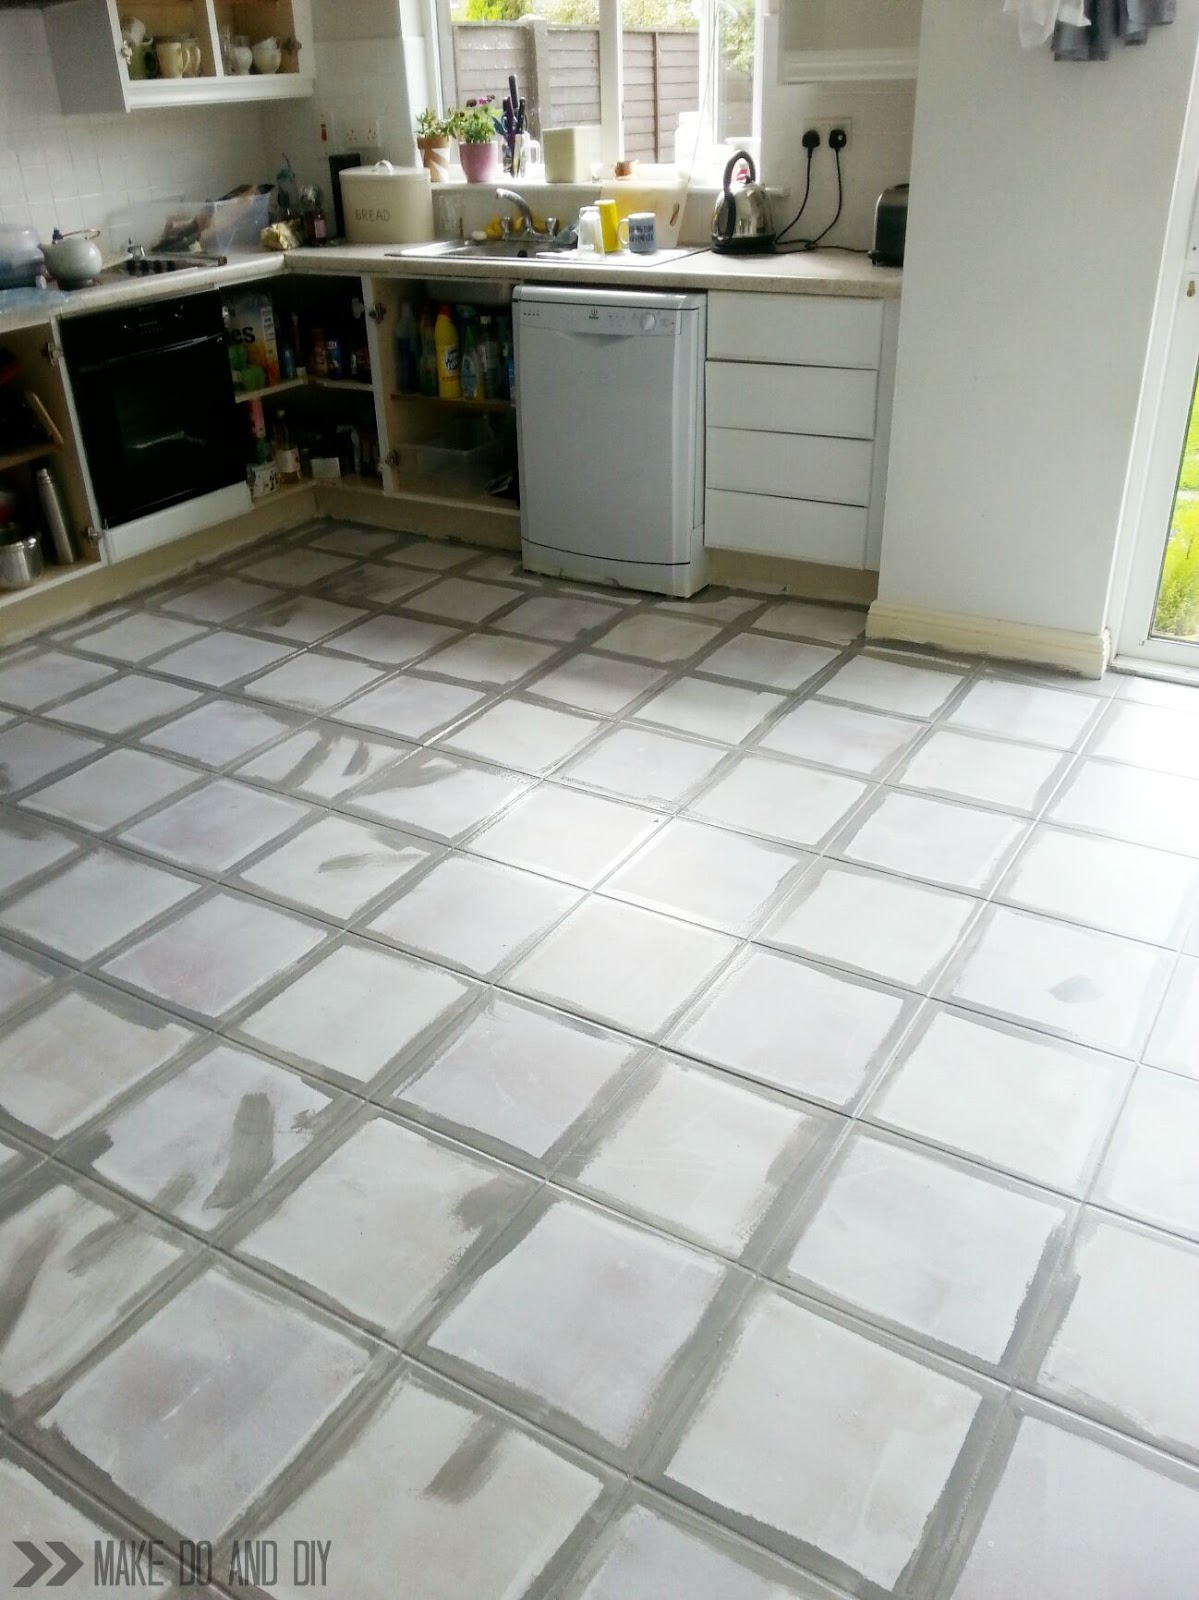
painted tile floor-no really! ~ Make Do and DIY
Even with the very best type of sealant when you allow water to sit along with your wooden floors it is going to hurt them so I always suggest a mat where water is a possible problem along with making certain that any fluid spill is wiped up straight away. They include bar stools by sitting on and everyone can talk and enjoy the cooking experience together.
Images Related to DIY Ceramic Tile Kitchen Floor
Kitchen Flooring Materials and Ideas – This Old House
/cdn.vox-cdn.com/uploads/chorus_image/image/66592835/May_June2019_sleek_pulls.0.jpg)
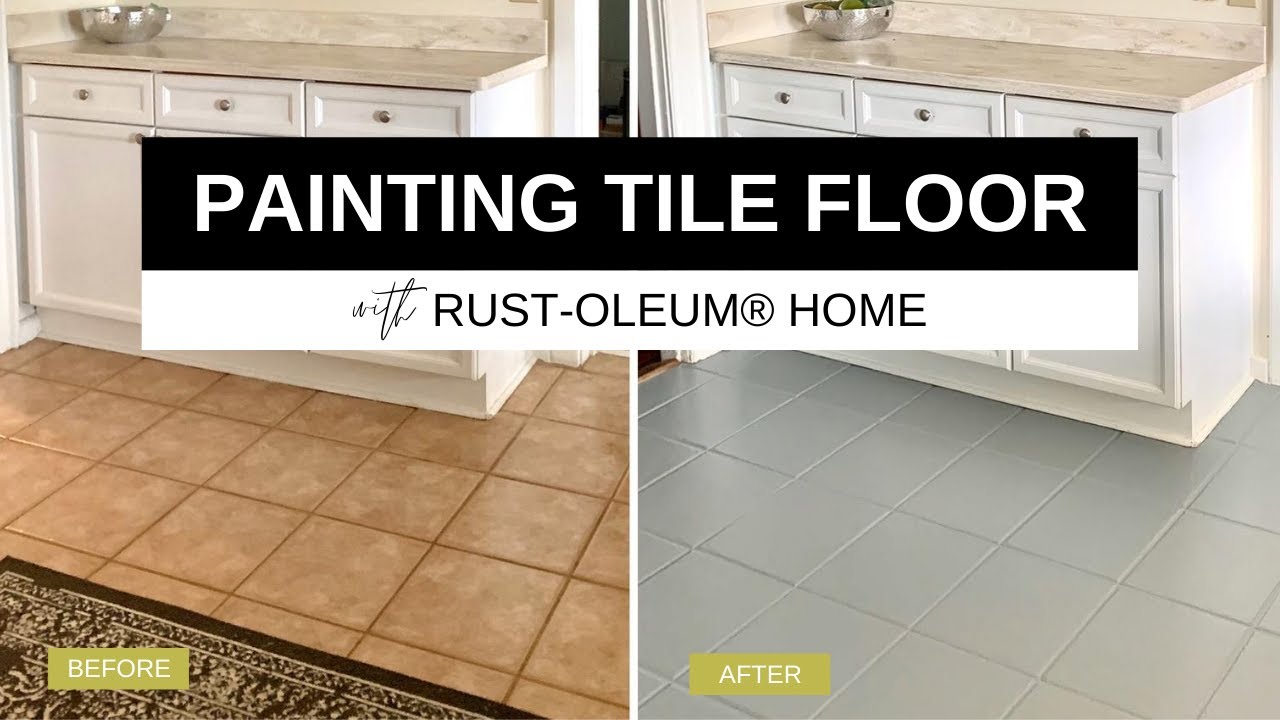
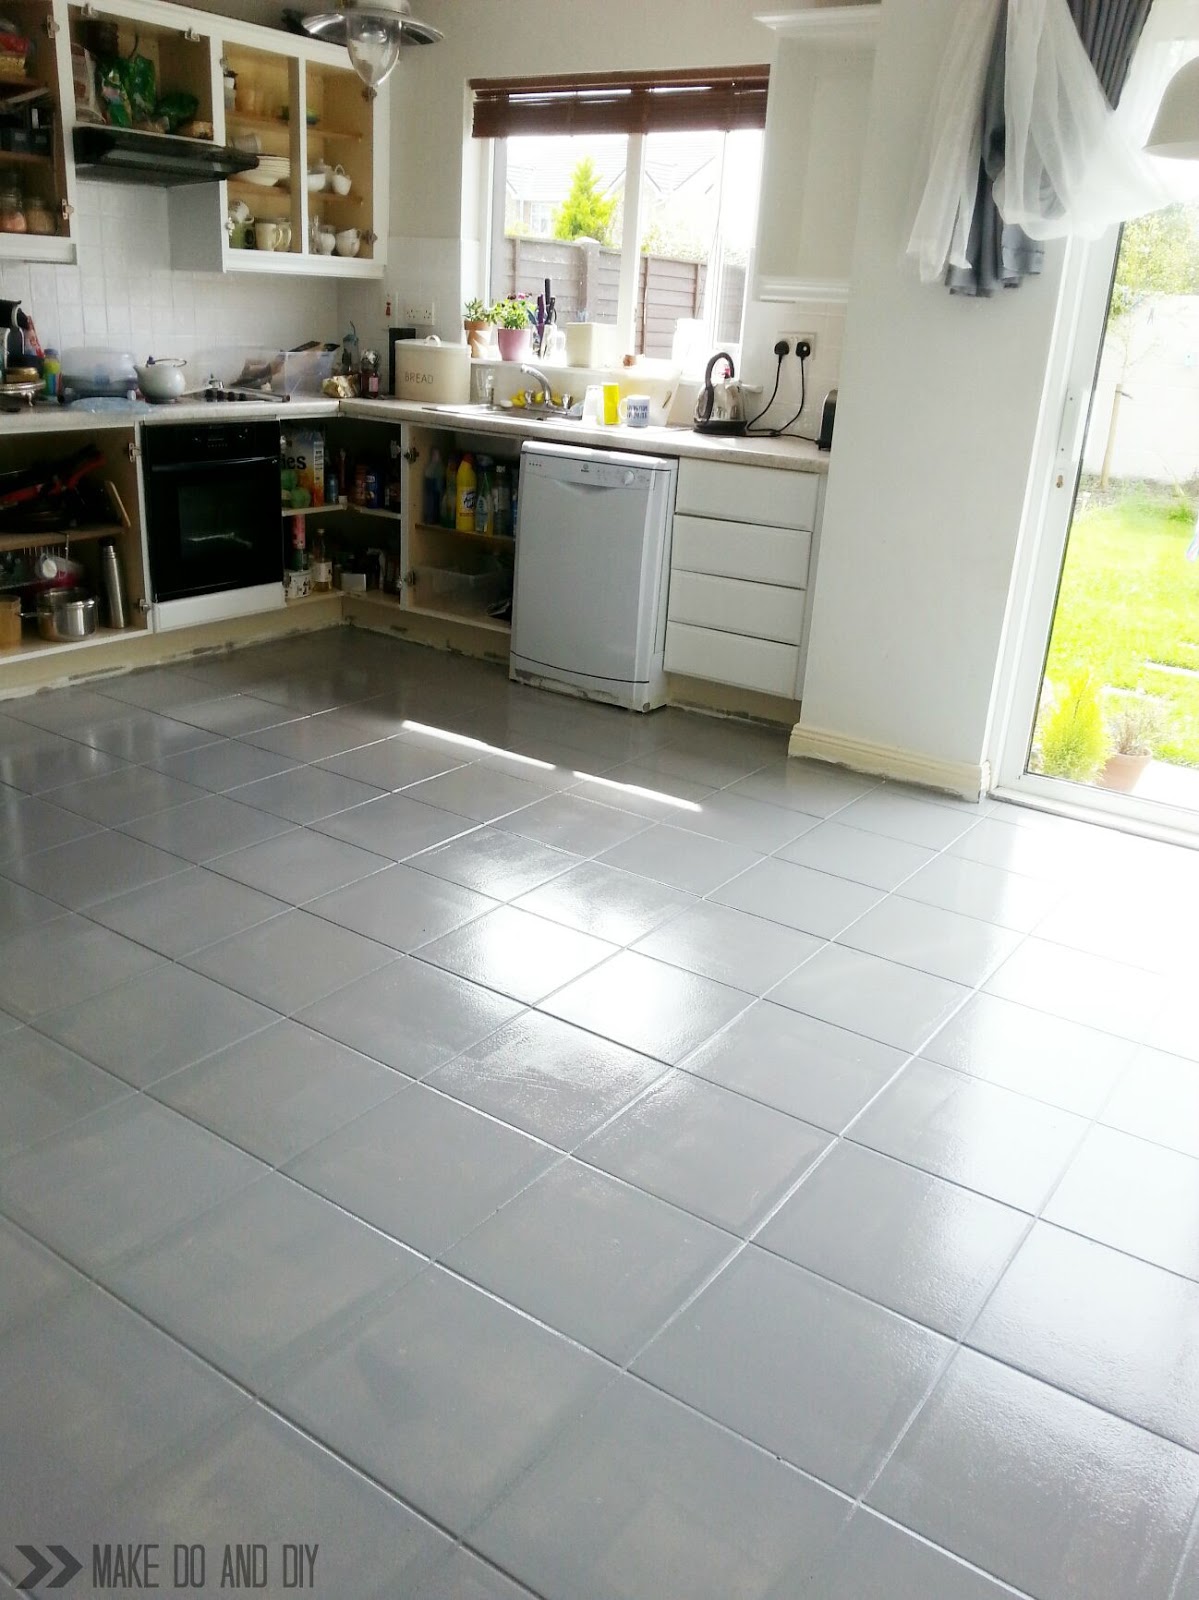
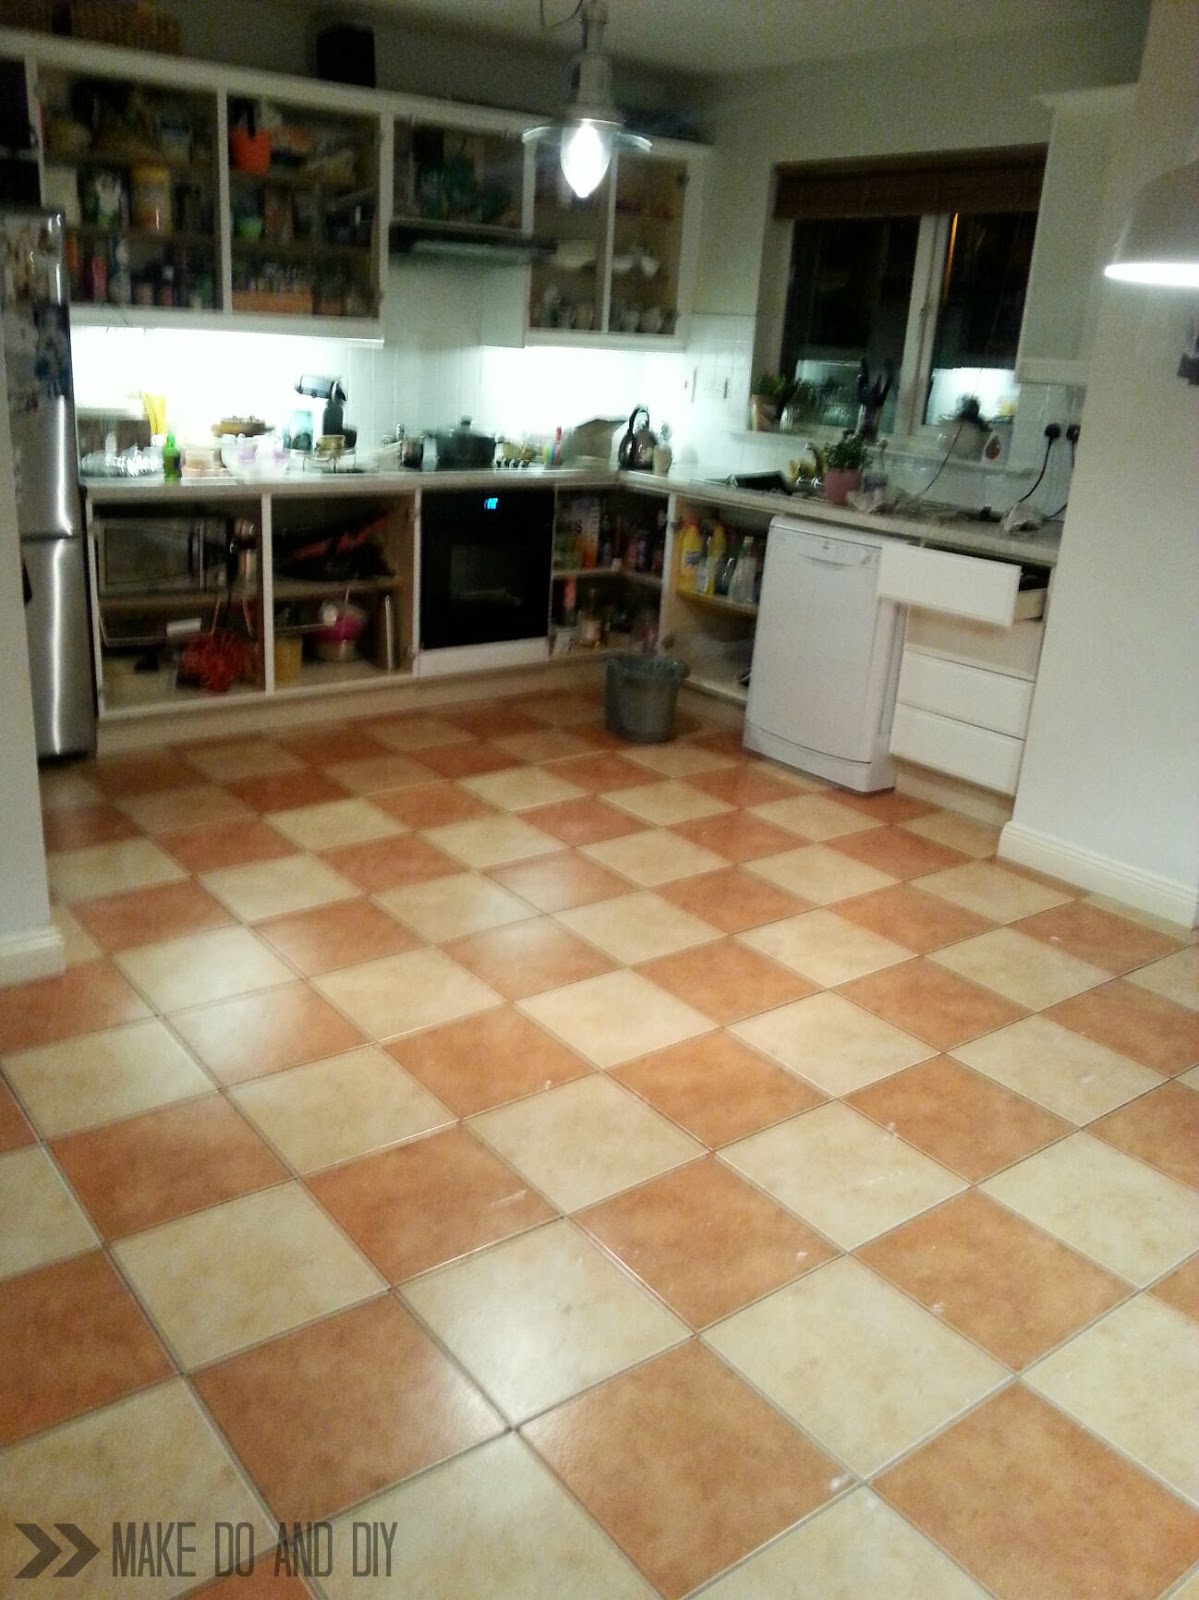
Painting my (ugly) kitchen tile floor with Rust-Oleum RockSolid Home Floor paint tutorial
How to Update Tile Without Removing It {Peel and Stick Floor Tiles}
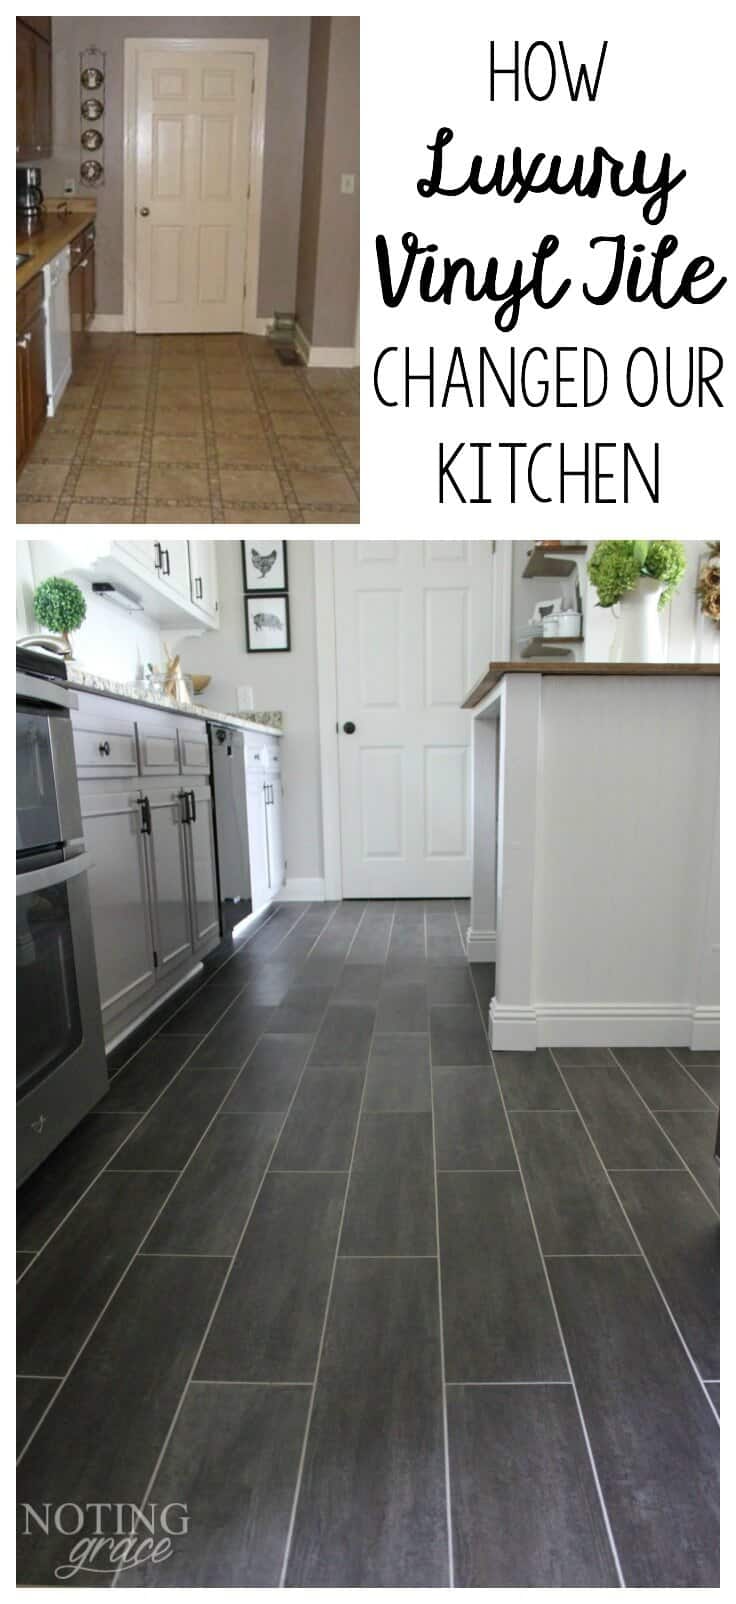
DIY Flooring: How We Changed our Kitchen in 3 days for Less than
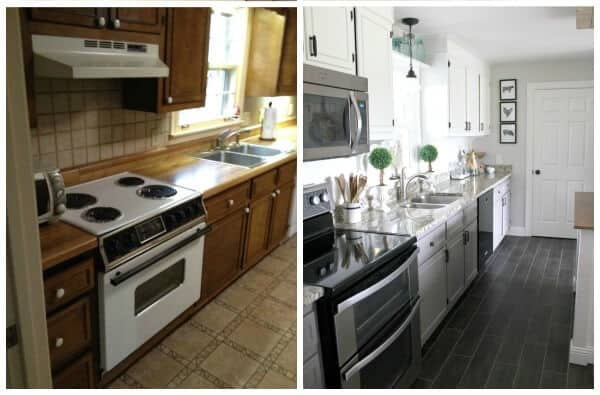
painted tile floor-no really! ~ Make Do and DIY
LVT Flooring Over Existing Tile the Easy Way – Vinyl Floor

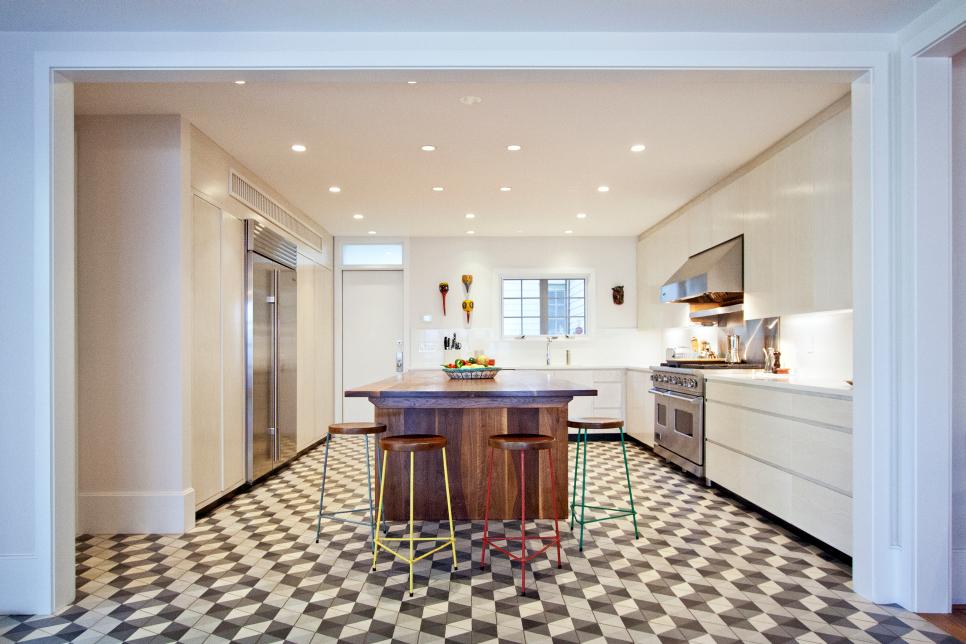
23 Tile Kitchen Floors Tile Flooring for Kitchens HGTV

23 Tile Kitchen Floors Tile Flooring for Kitchens HGTV
How to Tile a Kitchen Floor Part 2 The Home Depot

painted tile floor-no really! ~ Make Do and DIY
How to Paint a Faux Tile Floor Tile floor diy, Painted kitchen

How to Wax Ceramic Tiles to Restore their Beauty

Related articles:
- Stained Concrete Basement Floor
- Finishing Basement Floor
- Refinish Concrete Basement Floor
- Best Flooring For Basement
- Basement Gym Flooring Ideas
- Laminate Flooring In Basement
- Basement Concrete Floor Sweating
- Basement Floor Finishing Ideas
- Painting Unfinished Basement Floor
- Unique Basement Flooring
Are you looking to freshen up your kitchen with a new ceramic tile floor? Installing a ceramic tile kitchen floor is a great way to give your home an updated and stylish look. With the right instructions and materials, you can easily do this as a DIY project. Let’s take a look at the step-by-step guide to installing your own ceramic tile kitchen floor.
Preparation
Before you begin laying down tiles, there are some preparations that you must complete. First, you will need to remove any existing flooring and make sure that the subfloor is level and free of debris. If the subfloor is uneven, you’ll need to use concrete or leveling compound to even it out. Next, lay down a cement board underlayment, which will provide a more stable surface for your tiles to adhere to. This should be done in sections, with each section being secured with screws.
Layout and Measurement
Once the underlayment is in place, you can move on to laying out the tiles. Start by measuring the length and width of your room, then divide that number by the size of the tiles you’re using. This will give you an estimate of how many tiles you’ll need for your project. When laying out the tiles, make sure that there is a 1/8 inch gap between each tile to allow for expansion and contraction due to temperature changes.
Mixing and Applying Thinset Mortar
The next step is to mix thinset mortar according to the manufacturer’s instructions and apply it to the subfloor using a notched trowel. Apply it in small sections at a time, as it will dry quickly. Once applied, press each tile into the thinset mortar firmly. Make sure that each tile is level with the adjacent tiles and use spacers if necessary. Allow the thinset mortar to dry before moving on to grouting.
Grouting
Once all of your tiles are in place, it’s time to grout them. Start by mixing your grout according to the manufacturer’s instructions and apply it with a rubber float, making sure to press it firmly into all of the joints between the tiles. Then use a damp sponge to wipe off any excess grout from the surface of the tiles. Once finished, allow the grout to dry for 24 hours before walking on it.
Finishing Touches
Once your grout has dried completely, you can seal it with a sealant or grout sealer recommended by your local hardware store. This will help prevent staining and help keep your kitchen floor looking like new for years to come! Finally, apply some baseboard trim around the edges of the tile for a finished look.
FAQs About Installing Ceramic Tile Kitchen Floors
Q: How long does it take to install ceramic tile?
A: It typically takes about one day per 100 square feet of flooring space to install ceramic tile in a kitchen.
Q: What tools do I need?
A: You’ll need basic tools such as an electric drill or screwdriver, measuring tape, utility knife, notched trowel, level, rubber float, grout sealer, and spacers.
Q: Do I need to hire a professional?
A: You can certainly hire a professional if you want help with installation or just want peace of mind that everything was done correctly. However, if you have some experience with DIY projects and have all of the necessary tools and materials on hand, then installing ceramic tile in your kitchen is definitely doable as a DIY project.