Polyurea is significantly stronger than an epoxy floor covering (about four times longer lasting), and is versatile, making it even more natural and comfy. Selecting basement flooring for the home of yours might be tricky as you negotiate around factors like moisture problems and a lot of different flooring choices. A drain will rid you of any sort of excess water and can help to protect against flooding.
Here are Images about DIY Basement Floor Epoxy
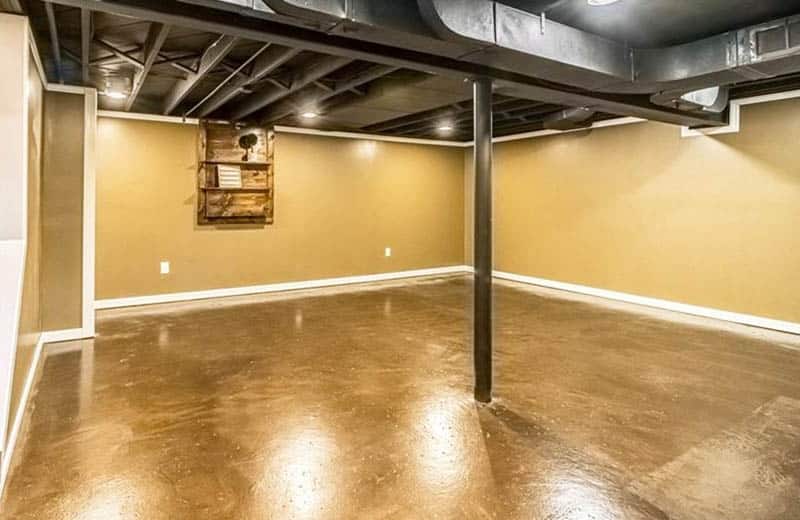
DIY Basement Floor Epoxy
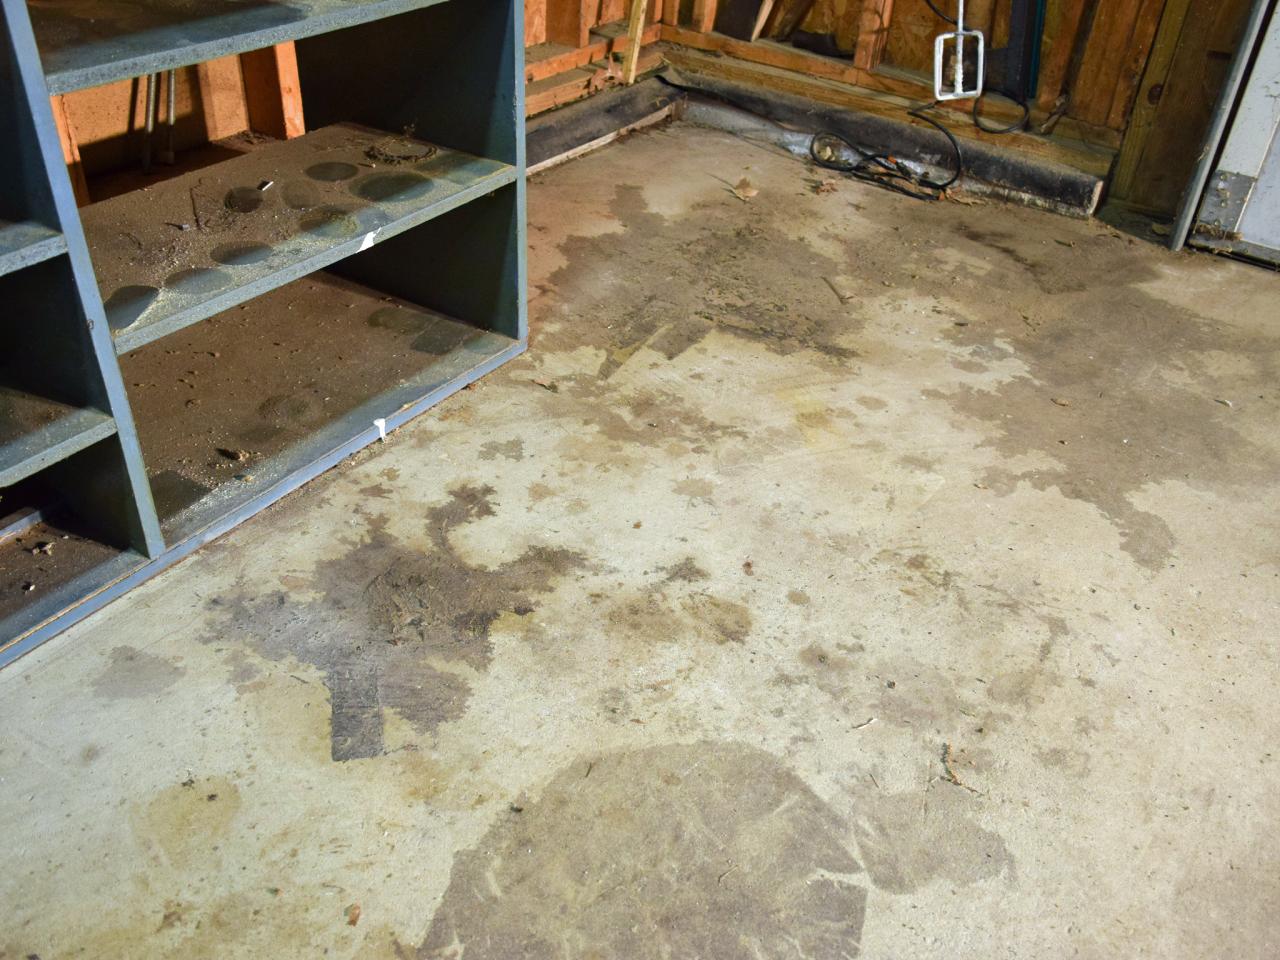
You should correct them right away to avoid additional harm and prevent mildew or mold from growing. Whatever the specific plans for the cellar of yours goes on to be, there is a plethora of flooring choices available for purchase on the market nowadays. As any prroperty owner will tell you, there's not any other challenging area of the home to put in flooring than the basement.
Basement Floor Epoxy Coating Ana White
As you can see, you have numerous diverse options when it comes to choosing, fixing or replacing your basement flooring. When you are planning on renovating your basement, one of the most significant things you need to consider is your basement flooring. When some individuals first take on the latest job such as finishing a downstairs room, they realize right away what the end result is likely to be.
Images Related to DIY Basement Floor Epoxy
Basement Floor Epoxy Coating Ana White
Do-It-Yourself Epoxy Floor Coating
Tips For An Easier Do-It-Yourself Epoxy Garage or Basement

Easy Do-It-Yourself Epoxy Flooring Installation Guide We Are Extreme
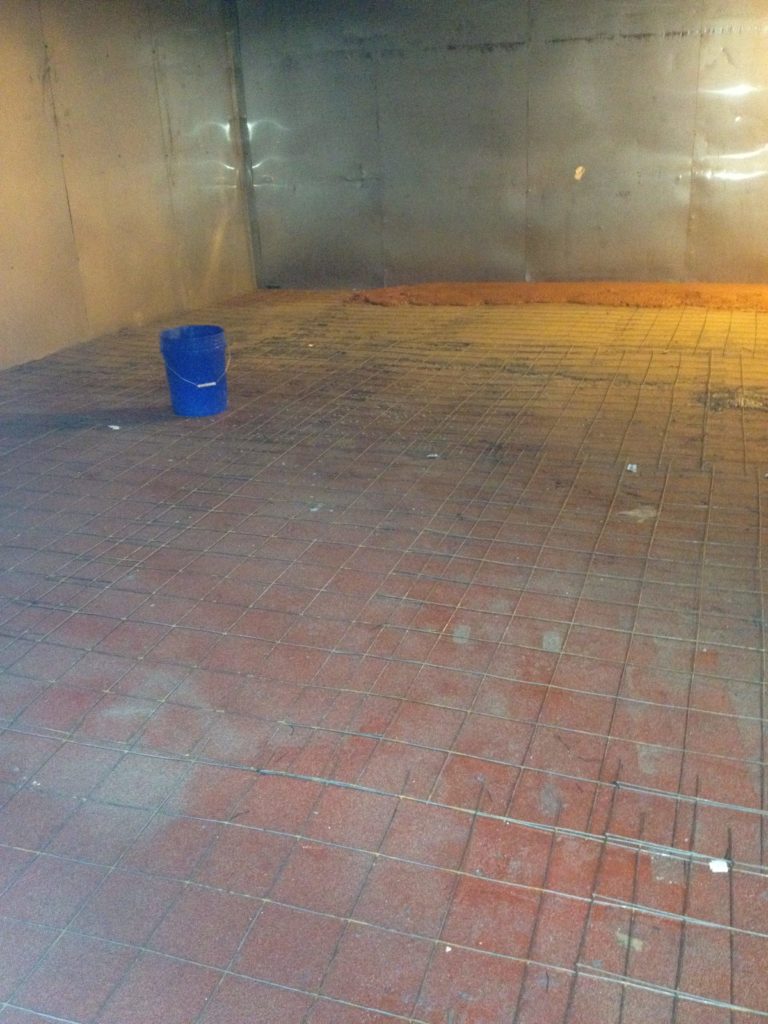
Epoxy Floor Installation Over Old Concrete
Epoxy basement floor: Buy best DIY kit with Free Shipping -2021

Epoxy Flooring Blog DIY VS Professional Epoxy Flooring
How to Resurface a Garage Floor HGTV
Epoxy Floor (Ultimate Design Guide) – Designing Idea
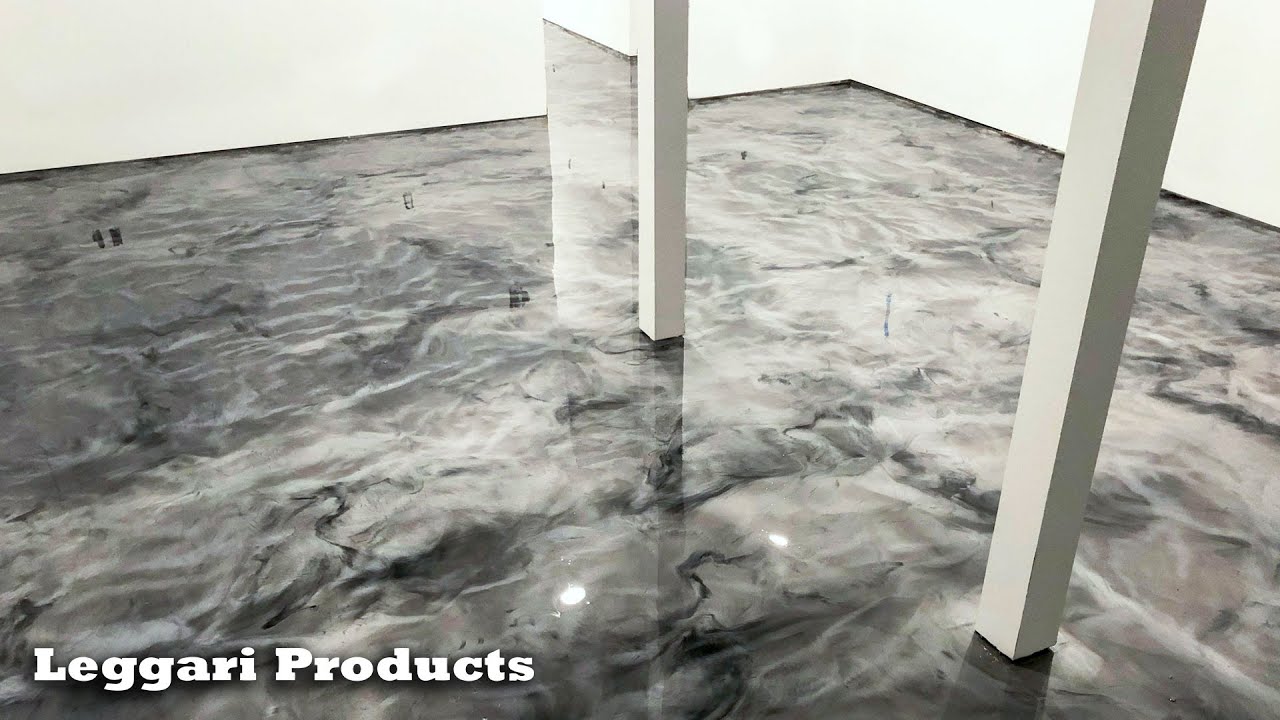
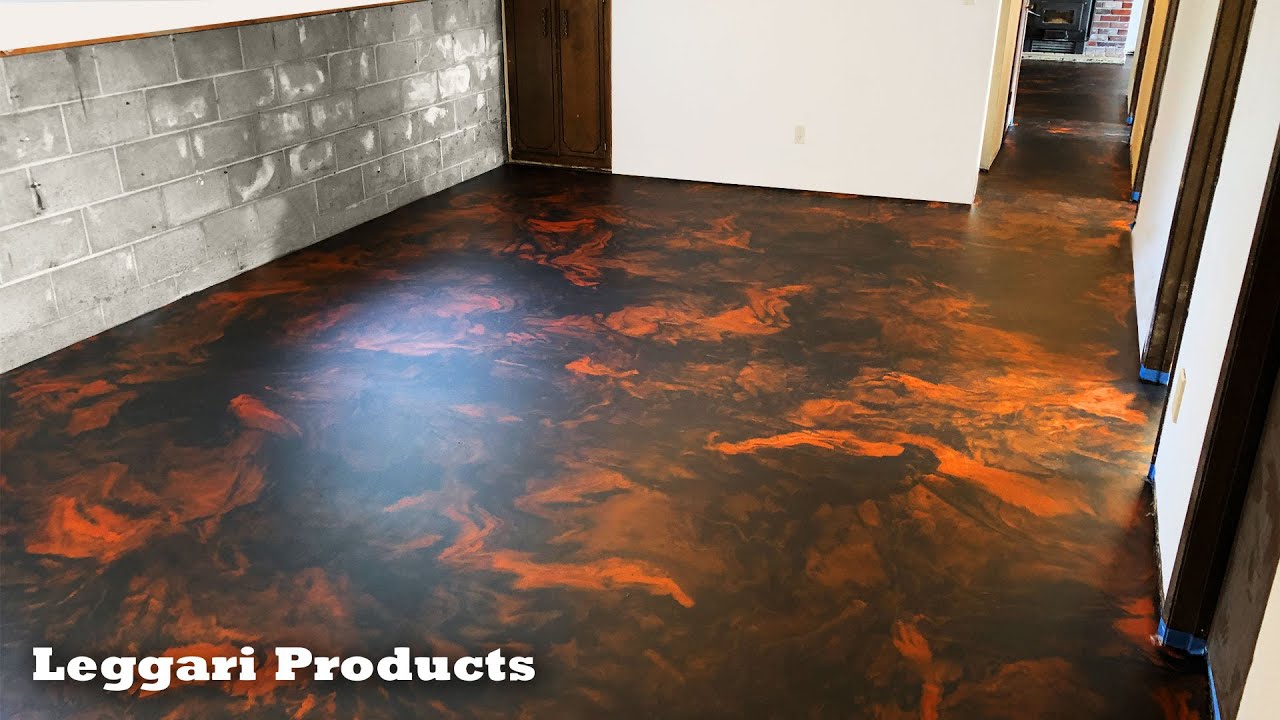
DIY: Homeowner Installs Designer Metallic Epoxy Floor Coating
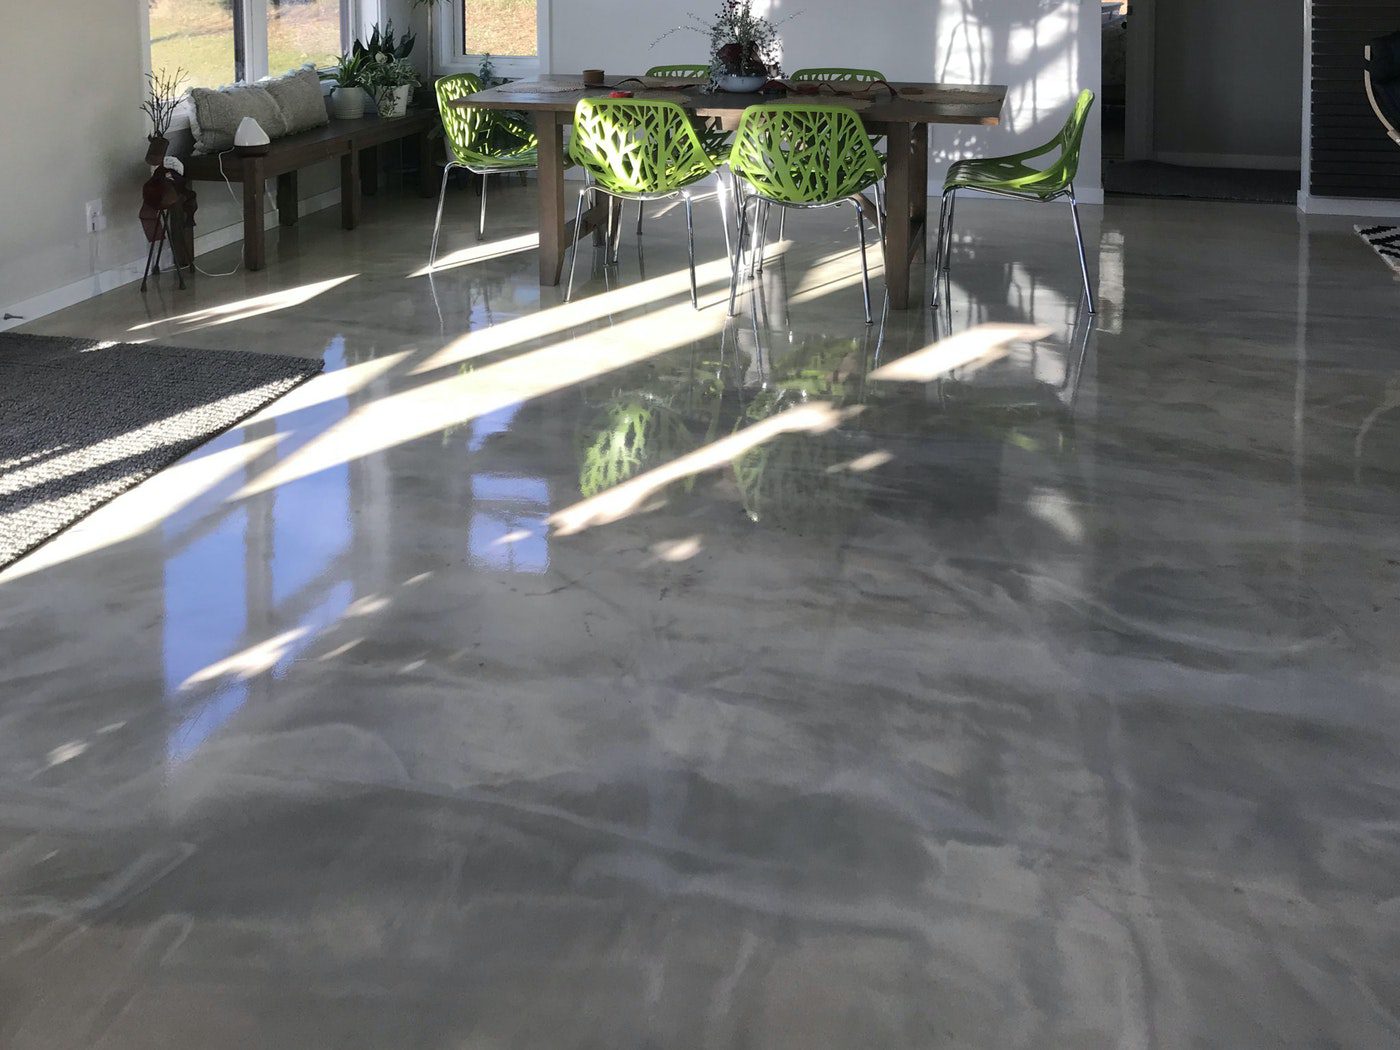
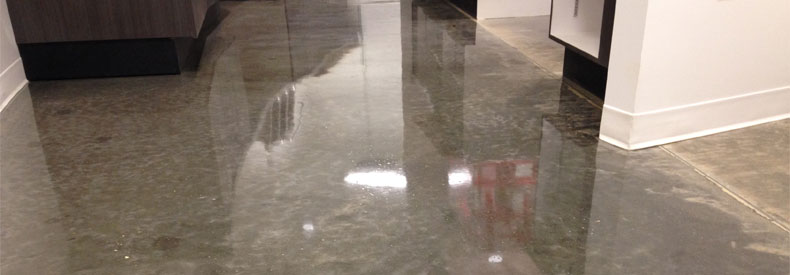
Designer epoxy basement floor in Manassas, VA. #reflector

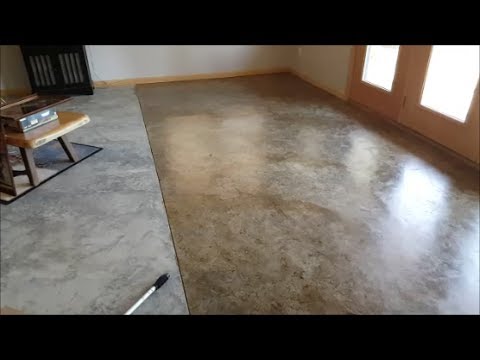
DIY Basement Floor Stain and finish, 2 colors, Without Etching!
Related articles:
- Stained Concrete Basement Floor
- Finishing Basement Floor
- Refinish Concrete Basement Floor
- Best Flooring For Basement
- Basement Gym Flooring Ideas
- Laminate Flooring In Basement
- Basement Concrete Floor Sweating
- Basement Floor Finishing Ideas
- Painting Unfinished Basement Floor
- Unique Basement Flooring
Are you looking to spruce up your basement with a durable and stylish floor? If so, epoxy flooring is a great option for your next DIY project. Epoxy flooring is an attractive, long-lasting solution for basements that can withstand any amount of foot traffic. With the right supplies and a bit of elbow grease, you can make your basement look fantastic with a DIY basement floor epoxy job.
In this guide, we’ll cover all the steps and materials needed to get the job done correctly. You’ll be amazed at how easy it is to transform your basement into something special!
What Is Epoxy Flooring?
Epoxy flooring is a type of coating made from a combination of polymers and resins. It creates a strong bond when applied to concrete surfaces, resulting in a durable and attractive finish that’s resistant to scratches and stains. It’s ideal for basement floors due to its toughness and water resistance.
What Supplies Do I Need?
Before you get started, make sure you have all of the necessary supplies on hand. Here’s a list of what you’ll need:
•Epoxy Kit – You can purchase an epoxy kit at any home improvement store. Make sure that you read the instructions carefully before beginning your project.
•Cleaner – Cleaners are used to prepare the surface for epoxy coating. Make sure you choose the right cleaner for your specific type of flooring.
•Paint Roller – A paint roller is used to spread the epoxy onto the floor in an even coat.
•Waterproof Sealant – A waterproof sealant will help protect your epoxy coating from water damage.
•Tape – To ensure a professional finish, use painters tape around the edges of the area before applying the epoxy.
•Drop Cloth – To avoid getting epoxy on any other surfaces in the room, be sure to lay down a drop cloth before you begin.
•Masking Tape – Masking tape is used to secure the drop cloth in place and keep it from slipping while you work.
•Safety Gear – Make sure you wear protective gloves, goggles, and a respirator when working with epoxy.
Once you have all of your supplies gathered up, you’re ready to begin your project!
How Do I Apply Epoxy Flooring?
Applying epoxy flooring isn’t as difficult as it may seem, but it does require some patience and attention to detail. Follow these steps for best results:
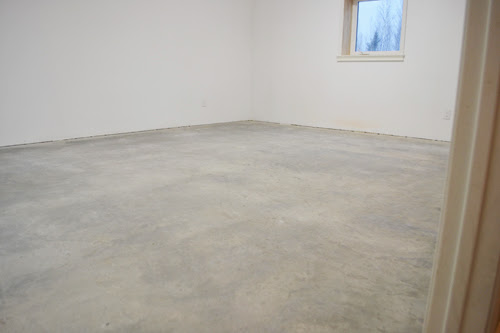
1. Clean the Floor – Start by thoroughly cleaning the surface of the floor with an appropriate cleaner and allow it to dry completely before continuing.
2. Prep the Area – Use painters tape to secure the drop cloth in place and mask off any areas that shouldn’t be covered with epoxy (e.g., walls).
3. Mix Your Epoxy – Follow the instructions on your epoxy kit carefully and mix according to directions. Make sure you stir thoroughly for best results!
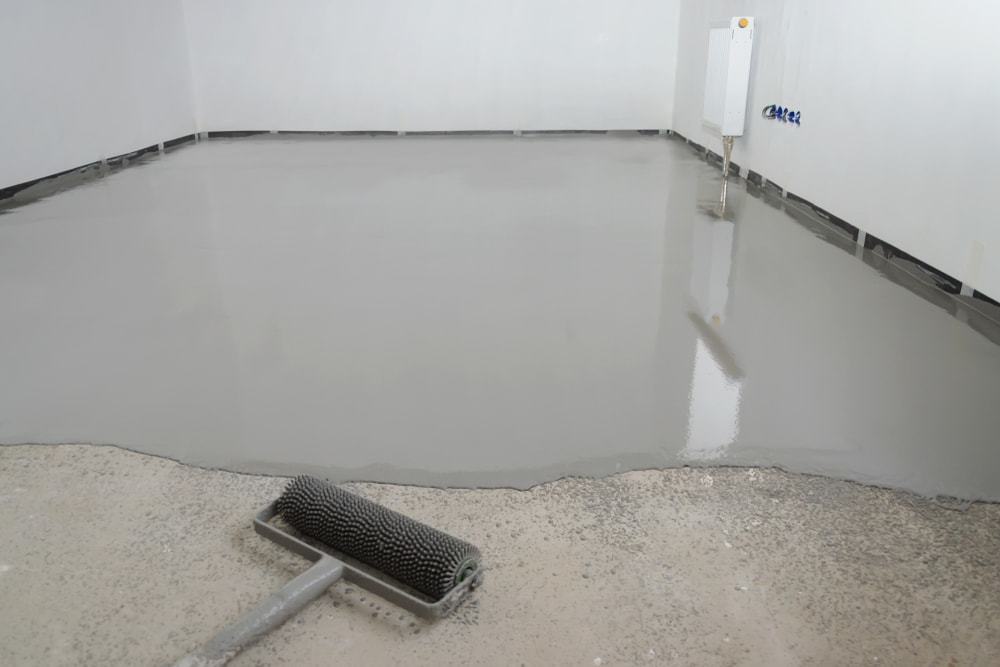
4. Apply Epoxy – Use a paint roller to apply a thin coat of epoxy over the entire surface of the floor. Allow it to dry completely before adding another coat (follow package directions for drying time).
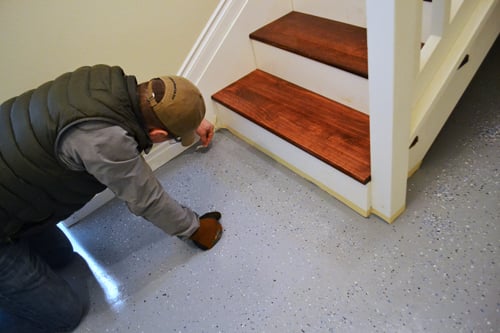
5. Add Finishing Touches – Once your epoxy has dried completely, add waterproof sealant around any edges or corners that may be prone to moisture or water damage. Allow this sealant to dry completely before putting furniture back in place or walking on your new epoxy floor!
And there you have it! With some patience and hard work, you can create an attractive and durable epoxy basement floor for a fraction of what it would cost to hire a professional!