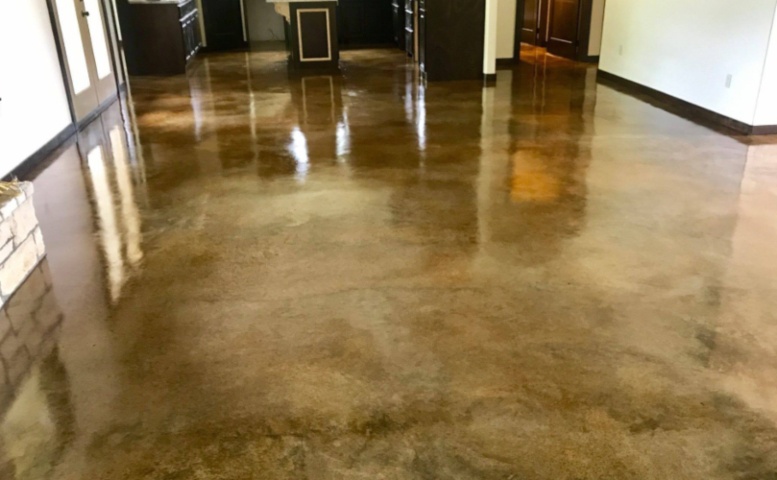
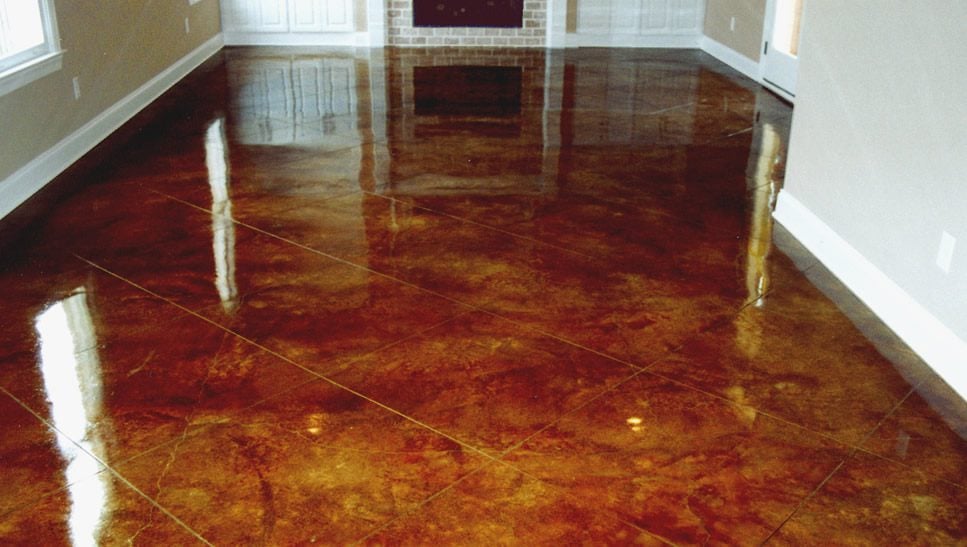
Properly sealed as well as maintained stained concrete will last for many years and seldom requires replacement. Concrete flooring is exceptional flooring that's designing a lasting impression on the quality of your life by boosting it holistically, not to mention the eco-friendly features. The glossy surface is then sealed to keep the look and boost the floor's longevity.
Here are Images about Decorative Concrete Floors DIY
Decorative Concrete Floors DIY
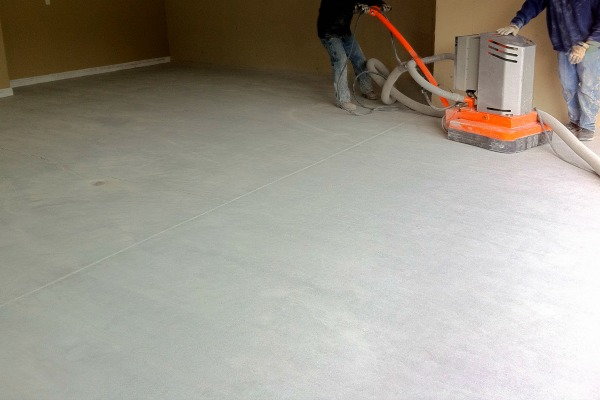
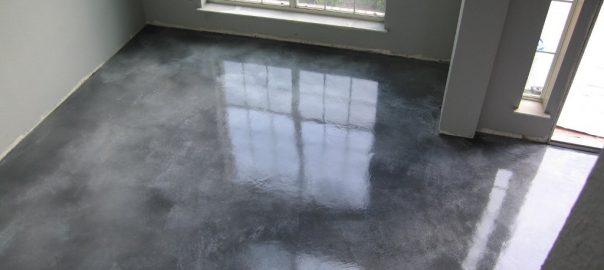
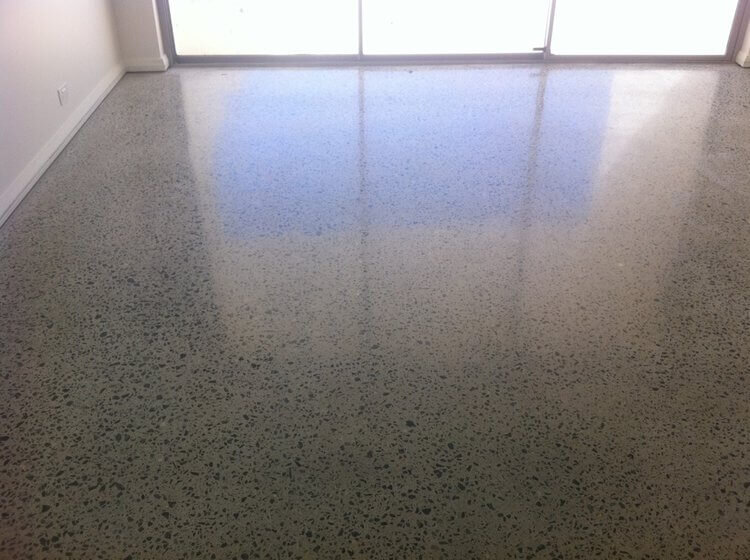
A polished concrete floor is achieved using sanding pads and a certain grinder that are used until the surface is smooth, glossy and attractive. The concrete polishing floors will be chosen in a range of color options, making it possible to very easily blend the floors to your new home design and style and complement the space with ease.
Stained Concrete Floors
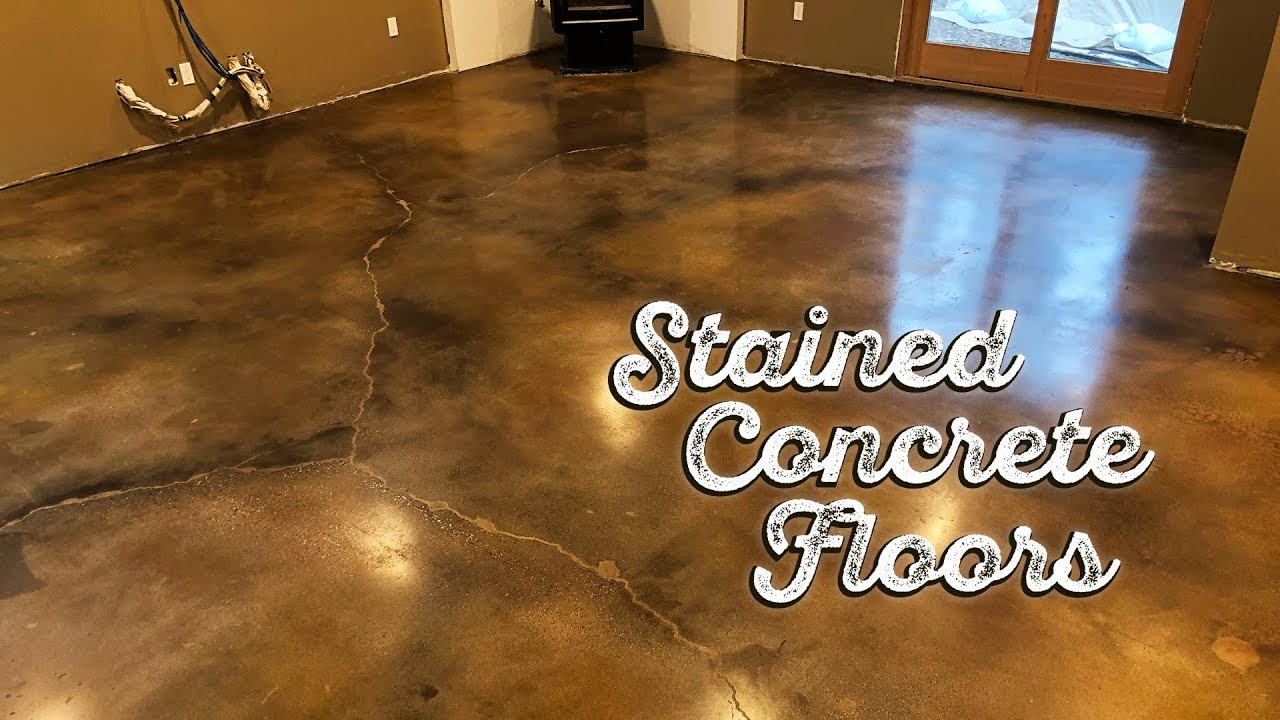
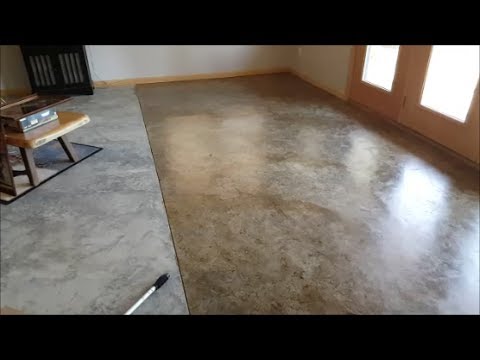
Stained concrete floors come in remarkable colors.
If you love colors, this's the right option for you. You can test out patterns on stained concrete floors. There are various organizations which deal in floors which are polished and they promote some extras including cleaning gear that can help one to manage their polished concrete floor rather sufficiently.
Images Related to Decorative Concrete Floors DIY
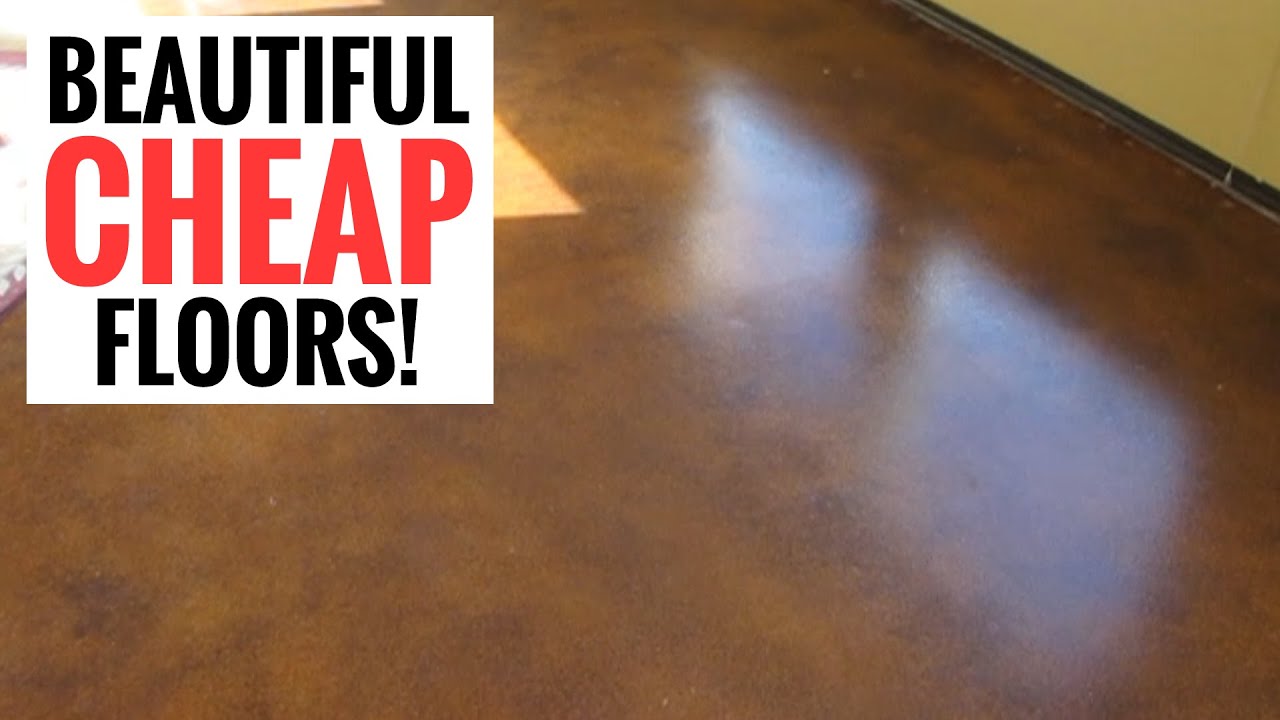
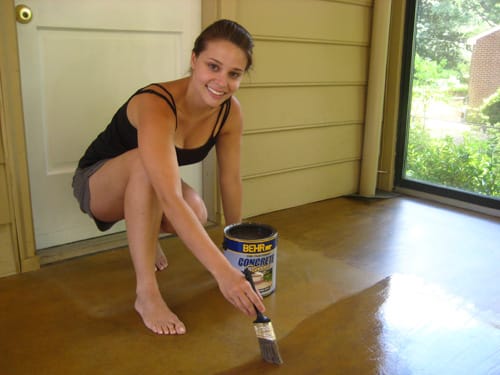
Amazingly cheap and stunningly beautiful floors – Easy DIY Stained Concrete
How Much Does it Cost to Stain Concrete Floors Yourself?
Stained Concrete Floors: Cost, How to Stain DIY, Maintenance Tips
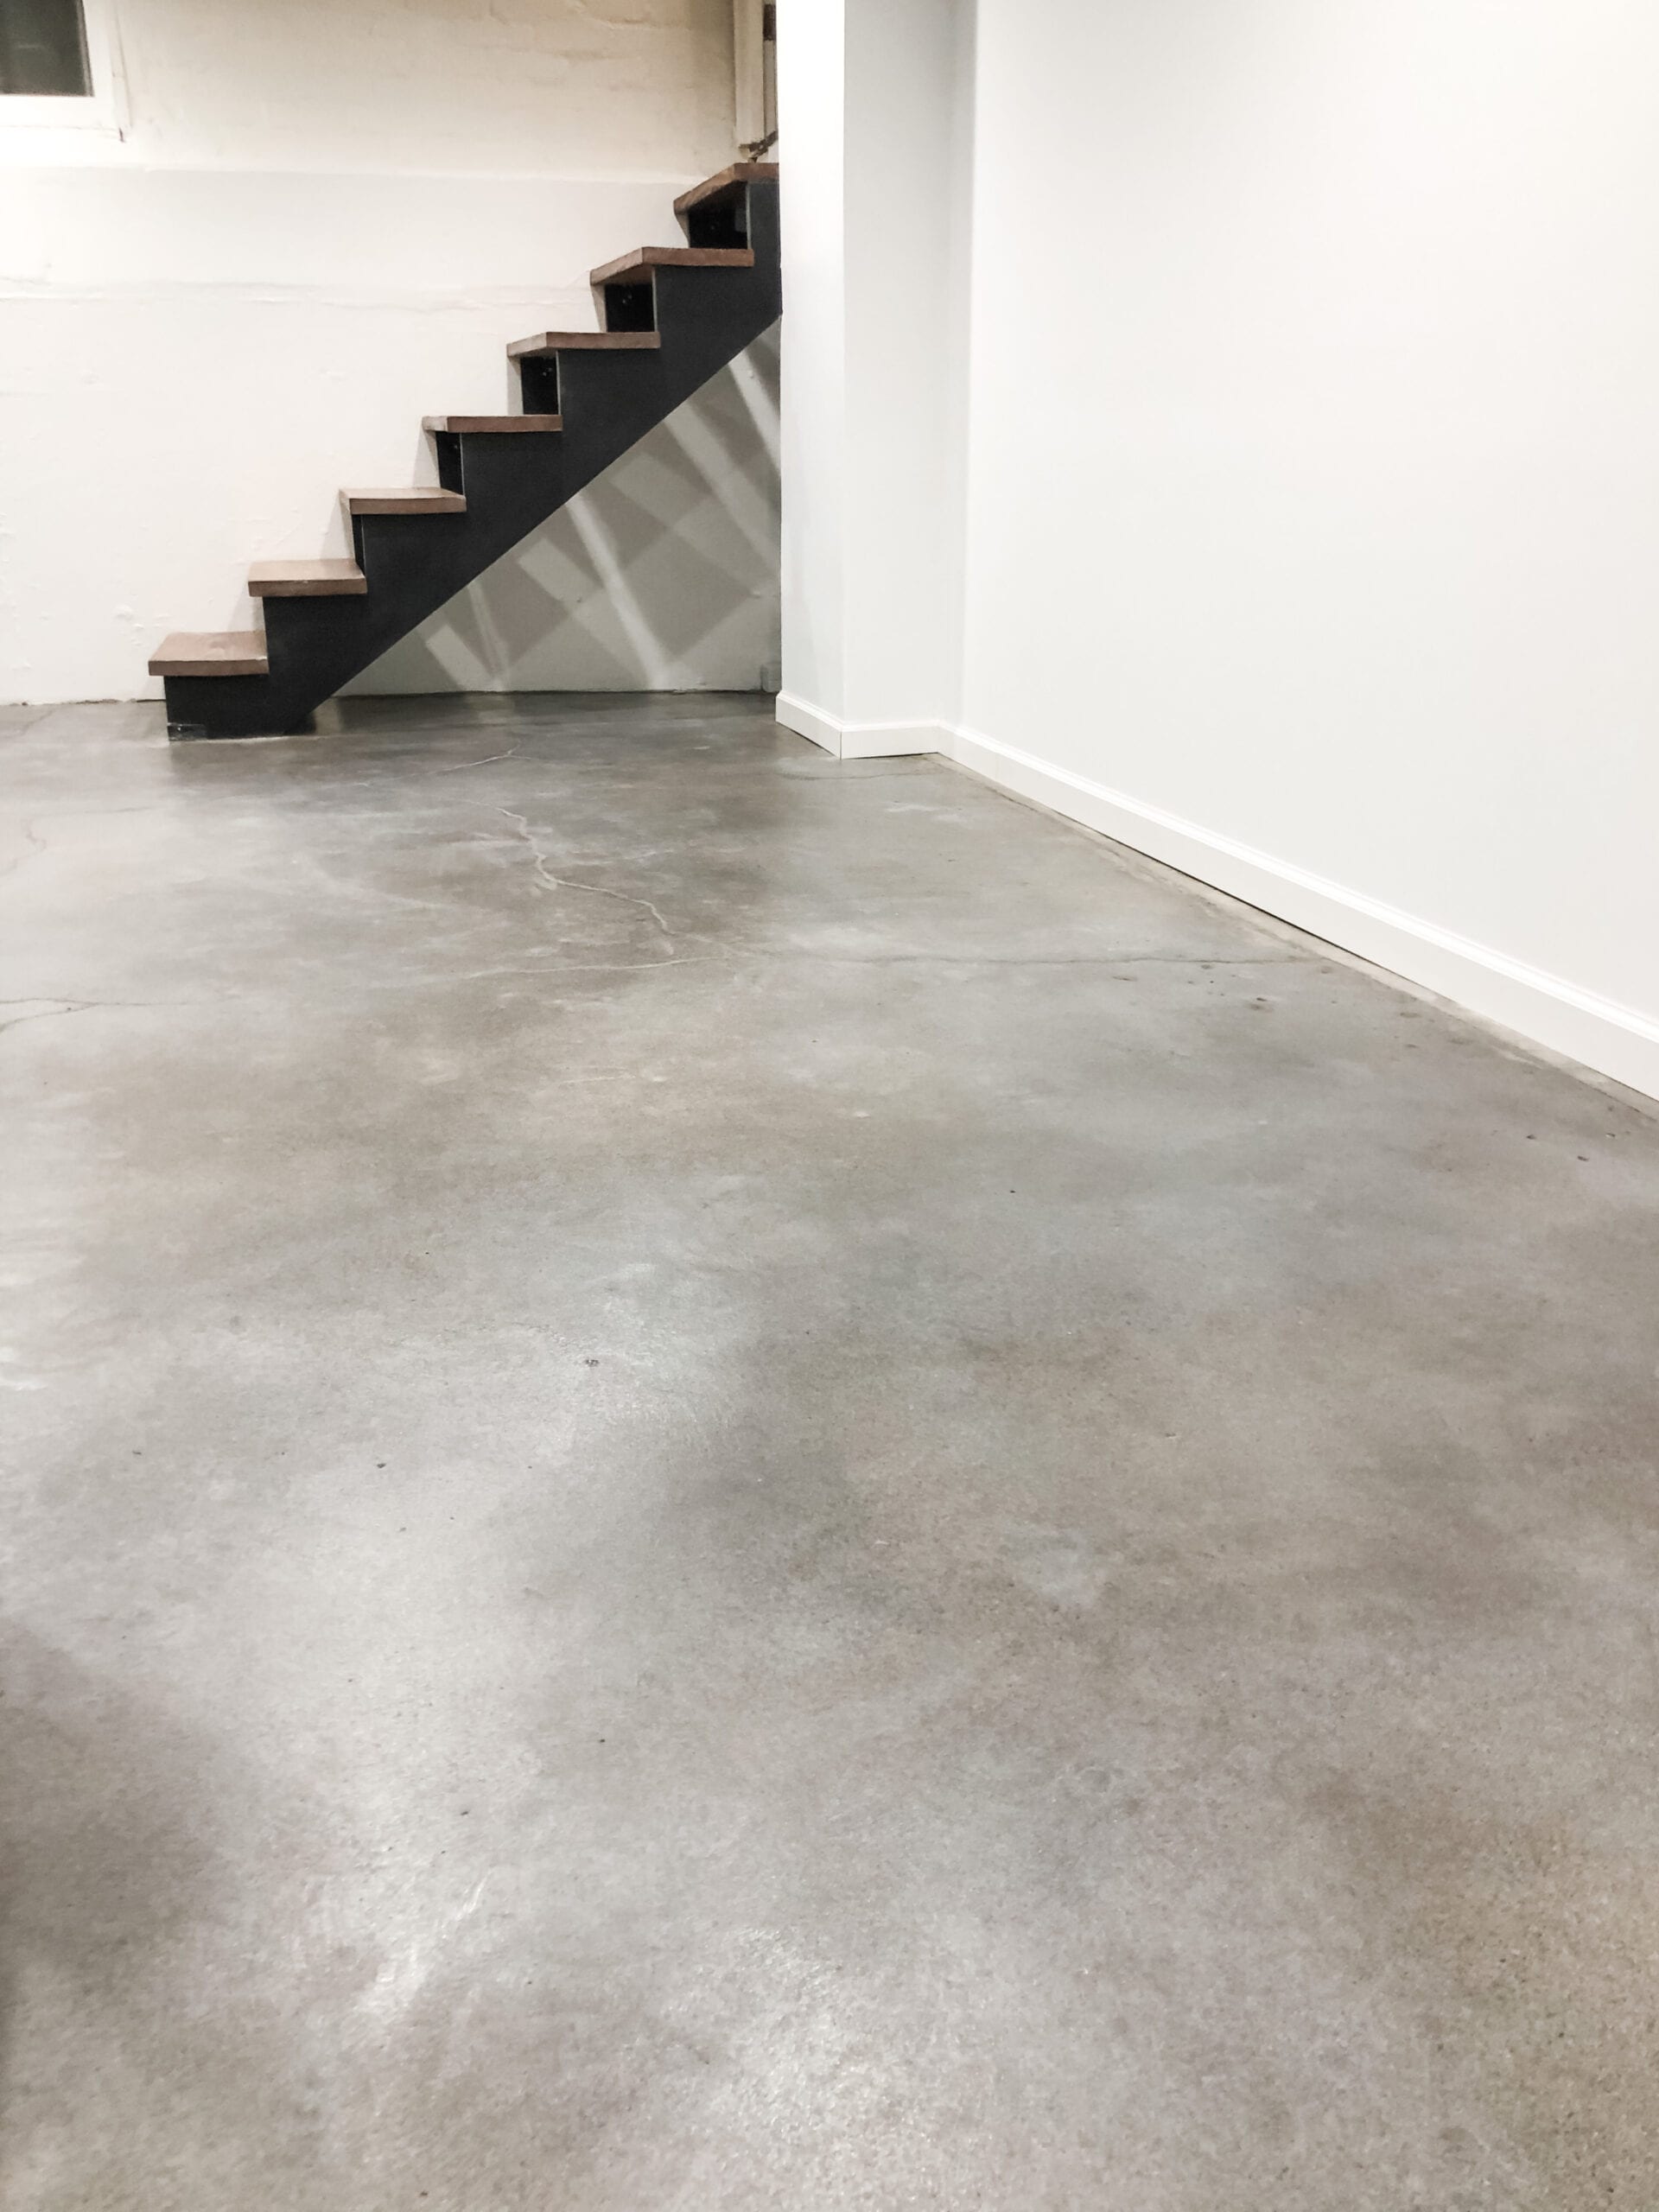
DIY Basement Floor Stain and finish, 2 colors, Without Etching!
How to Stain Concrete Floors – Full Step by Step Tutorial with Video
DIY Guide to Stained Concrete Floors Duraamen
Concrete Pour and Polishing Concrete Floors, Incl. Full Time Lapse – Machine Shop Build Ep. 13
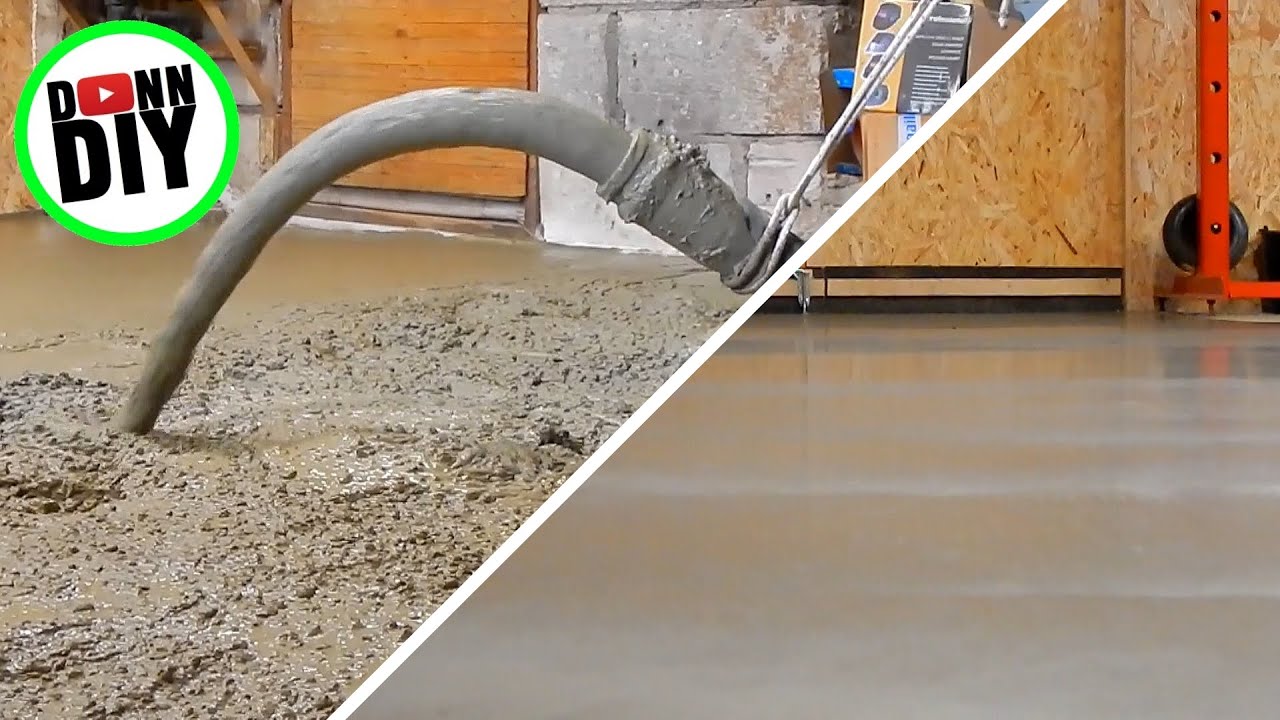
How to Polish Concrete Floors Concrete Densifier and Floor Sealer

How Do I Polish My Concrete Floor?
Stain Concrete Floors on a Budget – Direct Colors DIY Home
The Beginneru0027s Guide to DIY Stained Concrete, A Step by Step Tutorial

Staining A Concrete Floor Is Easy, Just Follow Our Step By Step
Related articles:
- Stained Concrete Floors Design
- Decorative Concrete Floors
- Acid Stained Concrete Floors
- Polished Concrete Floor In Bathroom
- Concrete Floor Stain And Polish
- White Mold On Concrete Floor
- Polished Concrete Floor
- Polished Concrete Floor Cleaning
- Staining Concrete Floors Indoors Yourself
- Flooring Options For Concrete Floors
Decorative concrete floors are becoming a popular choice for home and business owners who want to bring a unique, stylish look to their space. Not only do they offer a beautiful aesthetic, but they are also cost-effective and easy to install. With the right DIY steps, you can transform any ordinary concrete floor into a stunning work of art.
What is Decorative Concrete Flooring?
Decorative concrete flooring is an attractive and durable alternative to traditional flooring materials such as tile, wood, and carpet. It involves applying a variety of materials and techniques to create a unique pattern or design on the surface of an existing concrete slab. The end result is an eye-catching floor that looks like it was professionally installed.
Benefits of Decorative Concrete Floors DIY
Decorative concrete flooring offers a number of advantages when it comes to DIY projects. These include:
– Cost-effective: Decorative concrete floors are usually much cheaper than other flooring options, making them an attractive choice for budget-conscious homeowners.
– Versatility: With decorative concrete floors, you can create virtually any look you want in your home or office. From intricate patterns to bold colors, the possibilities are endless.
– Low maintenance: Unlike other flooring materials, decorative concrete floors require minimal upkeep and are easy to clean.
– Durability: Decorative concrete floors are extremely durable and can withstand heavy foot traffic.
How to Install Decorative Concrete Floors DIY
Installing decorative concrete floors is not a difficult task if you have the right tools and materials. Here are the steps involved in the process:
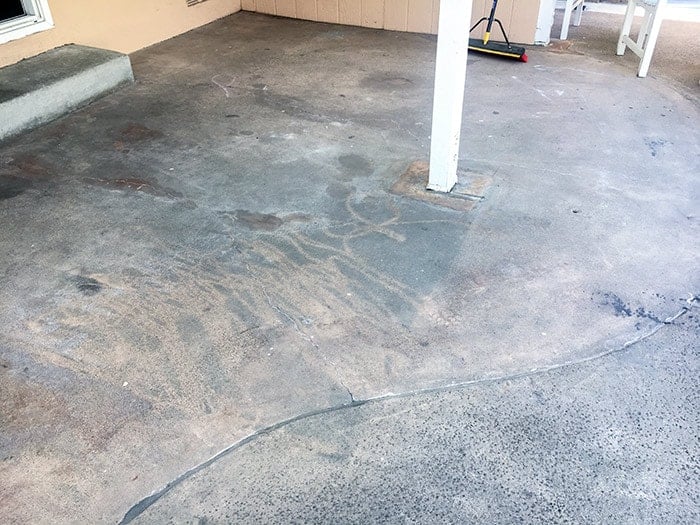
Step 1: Prepare the Area
The first step is to prepare the area by cleaning and repairing any cracks or uneven surfaces on the existing concrete slab. If necessary, you may need to seal the slab with a water-resistant sealer before proceeding.
Step 2: Apply Pattern or Color
Once the area is ready, you can begin applying the desired pattern or color to the surface using either stencils or acid stains. Depending on the type of pattern or color you choose, you may need special tools or equipment for this step.
Step 3: Apply Finishing Material
Once you’ve created your desired pattern or color, it’s time to apply a finishing material such as epoxy or urethane sealer. This will provide extra protection against wear and tear as well as enhance the look of your decorative concrete floor.
Step 4: Apply Protective Coating
Finally, apply a protective coating such as wax or polyurethane to protect your decorative concrete floor from fading and staining. This will also help make it easier to clean in the future.
DIY Tips for Decorative Concrete Floors
To ensure your decorative concrete floor is installed correctly, here are some tips to keep in mind:
– Take your time: Installing decorative concrete floors requires patience and attention to detail so make sure you give yourself plenty of time for each step.
– Do your research: Before starting any project, make sure you thoroughly research all the materials and tools you’ll need as well as any potential hazards that may arise during installation.
– Wear protective gear: Even though decorative concrete floors don’t require too much physical exertion, it’s still important to wear safety gear such as goggles and gloves while working with chemicals or heavy objects.