You'll find many styles, styles and types and also the prices depend on the quality and substance used in manufacturing. Thus, everything about the home of ours has to be simply perfect in order to get relaxation. House is the place where we go back at the conclusion of a tiring as well as busy day. The online world also offers numerous websites in which you are able to compare regular and discounted vinyl flooring prices. to stain and moisture makes them a great candidate for installing in these kinds of areas as the cellar, kitchen or the bathroom. Excessive water can finish the seams and cracks, which may destroy glue bonds which hold the vinyl tiles to the starting flooring. Plus, you can paint all of the lines that your sports require on them with no worries.
Images Related to Click Lock Vinyl Flooring Installation
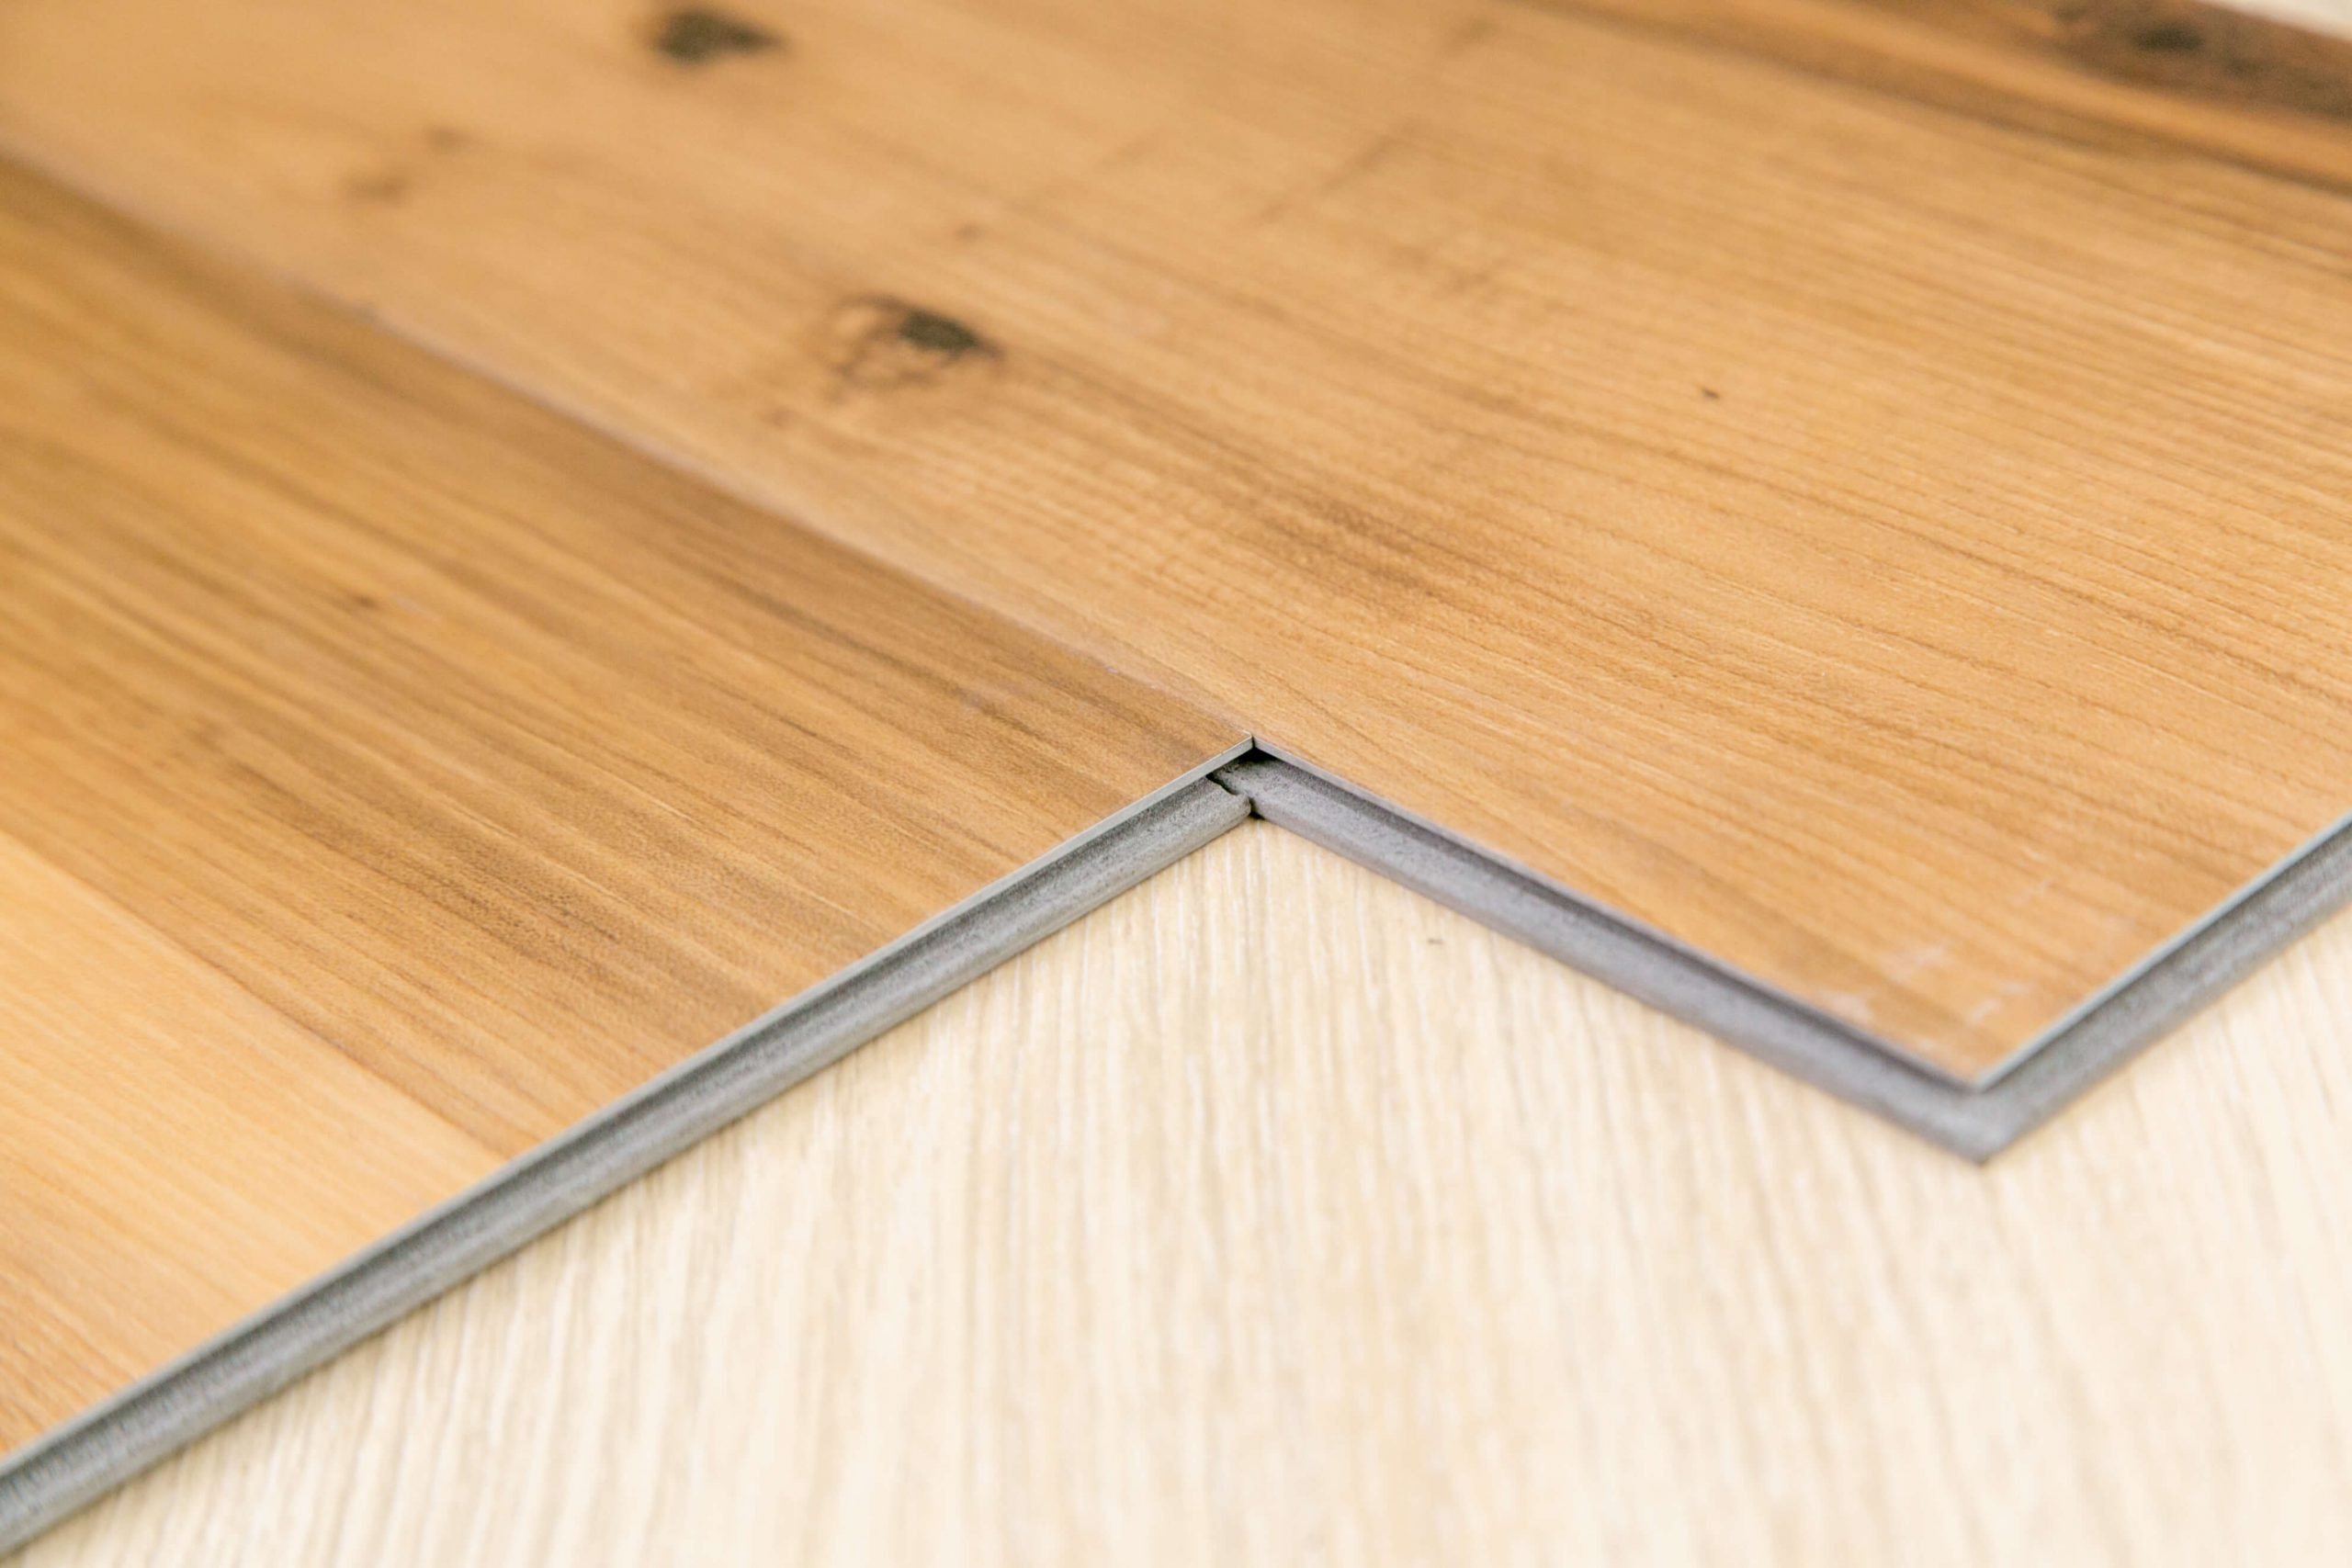
Click Lock Vinyl Flooring Installation

The drawback to vinyl is, although it has countless plus points, it also contains the main flaw that every one flooring has; it isn't invincible. Nevertheless, certain aromatic hydrocarbons can soften the tiles to a certain degree. Vinyl by nature is very vulnerable to imperfections that may be present in the sub floor in which you lay it on. After installation plays an immensely important factor. These are in tile and sheet forms.
10 Beginner Mistakes Installing Vinyl Plank Flooring – YouTube

Probably the most difficult aspect of installing tiles or perhaps planks is trying to keep them straight. By picking Vinyl flooring you are going to save cash in the long term, because the floors are very durable, they will not need to be replaced as often. Sold in several styles and colours, vinyl flooring are able to be adapted to suit virtually any interior design program, which means that you can ensure that your floor complements your living environment perfectly.
How to Install Vinyl Plank Flooring
How To Replace Click-Lock Vinyl Flooring
How to Install Vinyl Plank Flooring
How to Install Vinyl Plank Flooring as a Beginner Home

How to Install Vinyl Plank Flooring Loweu0027s

Floating Click Systems 101: Installing Laminate Flooring and LVT

Quick Vinyl Plank DROP AND LOCK Installation Demo – YouTube
Click Lock Vinyl Flooring – CloudsFlooring
How to Install Vinyl Plank Flooring
:max_bytes(150000):strip_icc()/easy-install-plank-vinyl-flooring-1822808-06-3bb4422ca1bd49b080bfa73bce749acc.jpg)
DIY Guide: How to Install a Floating Vinyl Floor u2013 The Good Guys

STAINMASTER® Locking Luxury Vinyl Floor Installation

How to Install Vinyl Plank Flooring
Related articles:
- Vinyl Flooring Bathroom Tile
- Modern Vinyl Flooring
- Funky Vinyl Flooring
- Vinyl Flooring For Kitchen
- Vintage Look Vinyl Flooring
- Kitchen Vinyl Floor Tiles Ideas
- Vinyl Flooring With Wood Look
- Waterproof Vinyl Flooring
- Vinyl Flooring For Cheap
- How To Remove Vinyl Flooring
Click lock vinyl flooring is a popular choice for homeowners and business owners alike due to its durability, affordability, and ease of installation. This type of flooring is designed to mimic the look of hardwood, tile, or stone without the high cost and maintenance associated with these materials. In this article, we will discuss the step-by-step process of installing click lock vinyl flooring, as well as address some frequently asked questions about this type of flooring.
1. Preparing the Subfloor
Before installing click lock vinyl flooring, it is important to prepare the subfloor properly. The subfloor should be clean, dry, and level. Remove any existing flooring material and sweep or vacuum the subfloor to remove any dust or debris. If there are any uneven areas or imperfections on the subfloor, it may be necessary to use a self-leveling compound to create a smooth surface.
FAQ: Can I install click lock vinyl flooring over an existing floor?
Yes, you can install click lock vinyl flooring over an existing floor as long as it is in good condition and properly prepared. The existing floor should be clean, dry, and level. If there are any damaged areas or uneven spots on the existing floor, they should be repaired or leveled before installing the click lock vinyl flooring.
2. Acclimating the Flooring
Before installation, it is important to acclimate the click lock vinyl flooring to the room where it will be installed. This helps prevent any expansion or contraction of the planks after installation. Place the boxes of flooring in the room and allow them to sit for at least 48 hours before installation. Make sure to keep the temperature and humidity levels in the room consistent during this time.
FAQ: How long should I acclimate click lock vinyl flooring?
It is recommended to acclimate click lock vinyl flooring for at least 48 hours before installation. However, in areas with extreme temperature or humidity fluctuations, it may be necessary to acclimate the flooring for a longer period of time. Check the manufacturer’s instructions for specific recommendations.
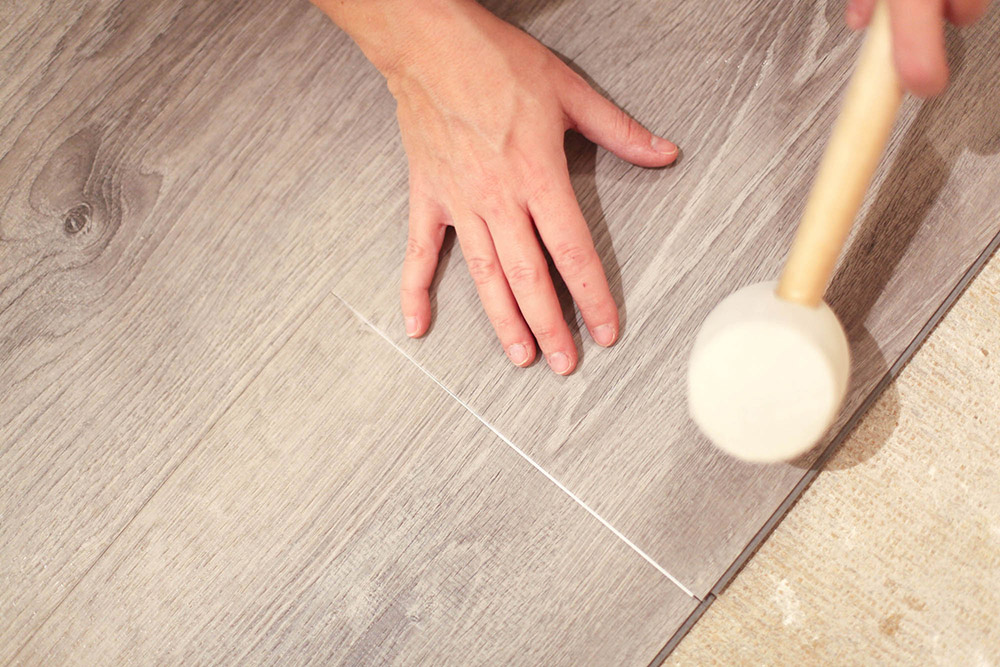
3. Installing Underlayment
Underlayment is an important component of click lock vinyl flooring installation. It provides cushioning, sound absorption, and helps to prevent moisture from reaching the subfloor. Roll out the underlayment across the entire floor, overlapping the edges by a few inches. Secure the underlayment in place using tape or adhesive, making sure there are no wrinkles or bubbles.
FAQ: Is underlayment necessary for click lock vinyl flooring?
Underlayment is not always necessary for click lock vinyl flooring, as some types of vinyl flooring have built-in underlayment. However, using underlayment can provide additional benefits such as noise reduction and moisture protection. It is recommended to check with the manufacturer’s guidelines to determine if underlayment is necessary for your specific type of click lock vinyl flooring.
4. Measuring and Cutting the Planks
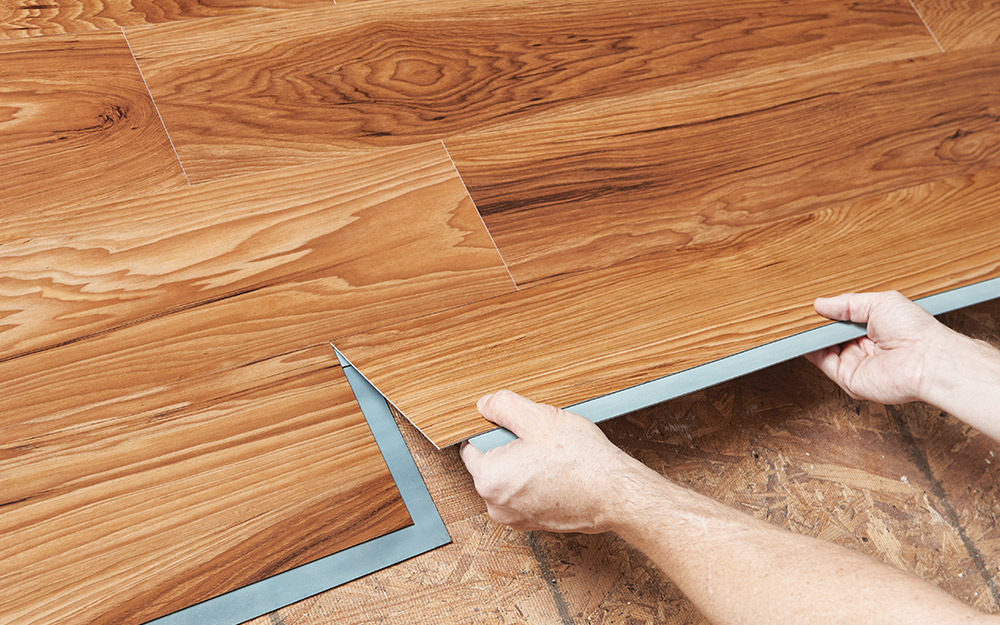
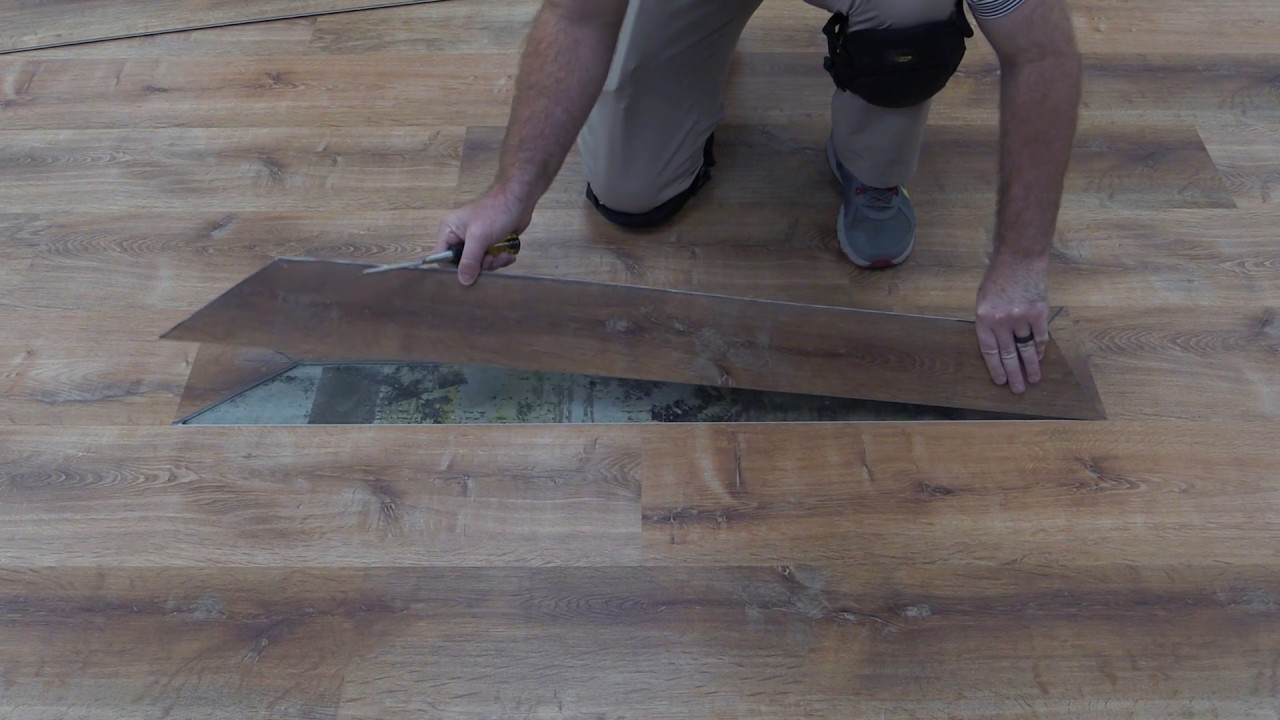
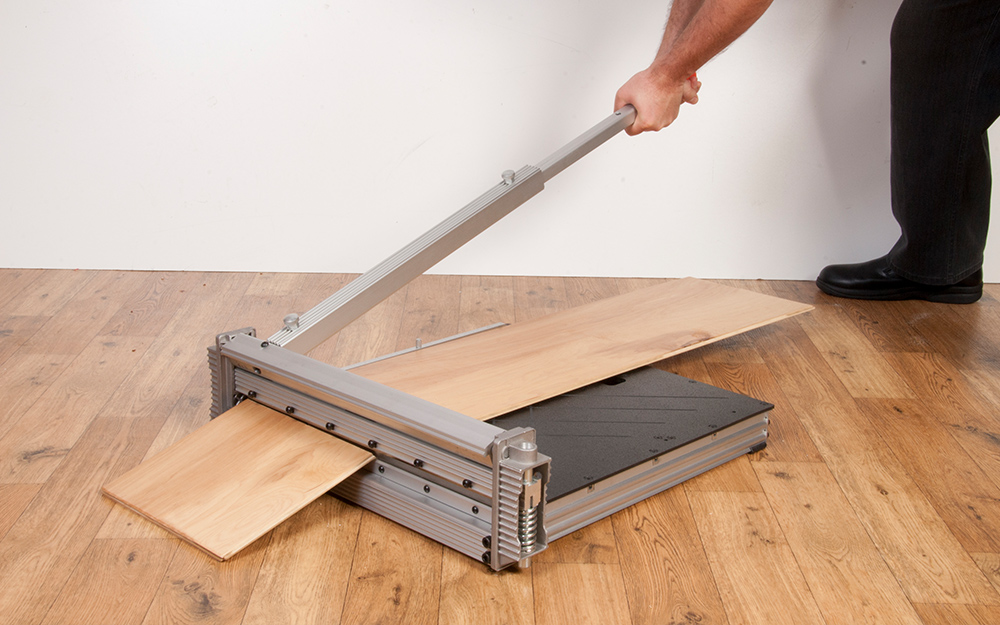
Before installing the click lock vinyl planks, it is essential to measure and cut them accurately to fit the space. Start by measuring the length and width of the room and calculate the square footage needed. Remember to account for any irregularities or obstacles in the room, such as doorways or cabinets. Using a utility knife or a vinyl cutter, score and snap the planks to fit these areas.
FAQ: Can I install click lock vinyl flooring in a bathroom or kitchen?
Yes, click lock vinyl flooring is suitable for use in bathrooms and kitchens. However, it is important to choose A vinyl flooring that is specifically designed for moisture-prone areas. Look for vinyl flooring that is waterproof or water-resistant to ensure durability in these spaces. Additionally, make sure to properly seal any seams or edges to prevent water from seeping underneath the flooring. FAQ: How do I seal the seams and edges of click lock vinyl flooring in a bathroom or kitchen?
To seal the seams and edges of click lock vinyl flooring in a bathroom or kitchen, you can use silicone caulk or a waterproof adhesive. Apply a thin bead of caulk or adhesive along the seams and edges, making sure to fill any gaps or spaces. Wipe away any excess caulk or adhesive with a damp cloth. Allow the caulk or adhesive to dry completely before using the room. This will help prevent water from seeping underneath the flooring and causing damage. Installing click lock vinyl flooring involves several steps, including acclimating the flooring, installing underlayment, measuring and cutting the planks, and sealing the seams and edges in moisture-prone areas like bathrooms and kitchens.
1. Acclimating the Flooring:
– It is recommended to acclimate click lock vinyl flooring for at least 48 hours before installation.
– In areas with extreme temperature or humidity fluctuations, a longer acclimation period may be necessary.
– Check the manufacturer’s instructions for specific recommendations.
2. Installing Underlayment:
– Underlayment provides cushioning, sound absorption, and moisture protection.
– Roll out the underlayment across the entire floor, overlapping the edges by a few inches.
– Secure the underlayment in place using tape or adhesive, ensuring there are no wrinkles or bubbles.
3. Measuring and Cutting the Planks:
– Measure the length and width of the room to calculate the square footage needed.
– Account for irregularities or obstacles like doorways or cabinets.
– Use a utility knife or vinyl cutter to score and snap the planks to fit these areas accurately.
4. Sealing Seams and Edges in Moisture-prone Areas:
– Choose vinyl flooring designed for moisture-prone areas like bathrooms and kitchens.
– Look for waterproof or water-resistant options for durability.
– Properly seal seams and edges with silicone caulk or waterproof adhesive.
– Apply a thin bead along the seams and edges, filling any gaps or spaces.
– Wipe away excess caulk or adhesive with a damp cloth.
– Allow it to dry completely before using the room to prevent water damage.
Always refer to the manufacturer’s guidelines for specific instructions regarding your click lock vinyl flooring installation.