although it does not need to be by doing this. All things considered, installing kitchen area flooring is already a costly proposition itself and if it occurs that you are not satisfied with how it looks or it does not live up to the expectations of yours it is either you spend once again and have it redone or live with it for a lot of years. It is relatively straightforward to preserve bamboo kitchen flooring.
Here are Images about Black Gloss Kitchen Floor Tiles
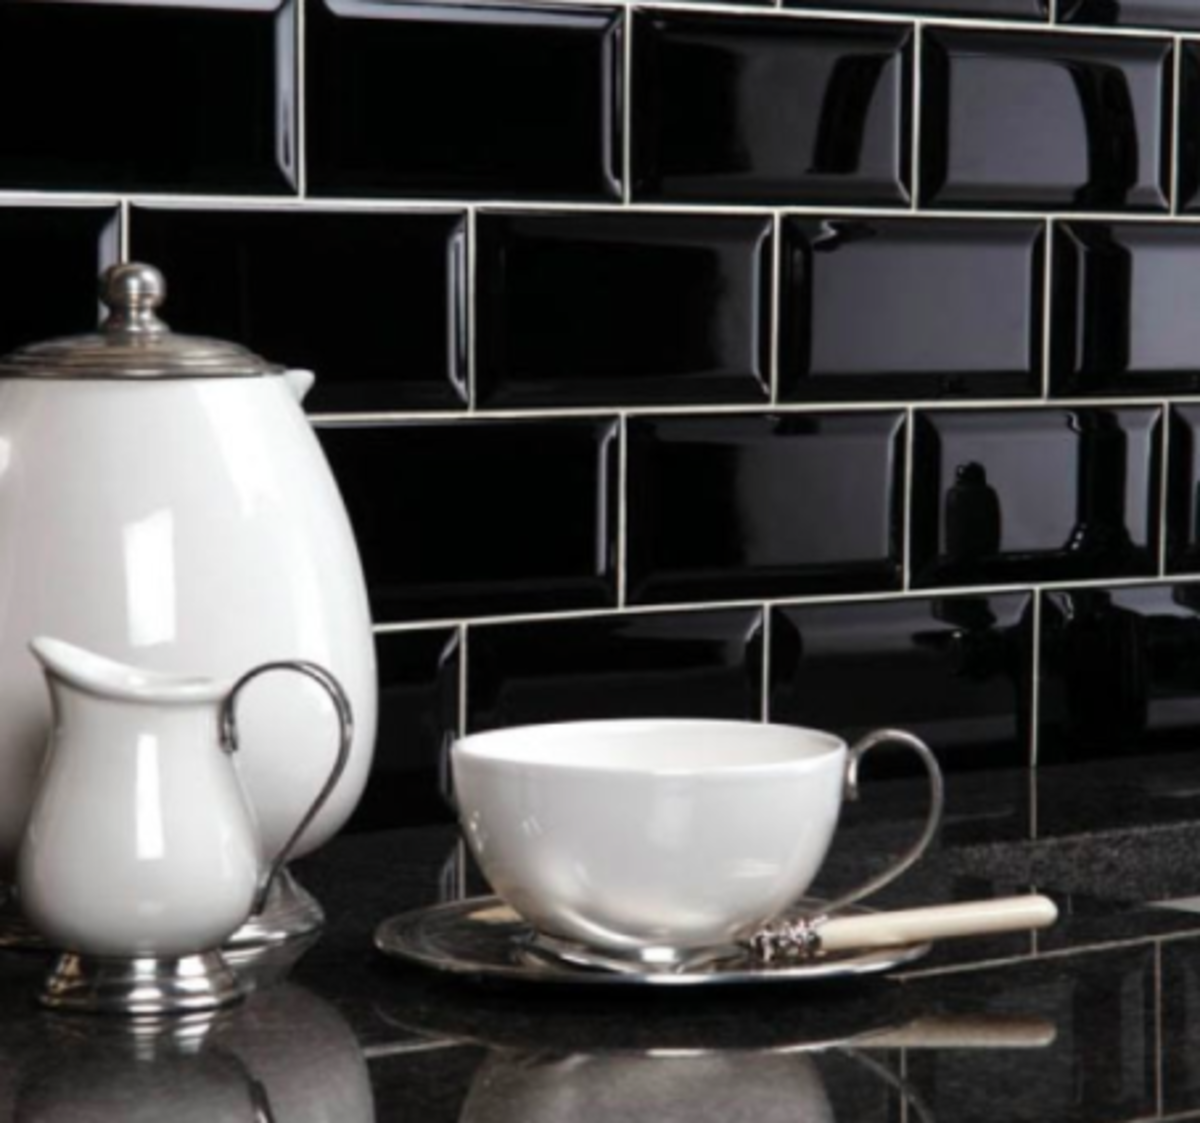
Black Gloss Kitchen Floor Tiles
The plethora of kitchen area flooring options on the market these days can be a bit overwhelming. The wooden flooring can boost the visual appeal of every kitchen. The glass is acid polished or sandblasted underneath to produce a unique appearance without making individuals slip or perhaps fall while walking over the flooring. This kind of flooring is additionally very easy to set up yet is very durable.
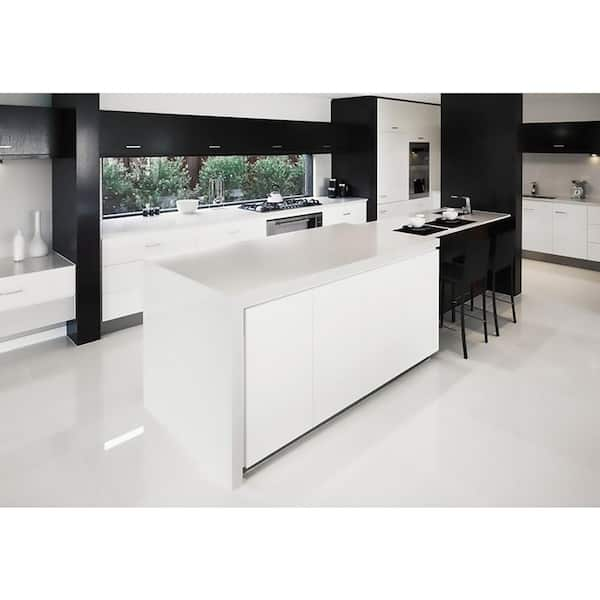
Black Kitchen – Modern Space with High Gloss Flooring
When you imagine the number of people or pets that go through the kitchen each day it is easy to see why the floor can get damaged as well as used. There are various courses of hardwood flooring. When you are out to buy kitchen area floor tile, you do not just think of the look, the colors and also the pattern that it has.
Images Related to Black Gloss Kitchen Floor Tiles
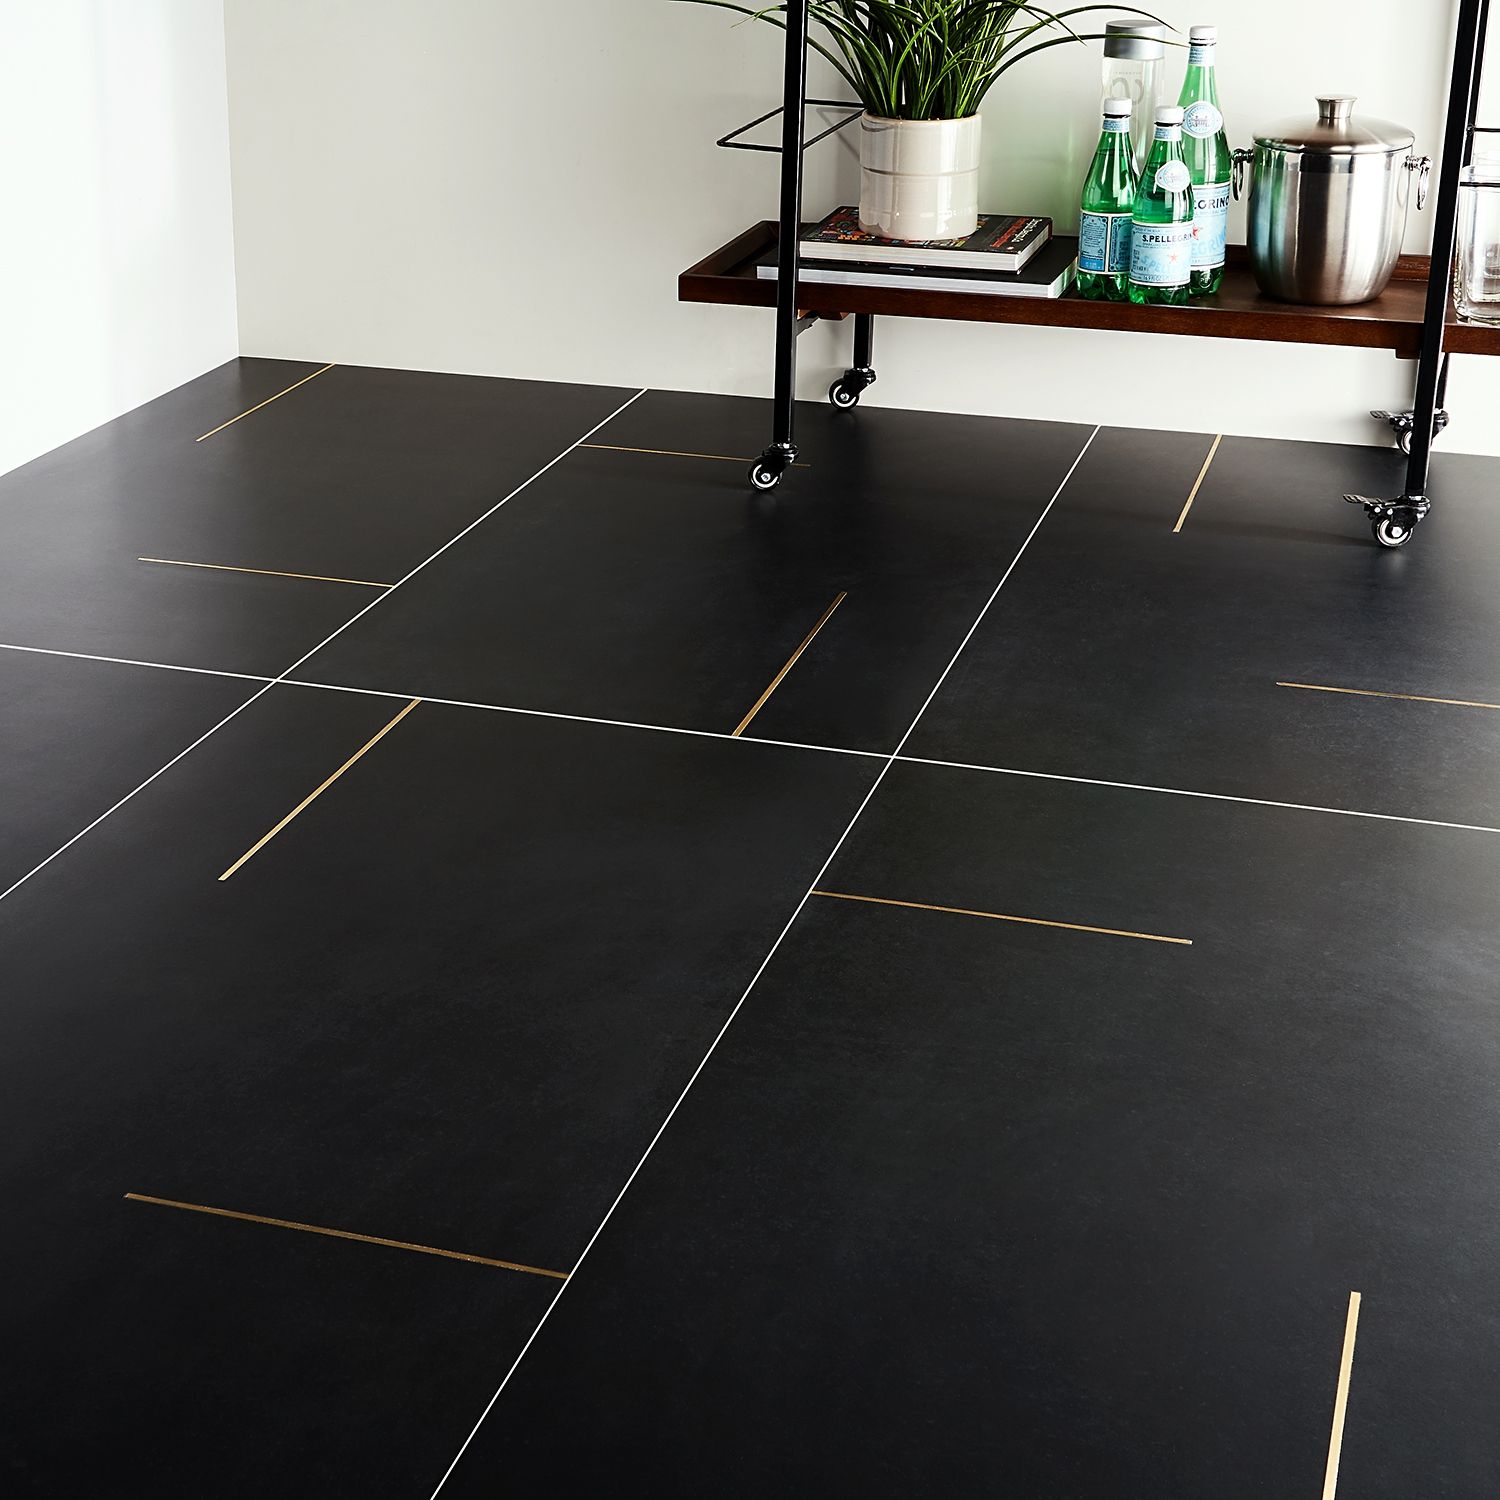
High Gloss Floors
Black Sparkle Quartz Tile 30cm x 30cm Wall u0026 Floor

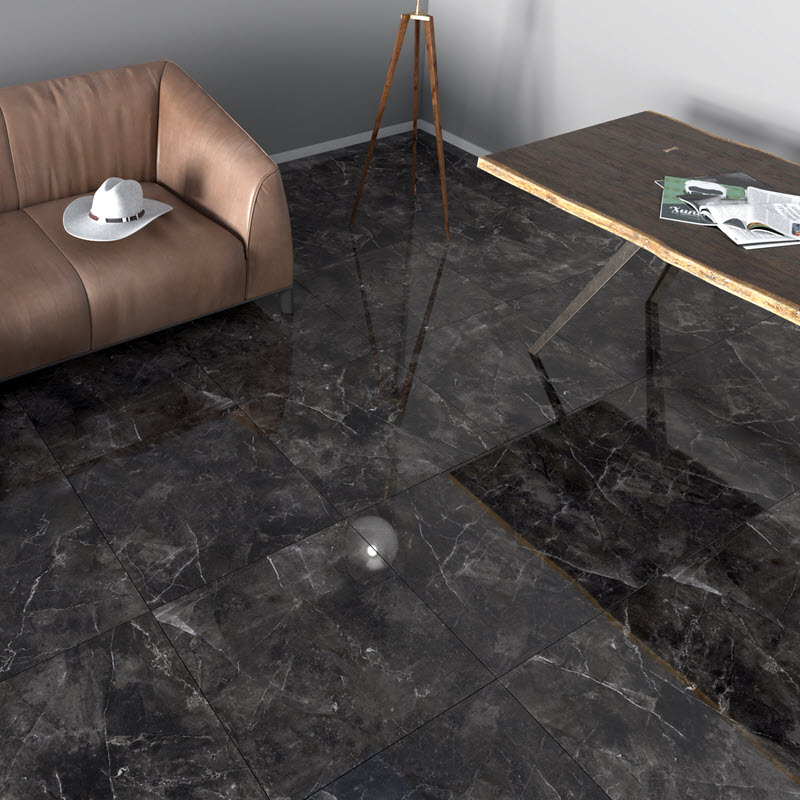
Elegance Black Marble Effect Gloss Porcelain Floor Tile Ceramic

Gloss Black Square Large 30cm x 30cm Wall u0026 Floor Tiles

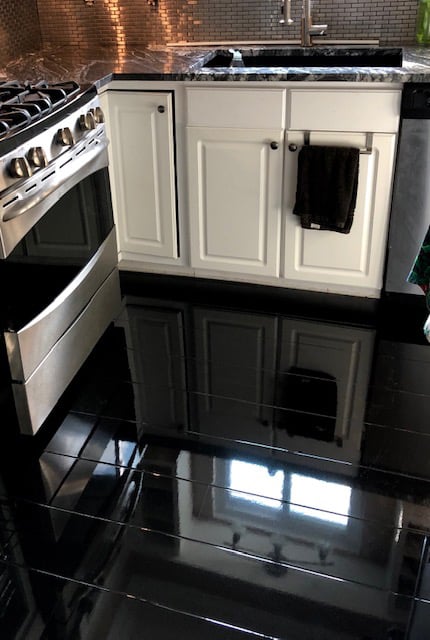
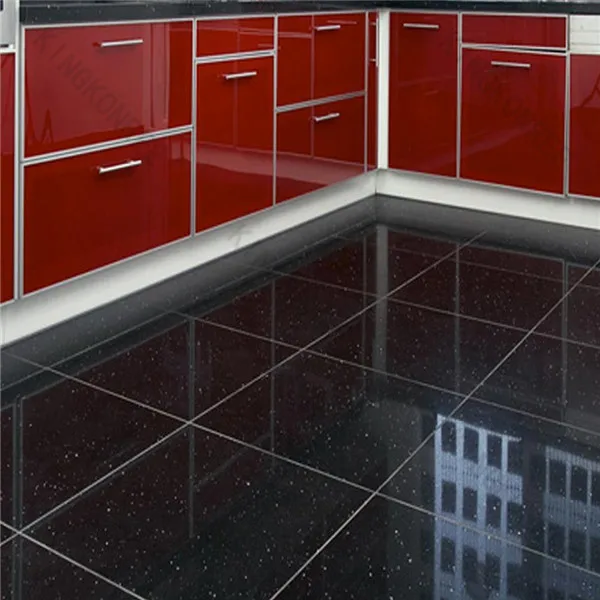
High Gloss Black Granite Tiles Kitchen Floor White Kitchen Cabinet

Hong Kong Black Shiny Polished Porcelain Floor Tile – 600 x 600mm -MALTO1795

Pin on Projects to Try

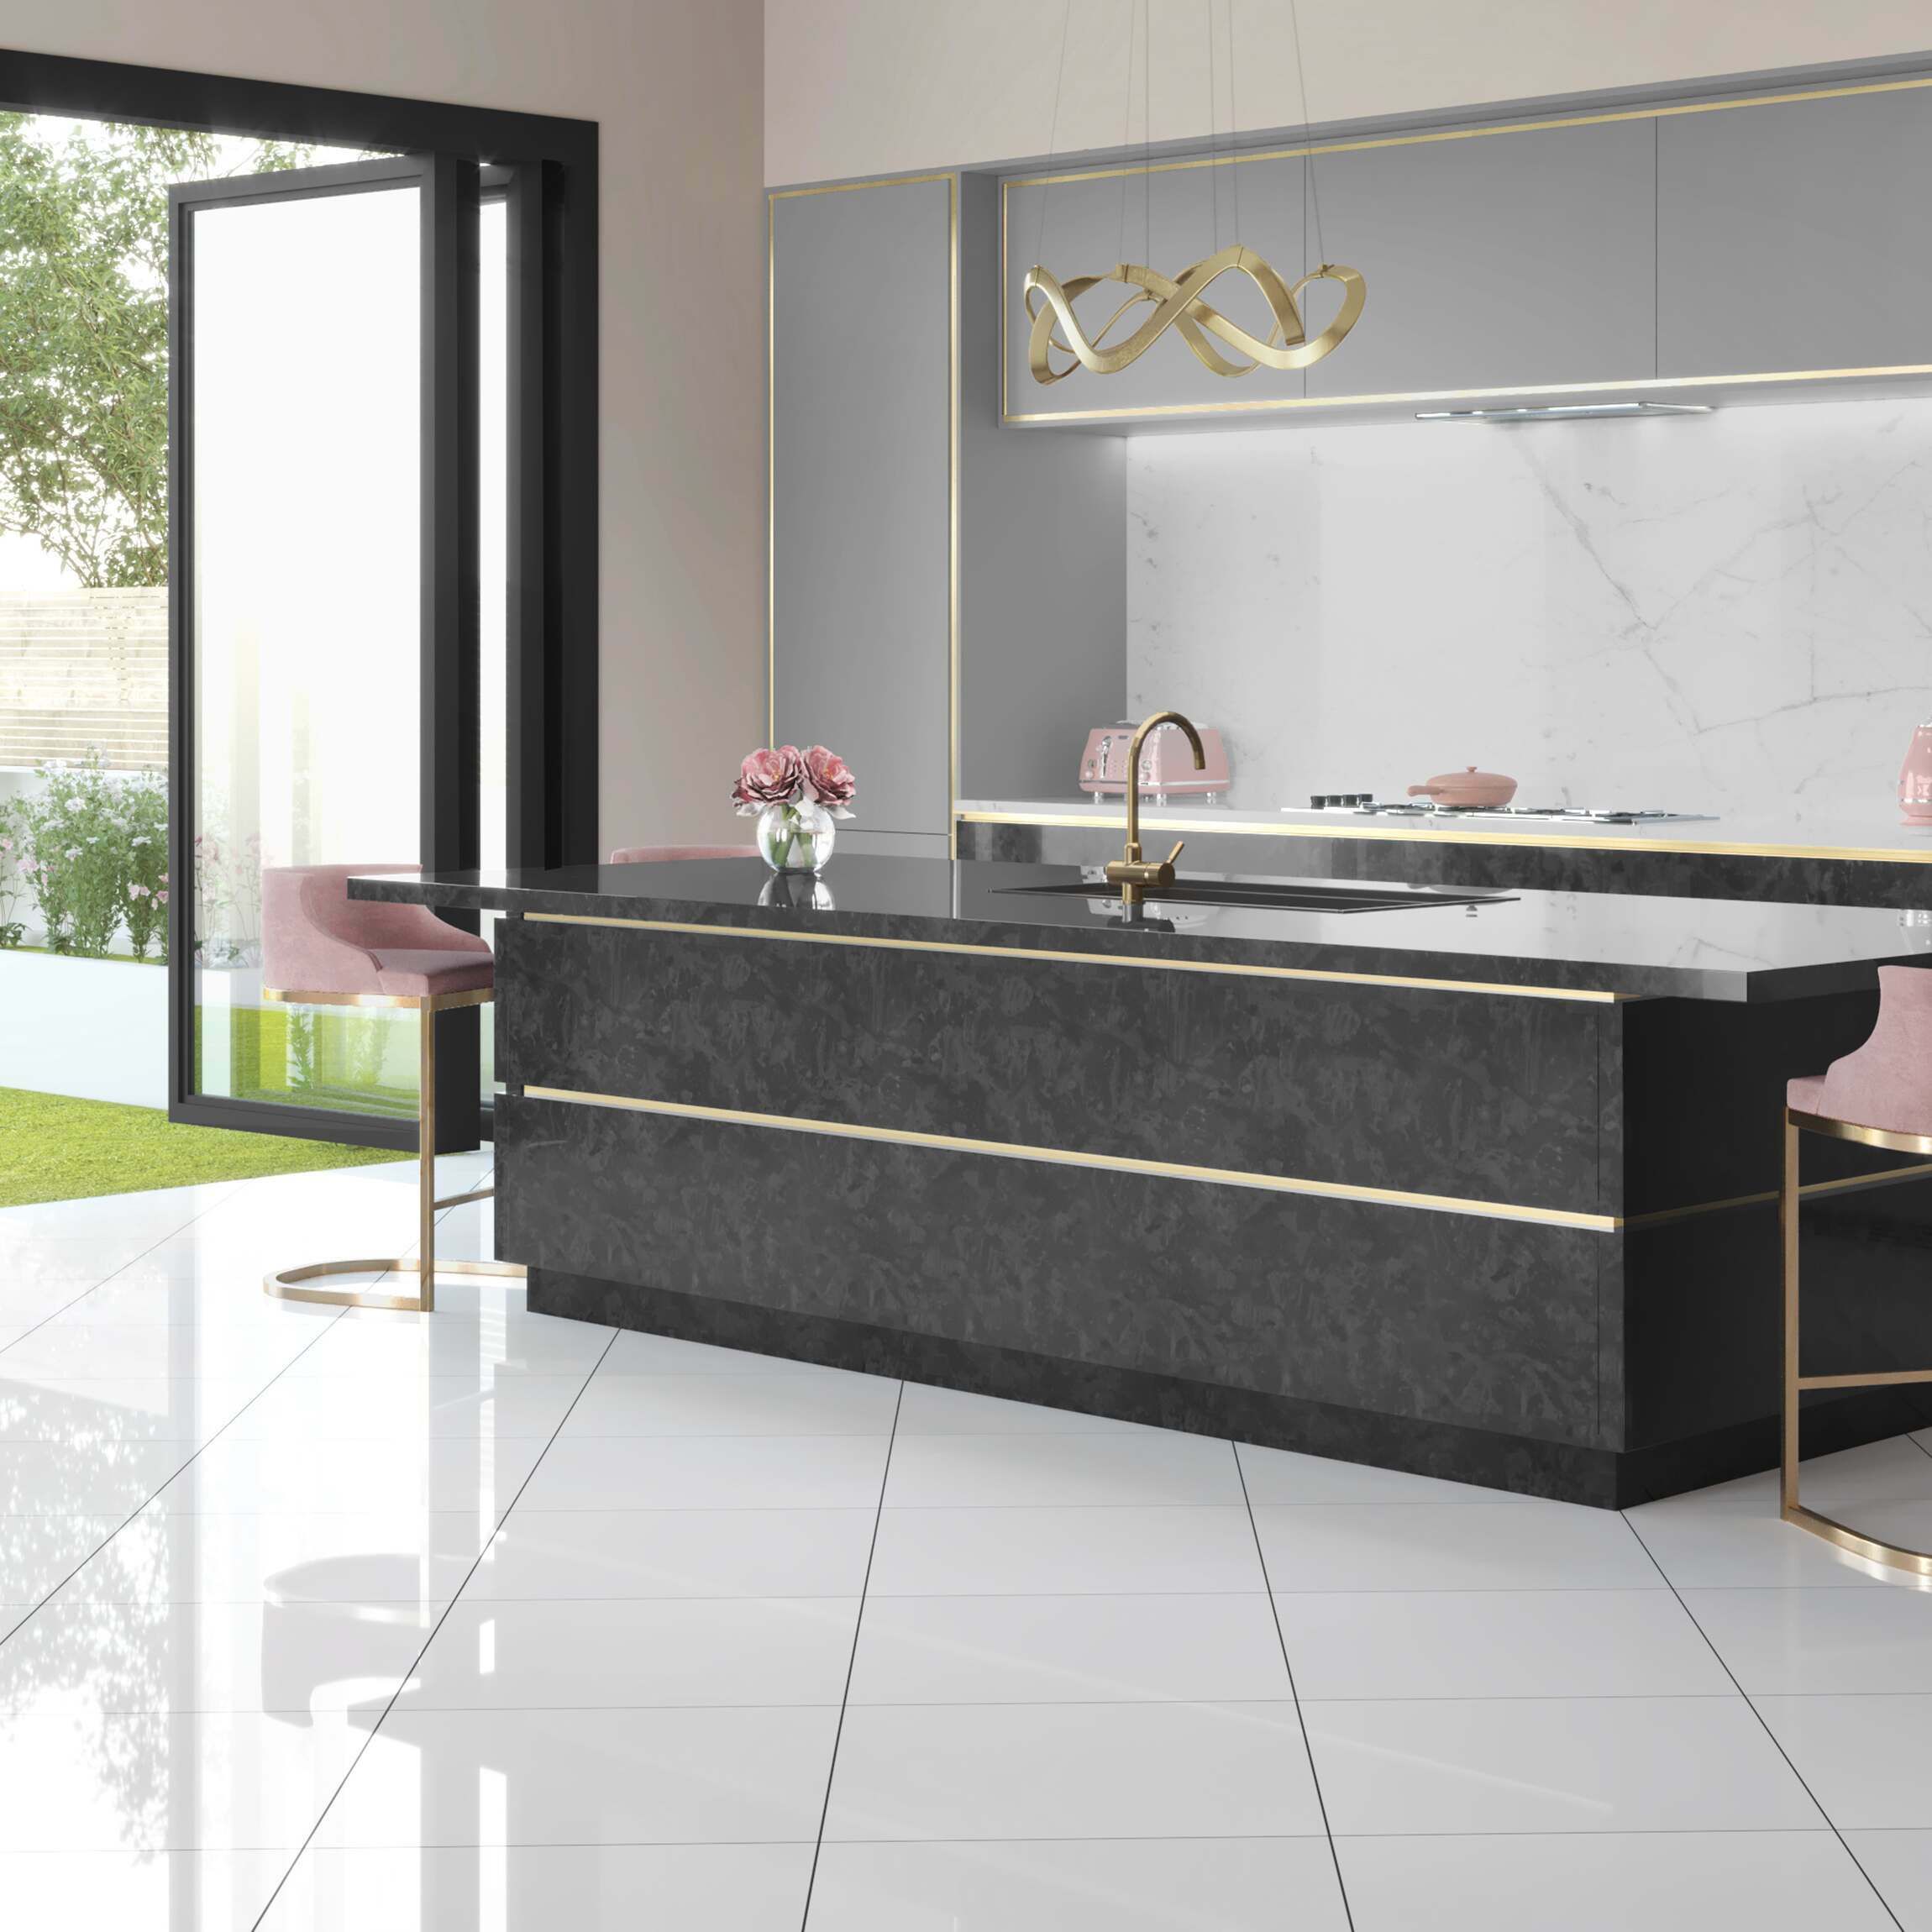
Alaska White Gloss Floor Tiles
How to Clean High-Gloss Kitchen Tiles Without Streaks – Dengarden
Achim Home Furnishings STT1M10320 Black u0026 White Sterling x 12 Self Adhesive Vinyl Floor Tile-20 Tiles/20 sq. ft

Miami White Gloss 32 in. x 32 in. Rectified Glazed Porcelain Floor
Black Sparkle Quartz Tile,Tile Made In Spain Floor Tile,Model
Related articles:
- Stained Concrete Basement Floor
- Finishing Basement Floor
- Refinish Concrete Basement Floor
- Best Flooring For Basement
- Basement Gym Flooring Ideas
- Laminate Flooring In Basement
- Basement Concrete Floor Sweating
- Basement Floor Finishing Ideas
- Painting Unfinished Basement Floor
- Unique Basement Flooring
Black Gloss Kitchen Floor Tiles: A Modern and Stylish Choice for Your Kitchen
Introduction:
When it comes to designing a kitchen, one of the most important aspects to consider is the flooring. The right choice of floor tiles can greatly enhance the overall look and feel of your kitchen. In recent years, black gloss kitchen floor tiles have gained immense popularity among homeowners due to their modern and stylish appearance. In this article, we will explore the various benefits of black gloss kitchen floor tiles, discuss their installation process, maintenance tips, and answer some frequently asked questions to help you make an informed decision.
Benefits of Black Gloss Kitchen Floor Tiles:
1. Elegant and Contemporary Look:
Black gloss kitchen floor tiles add a touch of elegance and sophistication to any kitchen space. The glossy finish reflects light, making the room appear brighter and more spacious. The sleek black color complements various kitchen designs, whether you have a traditional, modern, or minimalistic style.
2. Versatile Design Options:
Black gloss kitchen floor tiles come in a wide range of sizes, patterns, and textures, allowing you to create a unique design that suits your personal taste. From large format tiles for a seamless look to mosaic tiles for intricate patterns, the possibilities are endless. You can also experiment with different tile arrangements such as herringbone or basketweave patterns to add visual interest.
3. Durability and Longevity:
Kitchen floors are subjected to heavy foot traffic, spills, and constant cleaning. Black gloss kitchen floor tiles are known for their durability and longevity. Made from high-quality materials like porcelain or ceramic, these tiles are resistant to scratches, stains, and fading. They can withstand the demands of daily use without losing their shine or luster.
4. Easy Maintenance:
Maintaining black gloss kitchen floor tiles is relatively simple. Regular sweeping or vacuuming removes loose dirt and debris from the surface. For deeper cleaning, use a mild detergent mixed with warm water and a non-abrasive mop or cloth. Avoid using harsh chemicals or abrasive cleaning tools as they can damage the glossy finish. With proper care, your black gloss kitchen floor tiles will retain their beauty for years to come.
Installation of Black Gloss Kitchen Floor Tiles:
Installing black gloss kitchen floor tiles requires a systematic approach to ensure a flawless finish. Here is a step-by-step guide to help you through the installation process:
1. Preparation:
Before installing the tiles, ensure that the subfloor is clean, smooth, and level. Remove any existing flooring and repair any cracks or imperfections. Measure the kitchen area accurately to determine the number of tiles needed, accounting for any cuts or wastage.
2. Tile Layout:
Plan the layout of your black gloss kitchen floor tiles by dry-fitting them without adhesive. This step helps you visualize how the tiles will look once installed and allows you to make adjustments if needed. Consider starting the installation from the center of the room for a balanced and symmetrical design.
3. Adhesive Application:
Apply tile adhesive on the subfloor using a notched trowel, following the manufacturer’s instructions. Work in small sections to ensure that the adhesive doesn’t dry before placing the tiles.
4. Tile Installation:
Carefully place each tile onto the adhesive, pressing firmly to ensure proper adhesion. Use tile spacers to maintain consistent grout lines and create even spacing between tiles. Repeat this process until all tiles are laid out.
5. Grouting:
Allow the adhesive to dry completely before grouting your black gloss kitchen Floor tiles. Mix the grout according to the manufacturer’s instructions and apply it to the spaces between the tiles using a grout float. Remove any excess grout from the surface of the tiles with a damp sponge or cloth. Allow the grout to dry for the recommended time before proceeding.
6. Sealing:
Once the grout is fully dry, consider sealing your black gloss kitchen floor tiles to protect them from stains and moisture. Choose a suitable sealer for your tile material and follow the manufacturer’s instructions for application.
7. Finishing Touches:
Clean the tiles and remove any residue or smudges left from the installation process. Replace any baseboards or trim that may have been removed during installation. Enjoy your newly installed black gloss kitchen floor tiles!
In conclusion, black gloss kitchen floor tiles are a popular choice for their aesthetic appeal, durability, and easy maintenance. By following proper installation techniques, you can achieve a beautiful and long-lasting kitchen floor that enhances the overall look of your space. Installing black gloss kitchen floor tiles requires careful preparation and attention to detail. Here is a step-by-step guide to help you achieve a flawless finish:
1. Preparation:
– Clean the subfloor thoroughly, ensuring it is free of any debris or dirt.
– Repair any cracks or imperfections in the subfloor.
– Remove any existing flooring material.
– Measure the kitchen area accurately to determine the number of tiles needed, accounting for cuts and wastage.
2. Tile Layout:
– Dry-fit the tiles without adhesive to plan the layout and make any necessary adjustments.
– Consider starting the installation from the center of the room for a balanced and symmetrical design.
3. Adhesive Application:
– Follow the manufacturer’s instructions to apply tile adhesive on the subfloor using a notched trowel.
– Work in small sections to prevent the adhesive from drying before placing the tiles.
4. Tile Installation:
– Carefully place each tile onto the adhesive, pressing firmly to ensure proper adhesion.
– Use tile spacers to maintain consistent grout lines and create even spacing between tiles.
– Repeat this process until all tiles are laid out.
5. Grouting:
– Allow the adhesive to dry completely before grouting.
– Mix the grout according to the manufacturer’s instructions and apply it to the spaces between tiles using a grout float.
– Remove any excess grout from the surface of the tiles with a damp sponge or cloth.
– Allow the grout to dry for the recommended time before proceeding.
6. Sealing:
– Once the grout is fully dry, consider sealing your black gloss kitchen floor tiles to protect them from stains and moisture.
– Choose a suitable sealer for your tile material and follow the manufacturer’s instructions for application.
7. Finishing Touches:
– Clean the tiles thoroughly, removing any residue or smudges left from the installation process.
– Replace any baseboards or trim that may have been removed during installation.
– Enjoy your newly installed black gloss kitchen floor tiles!
In conclusion, by following these step-by-step instructions, you can achieve a beautiful and long-lasting kitchen floor with black gloss tiles. Enjoy the aesthetic appeal, durability, and easy maintenance that these tiles offer.