We actually don't maintain prefinished flooring thanks to installation problems related to it, so our product requires site applied finish. Vinyl wood floor surfaces fills the void between the cheapest hardwood floors as well as the need for affordable substitute flooring that is both cost effective, easy to set up with rugged durability for established families with small children and animals. And it is also easy to clean and maintain.
Images Related to Wood Floor Tile Installation,
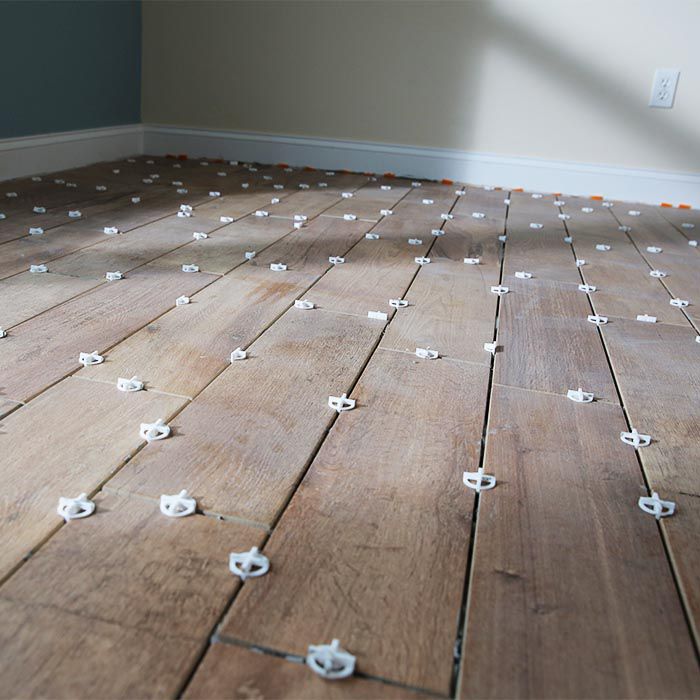
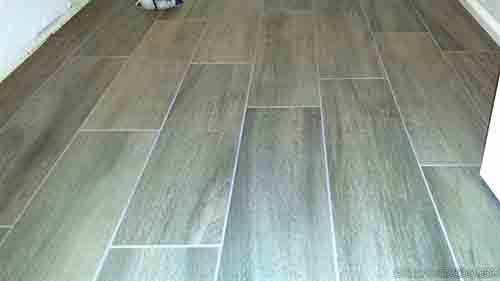
Wood Floor Tile Installation
The benefits having to deal with your wood floor oiled is the fact that it will keep for longer and will additionally delay the aging process so you're free to preserve the colour you originally purchased. Engineered wood flooring is built to be stable, and solid wood floor surfaces can simply not fight in this arena. An additional benefit is the fact that the factory finishes are often much tougher than the polyurethane applied in the field.
How to Install Wood-Look Floor Tile Installing Hardwood Flooring Over Tile How to Install Wood Look Tile Installing engineered hardwood on tile How to install wood-look floor tile How to Install Wood Look Floor Tile Installing Wood Look Tile How to Install Wood Look Tile How to Install Wood-Look Floor Tile How to Install Wood Look Tile How to Install Wood Look Tile How to Install Wood Look Tile Floor How to Install Wood-Look Tile Flooring
Allow me to share several pointers that may help you work out what sort of flooring you've. A regular cost range for labor and supplies to put in a wood floor is $4-5 per square foot. A number of men and women love to wait until the wood floor of theirs is in their homes before selecting a finish while others love to have their floor ready and raring to go so that they can easily make use of it when it's installed.
Wood-look Tile Flooring: How to Lay Tile professionally – Blog RUBI
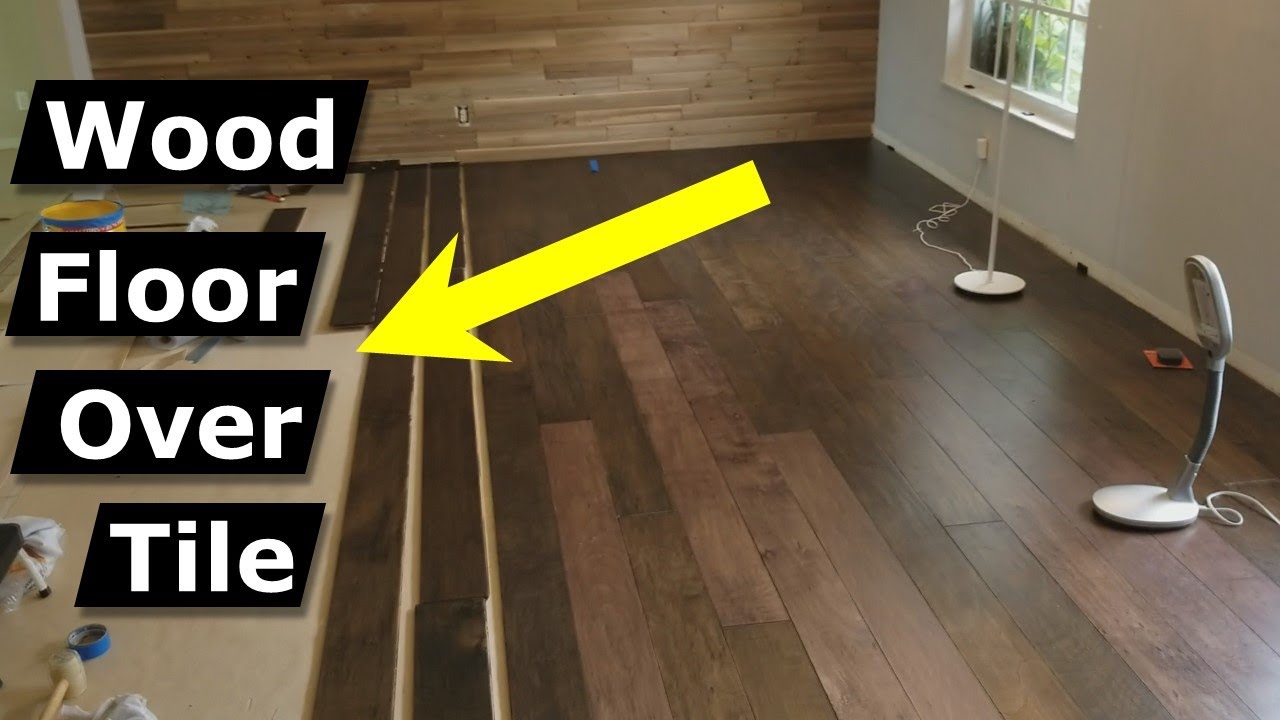
Install Hardwood Flooring Over Tile Floor Double Glue Down Method
Wood-look Tile Flooring: How to Lay Tile That Looks like Wood
Installing Wood Look Tile + Tips from a Pro! BREPURPOSED
How to Install Parquet Tile
Wood look plank tile installation time lapse on Schluter Ditra with T-Lock™

Installing Wood Look Tile + Tips from a Pro! BREPURPOSED
How to Install Wood-Look Floor Tile
Insider Tips for a Perfect DIY Wood Look Tile Plank Installation

More tips for installing wood look tile flooring DIYTileGuy
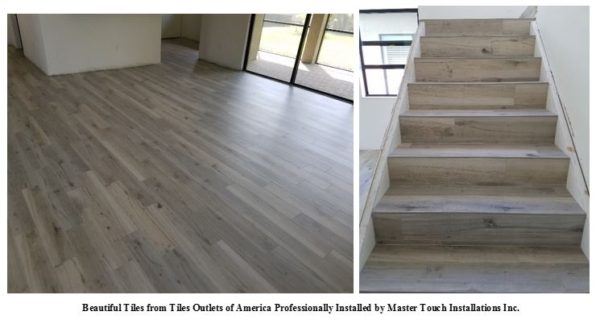
Wood Plank Tiles: The Hottest Floors in the Market – Tile Outlets
Wood-look tile flooring reviews – pros and cons, brands and more

Related articles:
- Black Walnut Wood Flooring
- Wood Flooring Designs
- Wood Flooring Options For Kitchens
- Contemporary Wood Flooring Ideas
- Dark Wood Floor Bedroom Ideas
- Real Wood Flooring For Kitchens
- Natural Wood Floor Stain
- Oak Wood Flooring
- Birch Wood Flooring Reviews
- Wood Floor Damage Repair
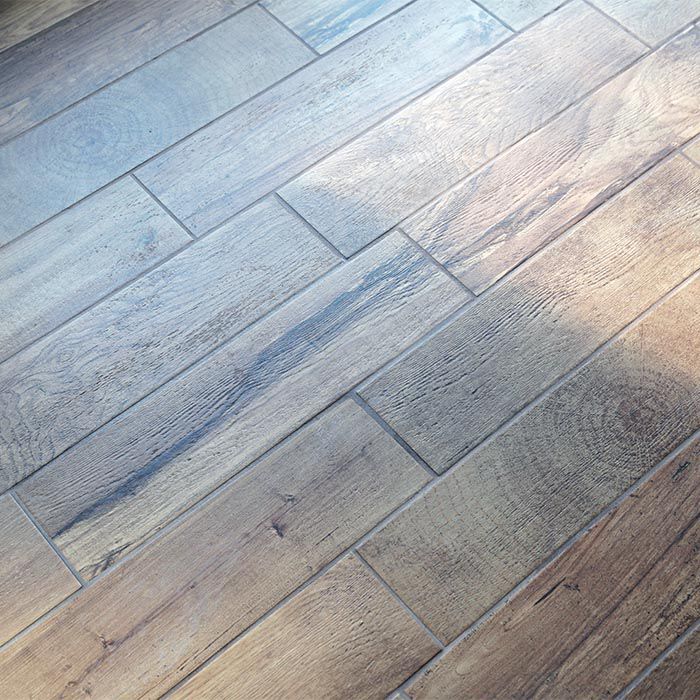
Wood floor tiles provide a stylish and timeless look to any home. They are also durable and easy to maintain. Installing wood floor tiles is not a difficult job, but it does require some special tools and techniques. Here we will explain the steps and tips you need to know to properly install wood floor tiles.
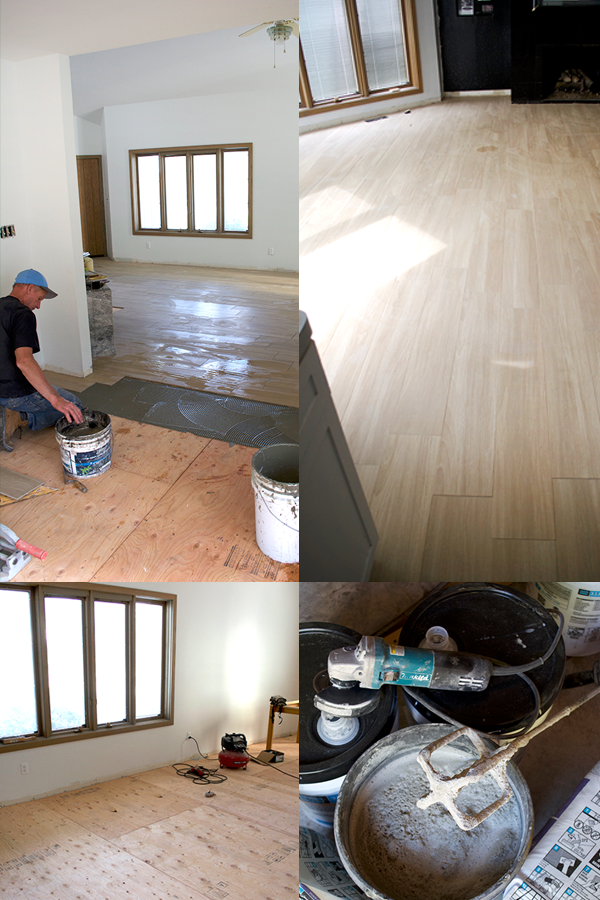
Preparing the Subfloor
The first step in installing wood floor tiles is preparing the subfloor. The subfloor needs to be clean and level before installation can begin. All debris and dust should be removed from the surface. Use a vacuum and broom to sweep away any dust or debris. Once the floor is cleared, check for any bumps or uneven spots in the subfloor. Use a level to make sure all areas of the floor are even. If there are any uneven spots, use a self-leveling compound to even them out.
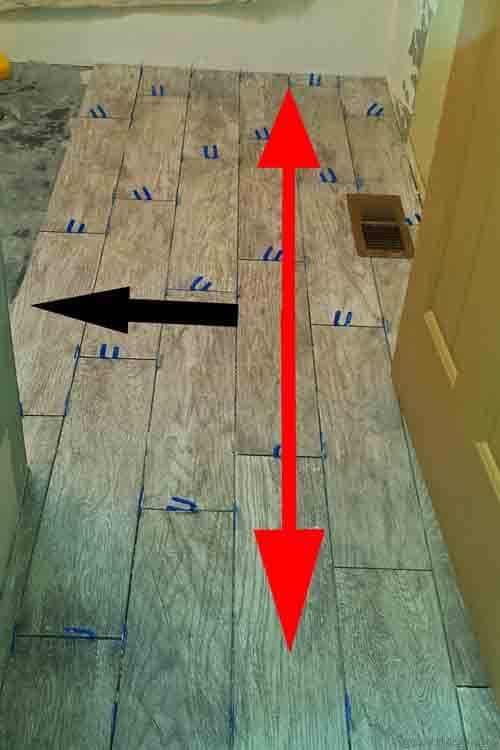
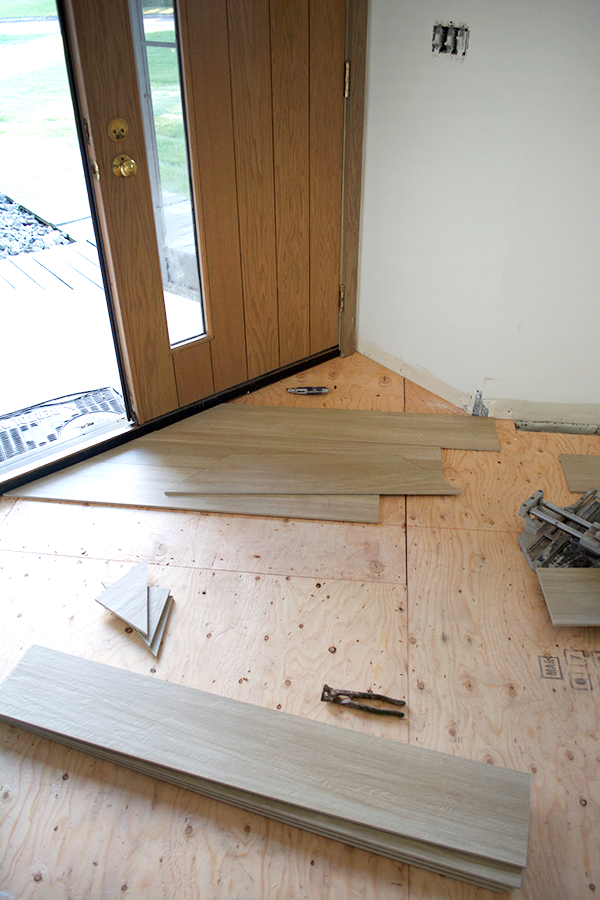
Layout and Measurement
Next, it’s time to lay out your tile pattern. Depending on the size of your room, you may want to create a grid pattern or go with a more creative design. Use a tape measure to take precise measurements and mark out where each tile will go. Remember to leave enough space around the edges for grout and expansion joints if necessary.
Cutting Wood Tiles
Some tiles may need to be cut in order to fit into certain areas of the room. To ensure an accurate cut, use a wet saw with a diamond blade designed specifically for cutting tile. Make sure you wear protective eyewear when operating the wet saw.
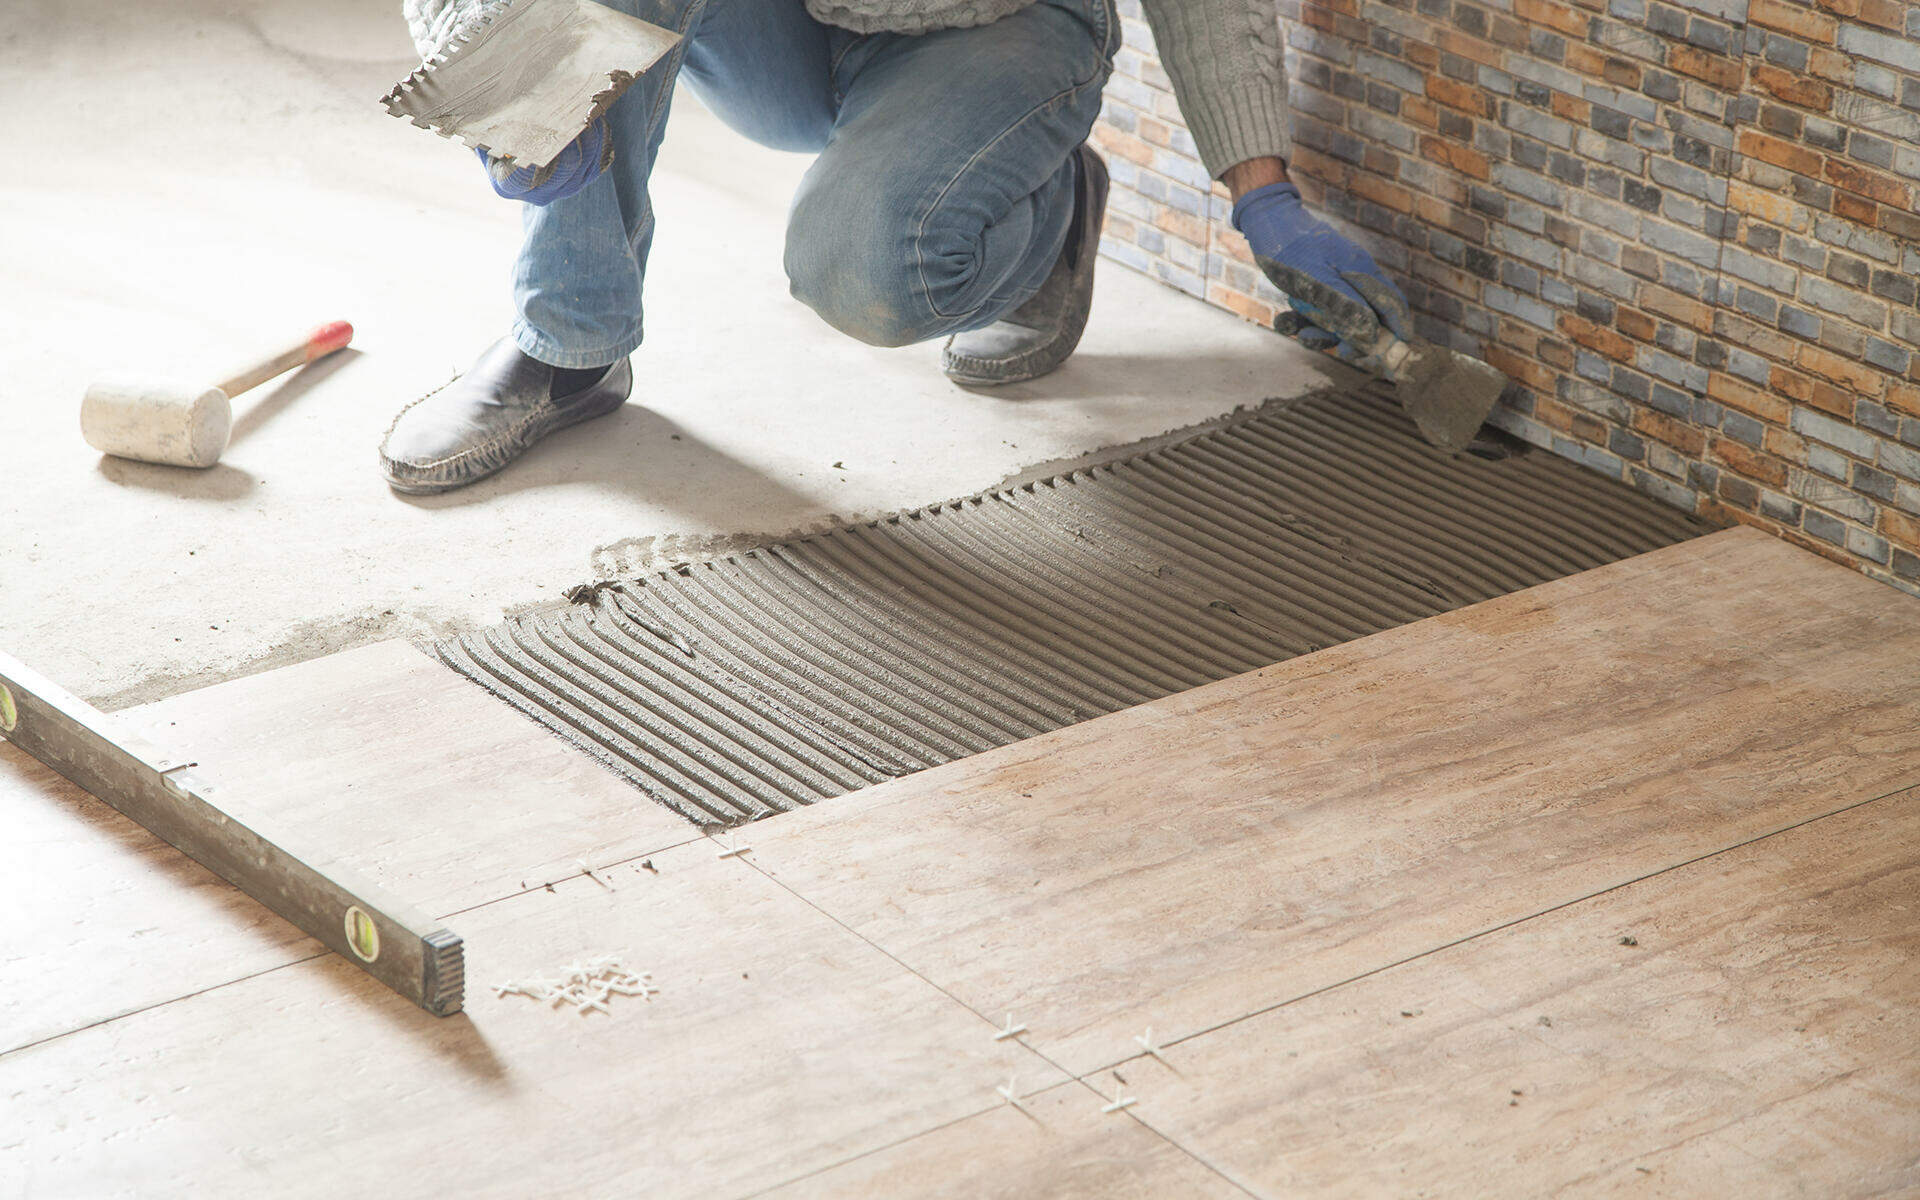
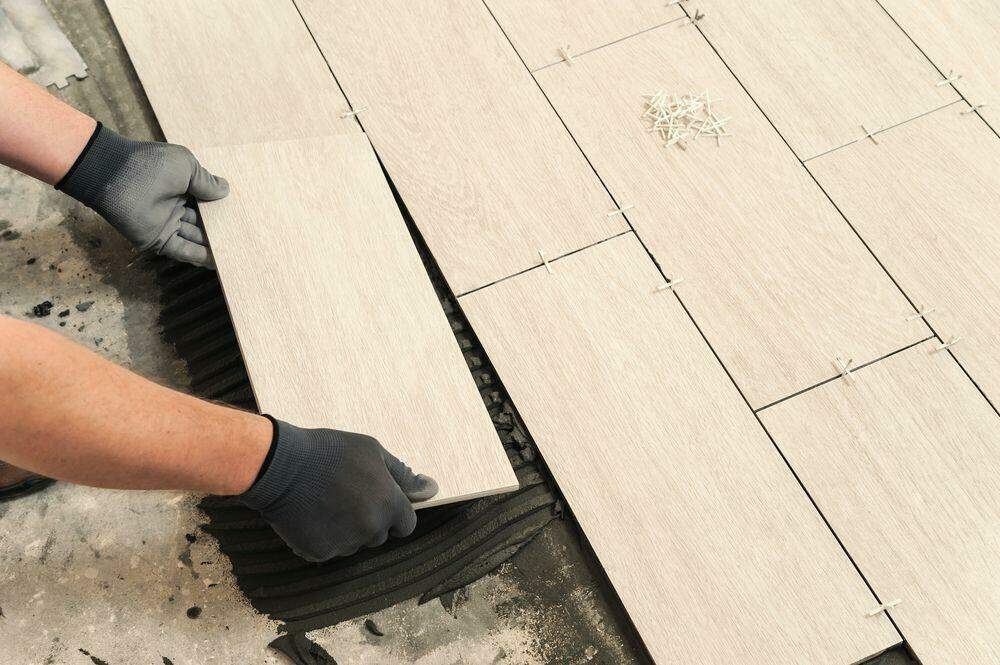
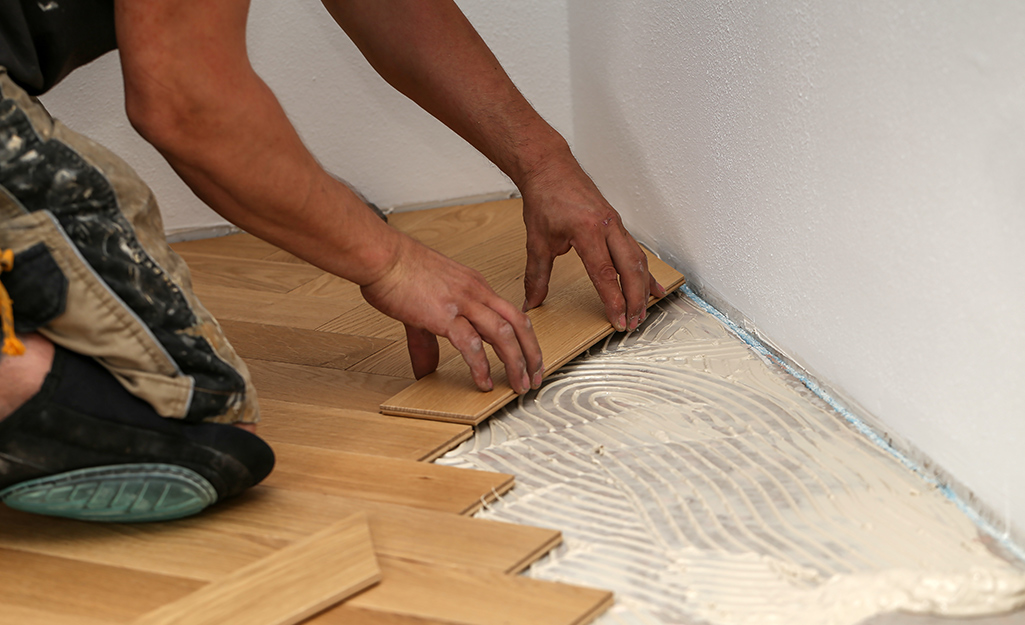
Adhesive Application
Once the tiles have been cut, it’s time to apply adhesive. Spread an even layer of adhesive onto the back of each tile with a trowel, making sure to get into all corners and edges. Carefully place each tile onto the subfloor, making sure it is firmly set in place before moving on to the next one.
Grouting
Once all of the tiles are in place, it’s time for grouting. Mix grout according to manufacturer’s instructions, then spread it over the tiles using a rubber float or grout trowel. Make sure each joint is filled completely before wiping off any excess grout with a damp sponge. Allow the grout to dry completely before applying sealer or wax finish as desired.
FAQs
Q: What kind of saw do I need for cutting wood floor tiles?
A: You will need a wet saw with a diamond blade designed specifically for cutting tile.
Q: Do I need to seal or wax my wood floor tiles after installation?
A: Depending on your preference, you may choose to apply sealer or wax finish after grouting is complete. This will help protect your wood floor tiles from dirt and moisture.
Q: How long does it take to install wood floor tiles?
A: The amount of time required for installation will vary depending on the size of your space and type of pattern you choose. On average, most installations can be completed in 1-2 days.