Wood Floor Paint Removal
Restoring My Floors’ Natural Beauty
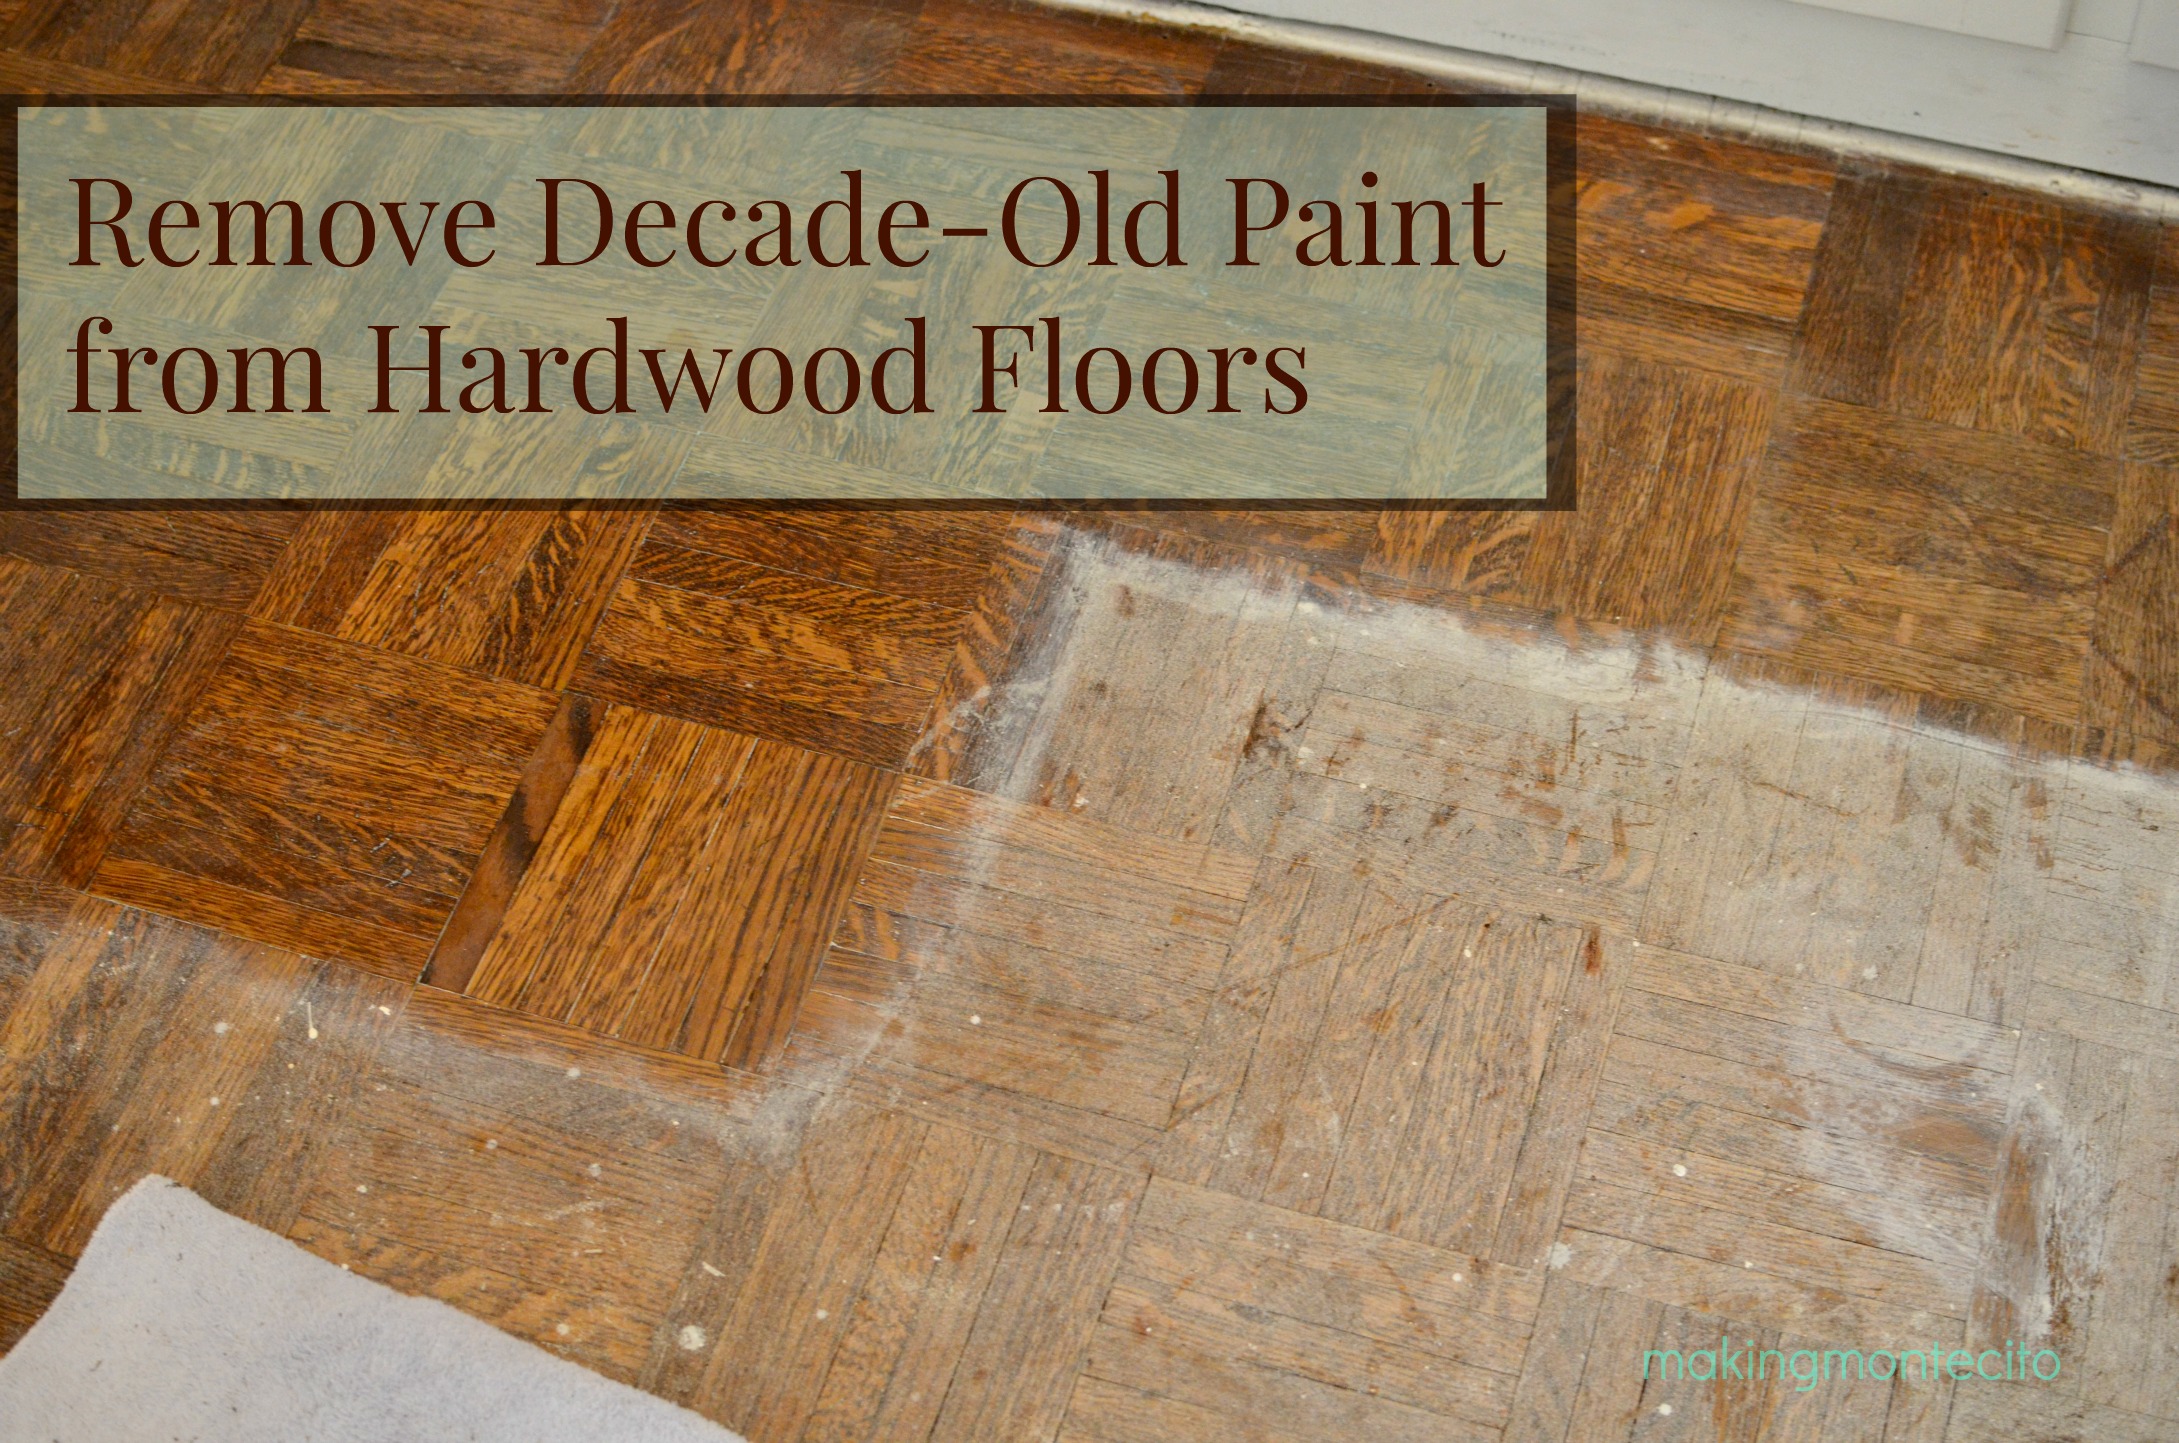
When I moved into my older home, I was ecstatic to find original hardwood floors hiding beneath layers of old carpet and paint. However, the painted wood flooring had chipped, discolored, and were no longer in good condition. Determined to restore their natural beauty, I began the process of removing paint. It was a difficult but enjoyable procedure in which I learned a lot about wood floor restoration. In this article, I’ll discuss my experience removing wood floor paint, including the methods I employed, the materials I needed, the problems I encountered, and the results I obtained.
Why I Decided To Remove The Paint From My Wood Floors
I decided to remove the paint from my wood flooring because I wanted to see the genuine hardwood below. I suspected that the flooring had a rich history and distinct character hidden beneath the layers of paint. Restoring them felt like a way to honor the home’s history while also bringing its original charm back to life.
Another motivation was aesthetic. The painted floors were uneven, with cracked and flaking paint, giving the room a worn and neglected appearance. I desired a clean, professional appearance that would complement the overall decor of my home. Removing the paint and repainting the wood seems to be the best approach to accomplish this.
I also thought about the long term benefits. Paint can trap moisture, resulting in wood decay or warping over time. By removing the paint, I could safeguard the flooring and assure their long-term endurance. This made the endeavor more than just a cosmetic update, but also a useful investment in my home.
Finally, I was inspired by the concept of DIY restoration. I enjoy doing hands-on projects and viewed this as an opportunity to learn new skills while also taking delight in improving my home. While I anticipated a lot of effort, I was intrigued about the task and the potential outcomes.
After researching the procedure and obtaining the necessary equipment, I felt prepared to take on the job and bring my idea to reality.
The Methods I Used to Remove Paint
Sanding was the first procedure I attempted. I rented a floor sander from a local hardware store and started by removing the top coats of paint with coarse-grit sandpaper. Sanding was successful for big, flat areas, but it took time and care to avoid harming the wood. To obtain a smooth finish, I sanded in the direction of the wood grain.
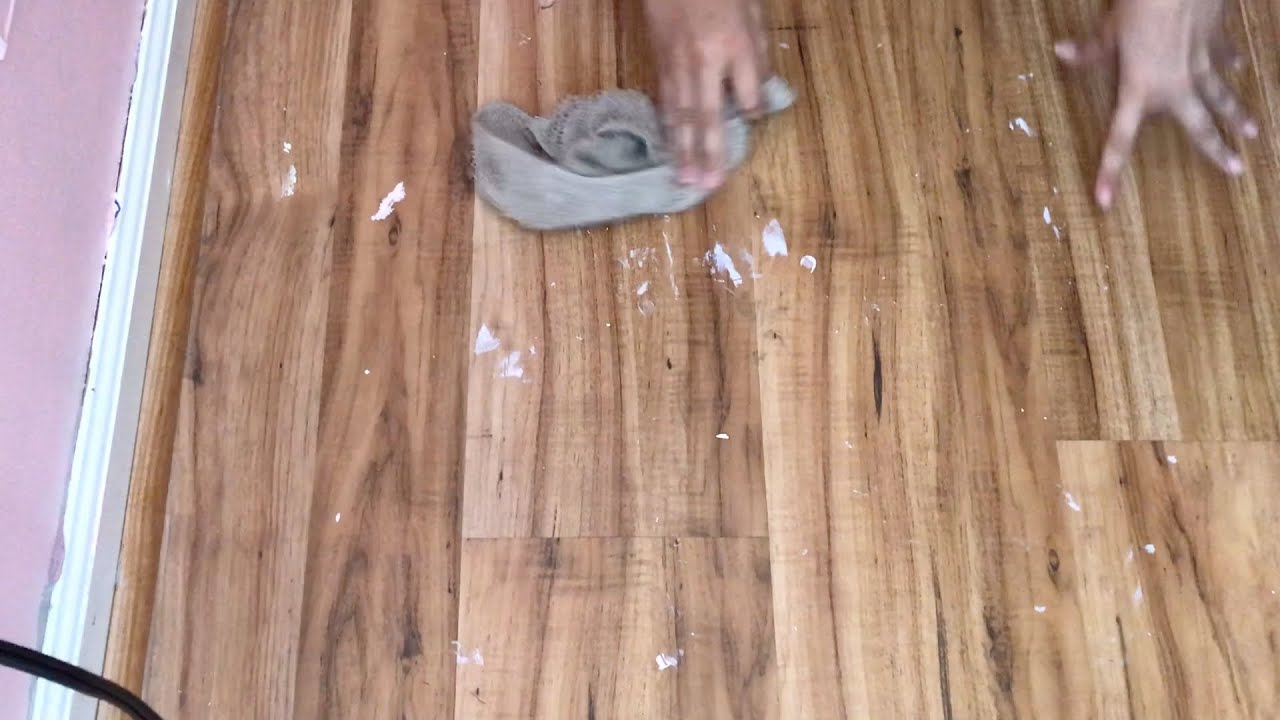
I used a handheld orbital sander and a detail sander to finish the edges and corners where the sander couldn’t reach. These tools enabled me to remove paint from tight spaces without leaving any visible marks. As I went, I used finer-grit sandpaper to polish the surface and prepare it for refinishing.
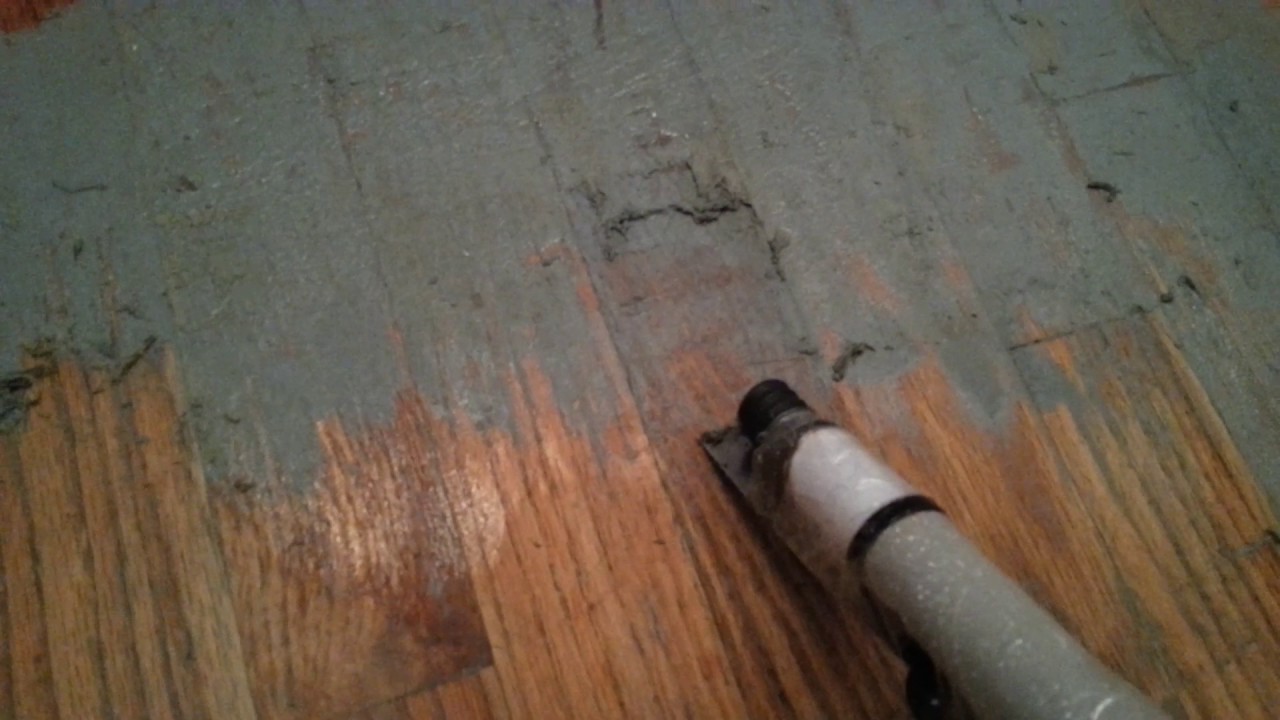
The paint in certain sections was especially resistant, so I used chemical paint strippers. I used a brush to apply a gel-based stripper, waited the prescribed amount of time, and scraped the softened paint off with a putty knife. This procedure was dirty, but it worked well for removing numerous layers of paint in hard-to-reach areas.
After utilizing chemical strippers, I neutralized the surface with a moist cloth and mild detergent to eliminate any remaining residue. This step was critical to getting the wood clean and ready for sanding or refinishing. I also wore safety gear, such as gloves, goggles, and a mask, to avoid contact with harmful chemicals.
After the paint was removed, I sanded the floors again with fine-grit sandpaper to remove any lingering defects. This final sanding procedure prepared the wood for staining and sealing, resulting in a polished, professional appearance.
Challenges I Faced During the Process
One of the most difficult issues I faced was the sheer amount of time and work required. Removing paint off wood floors is a labor-intensive operation, especially in older homes where the paint was applied decades ago. I needed to pace myself and take pauses to avoid burnout.
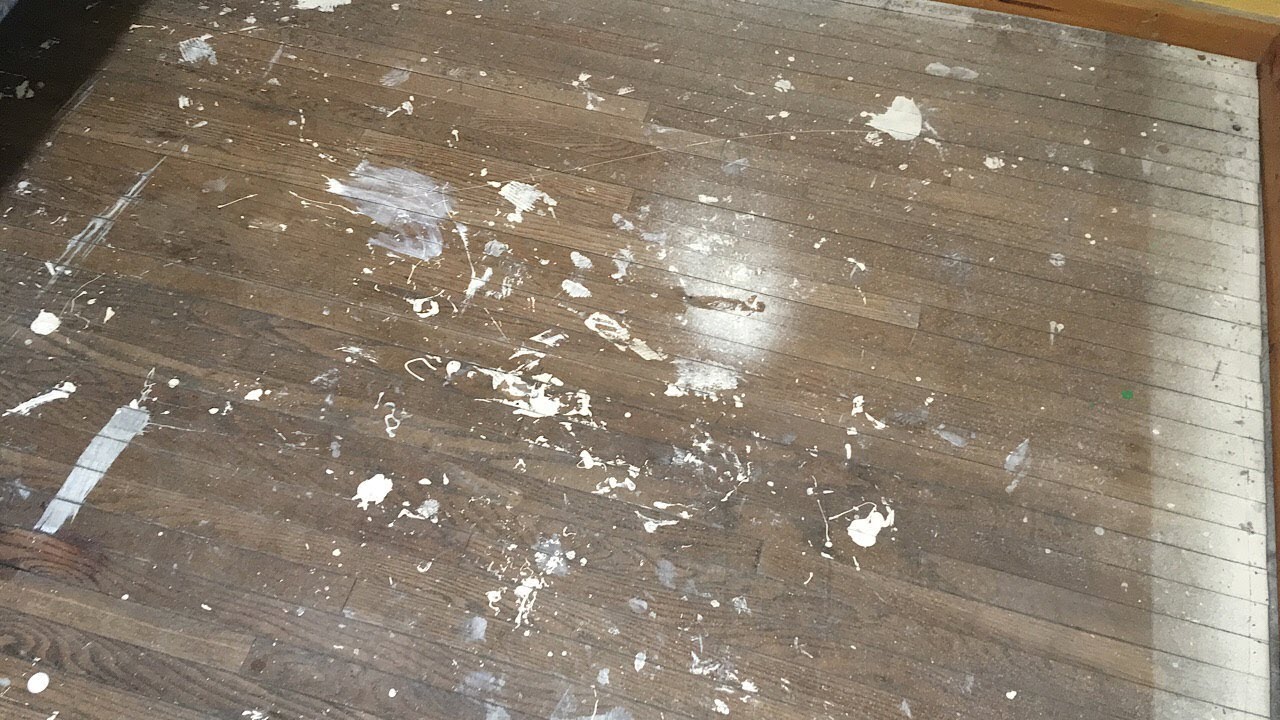
Another problem was coping with uneven paint layers. Some spots had thick, tenacious paint that needed several rounds of sanding or chemical removal. This made the operation more time-consuming and necessitated extra caution to prevent harming the wood.
Dust was another issue. Sanding produces a large amount of dust, which can spread throughout the house if not adequately contained. I sealed off the space with plastic sheeting and wore a mask to avoid breathing dust particles. Despite these efforts, cleaning up afterward was a major undertaking.
Using chemical strippers presented further complications. Even with enough ventilation, the fumes were intense, and the procedure was filthy. I had to be careful not to let the stripper sit for too long, since it could damage the wood. Cleaning up the residue was time-consuming, but required to assure a flat surface for refinishing.
Finally, I had to accept that the flooring would not be flawless. Older wood floors frequently have scratches, dents, and defects that provide character but cannot be fully erased. Learning to accept these defects was part of the journey, and it allowed me to appreciate the particular beauty of the restored floors.

The Results and How I Maintain My Restored Floors
After weeks of hard work, the outcomes exceeded my expectations. The natural grain and color of the wood shone through, creating a welcoming feel in the room. The flooring appeared brand new, but they preserved the charm and history of the original hardwood.
I picked a clear sealer to protect the wood while also enhancing its natural beauty. The sealer gave the surface a modest gloss while also providing a sturdy barrier against scratches and stains. The sealant was the final step in the repair procedure, giving the flooring a glossy, finished appearance.
To keep the refinished floors clean, I sweep or vacuum often to eliminate dirt and debris. I also use a moist mop and wood floor cleanser to maintain the surface clean without ruining the sealer. Avoiding harsh chemicals and excessive water is essential for protecting the wood’s finish.
I use rugs or mats in high-traffic areas to protect the floors from wear and tear. Furniture pads placed beneath the legs of chairs and tables help prevent scratches and dents. These modest efforts go a long way toward keeping the flooring looking great.
Finally, I periodically evaluate the floors for signs of wear and deterioration. If I find any scratches or locations where the sealant has worn off, I fix them right away to avoid further problems. Regular upkeep assures that my repaired wood floors will remain beautiful and practical for many years to come.

PAINT REMOVAL ON WOOD FLOOR
How to Remove Paint from Wood Floors Family Handyman
Life On Elizabeth: How to Remove Paint Splatter from Wood Floors

How to Get Paint Off of Wood Floor Homely Ville

Ways to Remove Paint from Wood

How To Remove Old Paint From A Wooden Floor? » ESB Flooring

How To Remove Paint From Wooden Floors

Hardwood Floors : How to Remove Old Paint From Hardwood Floors

Related articles: