Avoiding needless substances from being monitored on your floor can make laminate floor cleaning very a lot more easy. The real difference is on what laminated floor surfaces are made of. If you settle on the floating laminate floor surfaces you won't want as this type as well as numerous programs of flooring is much easier to install. An additional reason for laminates popularity is its price.
Images Related to What Tools Are Needed For Laminate Flooring Installation
What Tools Are Needed For Laminate Flooring Installation
If perhaps you secure the laminate floors to the floor boards it is going to cause it to crack when it will begin to shift. Maybe the most crucial thing to learn when learning how you can lay laminate flooring is that laminate flooring is not held on the floor boards so if you're fixing it or nailing it to the floor and then stop now. Relatively new to the laminate business, Westhollow has nonetheless managed to record the attention of homeowners across North America.
Laminate Flooring Installation Kit – Roberts Consolidated

The argument may sound logical. Doing periodic, good laminate floor cleaning can come up with the wood floor of yours look like it were simply installed. You will also need to purchase a roll of underlay that will be placed underneath the laminate flooring. One reason for this is that a lot of the manufacturers will not warrant products from internet purchases. Areas that have humidity levels that are high as bathrooms aren't well suited for laminate flooring.
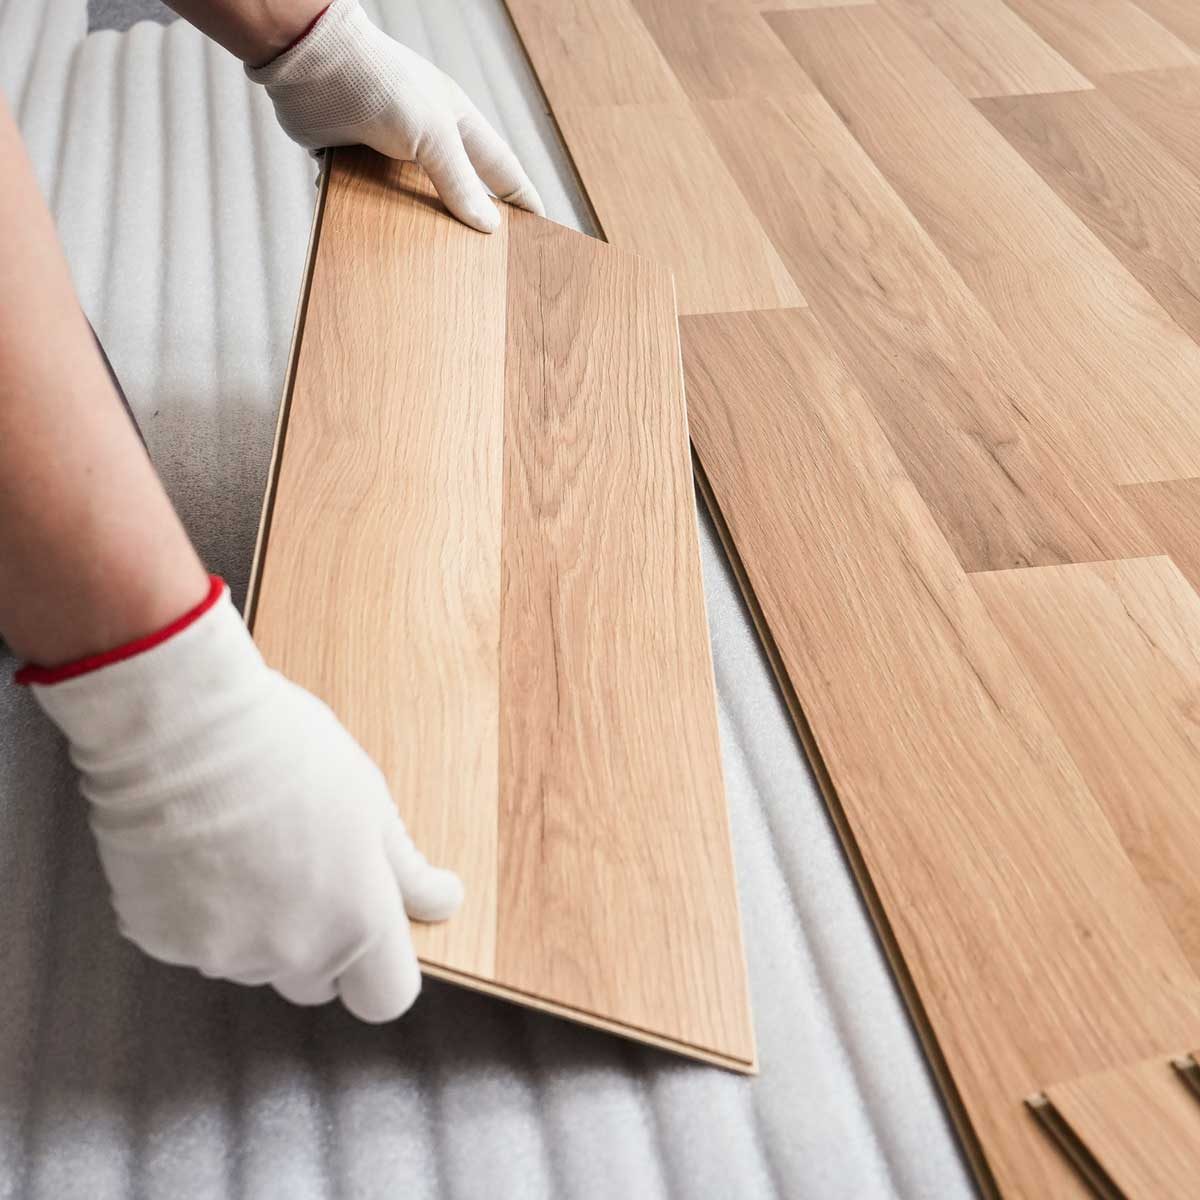
How to Install Laminate Flooring
:max_bytes(150000):strip_icc()/how-to-lay-laminate-flooring-1822250-10-8e53f27b61734e0fa8617209d98b598d.jpg)
Tools For Installing Laminate Flooring Cabana State Of Mind

Laminate Flooring Installation Tools

How to Install Laminate Flooring – Farmers Building Supply

8 Essential Tools for Laminate Flooring Installations The Family
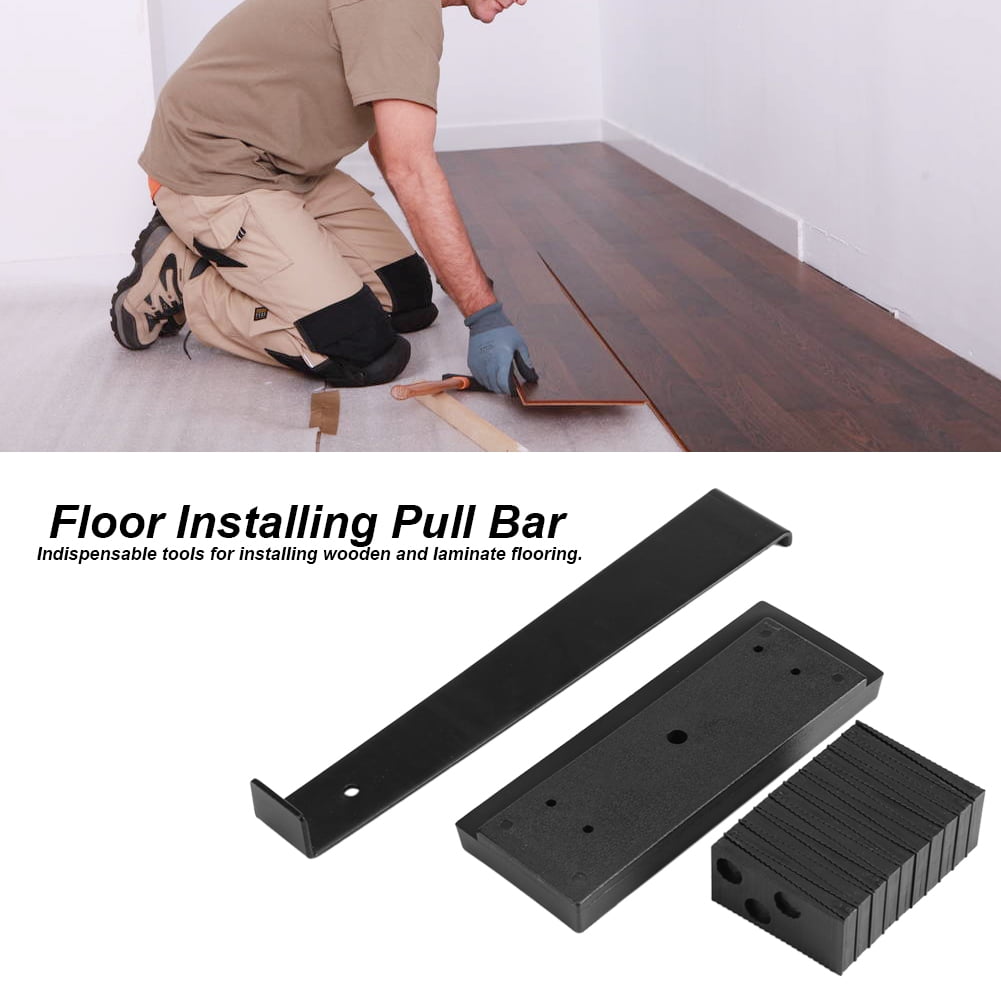
Floor Installation Kit

Amazing DIY Laminate Flooring Tools

The Laminate Flooring Tools Needed for Installing This Flooring
5 Different Tools You Can Use To Cut Laminate Flooring!
Flooring Spacers,Laminate Wood Flooring Tools(12 Pack),Compatible w/Vinyl Plank, Hardwood u0026 Floating Floor Installation etc,Hardwood Flooring w/1/4

Kritne Wooden Floor Spacers,Wood Flooring Installer Tool,Durable Wooden Floor Installation Kit Fitting Set Spacers Pull Bar Tapping Block –
See which laminate flooring tools and cutters I have in my kit!
Related articles:
- Coastal Laminate Flooring
- Commercial Laminate Flooring
- Slate Laminate Flooring
- Laminate Flooring Types
- Laminate Flooring Design
- Commercial Quality Laminate Flooring
- Black Laminate Flooring
- Tigerwood Laminate Flooring
- Royal Cherry Laminate Flooring
- Laminate Flooring Thickness For Basement
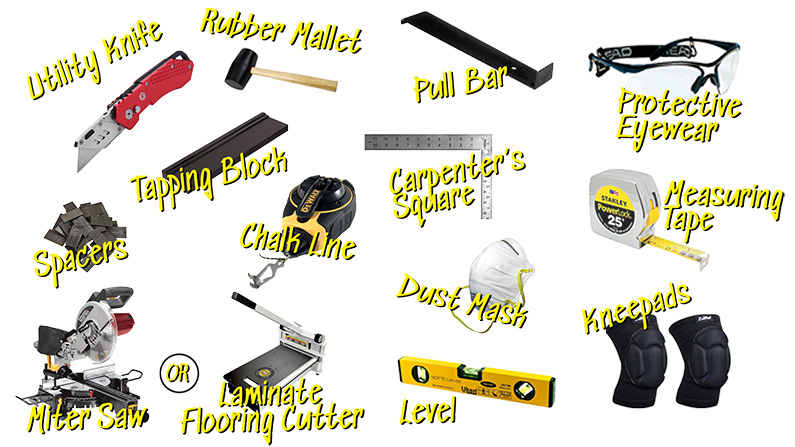
Essential Tools for Laminate Flooring Installation
Installing laminate flooring requires a variety of tools. Here is a list of the essential tools you will need to complete the job:
– Tape measure
– Pencil
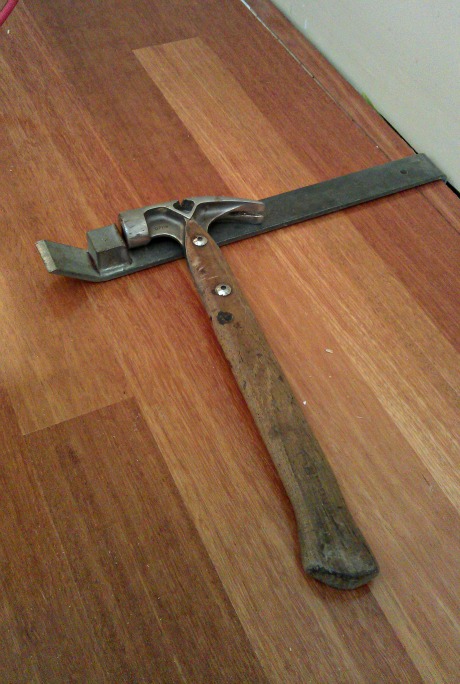
– Hammer
– Safety glasses
– Nail gun with nails
– Chalk line
– Utility knife
– Pry bar
– Saw
– Caulk gun
– Tapping block
– Mallet
– Spacers
– Notched trowel or adhesive spreader
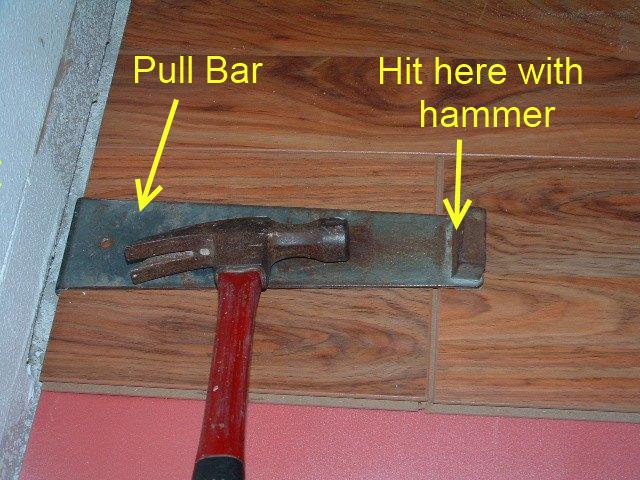
– Pull bar
– Jigsaw or circular saw (optional)
– Router (optional)
How to Use These Tools When Installing Laminate Flooring?
When installing laminate flooring, each of these tools plays an important role in getting the job done correctly. Here’s how to use each one:
1. Tape measure: Use the tape measure to get accurate measurements for your space before beginning the installation process. This will help ensure that your laminate flooring fits perfectly and looks great.
2. Pencil: Use a pencil to mark off any measurements and areas that need to be cut or trimmed. This will make it easier for you to make precise cuts when installing your laminate flooring.
3. Hammer: You will need a hammer to tap in any nails that are necessary for securing the laminate boards into place. Be sure to wear safety glasses when using a hammer.
4. Nail gun: The nail gun is used to secure the laminate boards in place. Make sure you have the right type of nails for your type of flooring before using the nail gun.
5. Chalk line: Use this tool to draw a straight line on the subfloor where you’ll begin laying your laminate flooring. This will help ensure that your boards are laid in a straight line and that there are no gaps between them.
6. Utility knife: Use the utility knife to trim any excess material from your laminate boards after they’ve been installed. This will help ensure that your floor looks neat and professional when it’s finished.
7. Pry bar: Use the pry bar to lift up any existing flooring that needs to be removed before installing your new laminate flooring. This tool can also be used to remove any nails or staples that remain in the subfloor after existing flooring has been removed.
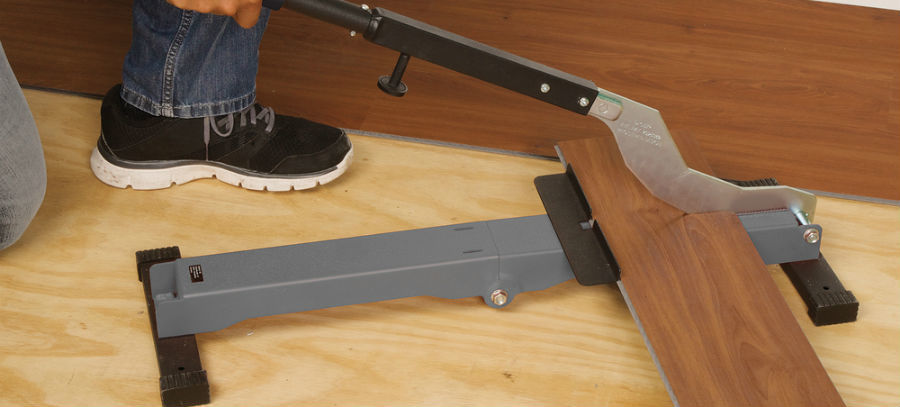
8. Saw: You may need a saw if you have to cut your boards down to size or make any other adjustments before installing them. A jigsaw or circular saw will work best for this task, but an old-fashioned handsaw can also do the job if necessary.
9. Caulk gun: Use this tool to apply adhesive along the perimeter of your room where the laminate boards meet the wall and other obstructions like door frames and radiators. This will help ensure that your boards stay securely in place for years to come.
10. Tapping block: The tapping block is used to press down on the boards after they’ve been installed, ensuring that they fit tightly together and don’t move around once they’re in place.
11. Mallet: The mallet is used with the tapping block when pressing down on boards during installation, as it provides more force than just using your hands alone.
12. Spacers: Spacers are used to maintain even spacing between boards as they’re being installed, ensuring that there is adequate room for expansion and contraction over time due to changes in temperature and humidity levels in the home environment.
13. Notched trowel or adhesive spreader: Use these tools