If you like operating in the garage of yours you might want to consider applying a good garage flooring surface to add approach and comfort to the work area of yours. They are okay to be purchased on the internet, as a roll or maybe an extensive mat, and set up is as simple as cutting them to fit the garage as necessary, and next unrolling. The finishing results in danger of ceramic like finish.
Here are Images about Valspar Garage Floor Coating Instructions
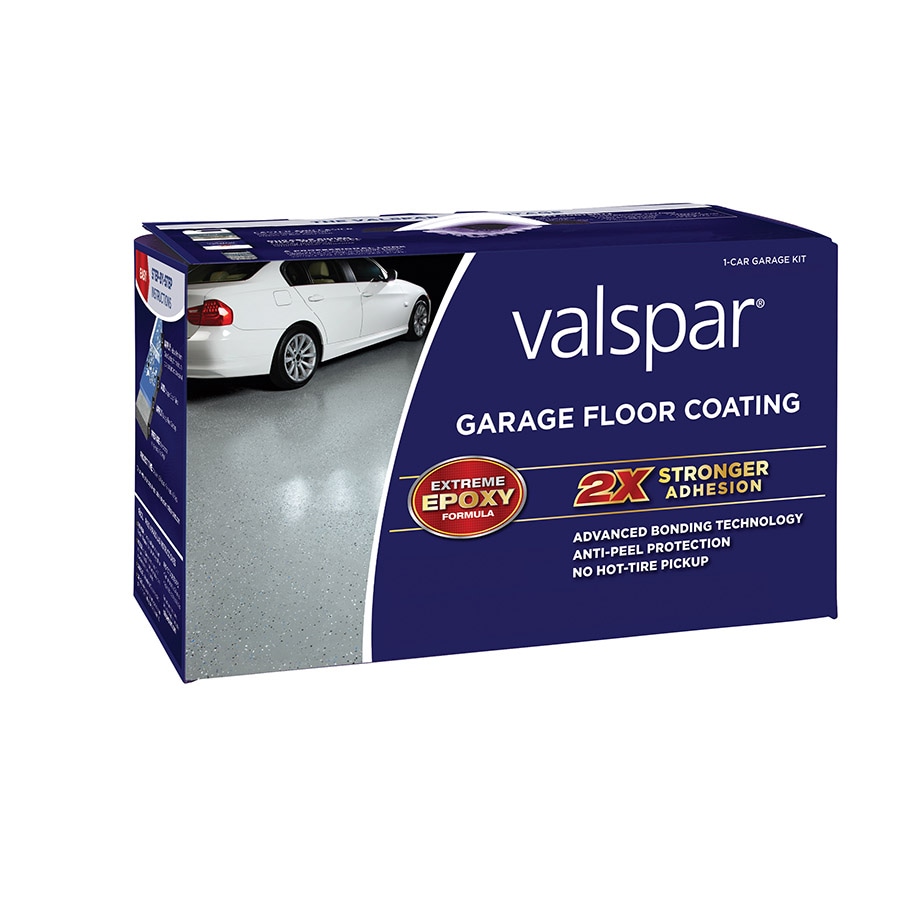
Valspar Garage Floor Coating Instructions
Garage floors paint is ready to make use of right out of the can and continues on pretty easily with a roller or even paintbrush. Another cool benefit to tile flooring is that you can replace specific tiles if someone becomes damaged. Today, technology advancements makes possible all garage floors coatings a set amount of one with various paints.
Amazon.com: Valspar (81052 Premium Clear Epoxy Kit – 1 Gallon

You are able to additionally touch up spots which become much too awful or even tarnished in period. Others want using a mat to cover the work area of theirs, and some prefer the style of a mat that involves the entire floor room. The advantage of adaptable garage flooring is that you can drive a hefty car with it without breaking or perhaps cracking the floor.
Images Related to Valspar Garage Floor Coating Instructions
Garage Floor Coating Instructions

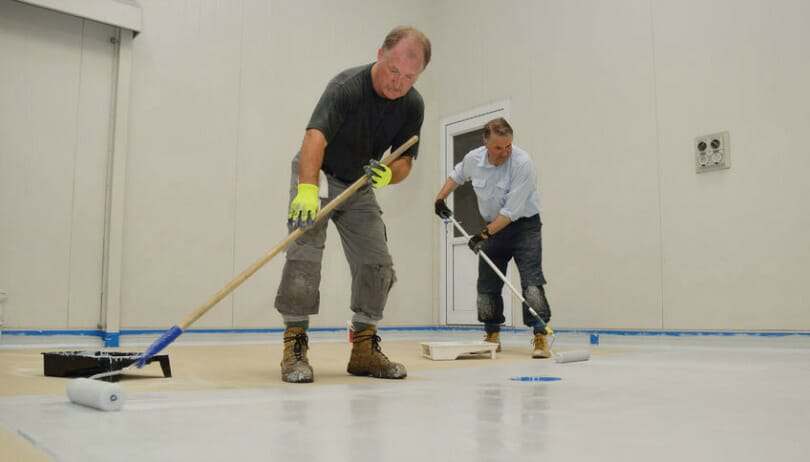
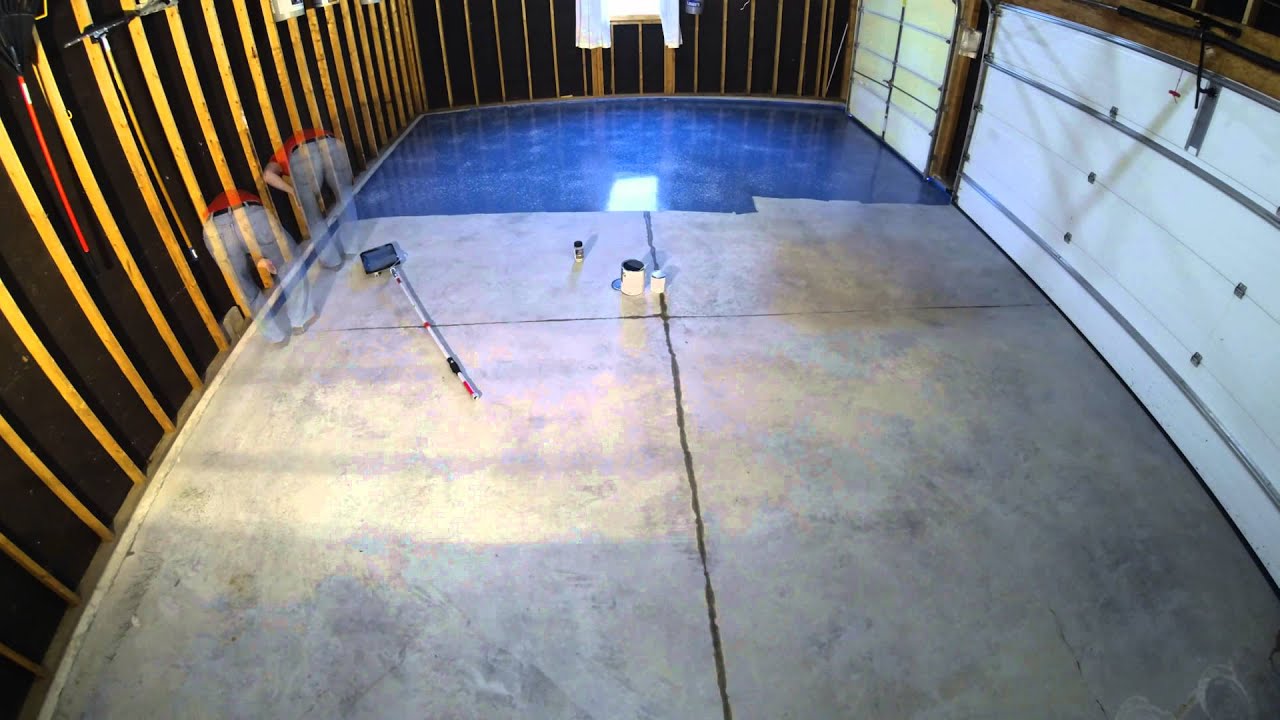
Applying Garage Floor Coating by Valspar

How to Apply Garage Floor Epoxy Coatings The DIY Guide All
Amazon.com: Valspar (81020) Light Gray Garage Floor Coating Kit

Valspar Garage Floor Epoxy Coating – CorvetteForum – Chevrolet
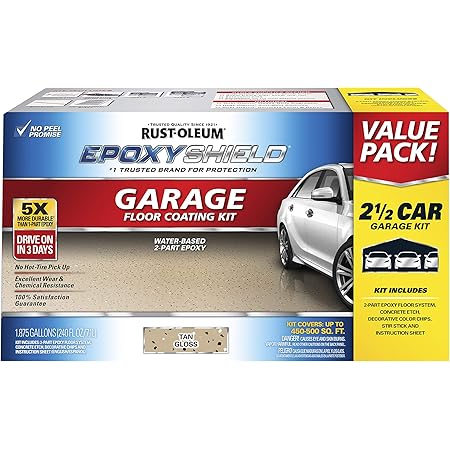
Amazon.com: Rust-Oleum 261846 EPOXYSHIELD Garage Floor Coating
Valspar Garage Floor Epoxy Coating – CorvetteForum – Chevrolet

Valspar Garage Floor Epoxy Application November 2
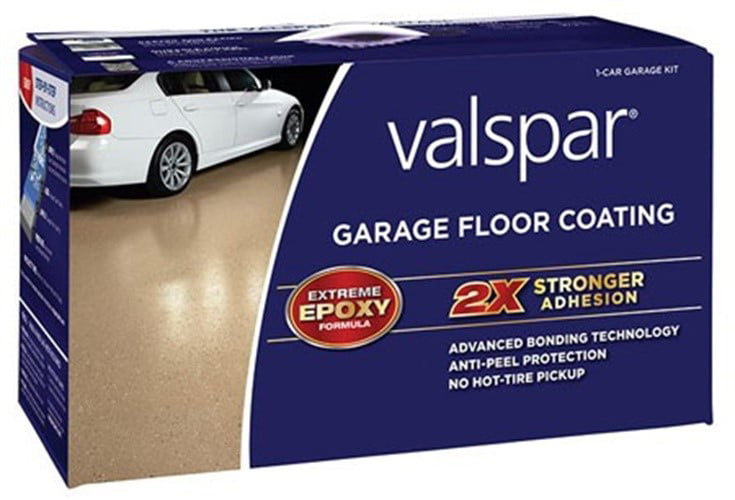
Paint,Epoxy Floor Kit Tan
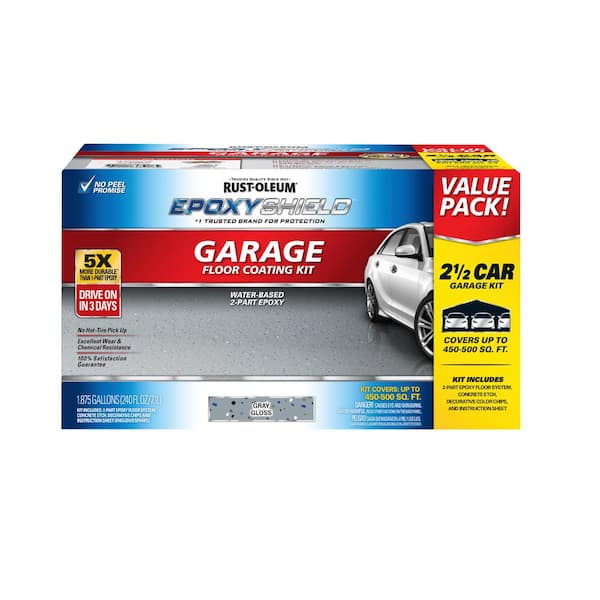
Rust-Oleum EpoxyShield 240 oz. Gray High-Gloss 2.5-Car Garage
EPOXYSHIELD® Garage Floor Deep Tint Base Kit Product Page
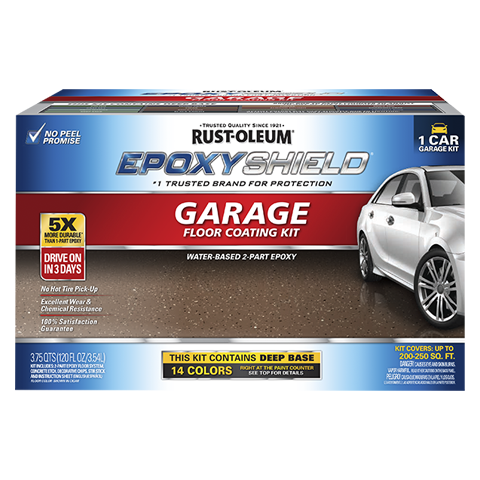
EPOXYSHIELD® Gloss 1-Car Garage Floor Coating Kit – 120 oz. at

Related articles:
- Interlocking Garage Floor Tiles
- Garage Floor Coatings
- Garage Floor Ideas
- Garage Floor Paint
- Garage Floor Rubber Covering
- Garage Floor Coating Paint
- Garage Floor Epoxy Ideas
- Best Garage Floor Material
- Black Epoxy Garage Floor Coating
- Garage Floor Slab Thickness
Valspar Garage Floor Coating Instructions: A Comprehensive Guide to Achieving a Durable and Beautiful Garage Floor
Introduction:
Transforming your garage floor into a sleek and durable space is easier than ever with the Valspar Garage Floor Coating system. Whether you’re looking to enhance the overall aesthetic appeal of your garage or protect it from everyday wear and tear, this step-by-step guide will walk you through the process of applying Valspar’s high-performance coating. With its easy-to-follow instructions and professional-grade quality, you can achieve a long-lasting, showroom-worthy finish that will leave your neighbors envious.
Preparing Your Garage Floor:
Before diving into the application process, it is crucial to prepare your garage floor properly. This ensures optimal adhesion and longevity of the coating. Follow these steps to get your garage floor ready for Valspar Garage Floor Coating:
1. Clear the Area: Remove all items from your garage, including vehicles, tools, and storage items. Sweep away any loose debris or dirt using a broom or shop vacuum cleaner.
2. Repair Any Damages: Inspect your garage floor for cracks, chips, or other damages. Use a concrete patching compound to fill in these imperfections and allow sufficient drying time as per the manufacturer’s instructions.
3. Clean Thoroughly: Remove any oil stains or stubborn grime by applying a strong degreaser or etching solution to the surface. Scrub the entire floor using a stiff-bristle brush or power washer. Rinse thoroughly with clean water and allow it to dry completely.
4. Test for Moisture: To ensure proper adhesion of the coating, conduct a moisture test on your garage floor. Tape down a plastic sheet measuring approximately 2ft x 2ft on different areas of the floor. Leave it undisturbed for 24 hours. If moisture accumulates under the plastic sheet, you may need to consider using a moisture barrier before proceeding with the coating application.
Applying Valspar Garage Floor Coating:
Now that your garage floor is prepped and ready, it’s time to apply the Valspar Garage Floor Coating. Follow these detailed instructions to achieve professional-looking results:
1. Gather Your Materials: Ensure you have all the necessary tools and materials before starting the application process. This includes Valspar Garage Floor Coating kit, which typically consists of a base coat, decorative flakes, and a topcoat; paint roller with an extension pole; paint tray; painter’s tape; and a paintbrush for cutting in.
2. Mix the Base Coat: Carefully follow the manufacturer’s instructions on mixing the base coat. Typically, this involves combining Part A and Part B of the base coat in specific proportions and thoroughly stirring them together until fully blended.
3. Cut-In and Trim: Using a paintbrush, apply a thin layer of the mixed base coat along the edges of your garage floor where it meets walls or other surfaces. This technique is known as “cutting in” and ensures a clean and even finish. Take your time to achieve precise lines and corners.
4. Roll on the Base Coat: Pour some of the mixed base coat into a paint tray. Attach an extension pole to your paint roller for ease of application. Starting from one corner of your garage floor, evenly roll on the base coat using long strokes in one direction. Work in sections, moving gradually across the entire floor surface.
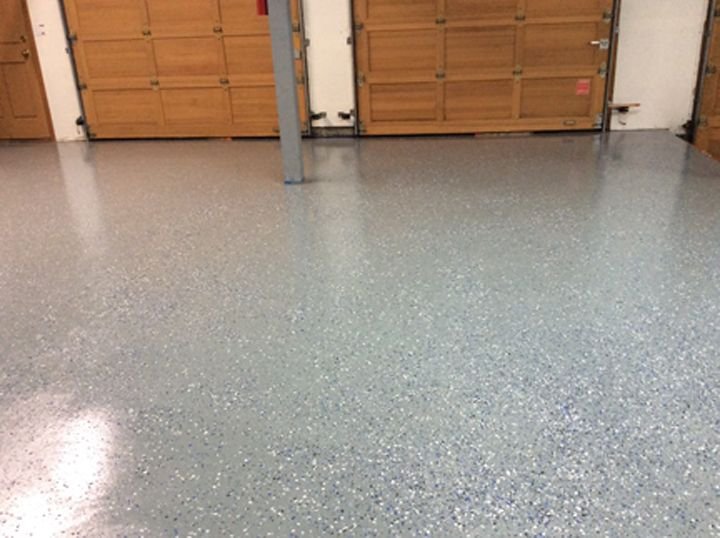
5. Sprinkle Decorative Flakes: While The base coat is still wet, sprinkle the decorative flakes evenly over the entire floor surface. Use as much or as little as desired to achieve your desired look. Allow the base coat to dry completely, usually for about 24 hours, before proceeding to the next step.
6. Apply the Topcoat: Mix the topcoat according to the manufacturer’s instructions, similar to the base coat. Cut in along the edges of the floor with a paintbrush and then roll on the topcoat using long, even strokes with a paint roller. Work in sections just like with the base coat, ensuring complete coverage of the entire floor area.
7. Allow Proper Drying Time: After applying the topcoat, allow it to dry according to the manufacturer’s instructions. This typically takes about 24-48 hours. Avoid walking or driving on the coated surface until it is fully dry and cured.
8. Clean Up: Clean your tools and equipment immediately after use with warm soapy water.
Following these steps will help you achieve a durable and professional-looking garage floor coating using Valspar Garage Floor Coating. Enjoy your newly transformed space! 9. Maintenance: To keep your garage floor coating looking its best, regularly clean it with a mild detergent and water. Avoid using harsh chemicals or abrasive cleaners that could damage the finish. If any areas become worn or damaged over time, apply touch-up coats as needed to maintain the appearance and protection of the coating. 10. Enjoy your newly transformed space: Once the coating is fully dry and cured, you can start using your garage again. Enjoy the durable and professional-looking finish of your Valspar Garage Floor Coating.