Garage floor tiles are capable of doing just about anything as well, if not better than, every other sort of flooring, meaning that it is best to choose which qualities are the most essential for your situation before starting to select the tiles for the storage area of yours.
Here are Images about Rustoleum Garage Floor Kit Reviews
Rustoleum Garage Floor Kit Reviews
Whether you buy a mat, favor garage floor tile, or would like to use epoxy or perhaps some other flooring improvement, the project starts off with the undesirable task of shifting everything out of the garage, that will at some point have to be put again in once again. automobile then garage flooring might be a different phrase to you.
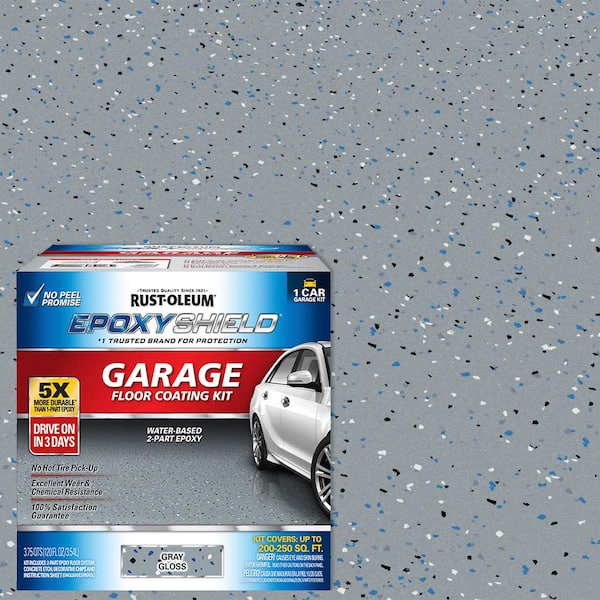
Rust-Oleum EpoxyShield 2 Gal. Gray Garage Floor Epoxy 261845
Despite the fact that covering the garage floor is not a priority for a lot of, the significance of it's nonetheless great. Vinyl or concrete patches may quickly and easily fill any cracks greater compared to ¼" in diameter. And compared to floor tiles, garage area mats are actually the much cheaper solution. This may serve to not only keep the feet snug, but cover up a few cracked flooring as well.
Images Related to Rustoleum Garage Floor Kit Reviews
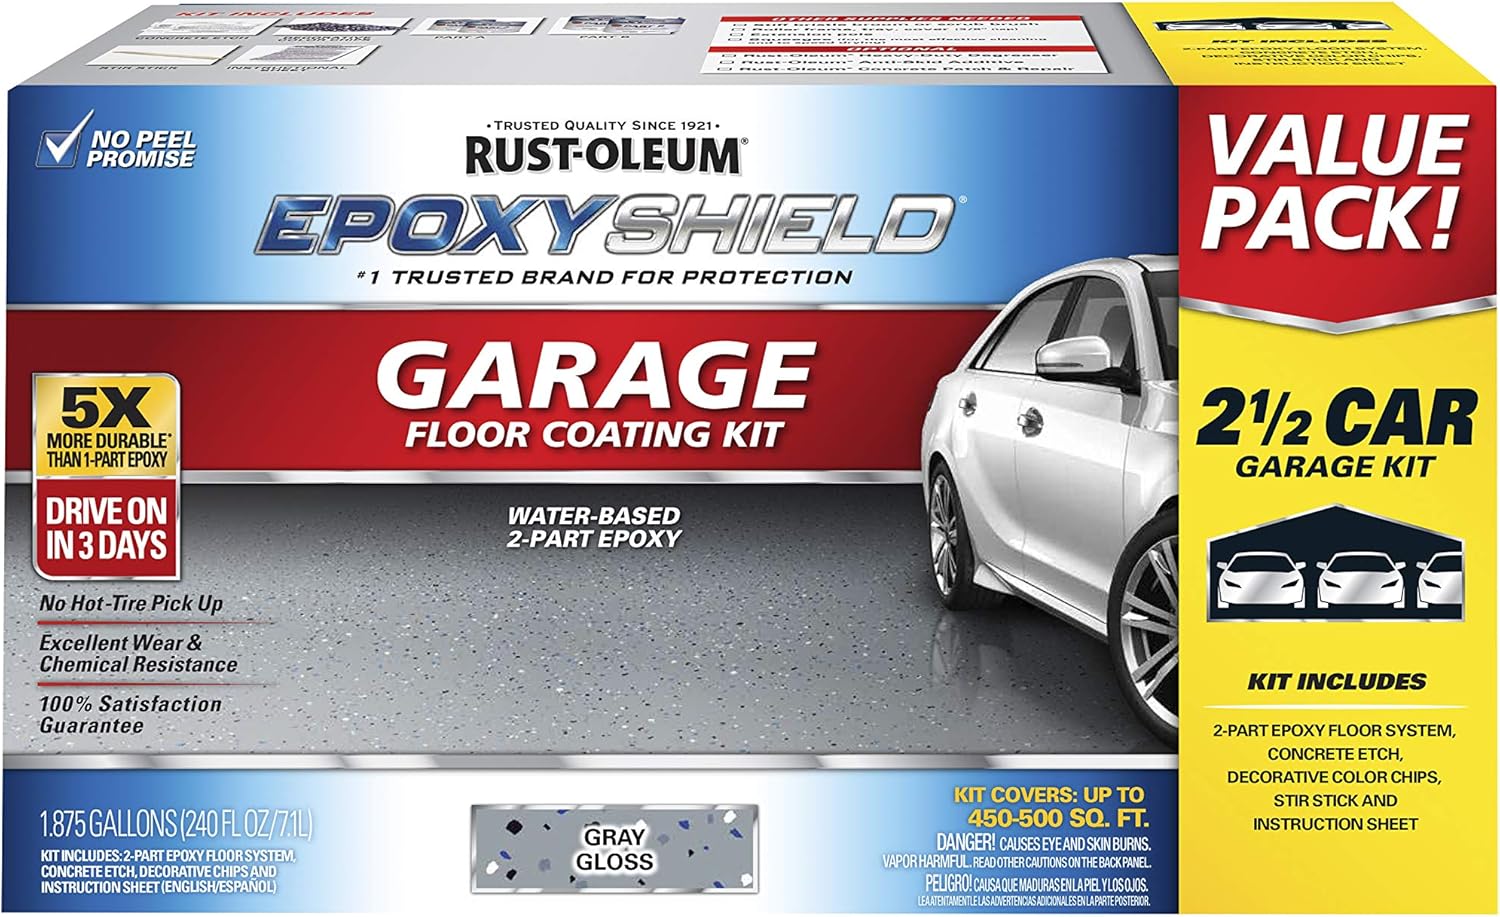
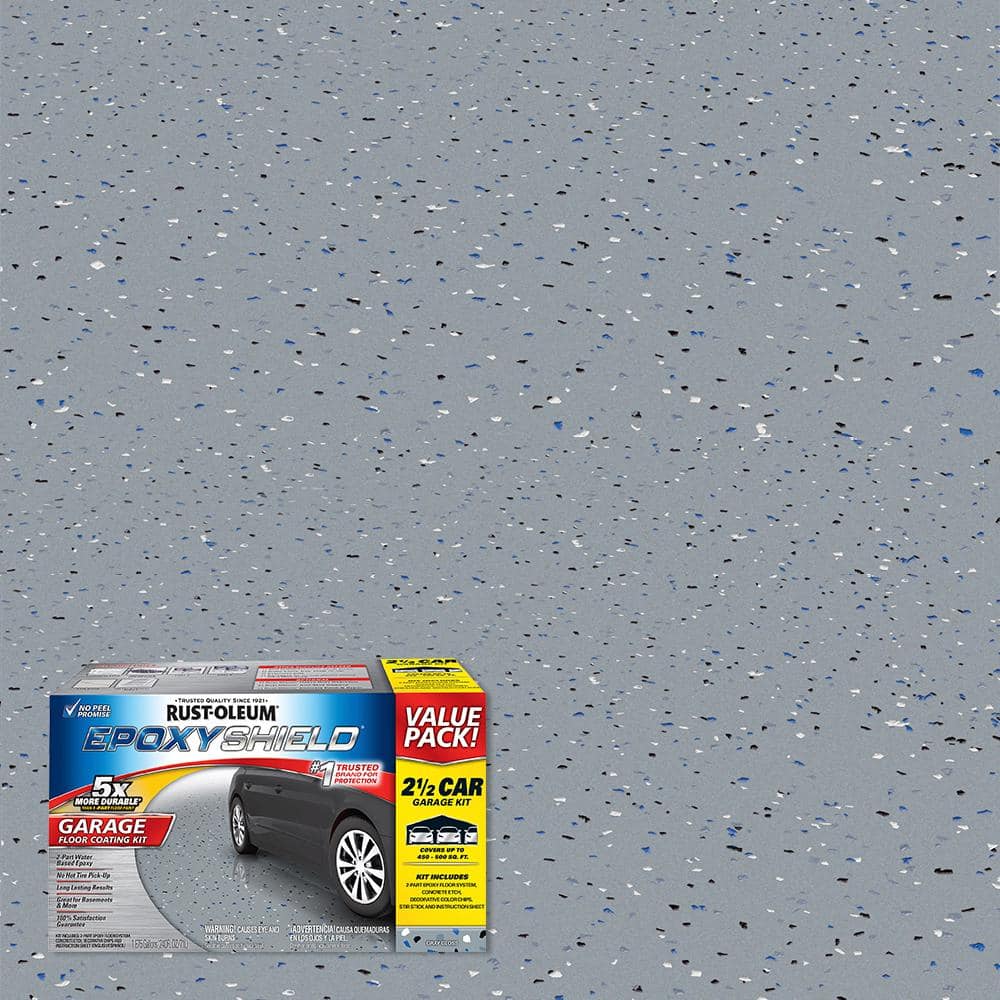
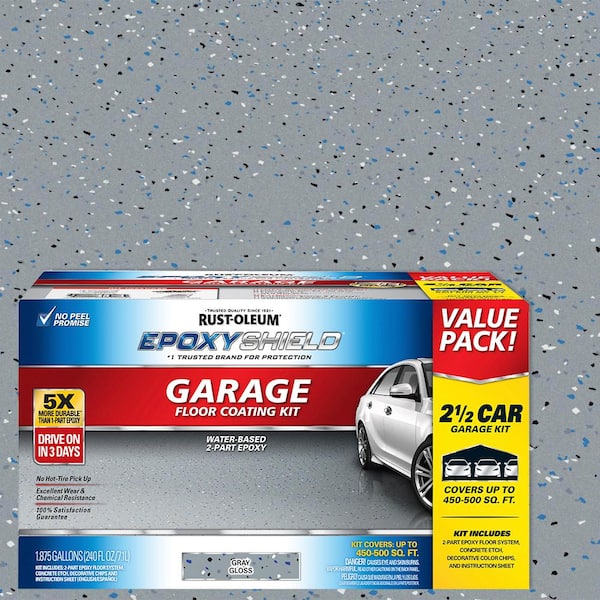
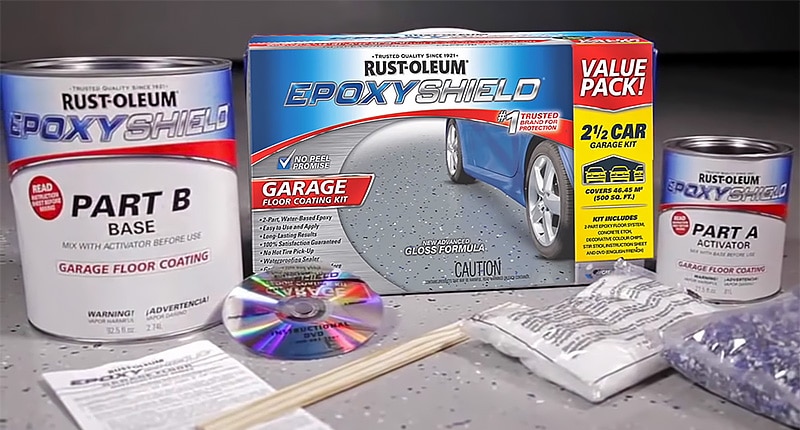
Rust-Oleum EpoxyShield 240 oz. Gray High-Gloss 2.5-Car Garage
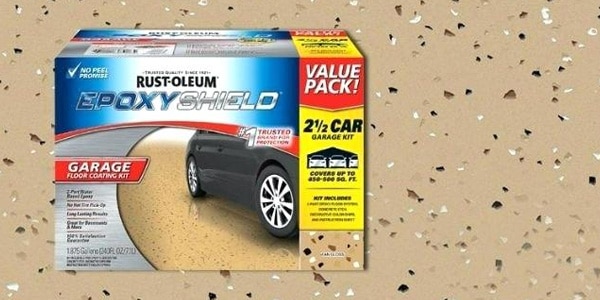
The Bad Reviews of Rust-Oleum and Quikrete Epoxy Paint Kits All
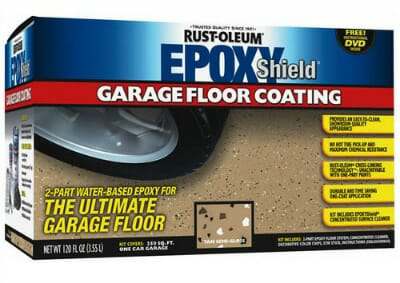
Reviews for Rust-Oleum EpoxyShield 90 oz. Gray Epoxy 1-Car Garage
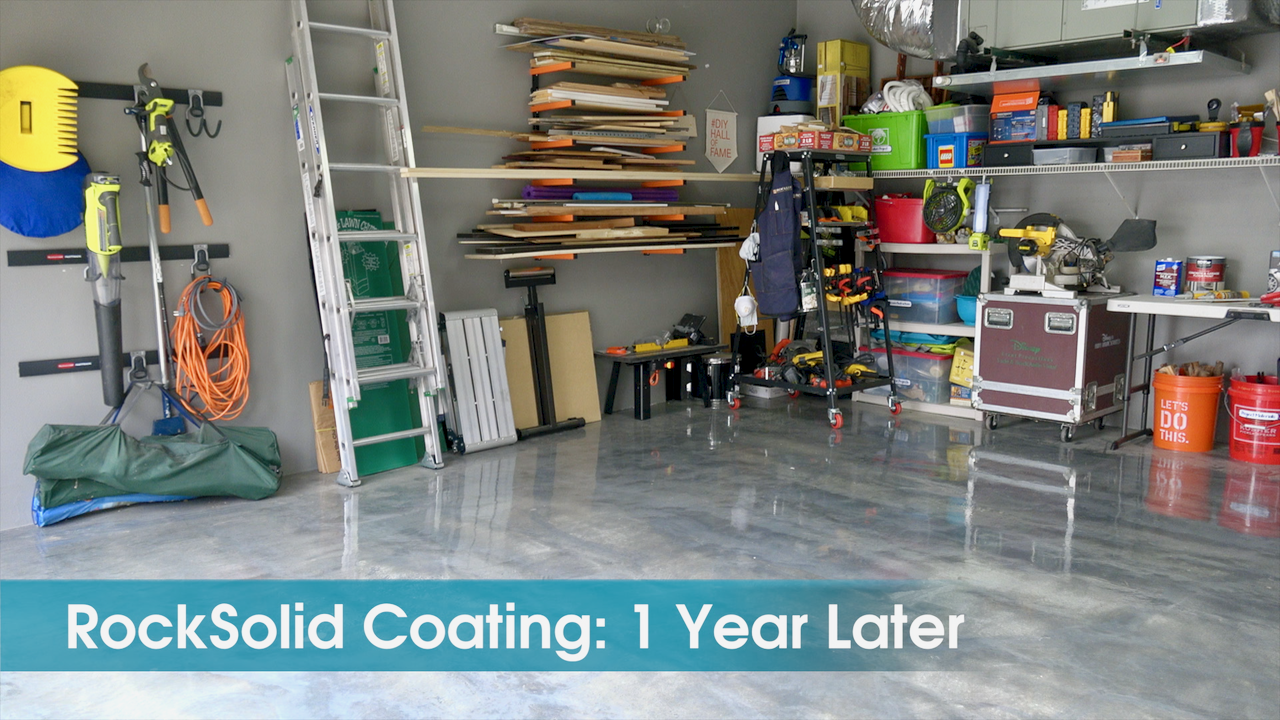
Rust-OIeum Garage Coating Kit: 1 Year Review – Mother Daughter
Rust-Oleum EpoxyShield 2-part Gray Gloss Garage Floor Epoxy Kit (1
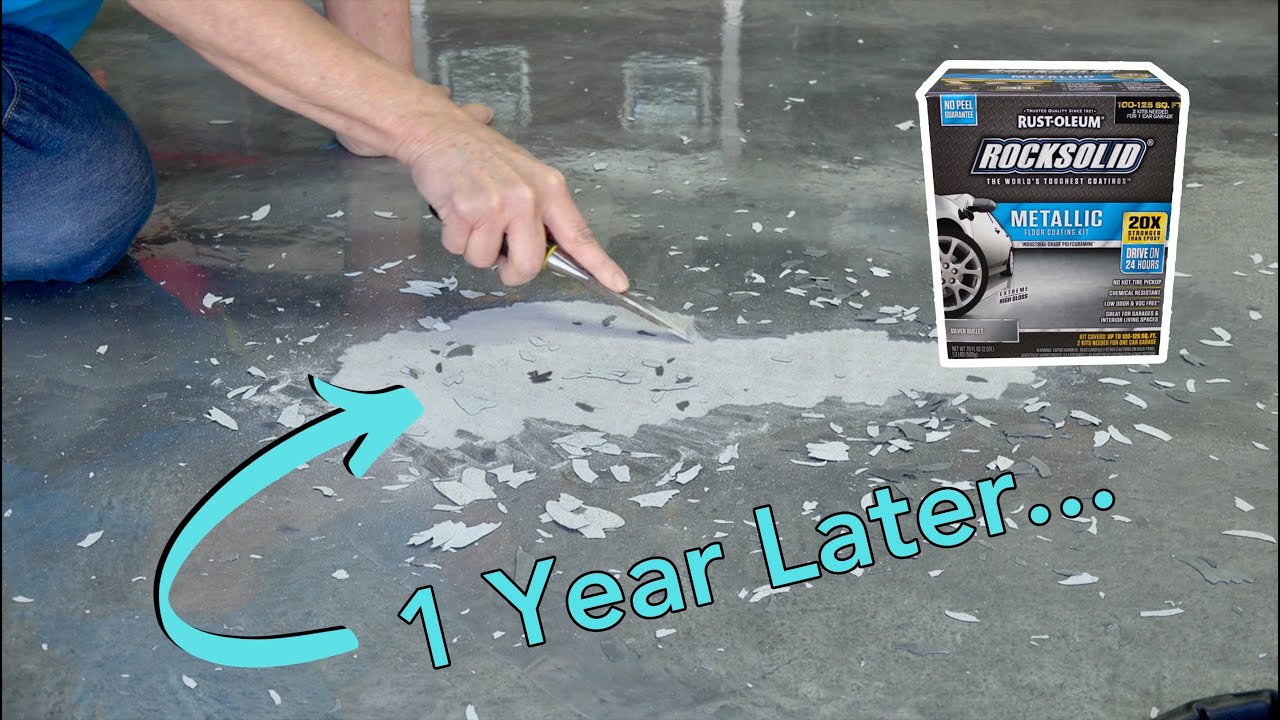
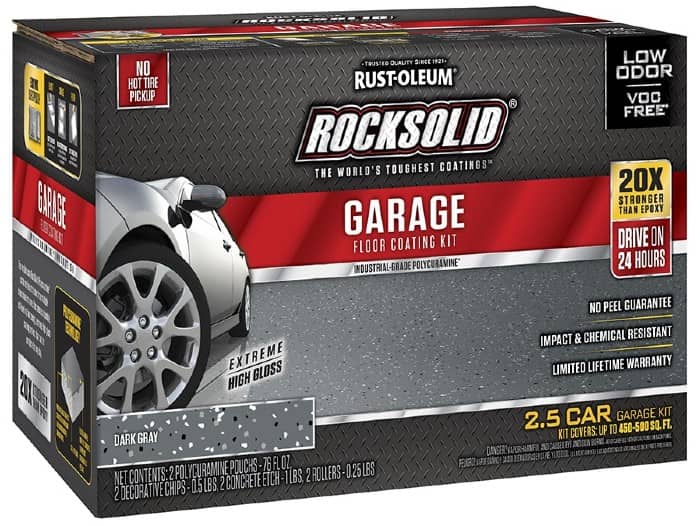
Pandemic Project: Rust-Oleum RockSolid Garage Floor Coating
RockSolid Garage Floor Coating Reviews and Important Facts All
Rust-Oleum EpoxyShield 2-part Gray Gloss Garage Floor Epoxy Kit (1

Best Garage Floor Coating of 2022 – This Old House
/cdn.vox-cdn.com/uploads/chorus_asset/file/22308892/1120_FEA_Idea_House_Fairfield_Farmhouse_08142020NR_0078_v3.jpg)
Rust-Oleum EpoxyShield Concrete Floor Paint [PROFESSIONAL Review]
Rust-OIeum Garage Coating Kit: 1 Year Review – Mother Daughter
Rust-Oleum EpoxyShield Concrete Floor Paint [PROFESSIONAL Review]
Related articles:
- Interlocking Garage Floor Tiles
- Garage Floor Coatings
- Garage Floor Ideas
- Garage Floor Paint
- Garage Floor Rubber Covering
- Garage Floor Coating Paint
- Garage Floor Epoxy Ideas
- Best Garage Floor Material
- Black Epoxy Garage Floor Coating
- Garage Floor Slab Thickness
Rustoleum Garage Floor Kit Reviews: The Ultimate Guide to Transforming Your Garage
Introduction:
Are you tired of looking at your dull, stained garage floor? Do you want to give it a fresh and polished look? Look no further than the Rustoleum Garage Floor Kit. This innovative product has gained popularity among homeowners for its ability to transform worn-out concrete floors into stunning, professional-looking surfaces. In this comprehensive guide, we will delve into the features, benefits, and drawbacks of the Rustoleum Garage Floor Kit, along with answering some frequently asked questions.
1. What is the Rustoleum Garage Floor Kit?
The Rustoleum Garage Floor Kit is a high-performance epoxy coating designed specifically for garage floors. It consists of two main components – an epoxy base coat and a clear topcoat. When applied correctly, this kit can provide a durable and attractive finish that protects your garage floor from stains, chemicals, and wear.
2. Features of the Rustoleum Garage Floor Kit:
a) Easy Application: The Rustoleum Garage Floor Kit is user-friendly and can be applied by anyone with basic DIY skills. The kit comes with detailed instructions to ensure a smooth application process.
b) Durable Finish: Once cured, the epoxy coating forms a tough and resilient surface that can withstand heavy foot traffic, vehicle traffic, and other everyday use.
c) Chemical Resistance: One of the standout features of this kit is its resistance to chemicals such as gasoline, oil, antifreeze, and household cleaners. This makes it an ideal choice for garages where spills are common.
d) UV Protection: The clear topcoat contains UV inhibitors that prevent yellowing or fading due to prolonged exposure to sunlight.
e) Versatility: While primarily designed for garage floors, the Rustoleum Garage Floor Kit can also be used on basement floors, workshops, laundry rooms, and other concrete surfaces.
3. How to Apply the Rustoleum Garage Floor Kit:
a) Surface Preparation: Proper surface preparation is crucial for achieving a long-lasting finish. Start by thoroughly cleaning the garage floor using a degreaser and a power washer. Remove any existing coatings or sealants, and repair any cracks or imperfections in the concrete.
b) Etching: Etching the concrete is necessary to ensure proper adhesion of the epoxy coating. This can be done using Rustoleum’s Concrete Etch, which comes included in the kit. Follow the instructions on the bottle for the correct dilution and application method.
c) Applying the Base Coat: Once the floor is etched and dry, mix the epoxy base coat according to the instructions provided. Use a roller or brush to apply an even coat, working in manageable sections. Allow it to dry for the recommended time before proceeding.
d) Topcoat Application: After the base coat has cured, mix and apply the clear topcoat using a clean roller or brush. Ensure even coverage and avoid overworking the product to prevent streaks or bubbles. Allow sufficient drying time as per the instructions.
e) Curing and Final Touches: The epoxy coating will typically take around 24 hours to cure fully. During this time, it’s important to keep foot traffic and vehicles off the floor. Once cured, you can add optional decorative flakes or chips to enhance its appearance.
4. Pros and Cons of Using Rustoleum Garage Floor Kit:
Pros:
– Easy application process that can be completed by homeowners with basic DIY skills.
– D Urable finish that can withstand heavy foot and vehicle traffic.
– Chemical resistance to common garage spills and cleaners.
– UV protection to prevent yellowing or fading due to sunlight exposure.
– Versatile usage on various concrete surfaces.
Cons:
– Surface preparation can be time-consuming and require additional tools such as a power washer.
– Etching the concrete may pose challenges for some users.
– Proper mixing and application of the base coat and topcoat are crucial for a smooth finish.
– The curing process takes around 24 hours, during which the floor should not be used.
5. Overall, the Rustoleum Garage Floor Kit offers an easy-to-use solution for homeowners looking to enhance the look and durability of their garage floors. With its user-friendly application process, durable finish, chemical resistance, UV protection, and versatility, it is a popular choice among DIY enthusiasts. However, proper surface preparation, mixing, and application techniques are essential for achieving the desired results. Additionally, the time-consuming surface preparation and challenges with etching may deter some users. The curing process also requires 24 hours of no foot or vehicle traffic, which can be an inconvenience. Overall, the Rustoleum Garage Floor Kit is a reliable option for those willing to put in the effort for a professional-looking garage floor. To ensure proper dilution and application of the Rustoleum Garage Floor Kit, follow these instructions:
1. Surface Preparation: Clean the garage floor thoroughly to remove any dirt, grease, or oil. Use a power washer if necessary. Allow the floor to dry completely before proceeding.
2. Etching the Floor (if required): If the instructions recommend etching the floor, follow the provided instructions carefully. This may involve applying an etching solution and scrubbing the surface with a brush or broom. Rinse off the solution and allow the floor to dry completely.
3. Mixing the Base Coat: Refer to the instructions provided with the kit for the correct mixing ratios. Typically, you will need to mix Part A (resin) and Part B (hardener) together in a specific ratio. Use a clean container and mix thoroughly for several minutes until both parts are well combined.
4. Applying the Base Coat: Using a roller or brush, apply an even coat of the mixed epoxy base coat to the floor in manageable sections. Work methodically to ensure complete coverage and avoid any missed spots. Allow it to dry for the recommended time specified in the instructions before proceeding.
5. Mixing and Applying the Topcoat: Once the base coat has cured as per instructions, mix Part A (resin) and Part B (hardener) of the clear topcoat according to the provided instructions. Again, use a clean container and mix thoroughly for several minutes until both parts are well combined. Apply an even coat of topcoat using a clean roller or brush, ensuring complete coverage without overworking the product. Avoid creating streaks or bubbles.
6. Drying Time: Allow sufficient drying time for both base coat and topcoat as specified in the instructions. Usually, this will be 24 hours for full curing.
7. Optional Decorative Flakes or Chips: If desired, once fully cured, you can sprinkle decorative flakes or chips onto the surface of the topcoat to enhance its appearance. Follow the instructions provided for their application.
8. Final Touches: Once the floor is completely cured and any optional decorative flakes or chips are applied, you can use your garage as usual.
Note: Always refer to the specific instructions provided with the Rustoleum Garage Floor Kit for accurate mixing ratios, drying times, and any additional steps or precautions that may be necessary.