According to cork flooring feedback, it's best to research a bunch of cork panels to ensure that you can pick the right look for your decor. The oak obligingly sheds its bark of its own accord, after which is harvested. So very long as cork flooring is adequately sealed, it can withstand exposure and spills most to moisture with no damage.
Here are Images about Millstead Cork Flooring Installation
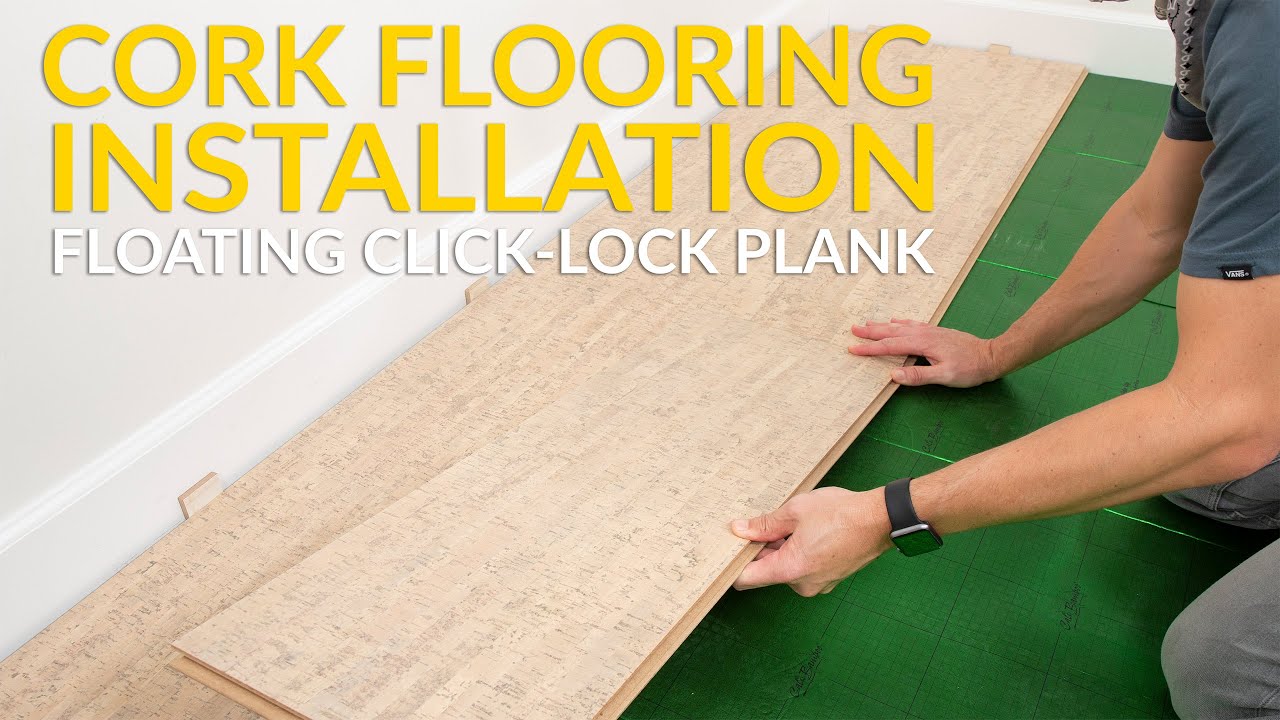
Millstead Cork Flooring Installation

The cork oak trees bark is actually the one species capable of generating commercially viable cork. You can also make use of cork in the bathroom, basement as well as kitchen. Moreover, cork is naturally germ resistant meaning that no allergens are able to hid in the floor including with carpet. Cork obviously resists allergens, pests, mildew, mold, and water.
How I Saved Over $700 on Cork Flooring for the Basement

Cork has a waxy substance that normally occurs called Suberin. Manufactures who create cork for business production merely eliminate a covering of bark from the cork oak tree, leaving the tree intact and unharmed. To be a hypoallergenic flooring answer is a very glowing health gain to people with allergies. Cork is additionally obviously resistant to water, mold and mildew, making it a superb choice for the kitchen or even bathroom.
Images Related to Millstead Cork Flooring Installation
How I Saved Over $700 on Cork Flooring for the Basement

How to Install a Cork Floor – This Old House
:no_upscale()/cdn.vox-cdn.com/uploads/chorus_asset/file/22873071/cork_floor_illo.jpg)
Cali Cork Flooring Floated Click-lock Installation
How to Install a Cork Floor – This Old House
/cdn.vox-cdn.com/uploads/chorus_asset/file/22873091/H1006HANDBOOK01.jpg)
How to Install Cork Flooring- Cork Flooring Installation Made Easy

How I Saved Over $700 on Cork Flooring for the Basement

How to Install a Cork Floor – This Old House
/cdn.vox-cdn.com/uploads/chorus_image/image/65892042/h1006handbook08.0.jpg)
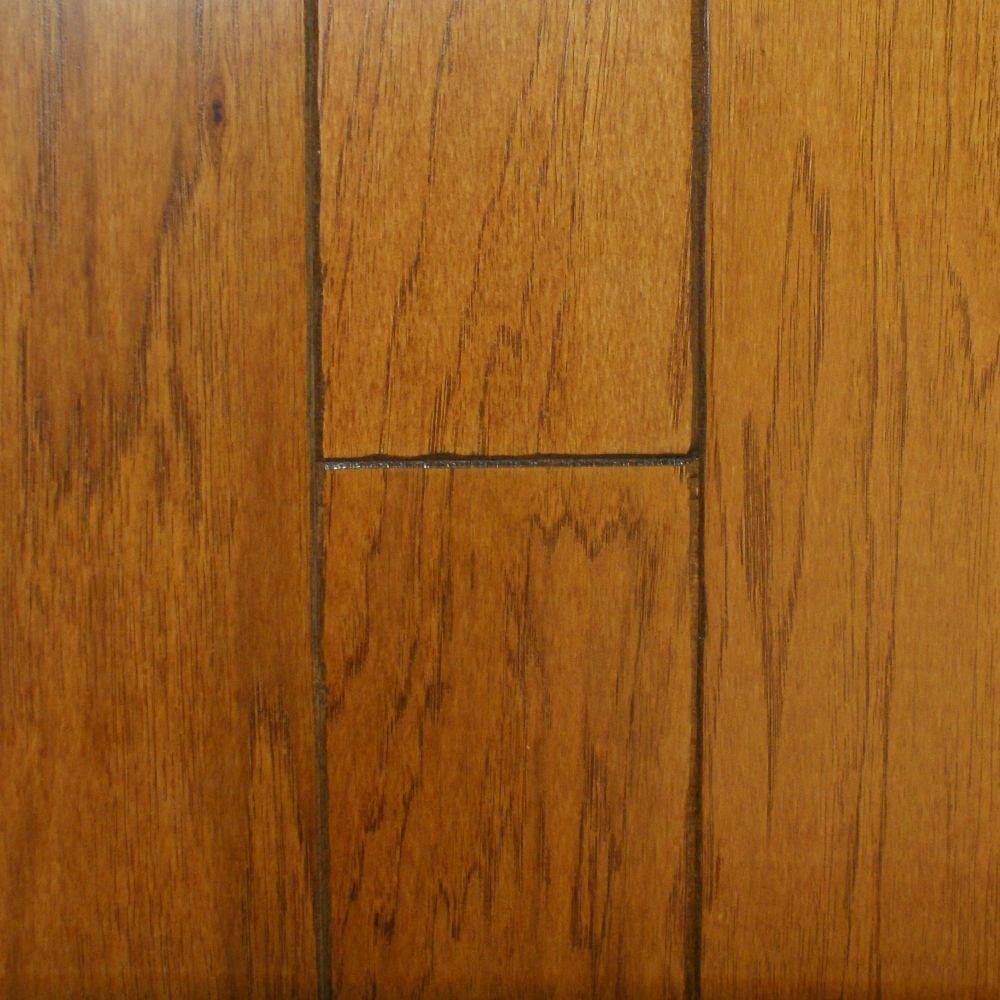
Millstead Take Home Sample – Hickory Golden Rustic Engineered Hardwood Flooring – 5 in. x 7 in. MI-630250 – The Home Depot
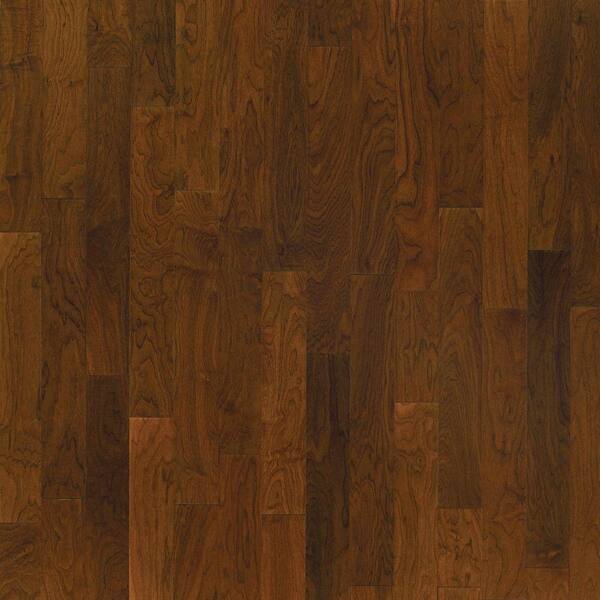
Take Home Sample – Walnut Natural Glaze Engineered Click Wood Flooring – 5 in. x 7 in.
How I Saved Over $700 on Cork Flooring for the Basement

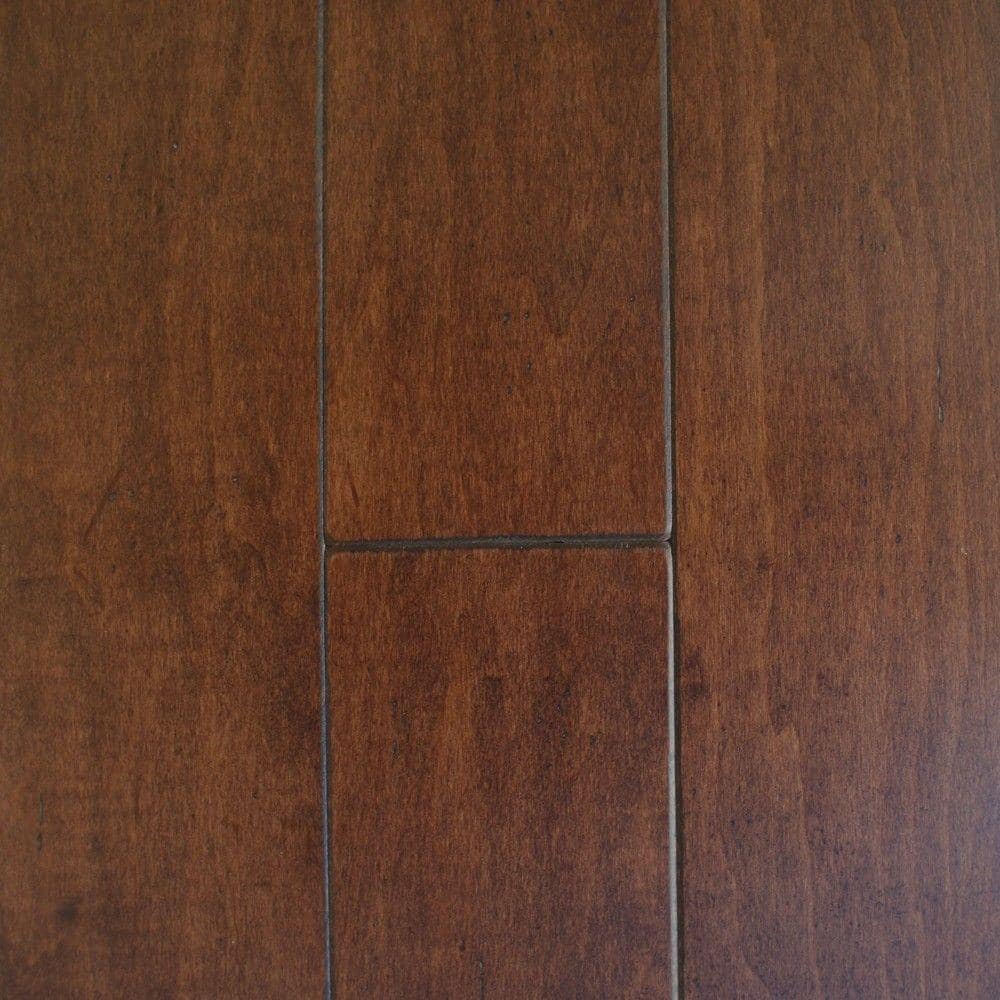
Millstead Take Home Sample – Antique Maple Cacao Engineered Hardwood Flooring – 5 in. x 7 in. MI-615243 – The Home Depot
Cork Flooring Examples u2013 Flooring Ideas

Related articles:
- Vintage Cork Floor
- Cork Flooring For Bathroom
- How To Clean Cork Flooring
- Cork Flooring Laundry Room
- Cork Floor Tiles
- Underlayment For Cork Floor
- Laying Cork Flooring
- Floating Cork Flooring
- Disadvantages Of Cork Floors
- Cork Floor Colours
Millstead Cork Flooring Installation: A Comprehensive Guide
Introduction:
Cork flooring is becoming increasingly popular among homeowners due to its eco-friendly nature, durability, and aesthetic appeal. If you have decided to install Millstead cork flooring in your home, this comprehensive guide will walk you through the installation process, providing detailed instructions, tips, and FAQs to ensure a successful outcome.
1. Pre-Installation Preparation:
Before diving into the installation process, it is crucial to prepare the area properly. Start by removing any existing flooring materials such as carpet, tiles, or vinyl. Ensure that the subfloor is clean, dry, and level. Use a moisture meter to check for excessive moisture levels, as this can affect the performance of the cork flooring.
FAQ: Can I install Millstead cork flooring over concrete subfloors?
Yes, you can install Millstead cork flooring over concrete subfloors. However, it is essential to address any moisture issues before proceeding with the installation. Moisture barriers or sealants should be applied to prevent moisture from seeping into the cork.
2. Acclimation:
Cork flooring needs to acclimate to its environment before installation. This process allows the material to adjust to temperature and humidity changes, ensuring a stable and long-lasting installation. Open up the packaging of the Millstead cork flooring and let it sit in the room where it will be installed for at least 48 hours.
FAQ: Can I speed up the acclimation process?
While it’s best to allow for a minimum of 48 hours for acclimation, you can speed up the process by increasing air circulation in the room. Running fans or opening windows can help expedite acclimation.
3. Layout Planning:
Careful planning of the layout is essential for an aesthetically pleasing result. Start by determining the direction of installation – typically parallel to the longest wall in the room. Consider factors such as natural light sources, entrances, and transitions to other flooring materials. Use a chalk line or laser level to mark guidelines on the subfloor.
FAQ: How do I determine the amount of cork flooring needed?
To calculate the required amount of Millstead cork flooring, measure the length and width of the room and multiply these dimensions. Add an extra 10% to account for waste due to cutting and fitting.
4. Installation Techniques:
Millstead cork flooring offers two installation methods: floating floor and glue-down installation.
a) Floating Floor Installation:
This method involves interlocking the cork planks without using any adhesives. Start by laying down an underlayment to provide cushioning and noise reduction. Begin in one corner of the room and lay the planks perpendicular to the guideline, clicking them together tightly. Use a tapping block and hammer to ensure a snug fit.
b) Glue-Down Installation:
For a more permanent installation, you can choose to glue down the Millstead cork flooring. Apply adhesive on both the subfloor and the backside of the cork plank using a trowel or roller. Press the planks firmly into place, ensuring no gaps between them. Wipe off any excess adhesive immediately with a damp cloth.
FAQ: Can I install Millstead cork flooring in moisture-prone areas like bathrooms or basements?
Millstead cork flooring is not recommended for areas with excessive moisture or frequent water exposure such as bathrooms or basements. Cork is naturally resistant to moisture but can still be damaged by prolonged exposure.
5. Finishing Touches:
Once all The cork flooring is installed, it’s time to add the finishing touches. Here are a few steps to complete the process:
a) Trim and Baseboards: Trim any excess cork planks using a saw or utility knife. Install baseboards or quarter round molding around the edges of the room to cover any gaps and provide a finished look.
b) Cleaning and Maintenance: Regularly clean your cork flooring using a soft broom or vacuum cleaner to remove dirt and debris. Avoid using harsh chemicals or abrasive cleaners as they can damage the cork. Wipe up spills immediately to prevent stains.
c) Protective Measures: Use furniture pads or coasters under heavy furniture to prevent indentations on the cork surface. Place doormats at entrances to trap dirt and moisture, preventing them from being tracked onto the floor.
d) Periodic Maintenance: Every few years, consider applying a new coat of sealant or wax to protect and rejuvenate the cork surface. Follow the manufacturer’s instructions for the specific product you choose.
e) Enjoy Your New Cork Flooring: Once all these steps are completed, it’s time to enjoy your beautiful and comfortable cork flooring! It provides a natural and sustainable option that adds warmth and style to any room in your home.
FAQ: Can I use steam mops or wet mopping on my Millstead cork flooring?
It is not recommended to use steam mops or excessively wet mopping on Millstead cork flooring. Excessive moisture can penetrate the seams and damage the cork material. Instead, use a damp mop or cloth with a mild cleaning solution specifically designed for cork floors. This will help maintain the integrity of the cork and prevent any potential damage. Some additional tips to consider when installing Millstead cork flooring:
1. Acclimate the flooring: Before installation, let the cork planks acclimate to the room’s temperature and humidity for at least 48 hours. This will prevent any potential warping or expansion after installation.
2. Prepare the subfloor: Ensure that the subfloor is clean, dry, and level before installation. Remove any existing flooring, nails, or debris. If necessary, use a self-leveling compound to even out any uneven areas.
3. Use underlayment: Consider using an underlayment specifically designed for cork flooring to provide additional cushioning and sound insulation. Follow the manufacturer’s instructions on how to install the underlayment properly.
4. Plan ahead: Before starting the installation, plan the layout of the planks to ensure a balanced appearance and minimize waste. Consider staggering the planks for a more natural look.
5. Leave expansion gaps: Leave a small expansion gap (around 1/4 inch) around all vertical surfaces, such as walls and doorways. This will allow the cork to expand and contract with changes in temperature and humidity.
6. Follow manufacturer’s guidelines: Always refer to the specific installation instructions provided by Millstead for your particular type of cork flooring. Different products may have different requirements.
7. Seek professional help if needed: If you are unsure about any step of the installation process or if you encounter any difficulties, it is recommended to seek professional assistance or consult with a flooring specialist.
By following these additional tips, you can ensure a successful installation of your Millstead cork flooring and enjoy its benefits for years to come.