This demonstrates the manufacturers of laminates have even more confidence in the durability of the products of theirs, and also you can, too. In this case, it's essential to find out whether or not there's too much moisture inside the floor area and also, when there's, you ought to be able to get rid of this moisture issue otherwise it'll constantly haunt you with mold and mildew problems.
Here are Images about Laminate Flooring Kit Toolstation
Laminate Flooring Kit Toolstation

Laminate flooring is plain but beautiful. I do not recommend purchasing flooring treatments via the web. The decorative laminate was commonly used in kitchen counter tops and furniture. Most laminate flooring come with warranties beginning around 10 years long. The reason behind this is that Westhollow flooring, particularly the wood laminates of theirs, look and feel genuine. You are able to purchase the tools separately or look for kits that include all of the drills you need.
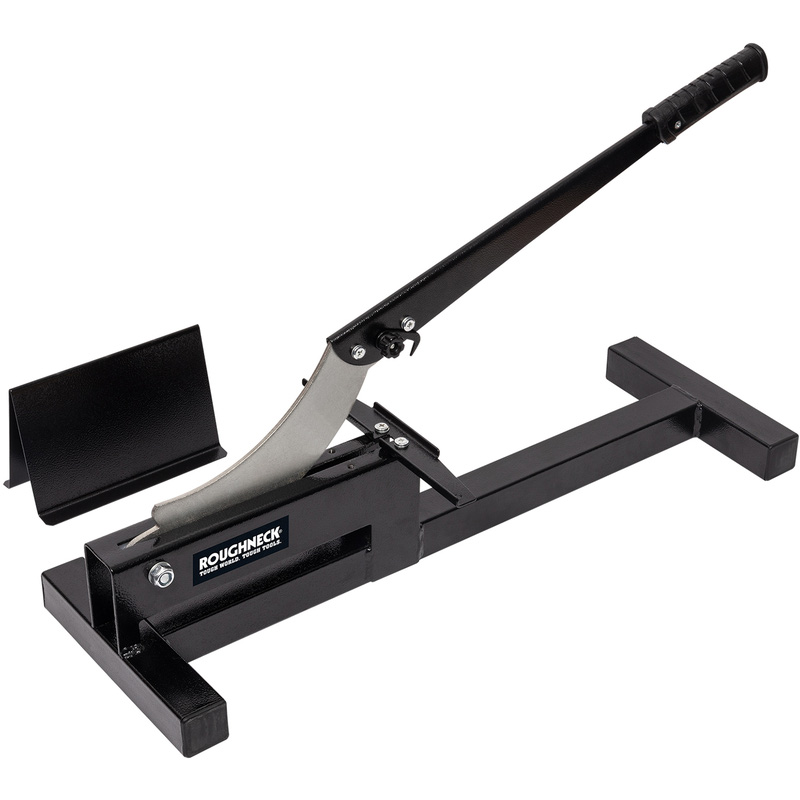
Roughneck Laminate Floor Cutter
The direct pressure method is a one step process where they fuse all the layers directly to the core all simultaneously by utilizing melamine resins and pressure and heat they're impregnated and together to create an extremely long-lasting laminate plank flooring. Even though laminate floor surfaces are generally inexpensive, you will find various types without many of them have the exact same quality. Just like any other laminates, the floors of theirs are durable.
Images Related to Laminate Flooring Kit Toolstation
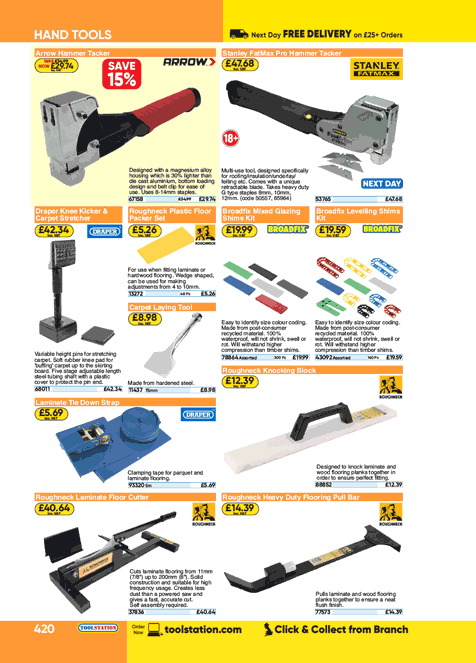
Roughneck Heavy Duty Flooring Pull Bar

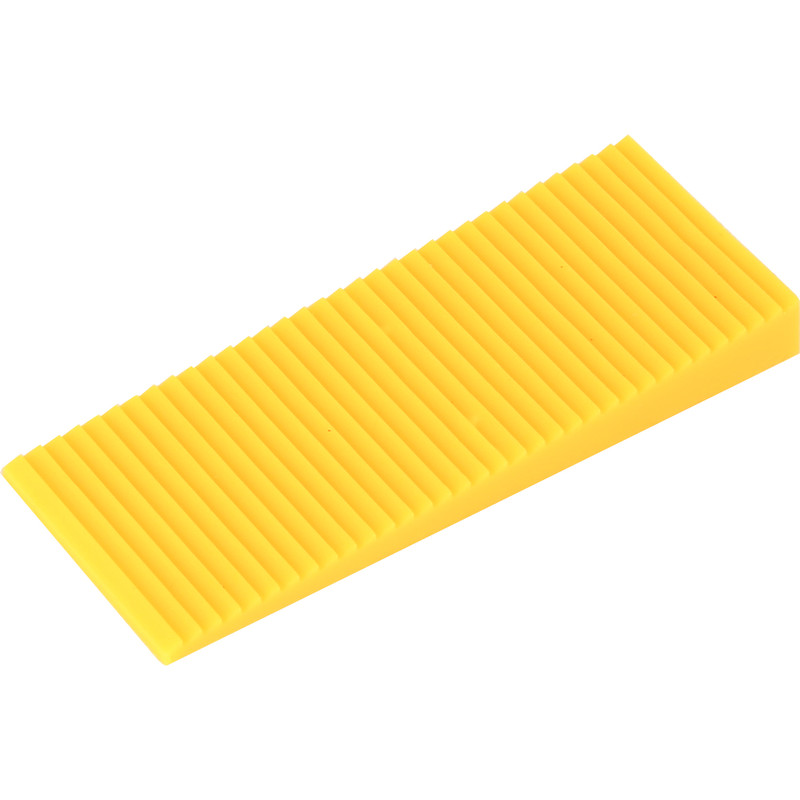
Roughneck Plastic Floor Packer Set
Roberts Laminate and Wood Flooring Installation Kit 10-28
![]()
Roughneck Knocking Block
Unika 2 x Laminate Floor Fitting Kit Gymnastics Flooring naces.com.br

Roughneck Knocking Block Toolstation
Floor Installation Kit

Laminate Flooring Installation Kit – Walmart.com
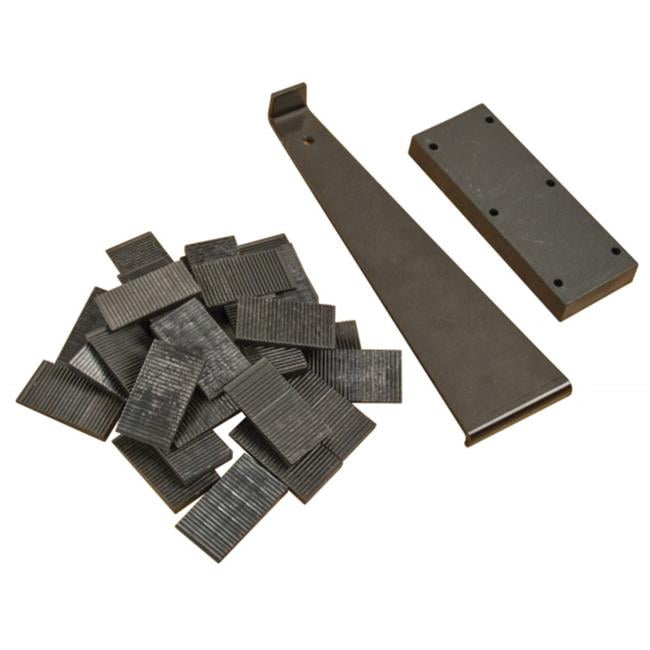
Roberts Laminate and Wood Flooring Installation Kit 10-28
![]()
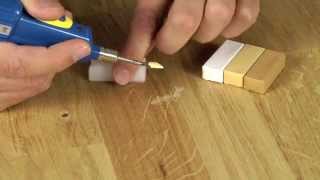
picobello // Wood Repair Set – Scratches on laminate, parquet, vinyl, furniture, wood decor
FlorCraft® Laminate and Wood Flooring Installation Kit at Menards®

Flooring Laminate, Carpet, Lino Underlay u0026 More Toolstation
Related articles:
- Coastal Laminate Flooring
- Commercial Laminate Flooring
- Slate Laminate Flooring
- Laminate Flooring Types
- Laminate Flooring Design
- Commercial Quality Laminate Flooring
- Black Laminate Flooring
- Tigerwood Laminate Flooring
- Royal Cherry Laminate Flooring
- Laminate Flooring Thickness For Basement
Laminate Flooring Kit Toolstation: The Ultimate Solution for DIY Laminate Installation
Introduction:
Laminate flooring has become increasingly popular in recent years due to its durability, affordability, and versatility. Whether you are renovating your home or simply looking to upgrade your flooring, laminate is an excellent choice. However, installing laminate flooring can be a daunting task if you don’t have the right tools and equipment. This is where the Laminate Flooring Kit from Toolstation comes in handy. In this comprehensive article, we will explore the features and benefits of this kit, as well as provide detailed instructions on how to use it effectively.
I. Features of the Laminate Flooring Kit:
The Laminate Flooring Kit from Toolstation is designed to make your DIY laminate installation project a breeze. It includes all the essential tools needed for a professional-looking finish. Here are some key features of this kit:
1. Pull Bar:
The pull bar included in the kit is a crucial tool for fitting laminate planks together tightly without damaging the edges. It helps to eliminate gaps between boards and ensures a secure fit.
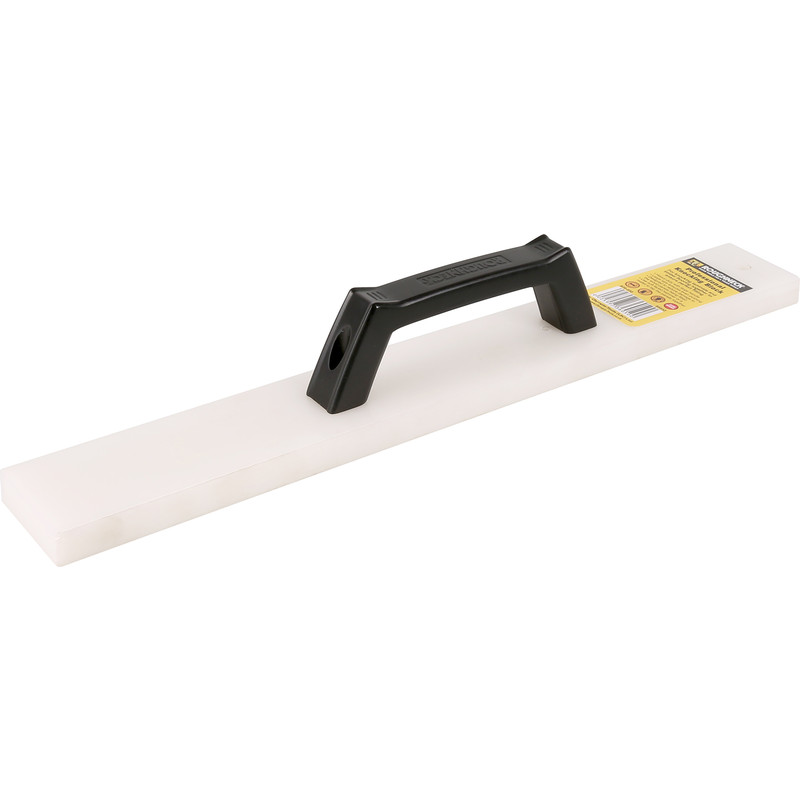
2. Tapping Block:
A tapping block is another essential component of the Laminate Flooring Kit. It is used to tap the planks into place during installation, ensuring a tight fit and preventing any potential damage.
3. Spacers:
Spacers are used to create an expansion gap between the laminate flooring and the walls or other fixed objects in your room. The kit includes a set of spacers that help maintain uniform spacing throughout the installation process.
4. Installation Tool:
The installation tool included in the kit is specifically designed for inserting wedges into gaps between planks, allowing for easy and accurate alignment during installation.
5. Knee Pads:
Installing laminate flooring often involves spending a significant amount of time on your knees. The inclusion of knee pads in this kit ensures that you can work comfortably without straining your joints.
II. Benefits of the Laminate Flooring Kit:
Using the Laminate Flooring Kit from Toolstation offers numerous advantages, making it an indispensable tool for any DIY enthusiast. Let’s explore some of these benefits:
1. Convenience:
By purchasing the complete laminate flooring kit, you eliminate the hassle of sourcing individual tools and equipment needed for installation. The kit provides everything you need in one convenient package, saving you time and effort.
2. Cost-Effective:
Buying all the necessary tools separately can quickly add up and become expensive. The Laminate Flooring Kit offers excellent value for money as it includes all essential tools at an affordable price.
3. Professional Finish:
With the right tools at your disposal, you can achieve a professional-looking finish that rivals that of a hired installer. The Laminate Flooring Kit ensures that every detail is taken care of, resulting in a flawless installation.
4. Ease of Use:
The tools included in the kit are designed to be user-friendly, even for beginners. Detailed instructions are provided, making the installation process straightforward and accessible to anyone.
5. Versatility:
The Laminate Flooring Kit is compatible with various types of laminate flooring, allowing you to use it for different projects around your home or office space.
III. How to Use the Laminate Flooring Kit Effectively:
To ensure a successful and hassle-free installation process, follow these step-by-step instructions when using the Laminate Flooring Kit:
1. Prepare the Room:
Before starting the installation process, remove any existing flooring and thoroughly clean the subfloor. Ensure that it is level and free from Any debris or moisture. This will provide a smooth and stable surface for the laminate flooring.
2. Acclimate the Laminate Flooring:
Allow the laminate flooring to acclimate to the room temperature and humidity for at least 48 hours before installation. This will prevent any expansion or contraction issues after installation.
3. Lay out the Underlayment:
Unroll the underlayment and lay it out over the subfloor, ensuring that it covers the entire area. Trim any excess underlayment using a utility knife.
4. Install the Spacers:
Place the spacers along the walls or other fixed objects in the room, creating an expansion gap of about 1/4 inch between the laminate flooring and these objects. Ensure that the spacers are evenly spaced throughout the room.
5. Start Installing the Laminate Flooring:
Begin installing the laminate flooring by placing the first plank against one wall with its grooved side facing towards the wall. Use the installation tool to gently tap the plank into place, ensuring it is aligned with the spacers and adjacent planks.
6. Continue Installing Planks:
Continue installing planks by interlocking their grooves and tongues together. Use the installation tool and a tapping block to secure each plank in place, ensuring a tight fit.
7. Cut Planks as Needed:
Measure and cut planks as needed to fit around doorways, corners, or other obstacles using a circular saw or a jigsaw. Remember to leave an expansion gap of about 1/4 inch around these areas.
8. Install Last Row of Planks:
When reaching the last row of planks, measure and cut them accordingly to fit against the wall, leaving another 1/4 inch expansion gap. Use a pull bar and hammer to snugly fit them into place.
9. Remove Spacers and Install Baseboards:
Once all the planks are installed, remove the spacers and install baseboards or quarter round molding to cover the expansion gap along the walls.
10. Clean and Maintain the Laminate Flooring:
After installation, clean the laminate flooring using a damp mop or a laminate floor cleaner. Avoid using excessive water or abrasive cleaners that can damage the surface. Regularly maintain the flooring by sweeping or vacuuming to remove dirt and debris.
By following these steps and utilizing the tools included in the Laminate Flooring Kit effectively, you can achieve a professional-looking installation with ease. These steps provide a clear and concise guide to installing laminate flooring. It is important to follow them carefully in order to ensure a successful and durable installation. Some additional tips for installing laminate flooring:
– Before starting the installation, ensure that the subfloor is clean, level, and free of any debris or imperfections. This will ensure a smooth surface for the laminate flooring.
– When installing the first row of planks, use a tapping block and a hammer to gently tap them into place. This will help to ensure a tight fit and prevent any gaps between the planks.
– As you continue installing the planks, periodically check for any gaps or unevenness. Use a rubber mallet or tapping block to adjust the planks as needed.
– When cutting planks to fit around obstacles, such as doorways or corners, be sure to measure accurately and double-check your measurements before making any cuts. It’s always better to cut slightly larger than necessary and then trim down if needed.
– When installing the last row of planks against the wall, you may need to use a pull bar and hammer to snugly fit them into place. This can help to ensure a tight and secure installation.
– After installation, it’s important to regularly clean and maintain the laminate flooring to keep it looking its best. Avoid using excessive water or harsh chemicals that can damage the surface. Instead, use a damp mop or laminate floor cleaner specifically designed for laminate flooring.
– If you have any questions or concerns during the installation process, don’t hesitate to consult the manufacturer’s instructions or seek professional advice. It’s always better to be safe than sorry when it comes to installing laminate flooring.
By following these additional tips along with the provided steps, you can ensure a successful and durable installation of your laminate flooring.