Pulling bars are used if you get to the tail end of a row and don't have enough space to work with a beating block. The budget friendly as well as durability aspects of laminate are excellent. This is , obviously , a tough one because a flooring product is simply as good as the installation. Laminate is going to take less time to clean. Nevertheless, in case you have laminates at the house of yours, no importance to be concerned about the scratches.
Images Related to Laminate Flooring Edging Tips
Laminate Flooring Edging Tips
Installation formats also vary, which includes click lock, glue down, as well as floating, just to name just a few. Because of their ability to resist scratches and dents, laminate floors are the leading choices for high-traffic areas like bathrooms and kitchens. If you are building a brand new home or would like to update the current space of yours, laminate is a good option for the flooring needs of yours.
Guide to Installing Laminate Flooring (DIY) Family Handyman

In fact, the wear layer guarantee for the majority of laminate floors is as much as twenty years. They also make a great option for basements, attics and additions. Laminate flooring is varied and has several applications. Besides the fact that laminate is a lot more durable compared to traditional hardwood flooring, it's much cheaper too. Its a simple locking system that will help you fit each piece with ease.
Laminate Floor Installation Tips

Laminate Floor Installation for Beginners 9 Clever Tips

How To Remove Laminate Flooring – Bob Vila

Pro Tips and Tricks for Installing Laminate Flooring Family Handyman
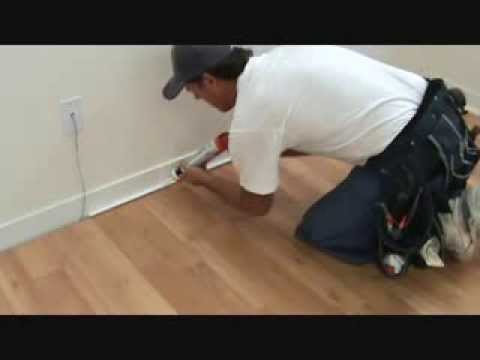
Tips when installing baseboard trim to laminate flooring
How to Lay Laminate Flooring? – Fit Laminate Floor Direct Wood

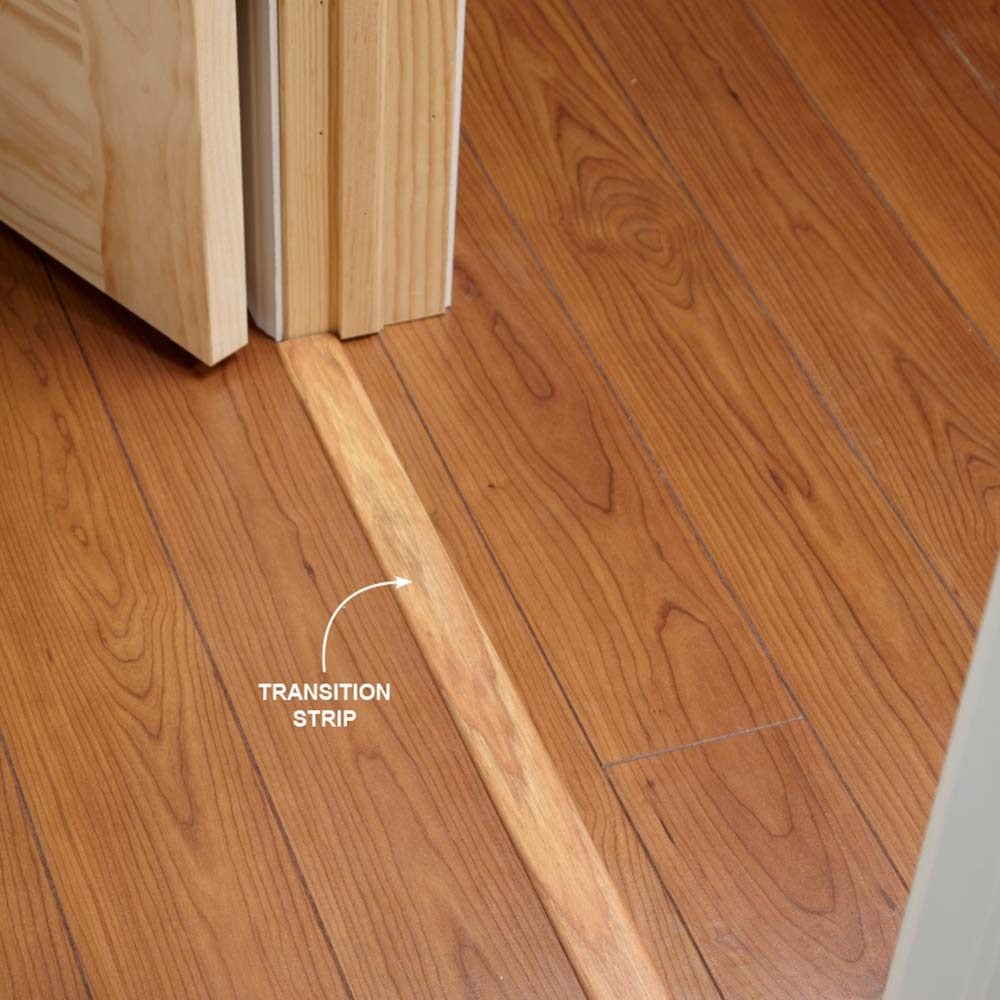
Guide to Floor Transition Strips
![]()
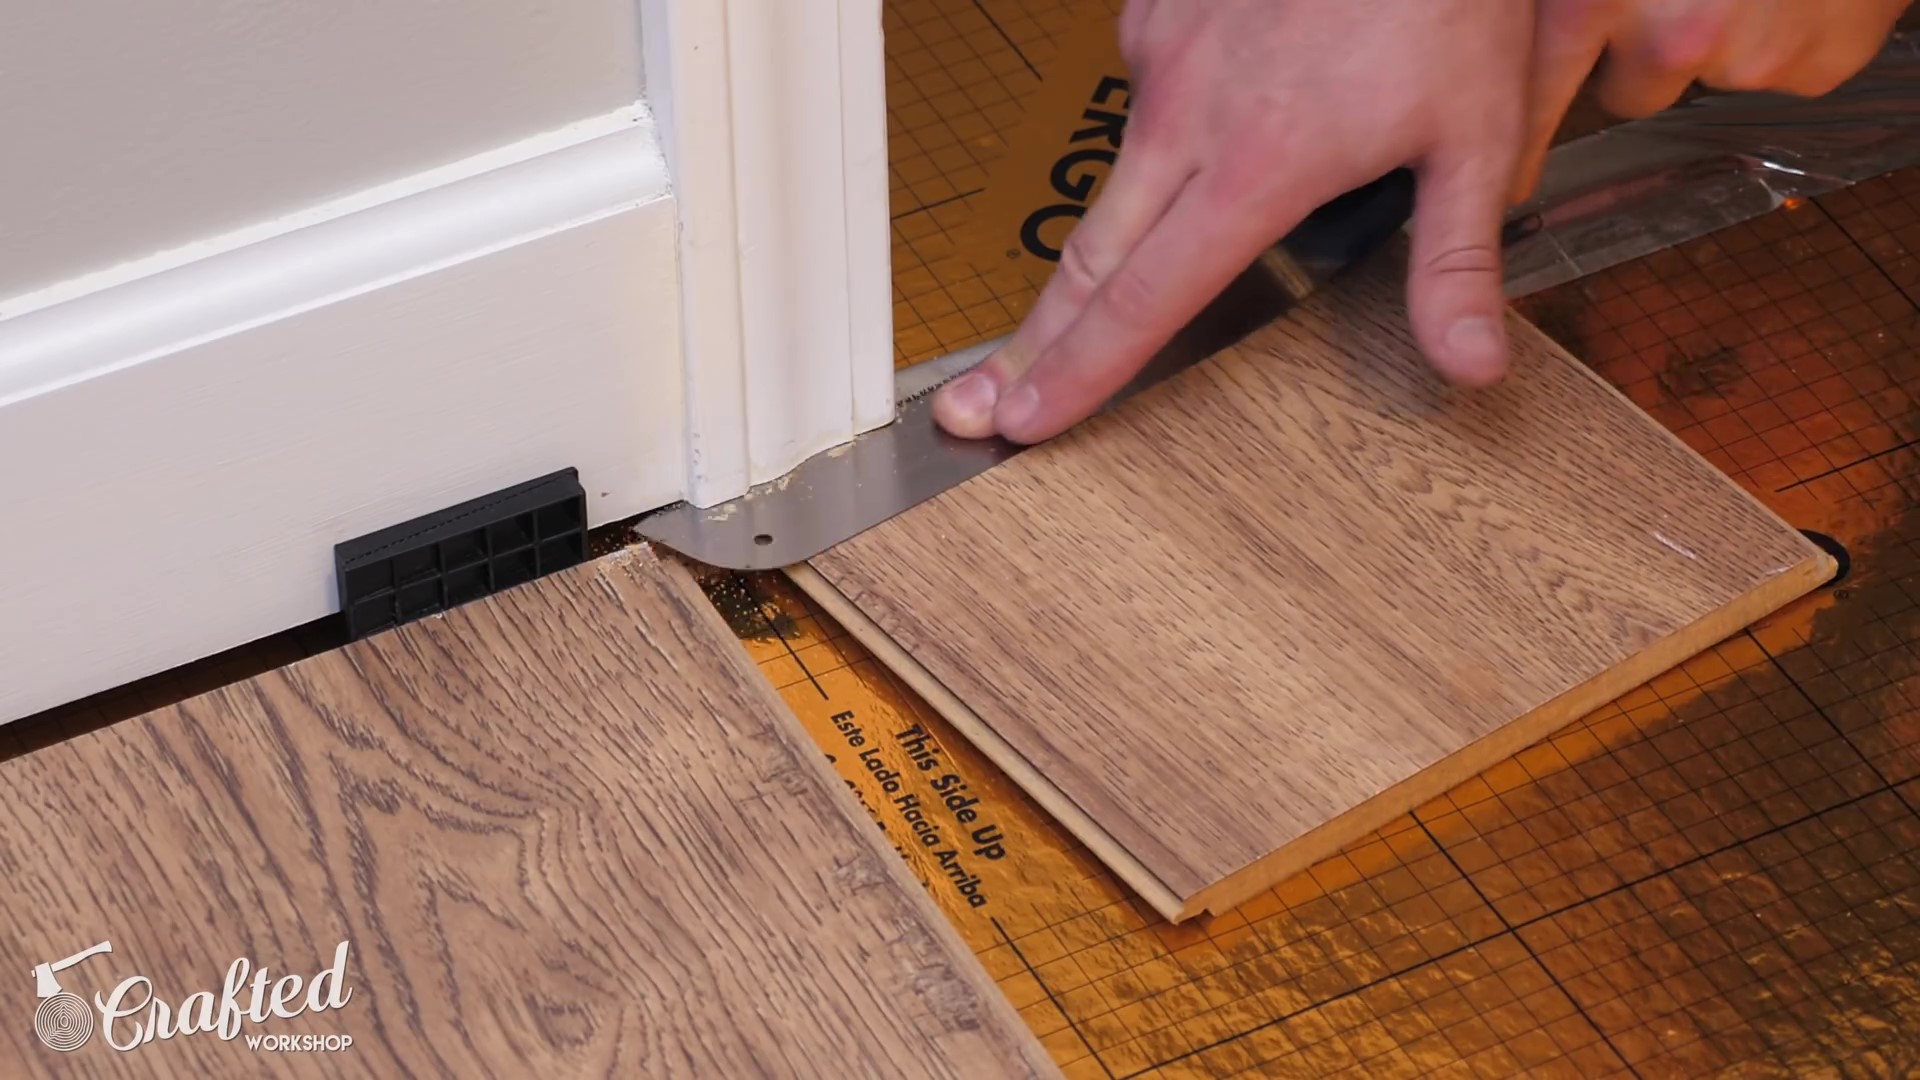
Installing Laminate Flooring For The First Time u2014 Crafted Workshop
Wood u0026 Laminate Floor Bouncing or Separating Our experts Explain

Guide to Floor Transition Strips
![]()
How to install laminate flooring beading
How to Install Laminate Flooring Cheap Flooring Guide 2019
Related articles:
- Coastal Laminate Flooring
- Commercial Laminate Flooring
- Slate Laminate Flooring
- Laminate Flooring Types
- Laminate Flooring Design
- Commercial Quality Laminate Flooring
- Black Laminate Flooring
- Tigerwood Laminate Flooring
- Royal Cherry Laminate Flooring
- Laminate Flooring Thickness For Basement
Laminate flooring is a popular choice for many homeowners due to its durability, easy maintenance, and cost-effectiveness. However, one common issue that often arises with laminate flooring is edging. Proper edging can not only enhance the appearance of your flooring but also prevent damage and ensure longevity. In this article, we will provide you with some tips and tricks for achieving flawless laminate flooring edging.
1. Choose the Right Edging Trim:
The first step in achieving perfect laminate flooring edging is to choose the right edging trim. There are various types of trims available, such as T-molding, reducer molding, end cap molding, and stair nose molding. Each type serves a specific purpose and is designed to be used in different areas of your home. Make sure to select the appropriate trim that matches the color and style of your laminate flooring for a seamless finish.
FAQs:
Q: What is the purpose of T-molding?
A: T-molding is used to bridge the gap between two different types of flooring materials or two rooms with distinct floor heights.
Q: When should I use reducer molding?
A: Reducer molding is used to create a smooth transition between laminate flooring and a lower surface, such as carpet or vinyl.
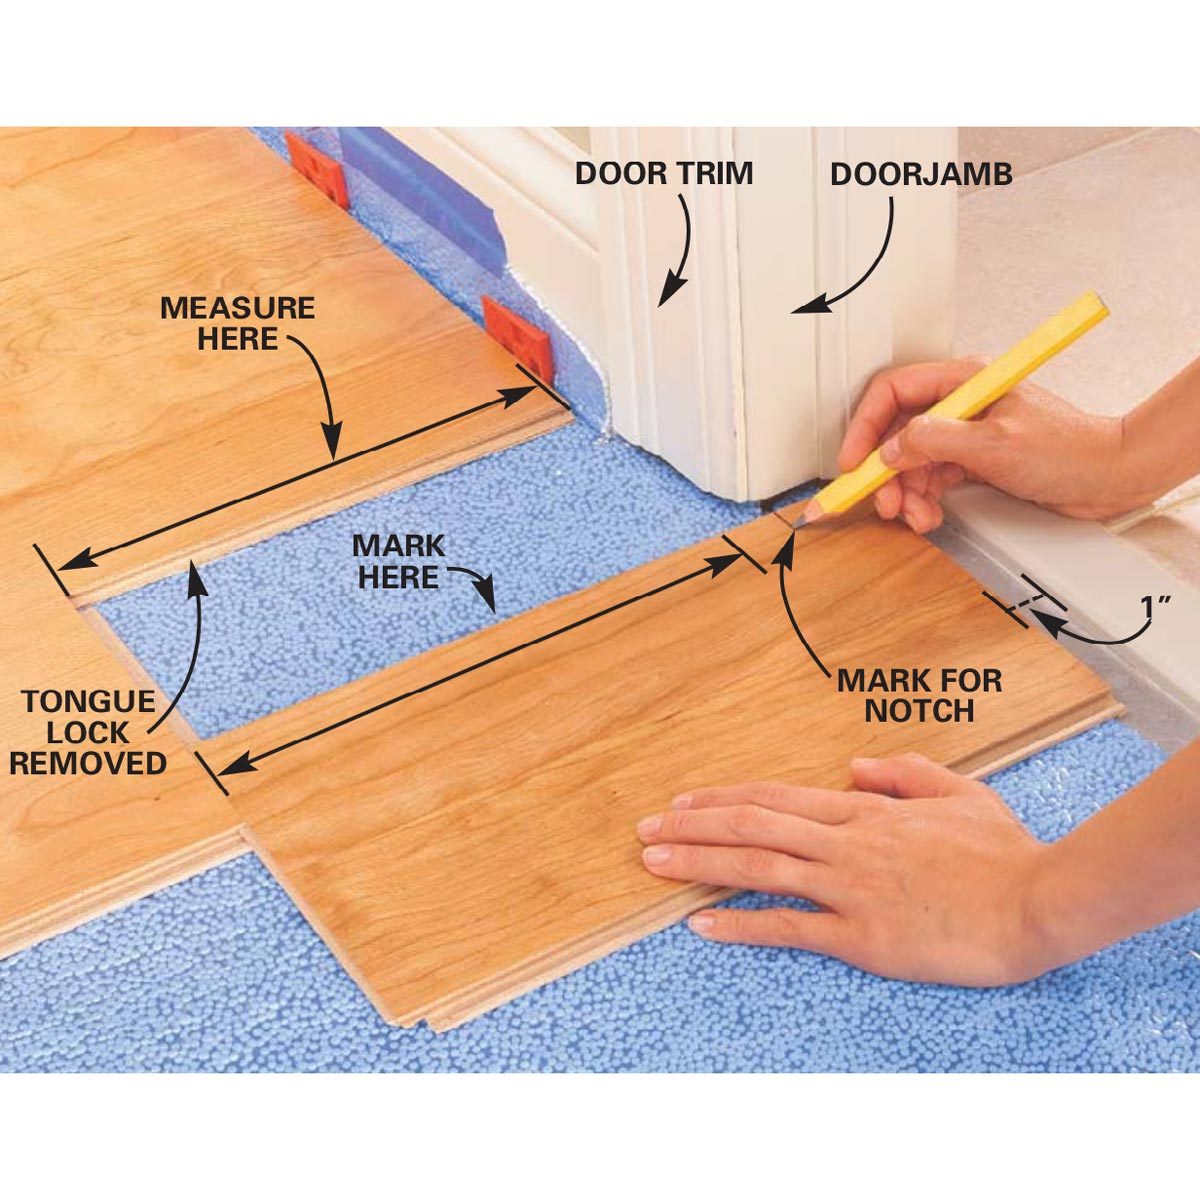
2. Measure and Cut with Precision:
Before installing the edging trim, it is crucial to measure and cut it with precision to ensure a perfect fit. Use a tape measure to determine the length needed for each section of the trim and mark it carefully before cutting. A miter saw or a coping saw can be used to make precise cuts at the correct angle for corners or edges.
FAQs:
Q: How do I measure for edging trim?
A: Measure the length needed by placing the trim in position and marking where it needs to be cut. Add a few extra inches to allow for any mistakes or adjustments.
Q: What tools do I need to cut edging trim?
A: A miter saw is recommended for straight cuts, while a coping saw is ideal for making angled cuts around corners.
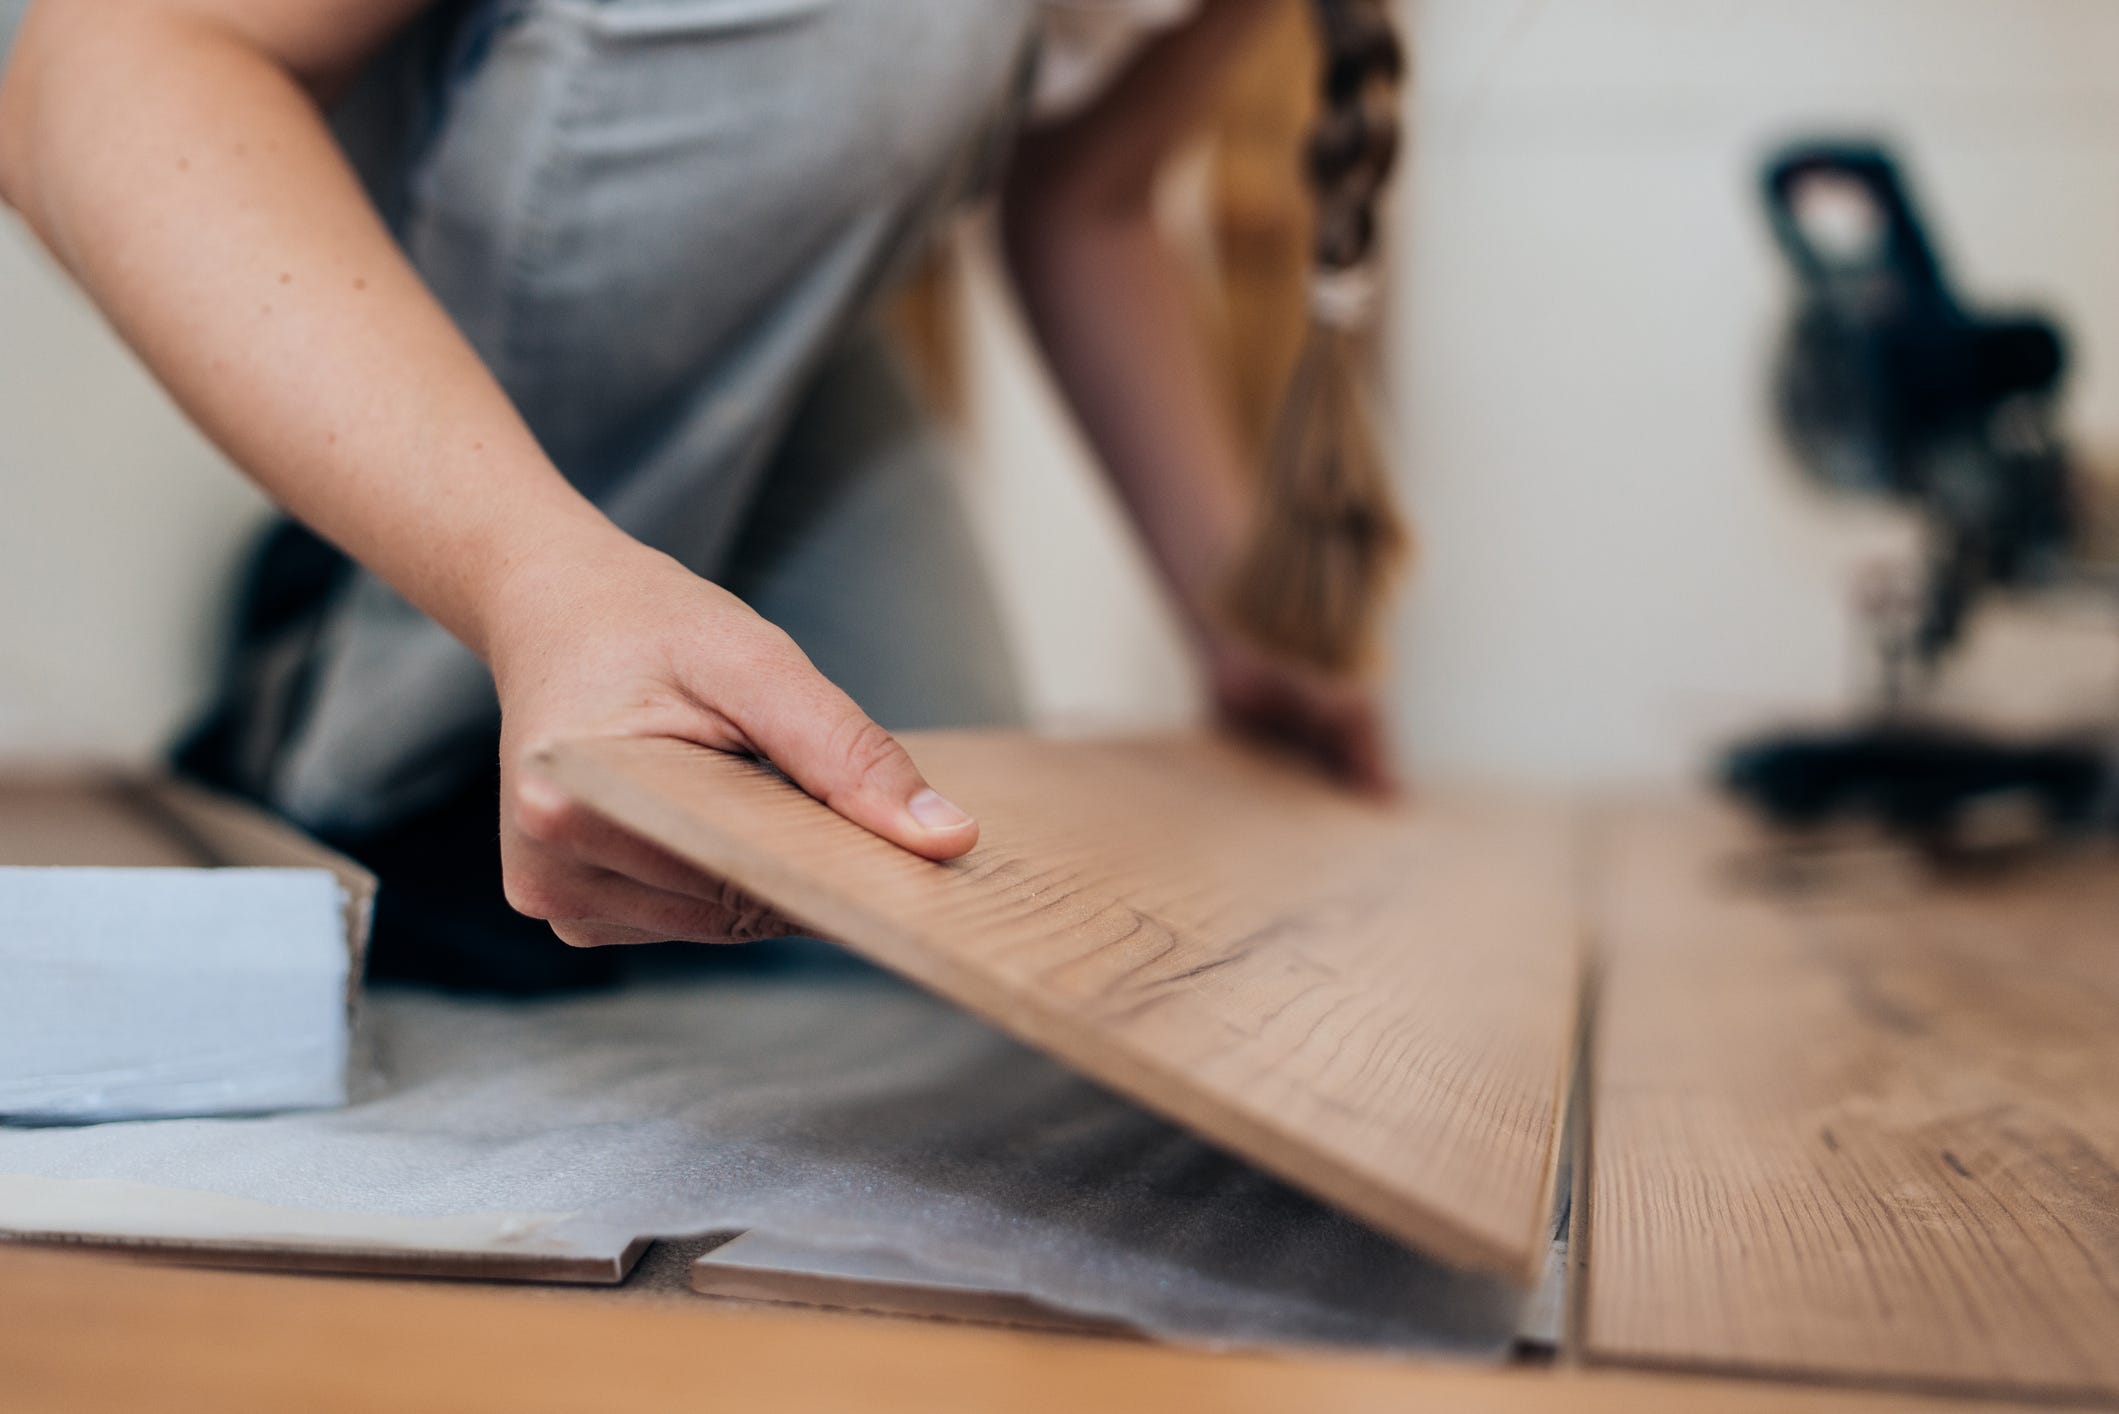
3. Install with Care:
Once you have measured and cut the edging trim accurately, it is time to install it with care. Start by placing the trim in position and ensuring that it fits snugly against the edge of the laminate flooring. Use adhesive or nails to secure the trim in place, making sure it is level and flush with the surface of the floor.
FAQs:
Q: Can I install edging trim without adhesive?
A: While adhesive is recommended for a secure hold, some trims can also be installed using nails or screws for added stability.
Q: How do I ensure the edging trim is level?
A: Use a level tool to check that the trim is straight and even along the entire length before securing it in place.
4. Seal Gaps and Joints:
To achieve a professional-looking finish with your laminate flooring edging, it is essential to seal any gaps or joints between the trim and the flooring surface. Use caulking or sealant to fill in any spaces where dust or debris could accumulate, creating a seamless transition between the trim and the floor.
FAQs:
Q: What type of caulk should I use for sealing laminate flooring edges?
A: Silicone caulk is recommended for sealing laminate flooring edges as it provides flexibility and water resistance.
Q: How long does caulk take to dry?
A: The drying time for caulk varies depending on temperature and Humidity, but it typically takes 24 hours to fully cure.
5. Finishing Touches:
After installing the edging trim and sealing any gaps, take the time to clean up any excess adhesive or sealant to create a clean and polished look. Use a damp cloth to wipe away any residue, and allow the trim to fully set and dry before walking on it or moving furniture back into place.
FAQs:
Q: How do I clean up excess adhesive or sealant?
A: Use a damp cloth or sponge to gently remove any excess adhesive or sealant before it dries completely.
Q: How long should I wait before walking on the newly installed edging trim?
A: It is best to wait at least 24 hours for the adhesive or sealant to fully set and dry before putting weight on the trim.
By following these steps and tips, you can successfully install edging trim for your laminate flooring, creating a seamless transition and professional finish. Remember to measure carefully, cut accurately, install with care, seal gaps, and finish with attention to detail for the best results. Installing edging trim for your laminate flooring is a simple process that can be completed with just a few tools and materials. By following these steps and tips, you can achieve a professional finish that will enhance the look of your flooring and provide a clean transition between the floor and walls. Remember to measure accurately, cut carefully, secure the trim in place, seal any gaps, and clean up any excess adhesive or sealant for the best results. With some patience and attention to detail, you can successfully install edging trim for your laminate flooring and enjoy a polished look in your space.