Right here everything is glued together and making use of high pressure they become quite difficult and long-lasting. You could be positive that laminate floor is going to give you the look you want for the home of yours, and probably at a significantly lower cost compared to what it emulates. The laminate wood flooring is nearly invincible to spills, stains, burns and an extremely excessive tolerance to chafing.
Images Related to Laminate Flooring DIY Guide
Laminate Flooring DIY Guide
Laminate flooring is plain yet gorgeous. I don't recommend purchasing flooring treatments via the web. The decorative laminate was widely used in kitchen counter tops and furniture. Many laminate floor come with warranties starting around ten years long. The reason behind this is that Westhollow flooring, particularly the wood laminates of theirs, look and feel real. You can buy the resources separately or perhaps find kits that include all of the tools you need.
How to Lay Laminate Flooring Our Step By Step Guide For Everyone

Finally, give the floor a light completely clean with a damp mop or maybe some laminate cleaner and relax to enjoy the work of yours. You need to take into account the quantity of lamp that the room/area receives, the floor area, color, design, the aesthetics, etc. Usually when folks purchase a house, the flooring is the very first thing that they change so there is simply no point spending a great deal of money on a floor when you're likely to go homes.
Laminate Floor Installation for Beginners 9 Clever Tips

How To Lay Laminate Flooring? Complete DIY Guide

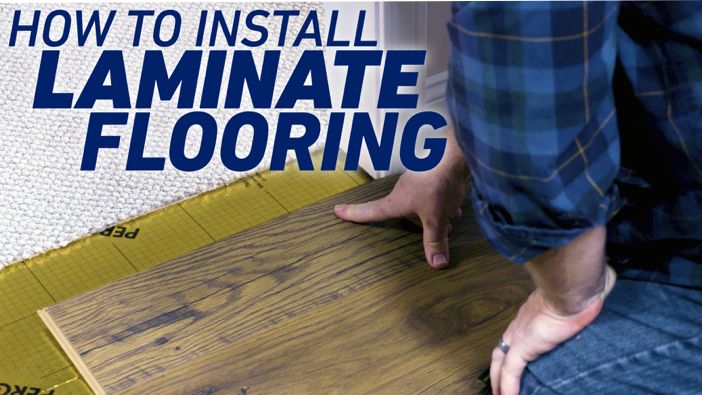
How to Install Laminate Flooring
:max_bytes(150000):strip_icc()/how-to-lay-laminate-flooring-1822250-08b-10f3572e10b14770b1e5da743da4226a.jpg)
Installing Laminate Flooring For The First Time

Installing laminate flooring is easy. The first step is to remove all items from the room you will be laying the floor in. Then you need to get the laminate flooring and let it adjust to the room temperature. After at least 48 hours it’s time to install. Lay the first row of laminate flooring keeping at least 3/8″ gap between the wall and the flooring. Install the second row, locking the two rows together. Continue this process until you are done. Remember to follow the instructions that came with the laminate flooring. If you have any questions, call the manufacturer.
How to Install a Laminate Floor
Install Laminate Flooring – A DIY How-To Guide BuildDirect

10 Great Tips for a DIY Laminate Flooring Installation The Happy
8 Essential Tools for Laminate Flooring Installations The Family
Laminate Flooring Guide: What to Know Before You Install – This
:no_upscale()/cdn.vox-cdn.com/uploads/chorus_image/image/66972510/_9_Palace_Plank_Stone_28402P_RS.7.jpg)
How to Install Laminate Flooring
:max_bytes(150000):strip_icc()/how-to-lay-laminate-flooring-1822250-04-e2971fa6cba84aaabb1bd9d571fbd745.jpg)
How to Install Laminate Flooring for beginners

Installing Vinyl Floors – A Do It Yourself Guide – The Honeycomb

Related articles:
- Coastal Laminate Flooring
- Commercial Laminate Flooring
- Slate Laminate Flooring
- Laminate Flooring Types
- Laminate Flooring Design
- Commercial Quality Laminate Flooring
- Black Laminate Flooring
- Tigerwood Laminate Flooring
- Royal Cherry Laminate Flooring
- Laminate Flooring Thickness For Basement
Are you considering a DIY approach to installing laminate flooring in your home? It’s an achievable project, even for beginner DIYers. This guide will help you understand the basics of laminate flooring and walk you through the steps of installation.
What Is Laminate Flooring?
Laminate flooring is a versatile and attractive surface that’s easy to clean and maintain. It consists of four layers: a wear layer, a decorative layer, an inner core layer and a backing layer. The wear layer is a protective coating that makes the floor scratch-resistant and durable. The decorative layer is printed with realistic replicas of wood, stone, or tile, and the inner core and backing layers provide stability and moisture resistance.
What Are the Benefits of Installing Laminate Flooring?
Installing laminate flooring has many advantages. It’s cost-effective, easy to install, and can be done in a single weekend. The finish is also durable, making it ideal for high-traffic areas like kitchens and hallways. Plus, laminate flooring is easy to care for; simply sweep or vacuum regularly to keep it looking its best.
How Do I Prepare for Installation?
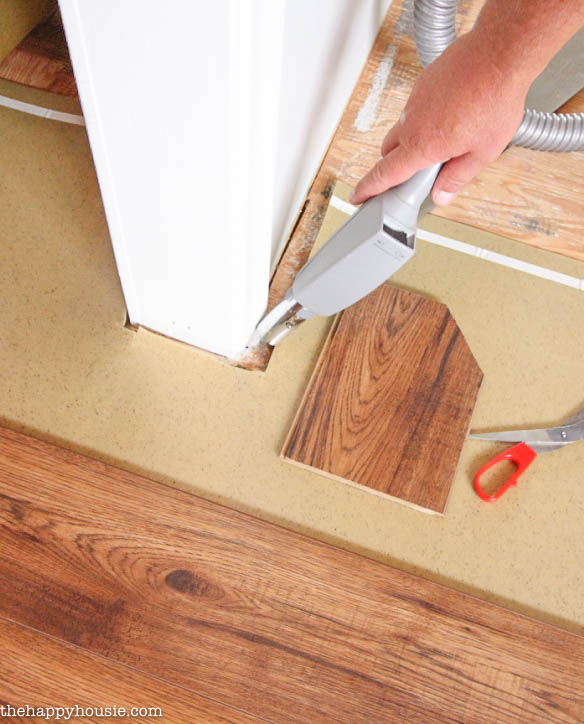
Before getting started, it’s important to inspect the area where you plan to install the laminate flooring. Make sure the subfloor is level and dry; if not, use self-leveling compound and allow it to dry completely before continuing. You should also remove any existing flooring or carpet and clean the surface thoroughly.
What Tools Do I Need?
The tools you’ll need for installation depend on the type of laminate you choose. Most installations require a saw (circular or miter), a level, a tapping block, spacers, and a hammer. You may also need adhesive, depending on the manufacturer’s instructions.
How Do I Install Laminate Flooring?
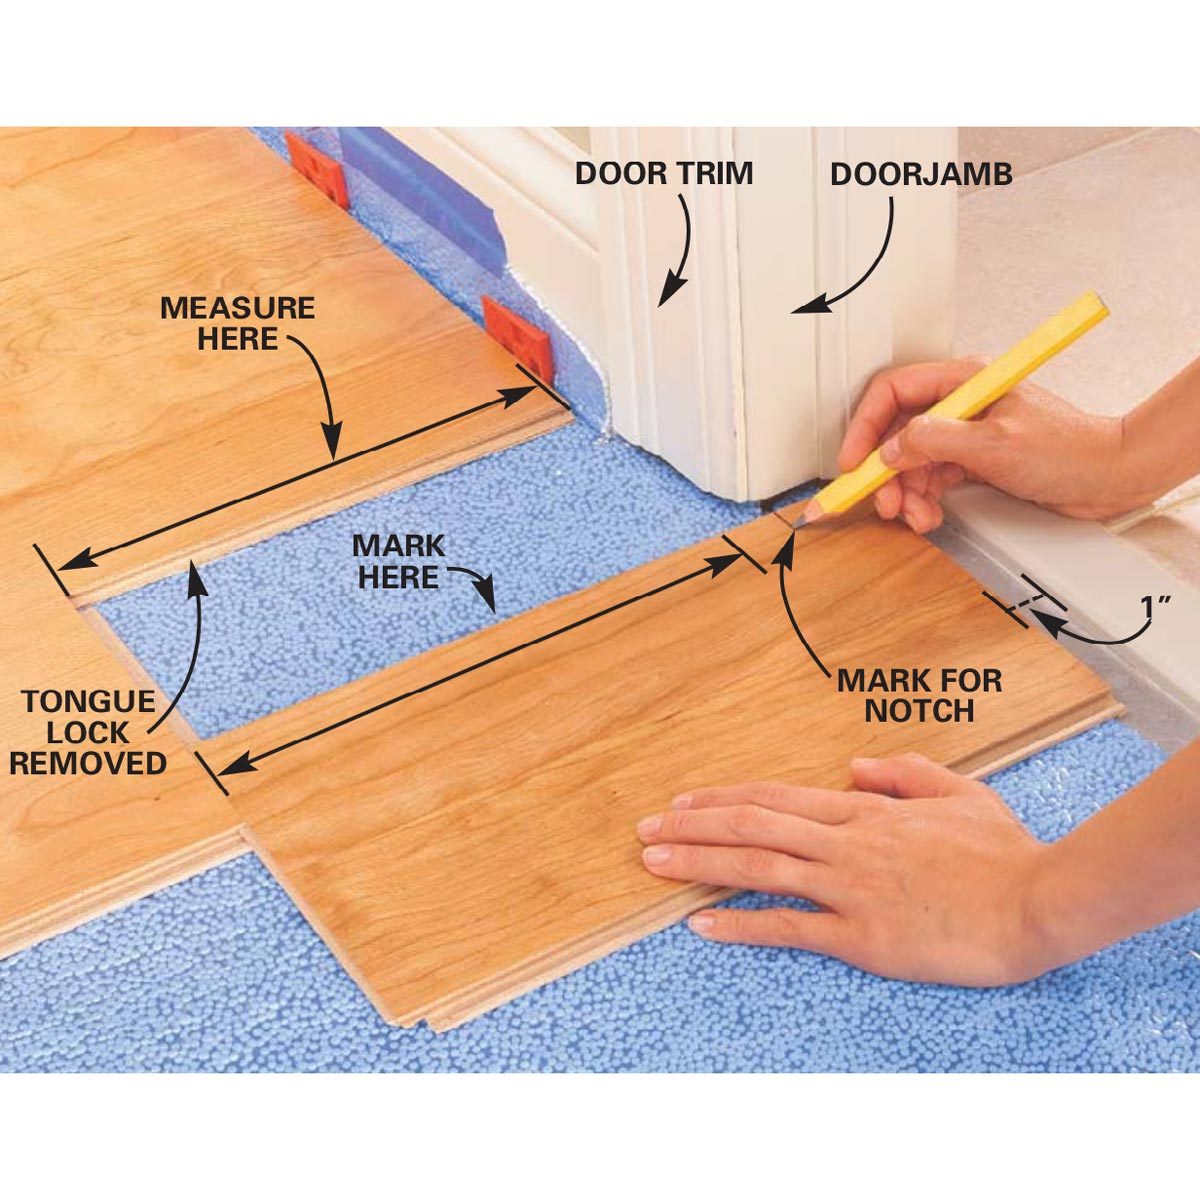
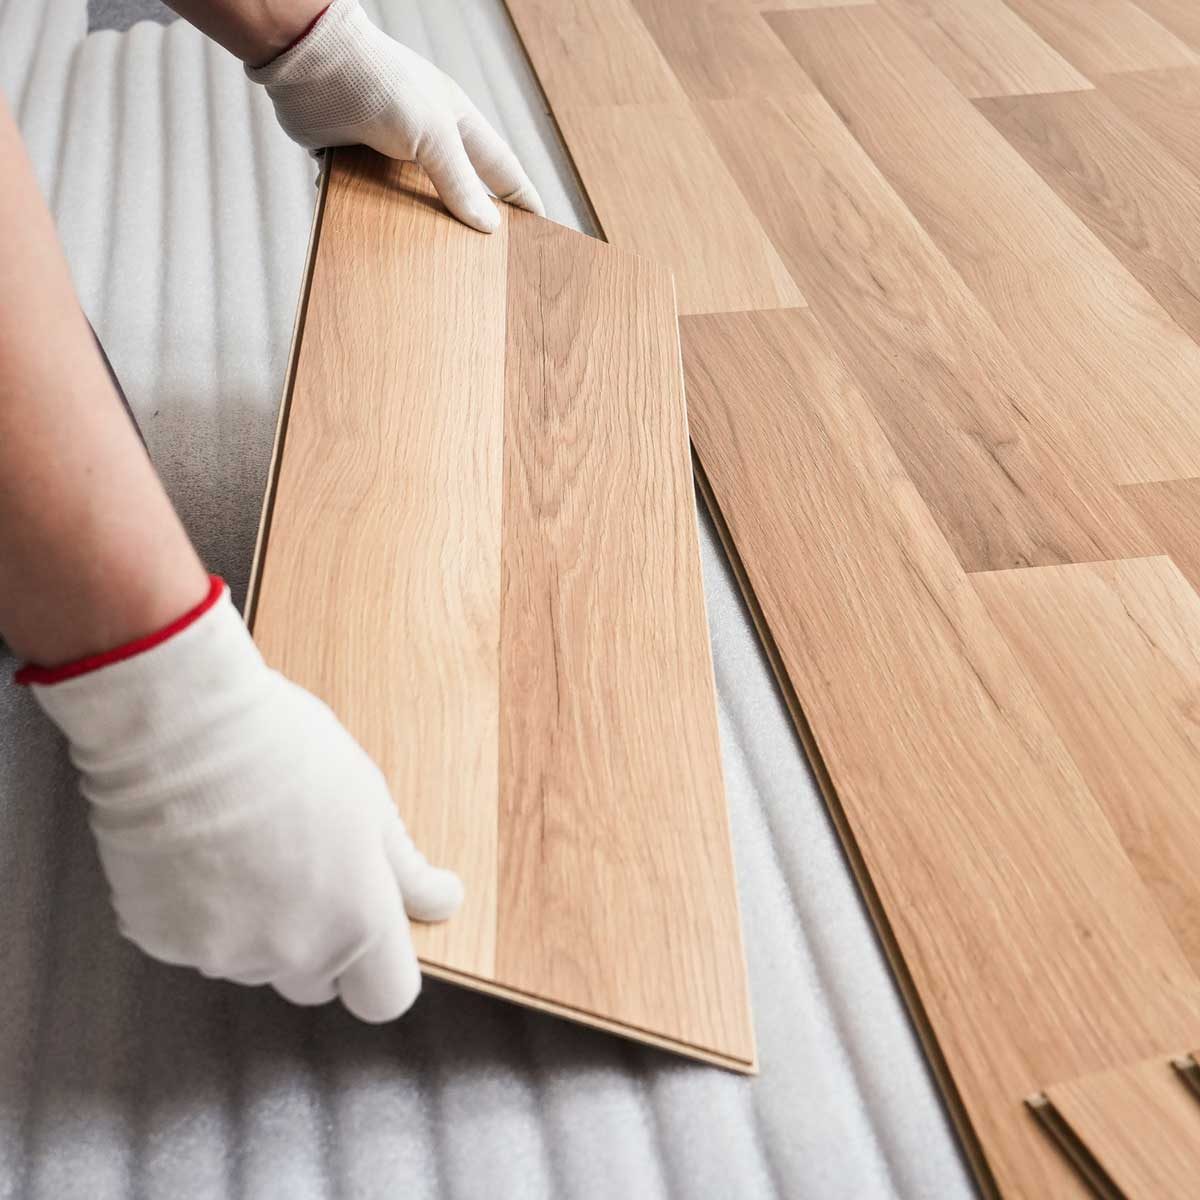
The installation process is relatively simple but requires careful attention to detail. Start by laying down your first row of planks along one wall, making sure it is straight and secure with spacers between it and the wall. Then lay down additional rows until you reach the opposite wall. Use a tapping block when joining two planks together to ensure they are properly connected. Continue this process until all your planks are installed. Finally, use a damp cloth to clean up any adhesive residue or dust before allowing your new laminate floor to settle in for 24 hours before walking on it.
Conclusion
Installing laminate flooring can be an easy DIY project with the right preparation and tools. With our handy guide, you now have the basics needed to get started on your own installation project!