Typical laminate floors are quite cheap, however. If you have to put the laminate floor surfaces around pipes, one tip is to drill a gap in the plank about ¾ to ½ inch greater compared to the circumference of the pipe. These laminates are extremely long lasting and therefore, compute to be much more efficient in the long haul. This feature enables the person applying this decoration to experience an amazing interior design.
Images Related to Laminate Floor Beading How To Fit
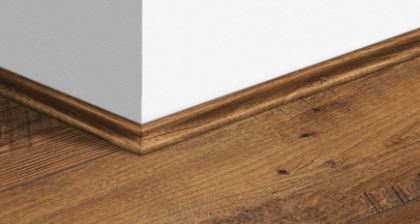
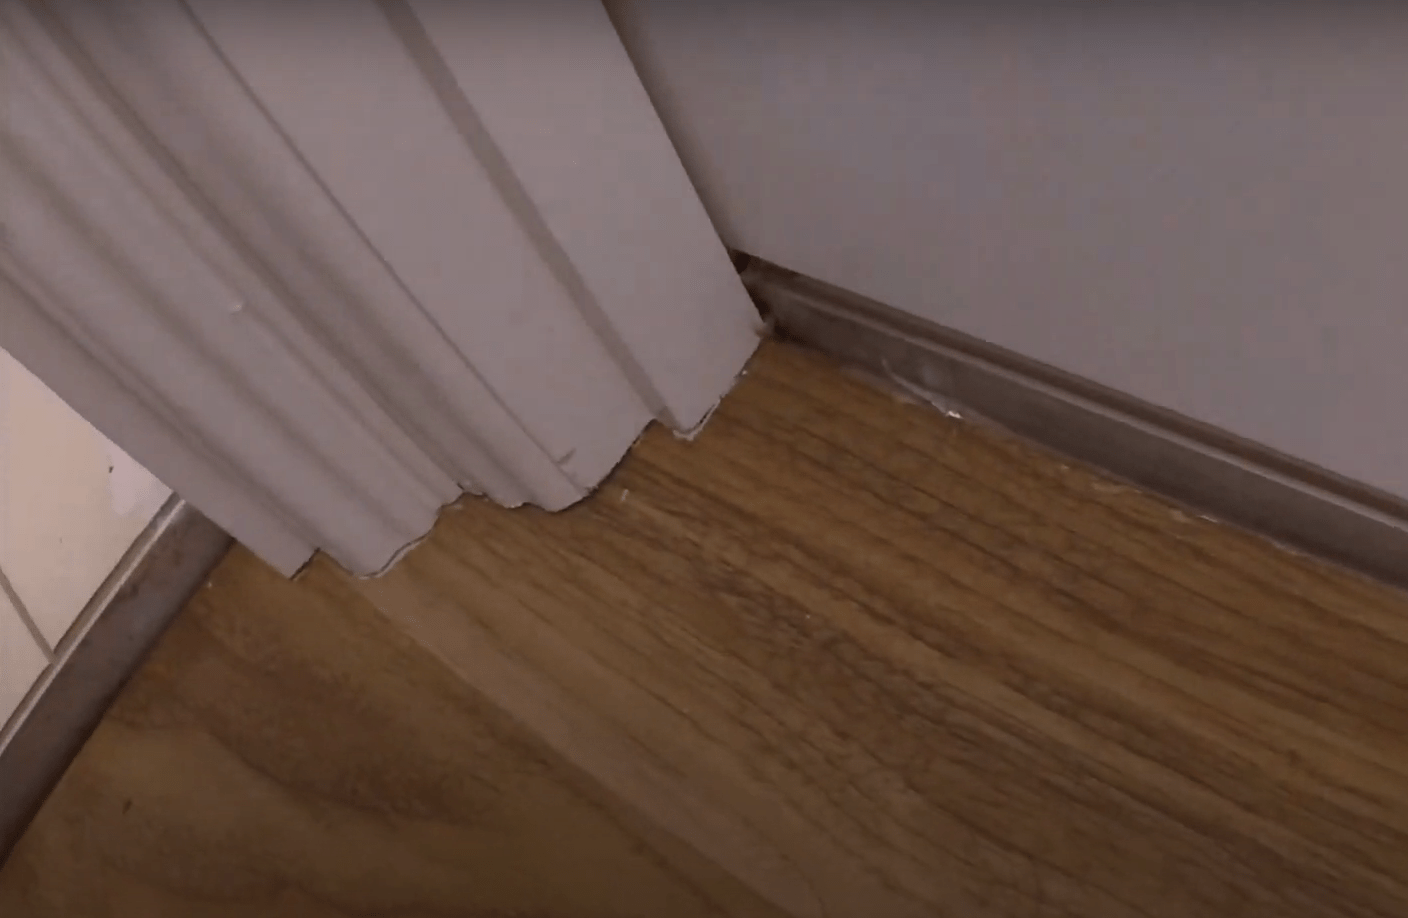
Laminate Floor Beading How To Fit
Laminate flooring is plain yet beautiful. I don't recommend purchasing flooring products via the web. The decorative laminate was popular in kitchen counter tops and furniture. Many laminate flooring come with warranties beginning around 10 years in length. The reason behind this is that Westhollow flooring, especially the wood laminates of theirs, look and feel real. You can buy the tools separately or perhaps find kits that include all of the drills you need.
Scotia u0026 beading
When putting in laminate floors you will want to examine just how they'll be used in your house. Such floorings have a sleek finish and in addition they look highly attractive. With there being so many options as far as installation formats, pretty much anyone can install their very own laminate floor, should they so choose. Laminate floor is made up of compressed timber and as compressed wood needs room to move once the climate changes outdoors.
Laminate Flooring – Beading vs. Skirting Boards Wezaggle

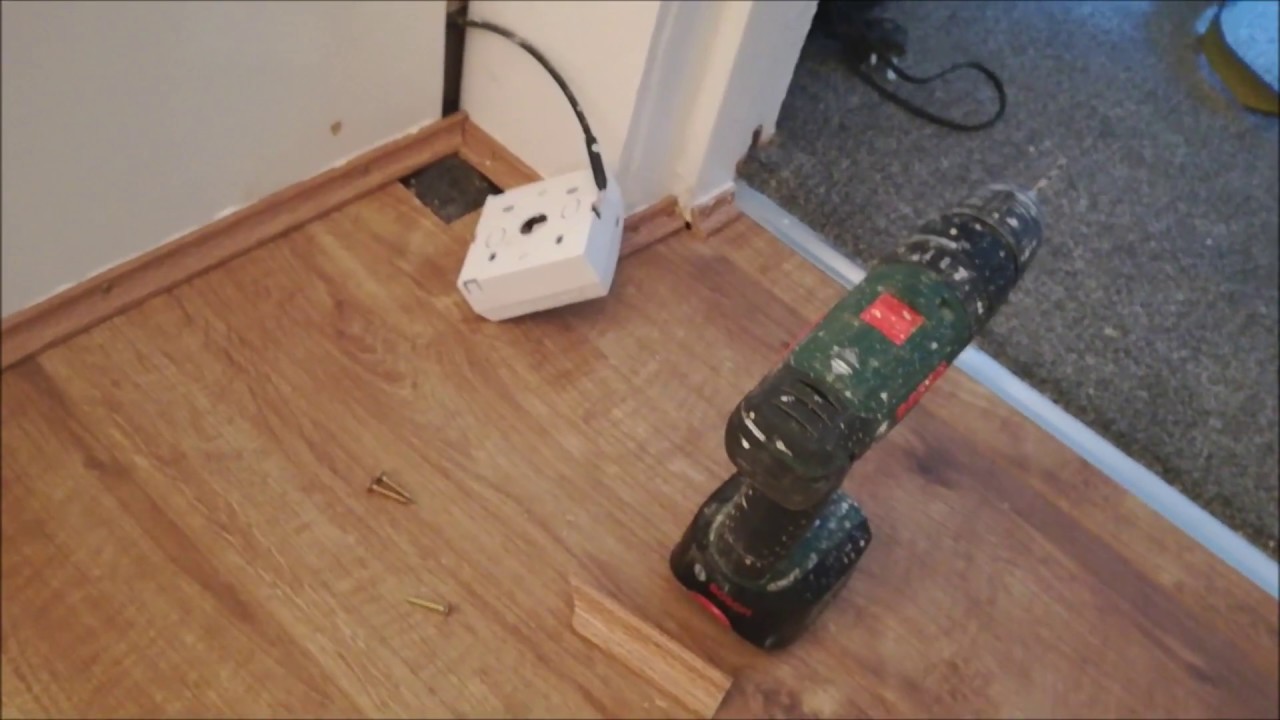
Fitting laminate beading scotia without a nail gun
Laminate Flooring Beading Laminate floor fitting

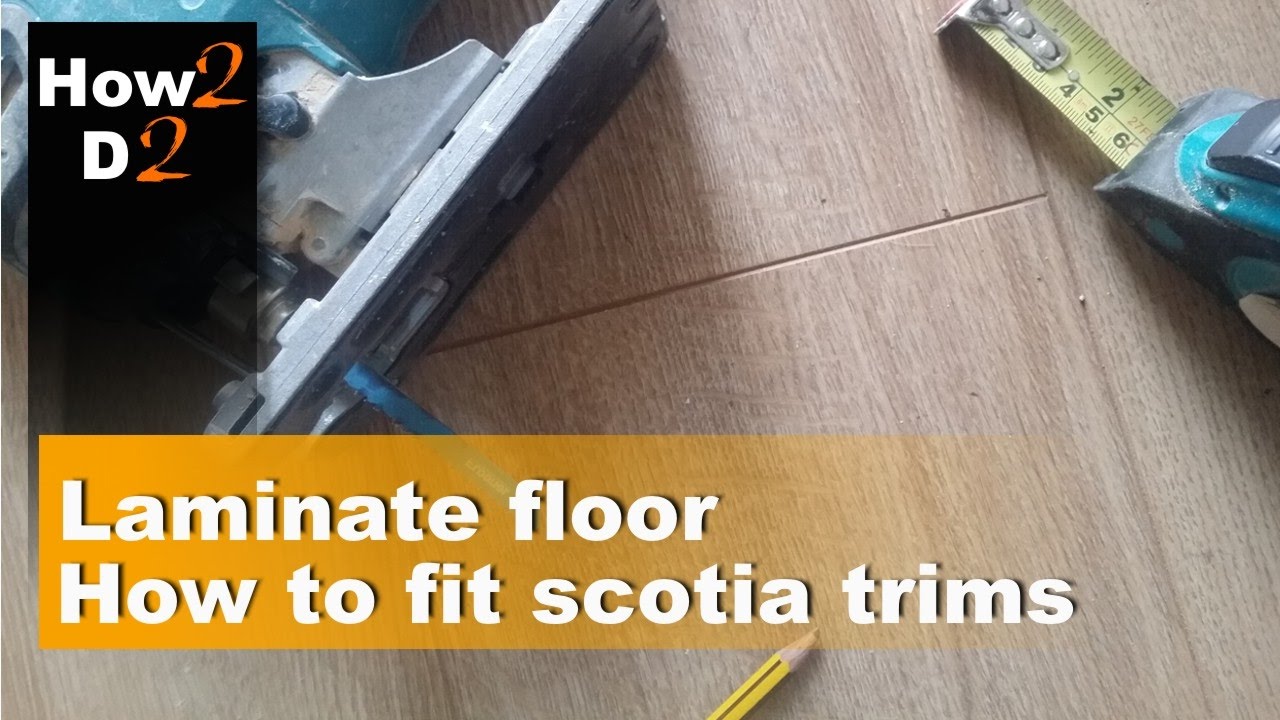
How to fit scotia trims in laminate flooring Edging corners laminate floor
Laminate Flooring Beading Laminate floor fitting

How to Lay Laminate Flooring? – Fit Laminate Floor Direct Wood

Flat beading, neat finish The Flooring Forum – Number 1 Floor

Perfecting Laminate Floor edges: Beading or Skirting? Get it Right
DIY – How to lay laminate floor beading

Flat beading, neat finish The Flooring Forum – Number 1 Floor

Fast Fit Rustic Oak Scotia Beading in 2022 Scotia beading

5 Laminate flooring edging alternatives and when to use them
Related articles:
- Coastal Laminate Flooring
- Commercial Laminate Flooring
- Slate Laminate Flooring
- Laminate Flooring Types
- Laminate Flooring Design
- Commercial Quality Laminate Flooring
- Black Laminate Flooring
- Tigerwood Laminate Flooring
- Royal Cherry Laminate Flooring
- Laminate Flooring Thickness For Basement
Laminate Floor Beading How To Fit
Laminate flooring has become increasingly popular due to its durability and affordability. However, one crucial aspect of installing laminate flooring is the fitting of laminate floor beading. Laminate floor beading, also known as scotia or edging, is a finishing touch that covers the expansion gap between the laminate floor and the skirting board. This article will provide a detailed guide on how to fit laminate floor beading, including step-by-step instructions, helpful tips, and frequently asked questions.
I. Introduction to Laminate Floor Beading
Before diving into the fitting process, it’s essential to understand the purpose and benefits of laminate floor beading. As mentioned earlier, laminate floor beading covers the expansion gap left between the laminate flooring and skirting boards. This gap allows for natural movement of the flooring without causing damage or warping due to changes in temperature and humidity.
Additionally, laminate floor beading enhances the overall appearance of your flooring by providing a clean and seamless finish. It helps to create a professional look, hiding any imperfections or uneven edges that may occur during installation.
II. Tools and Materials Required
To begin fitting laminate floor beading, gather all the necessary tools and materials. This ensures a smooth and efficient installation process. Here is a list of items you will need:
1. Laminate Floor Beading: Measure the total length required by measuring each wall individually and adding them together with an additional 10% for waste.
2. Miter Box or Electric Miter Saw: These tools are used to cut precise angles on the beading.
3. Measuring Tape: Essential for accurate measurements of the walls.
4. Pencil: Used for marking measurements on the beading.
5. Fine-Toothed Saw or Hand Saw: For cutting straight lengths of beading.
6. Adhesive: Choose a suitable adhesive recommended by the manufacturer for a secure attachment.
7. Sandpaper: To smooth any rough edges on the beading after cutting.
III. Step-by-Step Guide to Fitting Laminate Floor Beading
Now that you have all the necessary tools and materials, let’s delve into the step-by-step process of fitting laminate floor beading:
Step 1: Measure the Walls
Using a measuring tape, measure each wall individually. Start from one corner and measure the length of each wall, taking into account any corners or obstacles. Add all the measurements together and add an additional 10% for waste.
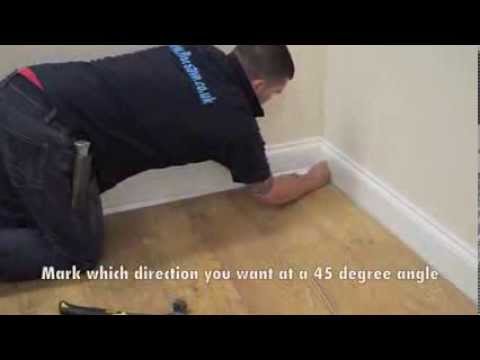
Step 2: Cut the Beading
Using a miter box or electric miter saw, cut the laminate floor beading at a 45-degree angle to create neat and precise corners. Measure and mark the required length on each piece of beading before cutting. For straight lengths, use a fine-toothed saw or hand saw to achieve clean cuts.
Step 3: Test Fit
Before applying adhesive, do a test fit of the beading along each wall to ensure it fits properly. Make any necessary adjustments by trimming or recutting the beading if needed.
Step 4: Adhere the Beading
Apply a small amount of adhesive to the back of each piece of beading. Press firmly against the wall, ensuring it is in contact with both the laminate flooring and skirting board. Hold in place for a few seconds to allow for proper adhesion.
Step 5: Repeat for Each Wall
Continue fitting laminate floor beading along each wall In the same manner, repeating steps 2-4 for each wall until all beading is installed.
Step 6: Sand and Finish
After all the beading is securely attached to the walls, use sandpaper to smooth any rough edges or imperfections. This will create a seamless and professional finish.
Step 7: Clean Up
Finally, clean up any adhesive residue or debris from the installation process. Use a damp cloth or appropriate cleaning solution to wipe down the laminate flooring and beading.
IV. Tips and Considerations
Here are some additional tips and considerations to keep in mind when fitting laminate floor beading:
– Take accurate measurements and double-check before cutting the beading to avoid wastage or incorrect sizes.
– Ensure that the surface where the beading will be attached is clean and free from dust or grease for proper adhesion.
– If needed, use a sealant or caulk along the top edge of the beading to provide extra protection against moisture and prevent gaps.
– Be mindful of expansion gaps between the laminate flooring and walls. Leave a small gap (usually around 1/4 inch) to allow for natural expansion and contraction of the flooring.
– Follow manufacturer instructions for specific adhesive application and drying times.
By following these steps and tips, you can successfully fit laminate floor beading to enhance the appearance and functionality of your flooring. 1. Start by cutting the beading at a 45-degree angle using a miter box or electric miter saw. Measure and mark the required length before cutting.
2. Test fit the beading along each wall to ensure it fits properly. Make any necessary adjustments by trimming or recutting the beading if needed.
3. Apply a small amount of adhesive to the back of each piece of beading and press firmly against the wall, ensuring it is in contact with both the laminate flooring and skirting board.
4. Repeat steps 2-4 for each wall until all beading is installed.
5. Use sandpaper to smooth any rough edges or imperfections for a seamless finish.
6. Clean up any adhesive residue or debris from the installation process using a damp cloth or appropriate cleaning solution.
7. Take accurate measurements and double-check before cutting the beading to avoid wastage or incorrect sizes.
8. Ensure that the surface where the beading will be attached is clean and free from dust or grease for proper adhesion.
9. Use a sealant or caulk along the top edge of the beading for extra protection against moisture and to prevent gaps.
10. Leave a small gap (usually around 1/4 inch) between the laminate flooring and walls for natural expansion and contraction of the flooring.
11. Follow manufacturer instructions for specific adhesive application and drying times.
By following these steps and tips, you can successfully fit laminate floor beading to enhance the appearance and functionality of your flooring. It is important to take accurate measurements and double-check before cutting the beading to avoid wastage or incorrect sizes. Additionally, ensure that the surface where the beading will be attached is clean and free from dust or grease for proper adhesion. If needed, use a sealant or caulk along the top edge of the beading to provide extra protection against moisture and prevent gaps.
When fitting laminate floor beading, it is also important to be mindful of expansion gaps between the laminate flooring and walls. Leaving a small gap (usually around 1/4 inch) allows for natural expansion and contraction of the flooring.
Lastly, it is crucial to follow the manufacturer’s instructions for specific adhesive application and drying times to ensure a successful installation.
By following these steps and tips, you can successfully fit laminate floor beading to enhance the appearance and functionality of your flooring.