With the ever increasing number of DIY shows on tv, a lot of individuals are trying to restore their very own wood floors simply to discover it is not as simple as it appears to be on telly. They might also be very fashionable in patterns like tile, realistic stones and hardwood visuals. Also, you might want to consider installing tile in your entry ways, since it's the spot where the heaviest traffic generally occurs.
Images Related to Installing Reclaimed Wood Flooring
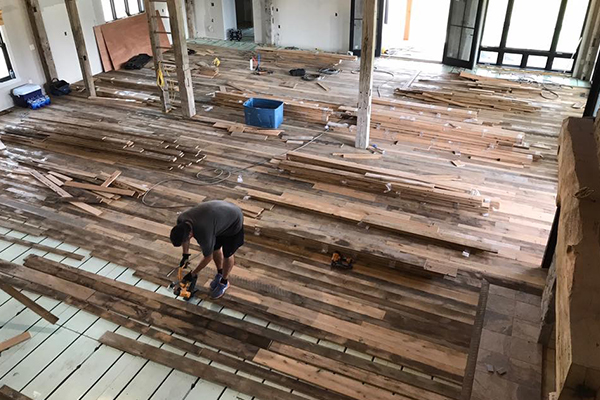
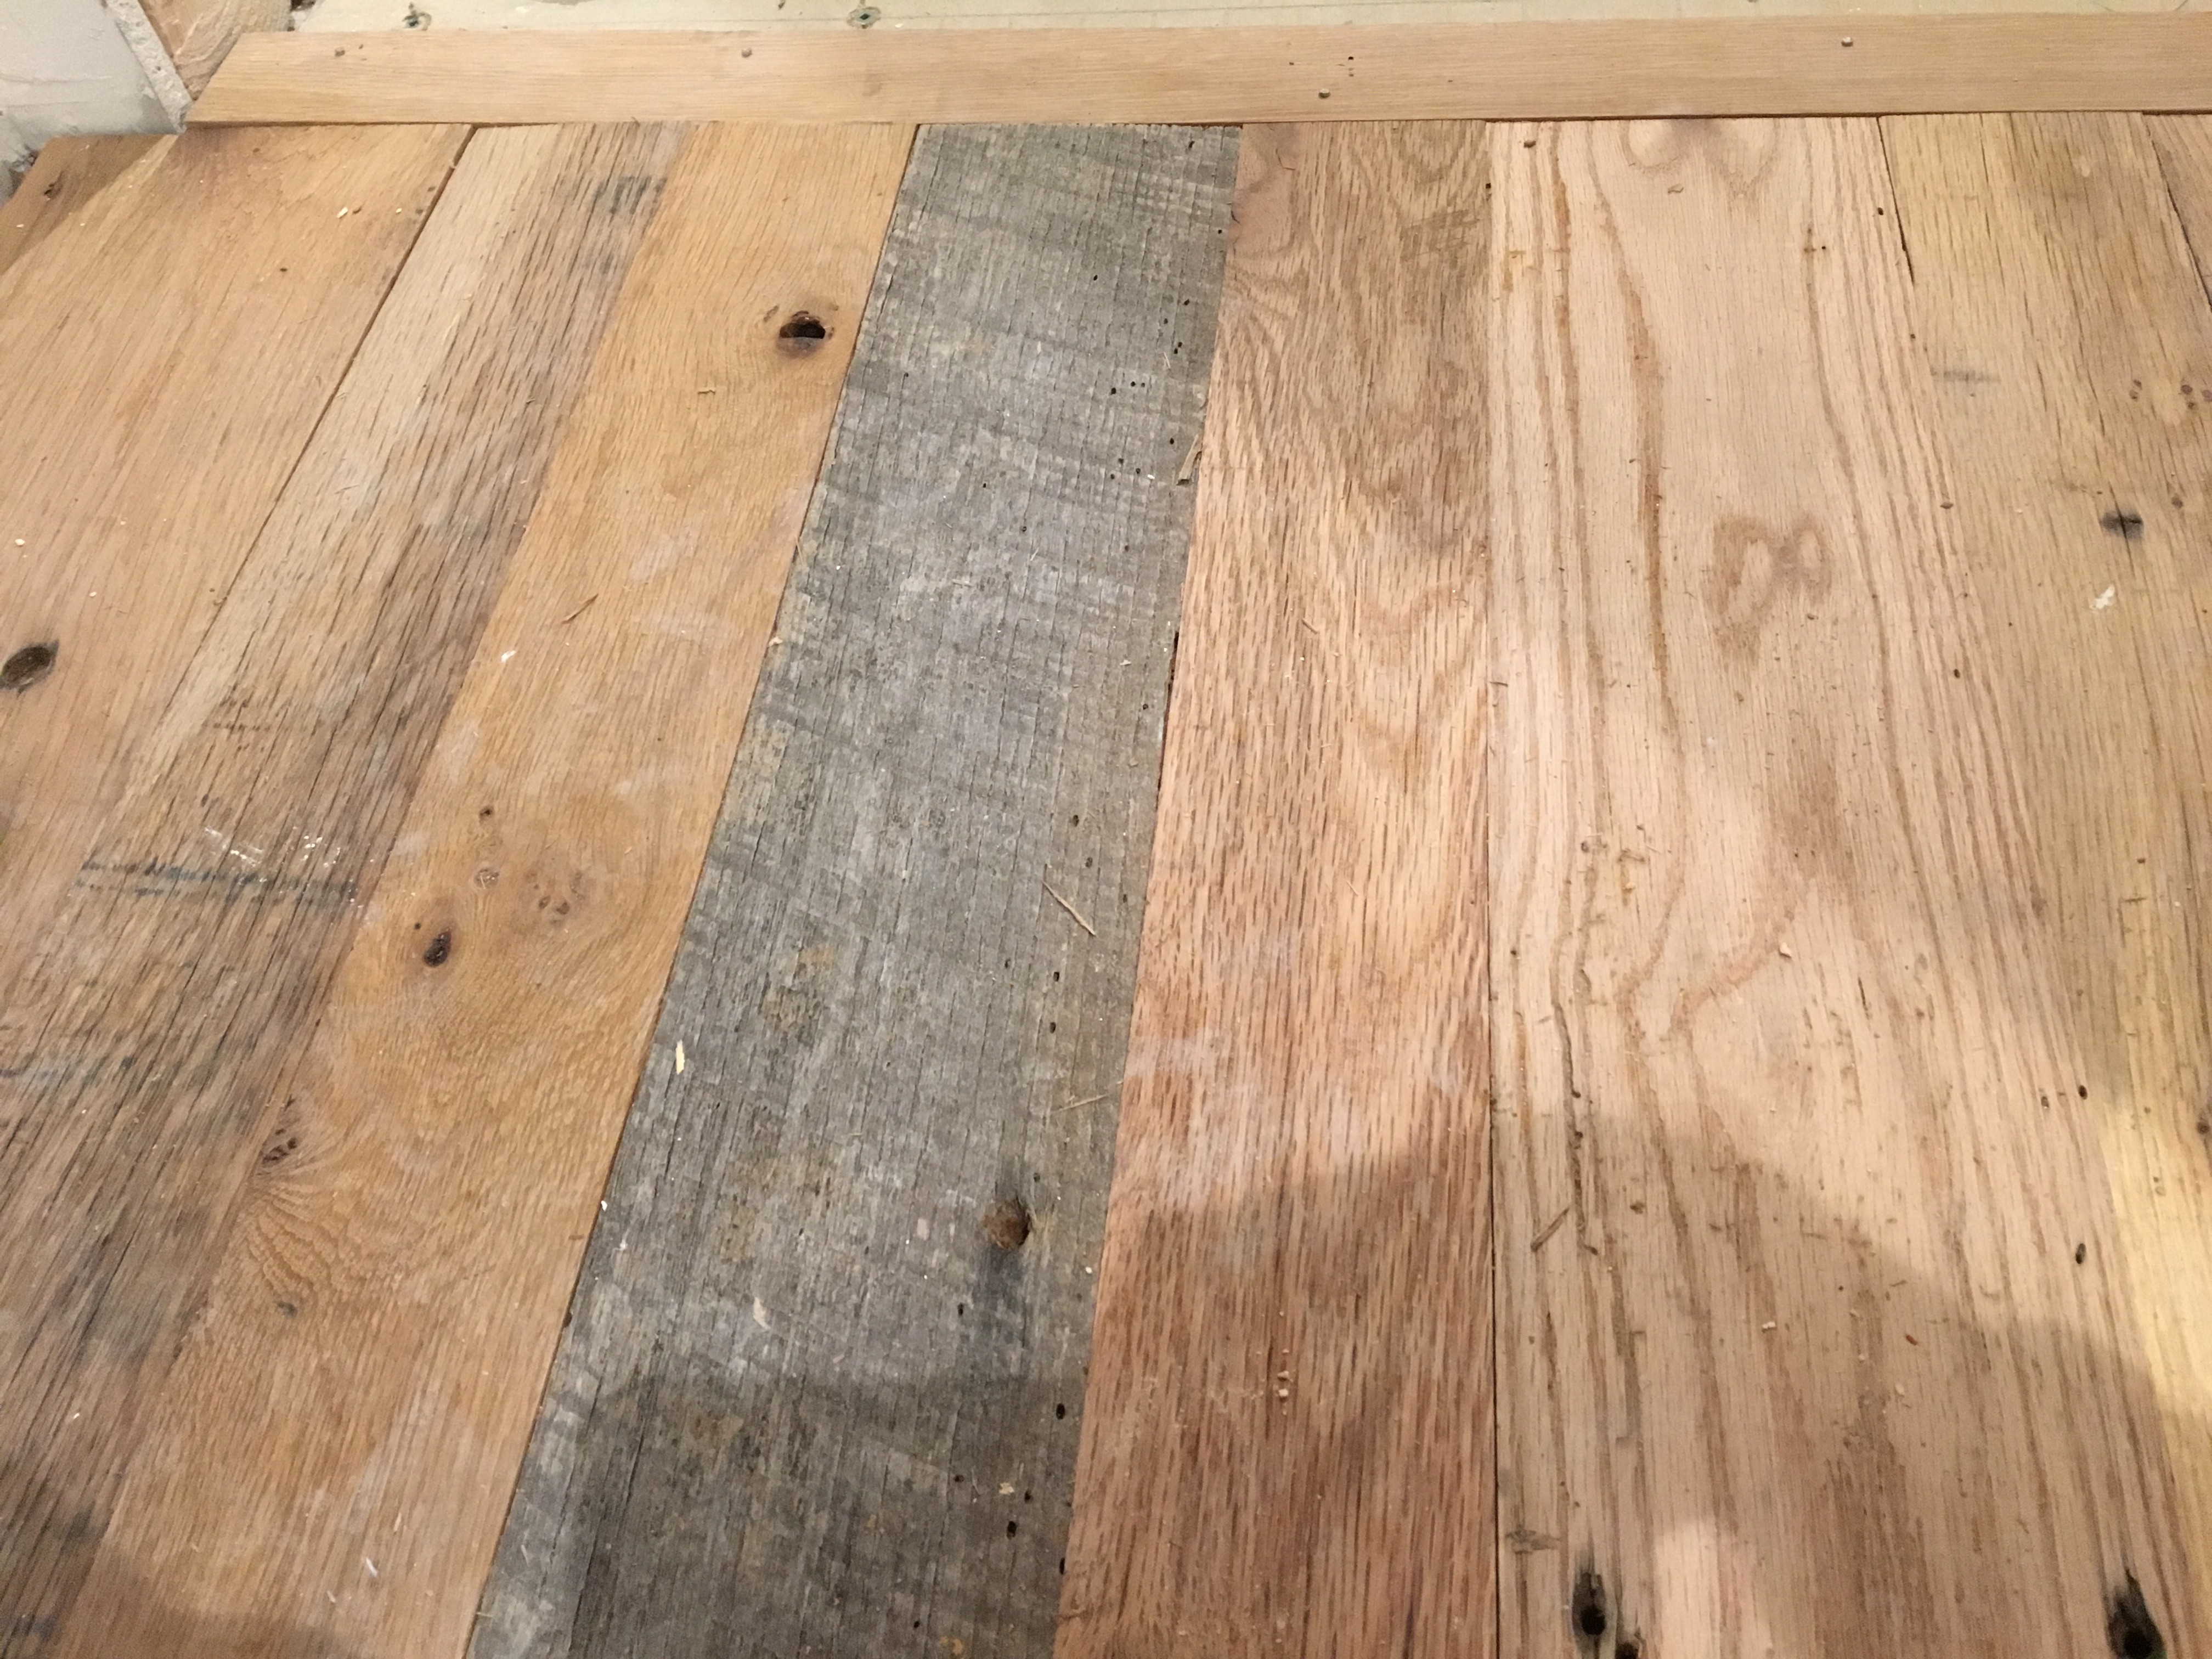
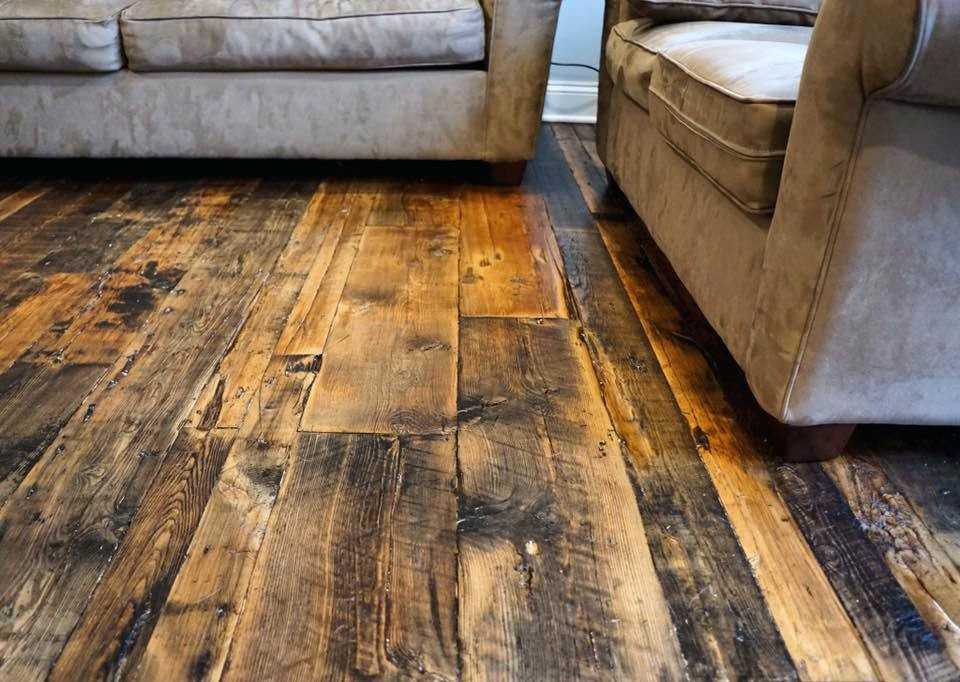
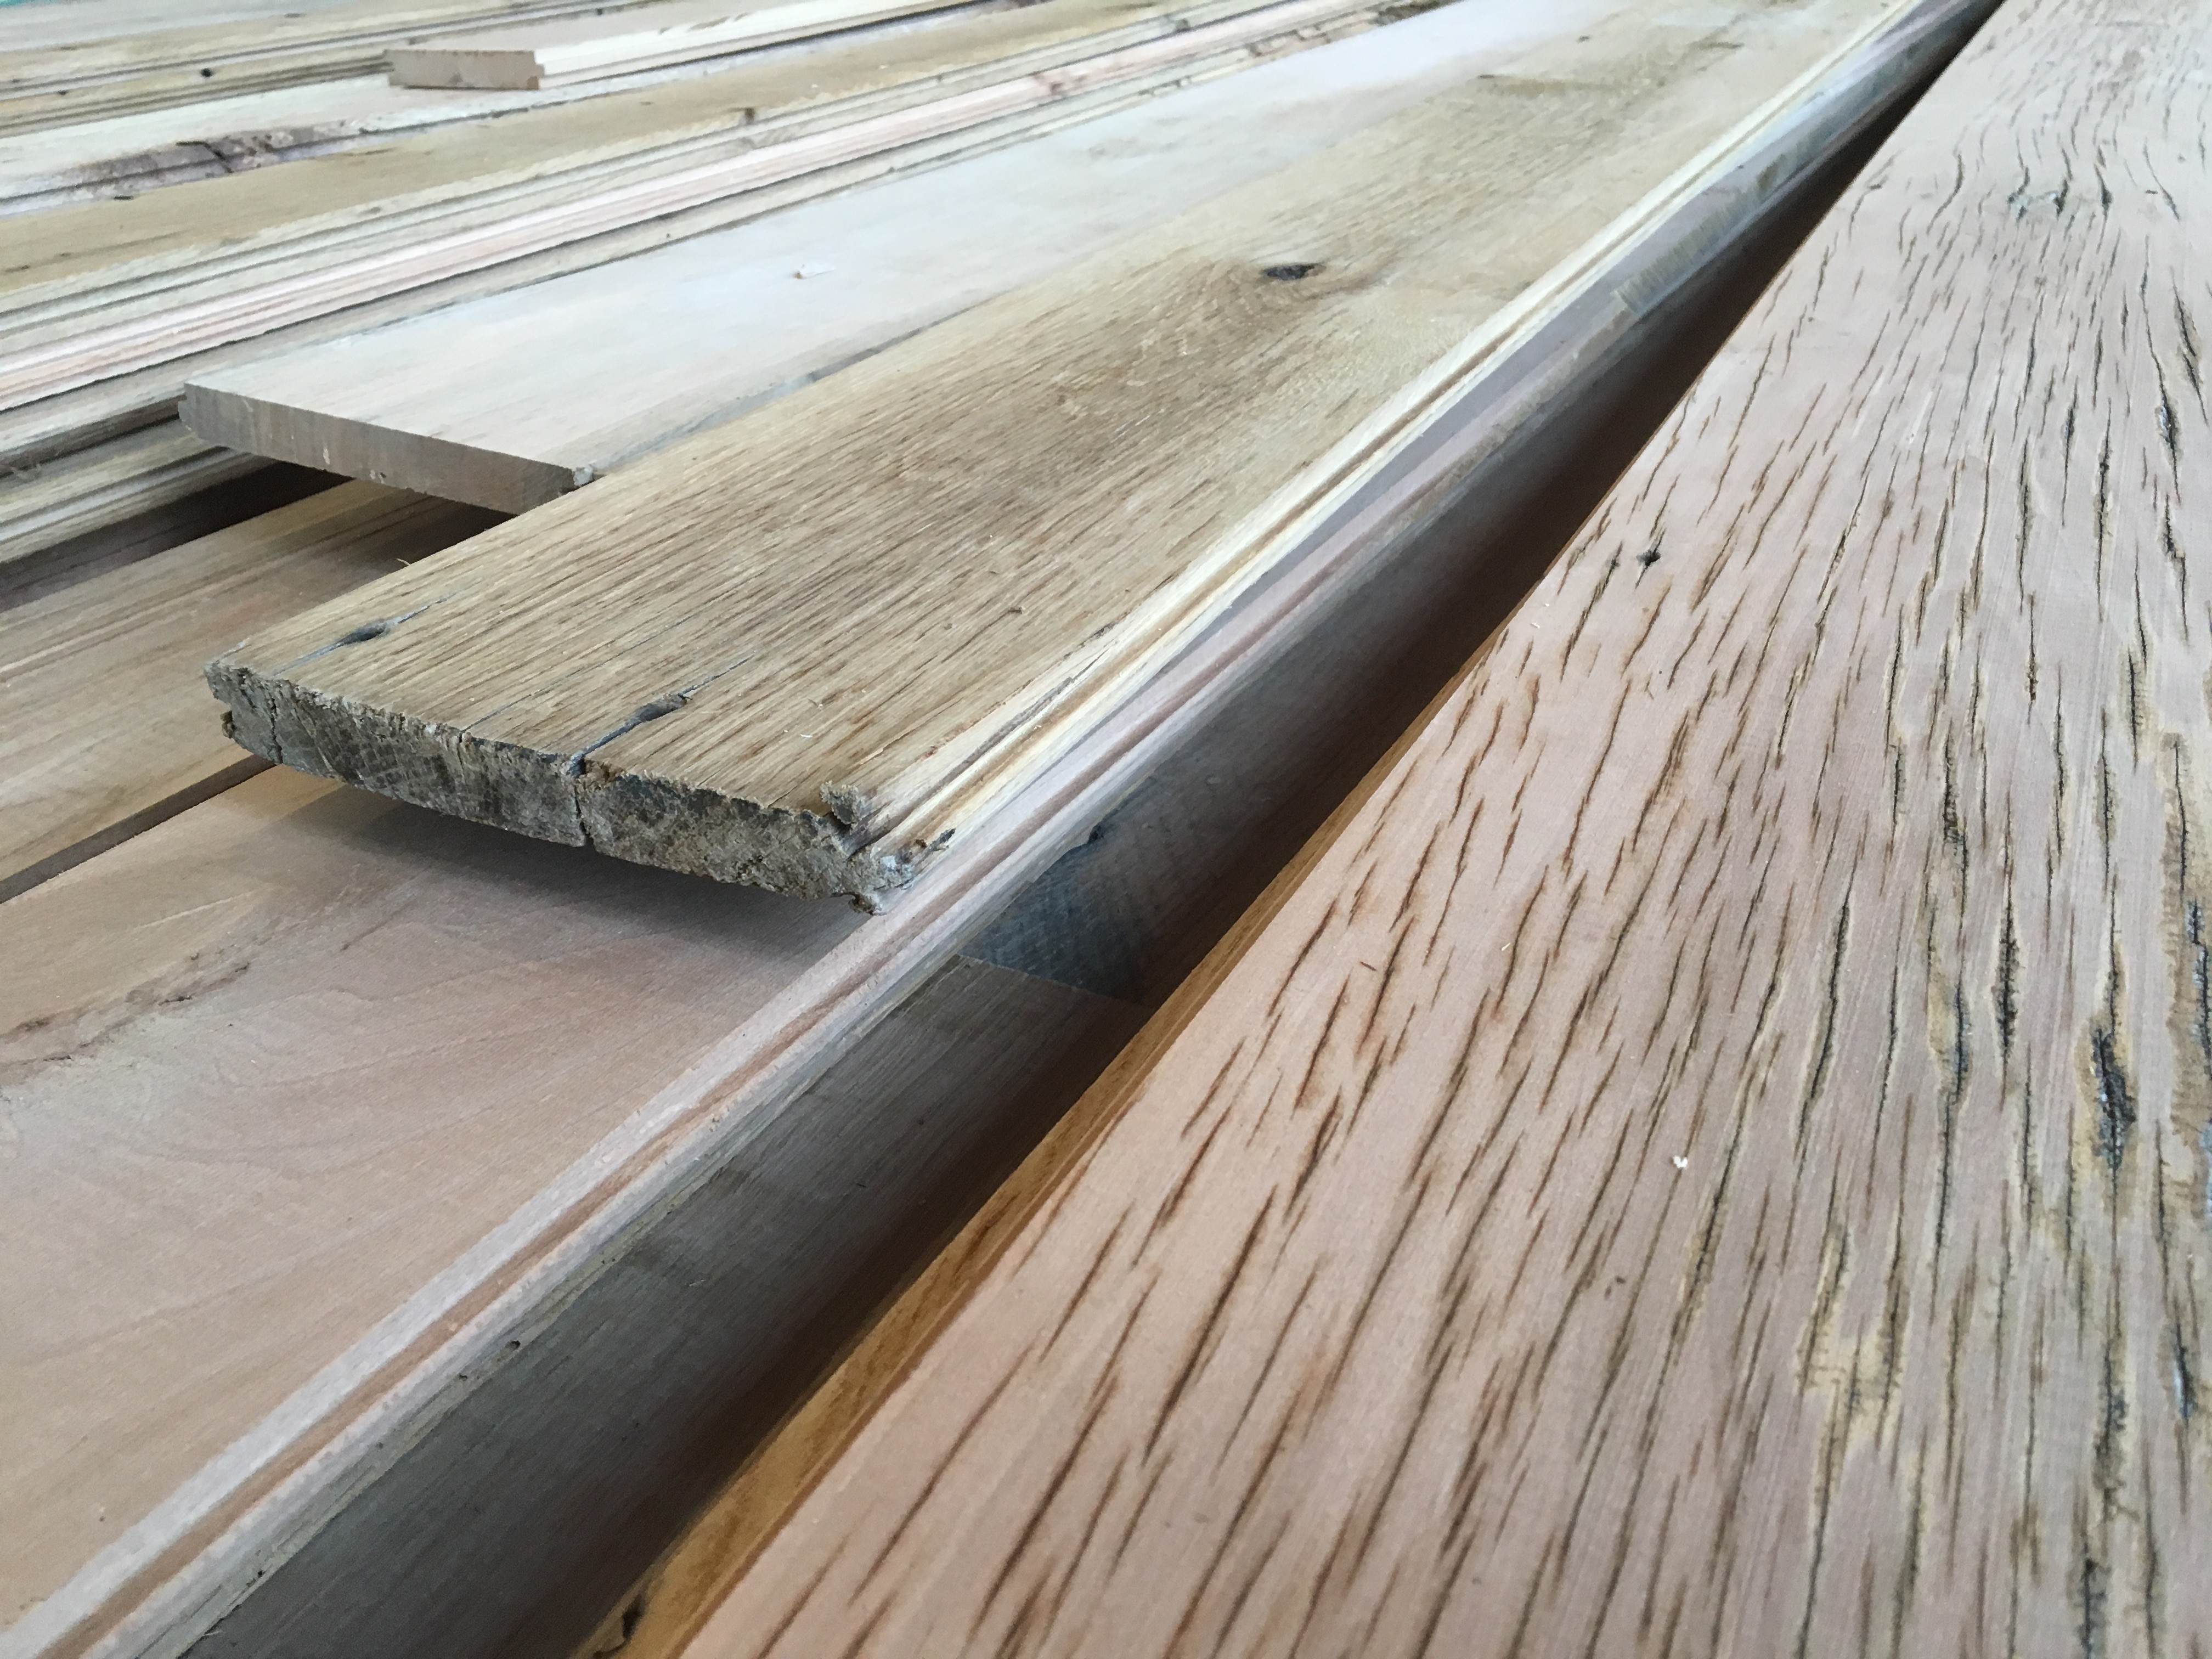
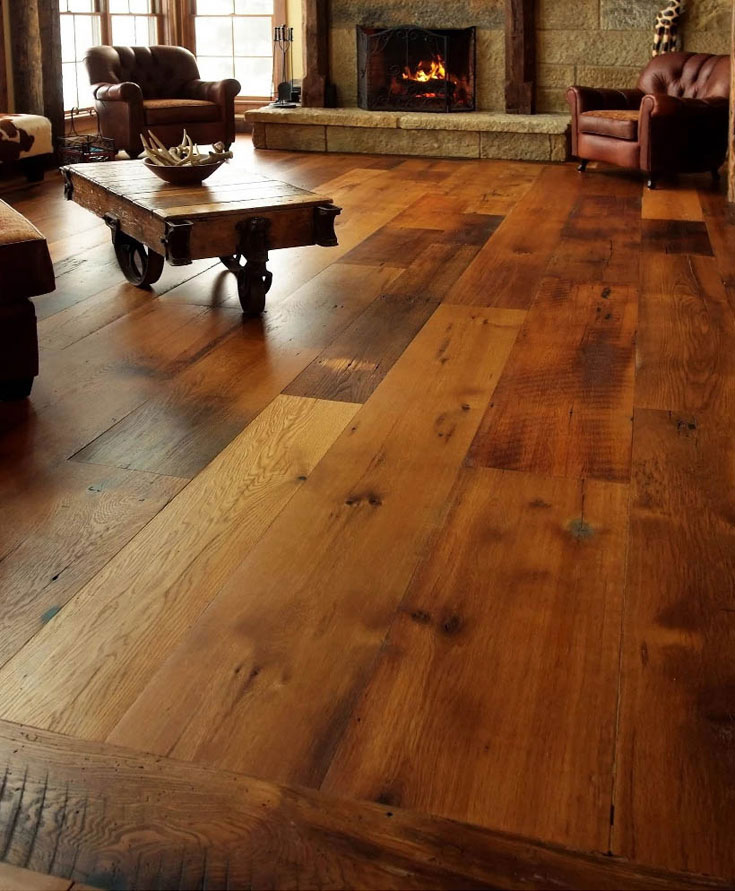
Installing Reclaimed Wood Flooring
The solid wood is basically described as such – a solid portion of timber. Hardwoods are porous and is likely to take in a stain like an ink blotter if it is not cleaned up immediately, despite having a great finish on the wood you've to be very careful not to allow a thing as blueberries or wine simply sit, they need being wiped up quickly to prevent staining.
How to Install Reclaimed Wood Flooring DoItYourself.com
It takes more time to render the top timber as well as keep waste to a minimum. Standing water must be wiped up instantly, and the wood floors should be saved in a climate-controlled environment. Since the laminate is not joined to the sub floor, levelling is vitally important to making sure a premium quality surface. Dependant upon the elements earlier mentioned, the price will vary between $3.50 as well as $7.00 psf for the content.
Installing a Reclaimed Pine Floor

Install tips for reclaimed mixed hardwoods engineered floor u0026 finish with Waterlox tung oil
Reclaimed wood flooring : Gandswoodfloors
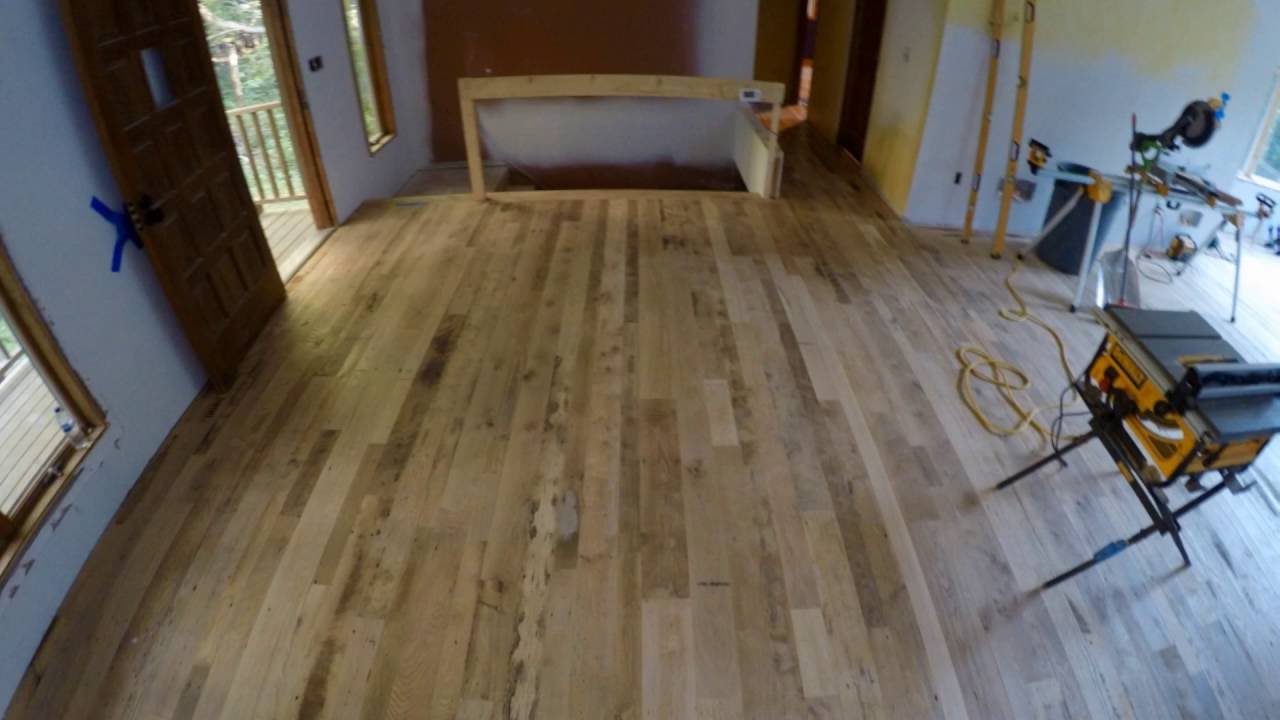
#JaxAcrossAmerica VLOG 55: Installing + Finishing Reclaimed Hardwood Floors

The Home Stretch: Installing Reclaimed Hardwood Floors u2013 Married
Peter Hardwood Flooring Contractors Hardwood Refinishing
The Home Stretch: Installing Reclaimed Hardwood Floors u2013 Married
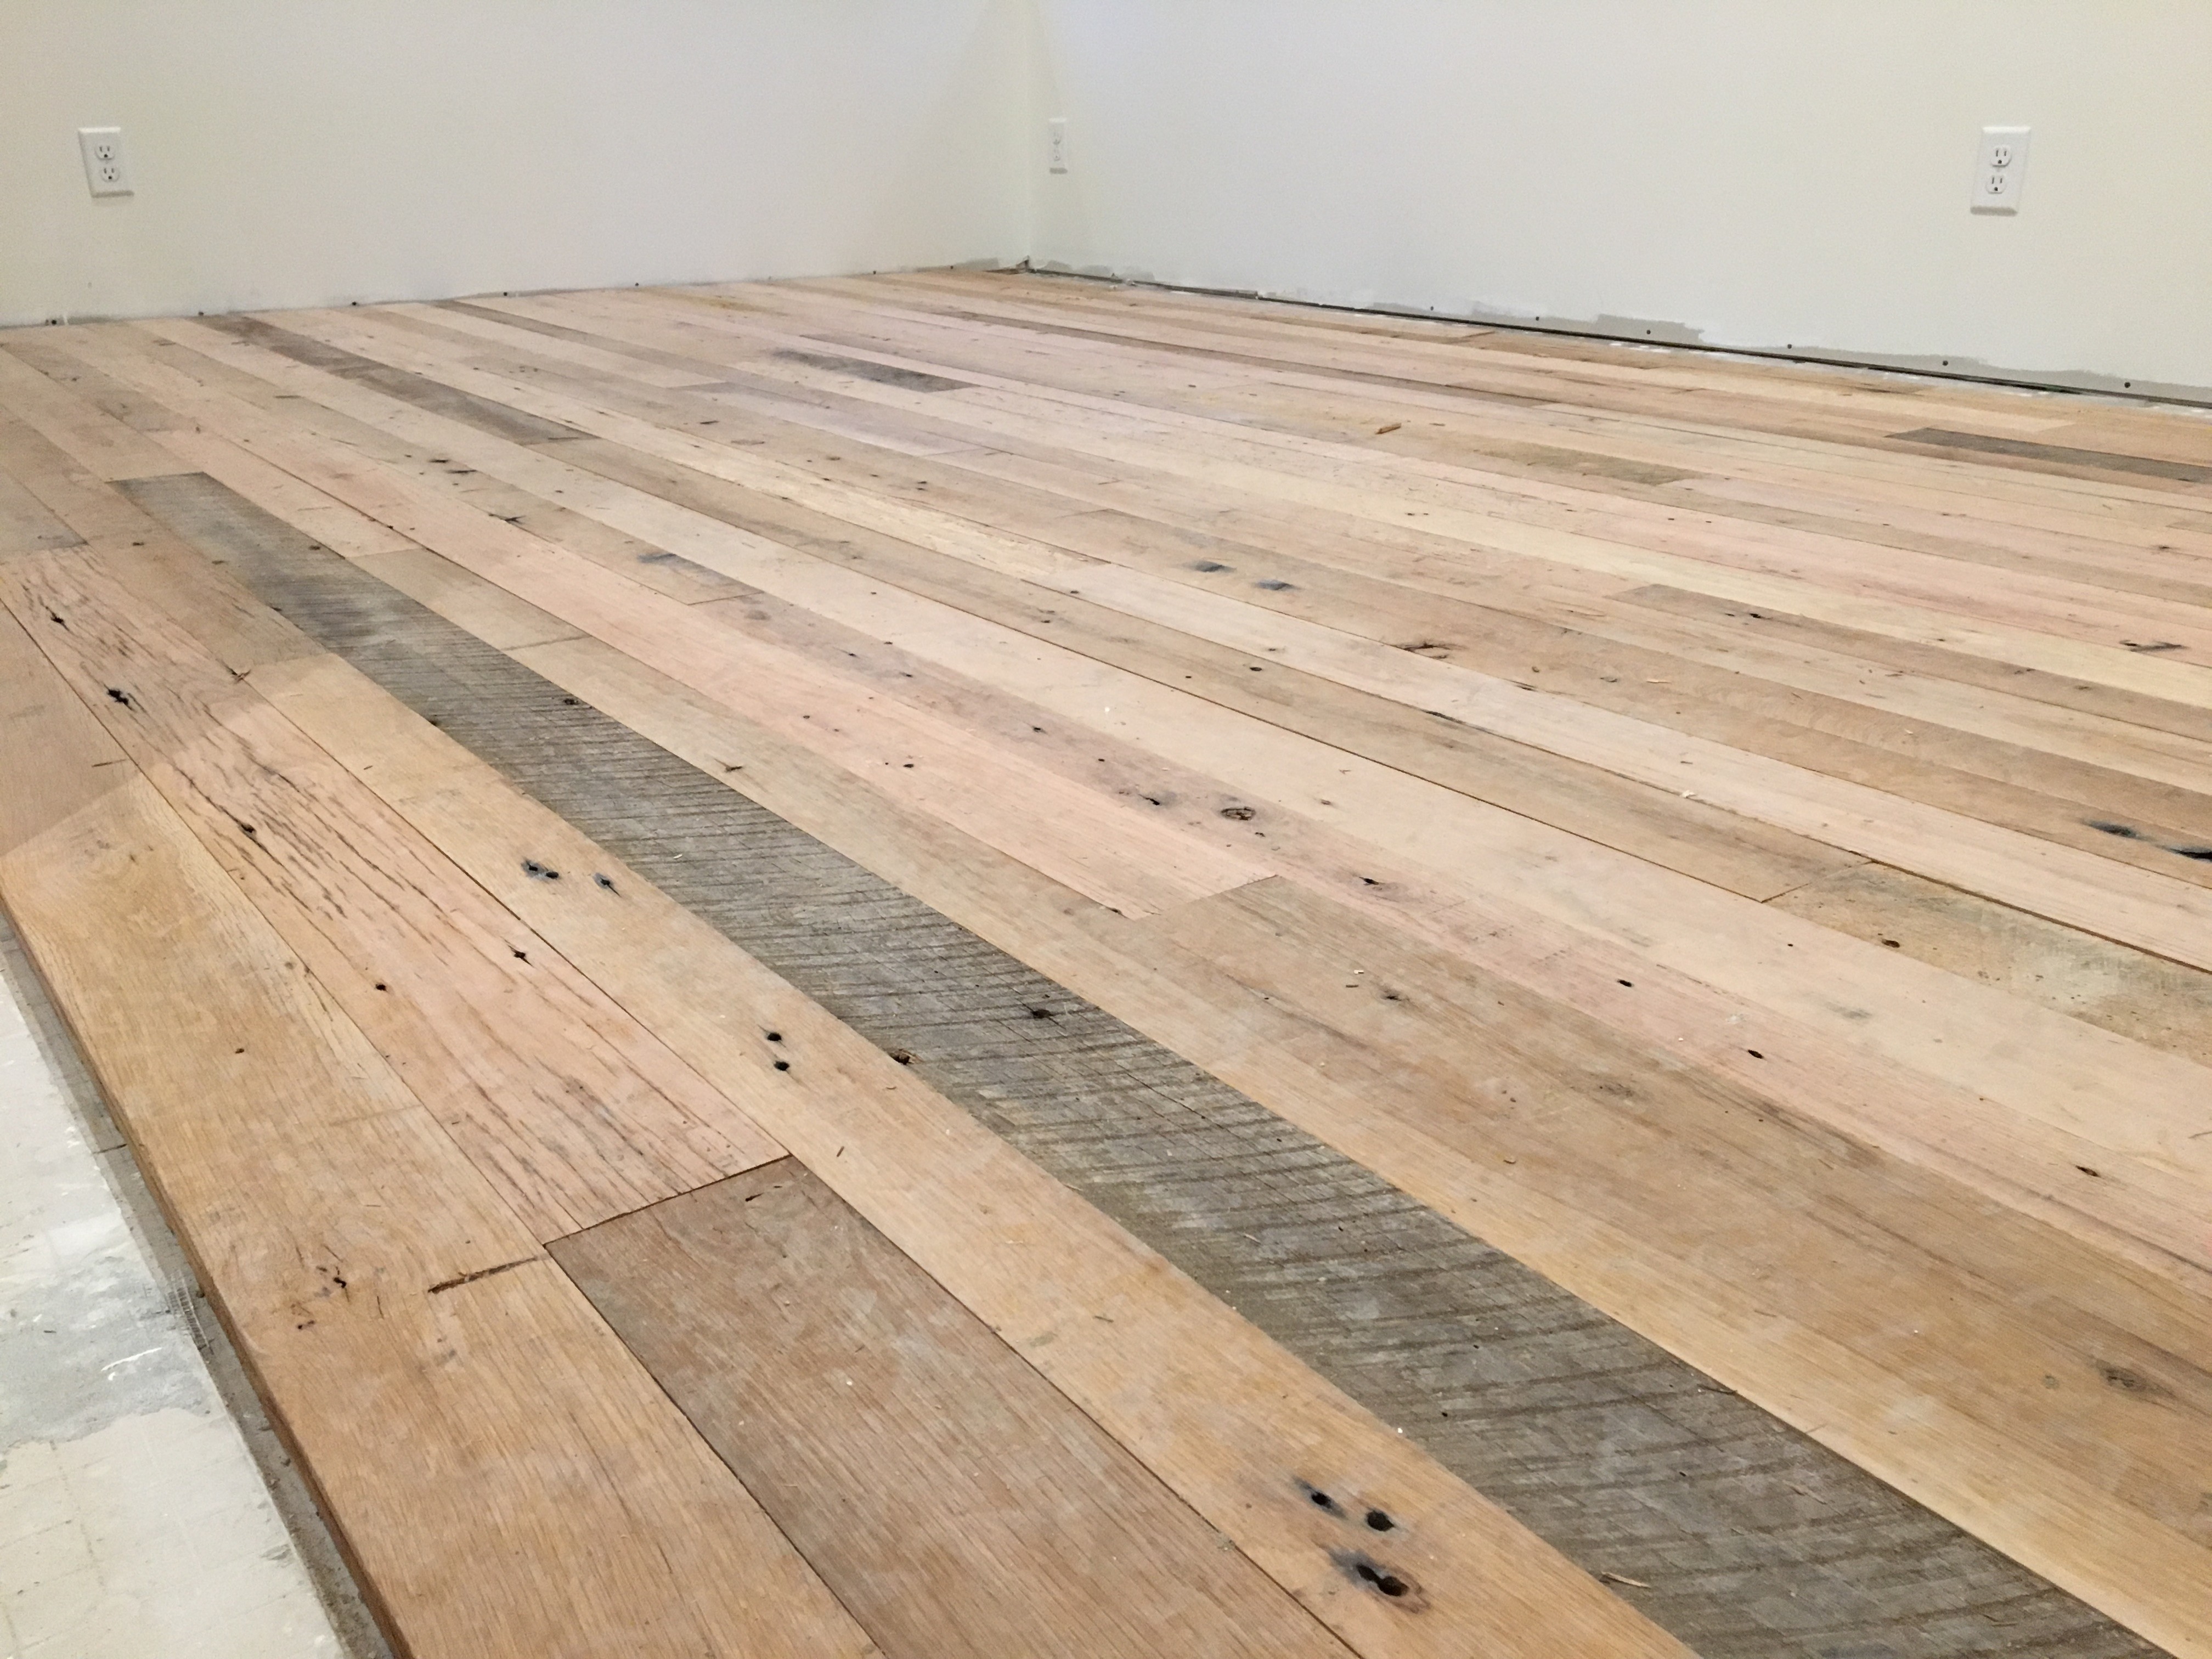
Reclaimed Wood Flooring Installation in Gilbert, Peoria, Phoenix
Reclaimed Wood Floor Install – YouTube
Installing Wood Flooring Over Vinyl Flooring – Wood and Beyond Blog

Reclaimed Wood Flooring – Midwest Hardwood Floors Inc.
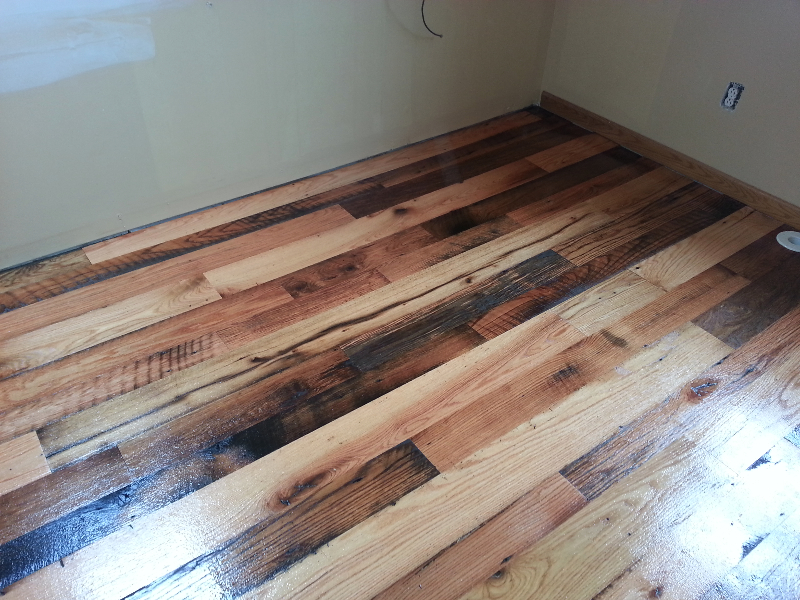
The Home Stretch: Installing Reclaimed Hardwood Floors u2013 Married
Related articles:
- Black Walnut Wood Flooring
- Wood Flooring Designs
- Wood Flooring Options For Kitchens
- Contemporary Wood Flooring Ideas
- Dark Wood Floor Bedroom Ideas
- Real Wood Flooring For Kitchens
- Natural Wood Floor Stain
- Oak Wood Flooring
- Birch Wood Flooring Reviews
- Wood Floor Damage Repair
Reclaimed wood flooring can be a great way to add natural charm and character to your home. Not only does it look great but it is also environmentally friendly as it is made from recycled materials. However, the installation process can be complex and intimidating. This guide will walk you through the essential steps to successfully install reclaimed wood flooring in your home.
Preparations
Before beginning any installation, it is important to make sure that the space is properly prepared. This includes making sure that the sub-floor is level, free of debris, and dry. Any uneven areas should be filled with self-leveling compound and any moisture or dampness should be addressed before moving forward with the installation. Additionally, all furniture should be removed from the room before beginning the installation process.
Tools and Materials
Once the space has been prepared, it is time to gather the necessary tools and materials for the job. This includes a saw (either hand or power), a measuring tape, an adhesive specifically designed for wood flooring, a hammer, nails, and a mallet. It is also important to purchase enough reclaimed wood planks to cover the entire space.
Layout
Before installing the planks, it is essential to make sure that they are laid out properly. This means paying attention to both the direction of the grain of the wood as well as making sure that all planks are lined up perfectly with one another. It is also important to leave a small gap between each plank for expansion and contraction from humidity levels.
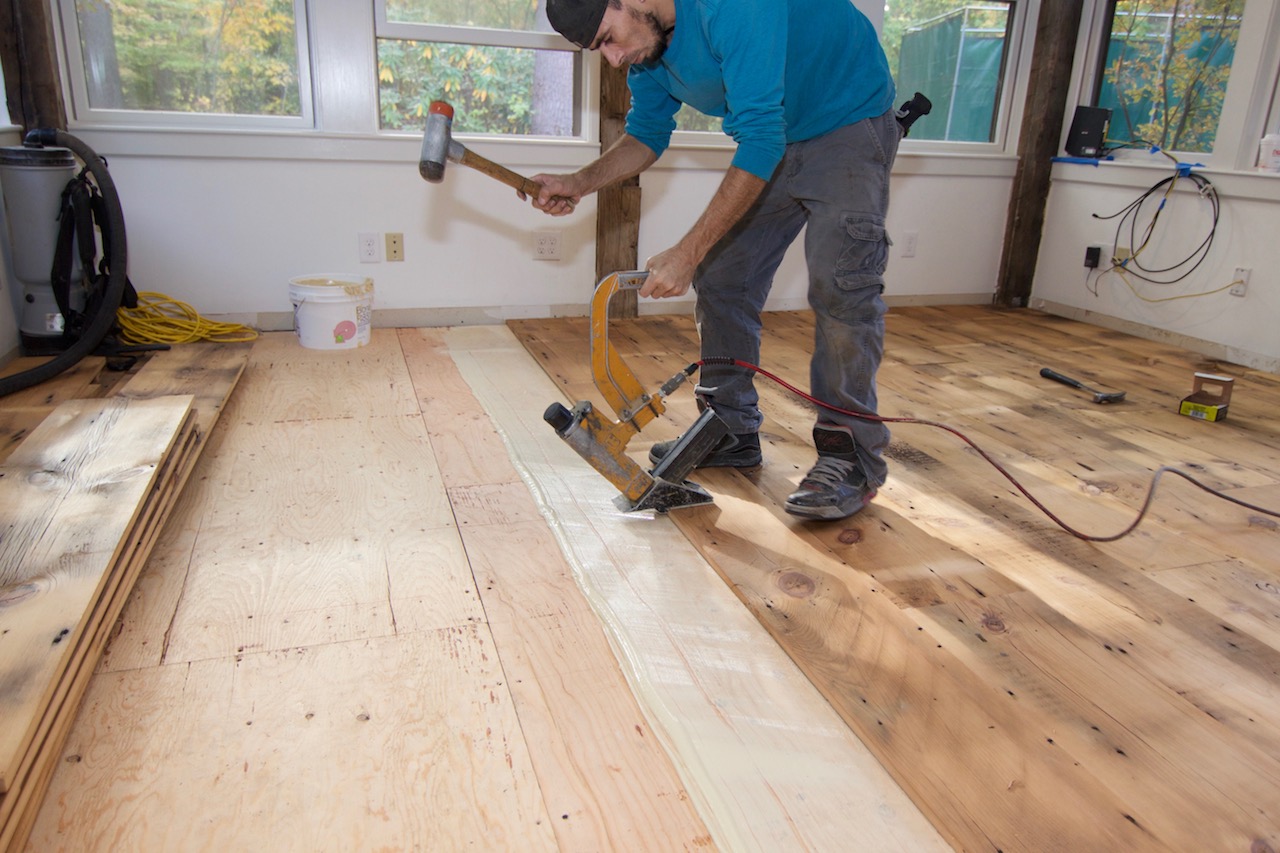
Installation
Once the planks have been laid out correctly, it is time to begin nailing them into place. Start by nailing down each plank at either end using a hammer and nails. Once this is complete, use a mallet to secure each plank in place. If adhesive is being used, it should be applied along the edges of each plank before nailing them into place. For best results, use a roller to ensure that it is evenly distributed across each plank.
Finishing Touches
After all of the planks have been installed, it is time to finish up the project with a few extra touches. This includes filling any gaps between planks with wood filler or putty and sanding down any rough areas with sandpaper until they are smooth and even. Once this is complete, apply a sealant or finish of your choice to the entire floor for added protection and shine.
Common Questions
Q: How long will it take to install reclaimed wood flooring?
A: This will depend on the size of your space but on average it can take anywhere from one day to several days depending on your skill level and experience.
Q: What kind of adhesive should I use for my reclaimed wood flooring?
A: It is important to use an adhesive specifically designed for wood flooring in order to ensure that it adheres properly and lasts for years to come.
Q: Is there anything else I should know before I begin?
A: Make sure that you have all the necessary tools and materials before beginning the installation process as well as read through all manufacturer instructions thoroughly before starting any project. Additionally, always wear safety equipment while working with power tools or handling heavy materials such as adhesives or reclaimed wood planks.
Conclusion
Installing reclaimed wood flooring may seem intimidating at first but with some preparation and guidance, it can be completed successfully in no time at all! From prepping your space to gathering all necessary tools and materials, this guide has provided you with everything you need to know about installing reclaimed wood flooring in your home.