Wood floor surfaces have returned to popularity with a vengeance. There are wood flooring types which are attached to the sub-flooring beneath it. Nonetheless, wooden flooring is currently getting to be far more popular due to the primary reason that engineered wood flooring has created the option both more efficient and a lot less costly so that it’s a good method for every home.
Images Related to Installing Herringbone Wood Flooring
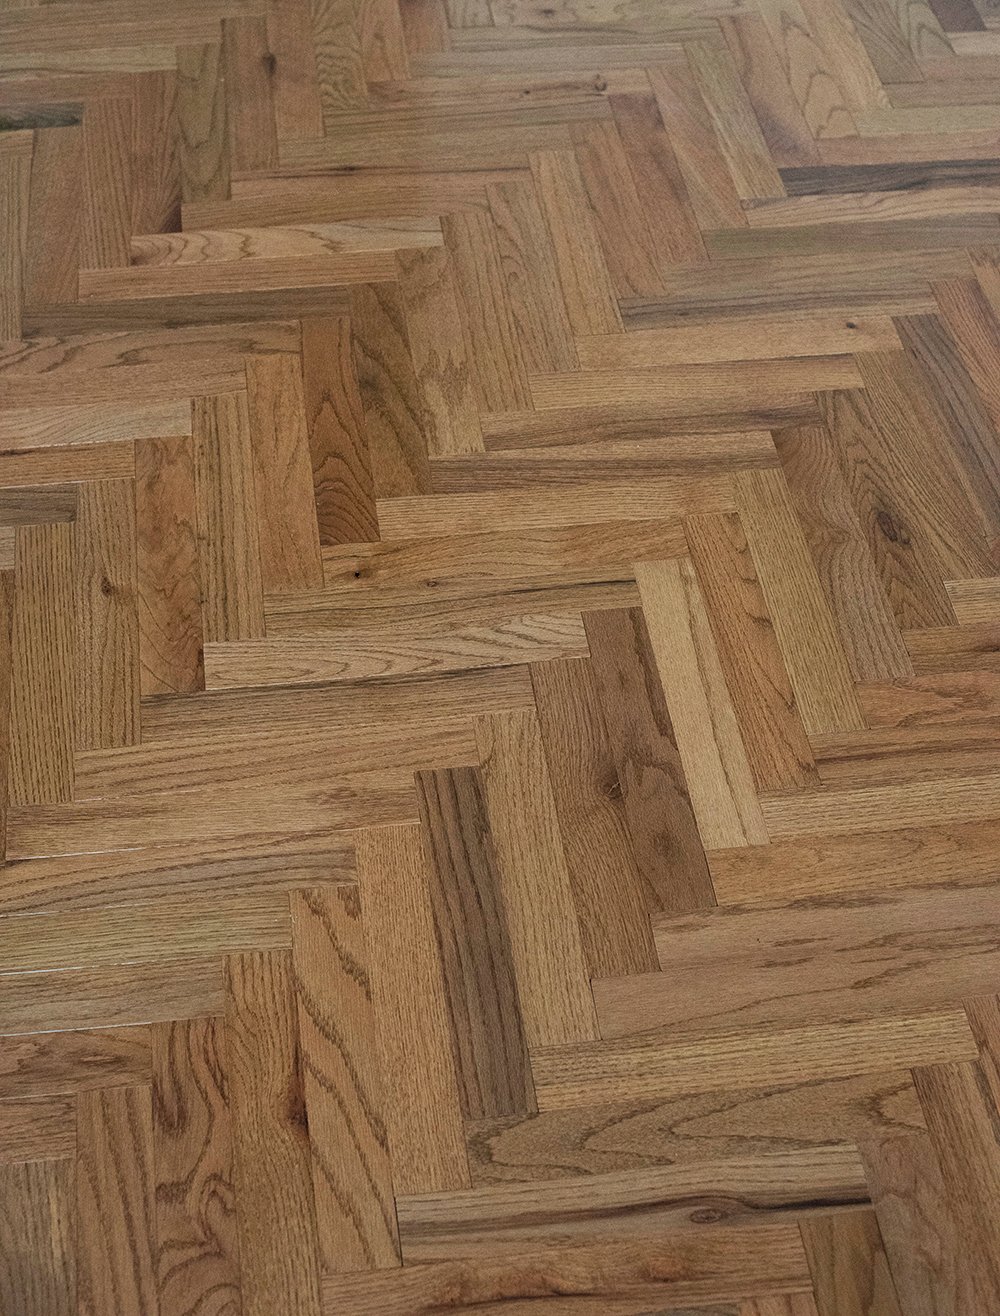
Installing Herringbone Wood Flooring
:no_upscale()/cdn.vox-cdn.com/uploads/chorus_asset/file/19496909/00_herringbone_x.jpg)
Any oak wood flooring could perk up probably the dullest looking space as well as produce a specific aura of luxury to your house. Generally there can be hundred nails or higher in an old stud, each one of which must be meticulously placed and deleted. Wood flooring is a sustainable material that reduces the requirements on the ecosystem of ours throughout its life-cycle.
How to Install a Herringbone Floor – This Old House
/cdn.vox-cdn.com/uploads/chorus_asset/file/19497438/howto_herringbone_11.jpg)
Scratches will be sanded away using facial to moderate sand paper though it is advised that any stained floorboards be replaced because, depending just how profoundly the stain has joined the wood, you might need to sand quite tough to be the owner of the stain out and this could suggest that area of flooring will not seem to be the same as the rest.
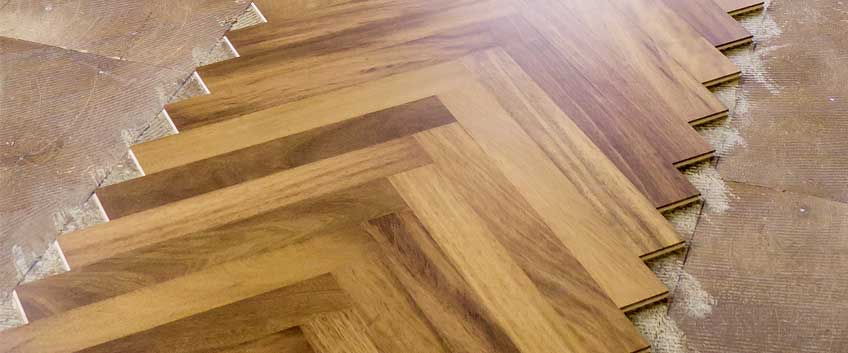
How to Install Herringbone Hardwood Flooring – Room for Tuesday
How to Install Herringbone Hardwood Floors

How to Install a Herringbone Floor This Old House
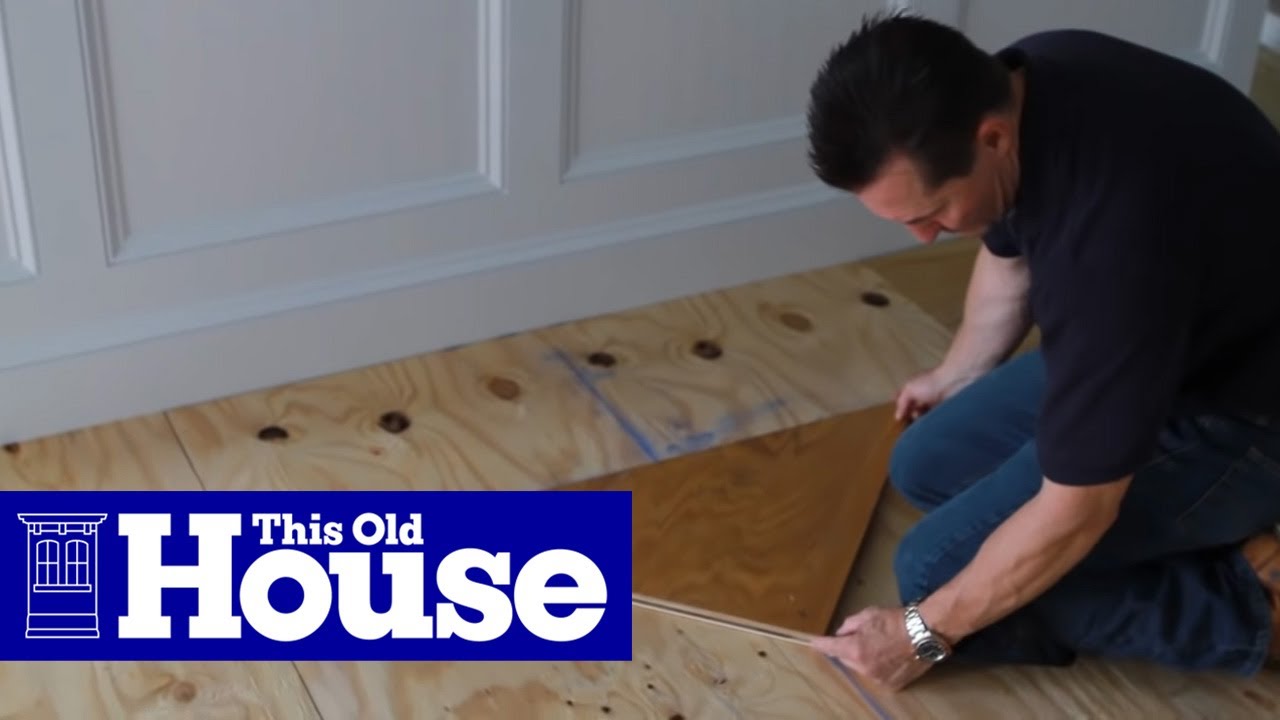
How to Install a Herringbone Floor – This Old House
/cdn.vox-cdn.com/uploads/chorus_asset/file/19497874/howto_herringbone_15.jpg)
How to Install Herringbone Hardwood Flooring – Room for Tuesday

Beautiful Custom Herringbone Installation – E_M Custom Flooring

Step-by-Step Guide for Herringbone Pattern Installation u2013 Part 1
Rooms Wood floor design, Herringbone wood floor, Herringbone wood

How to Install Herringbone Hardwood Flooring – Room for Tuesday

How to Install a Herringbone Floor – This Old House
:no_upscale()/cdn.vox-cdn.com/uploads/chorus_asset/file/19497325/howto_herringbone_09.jpg)
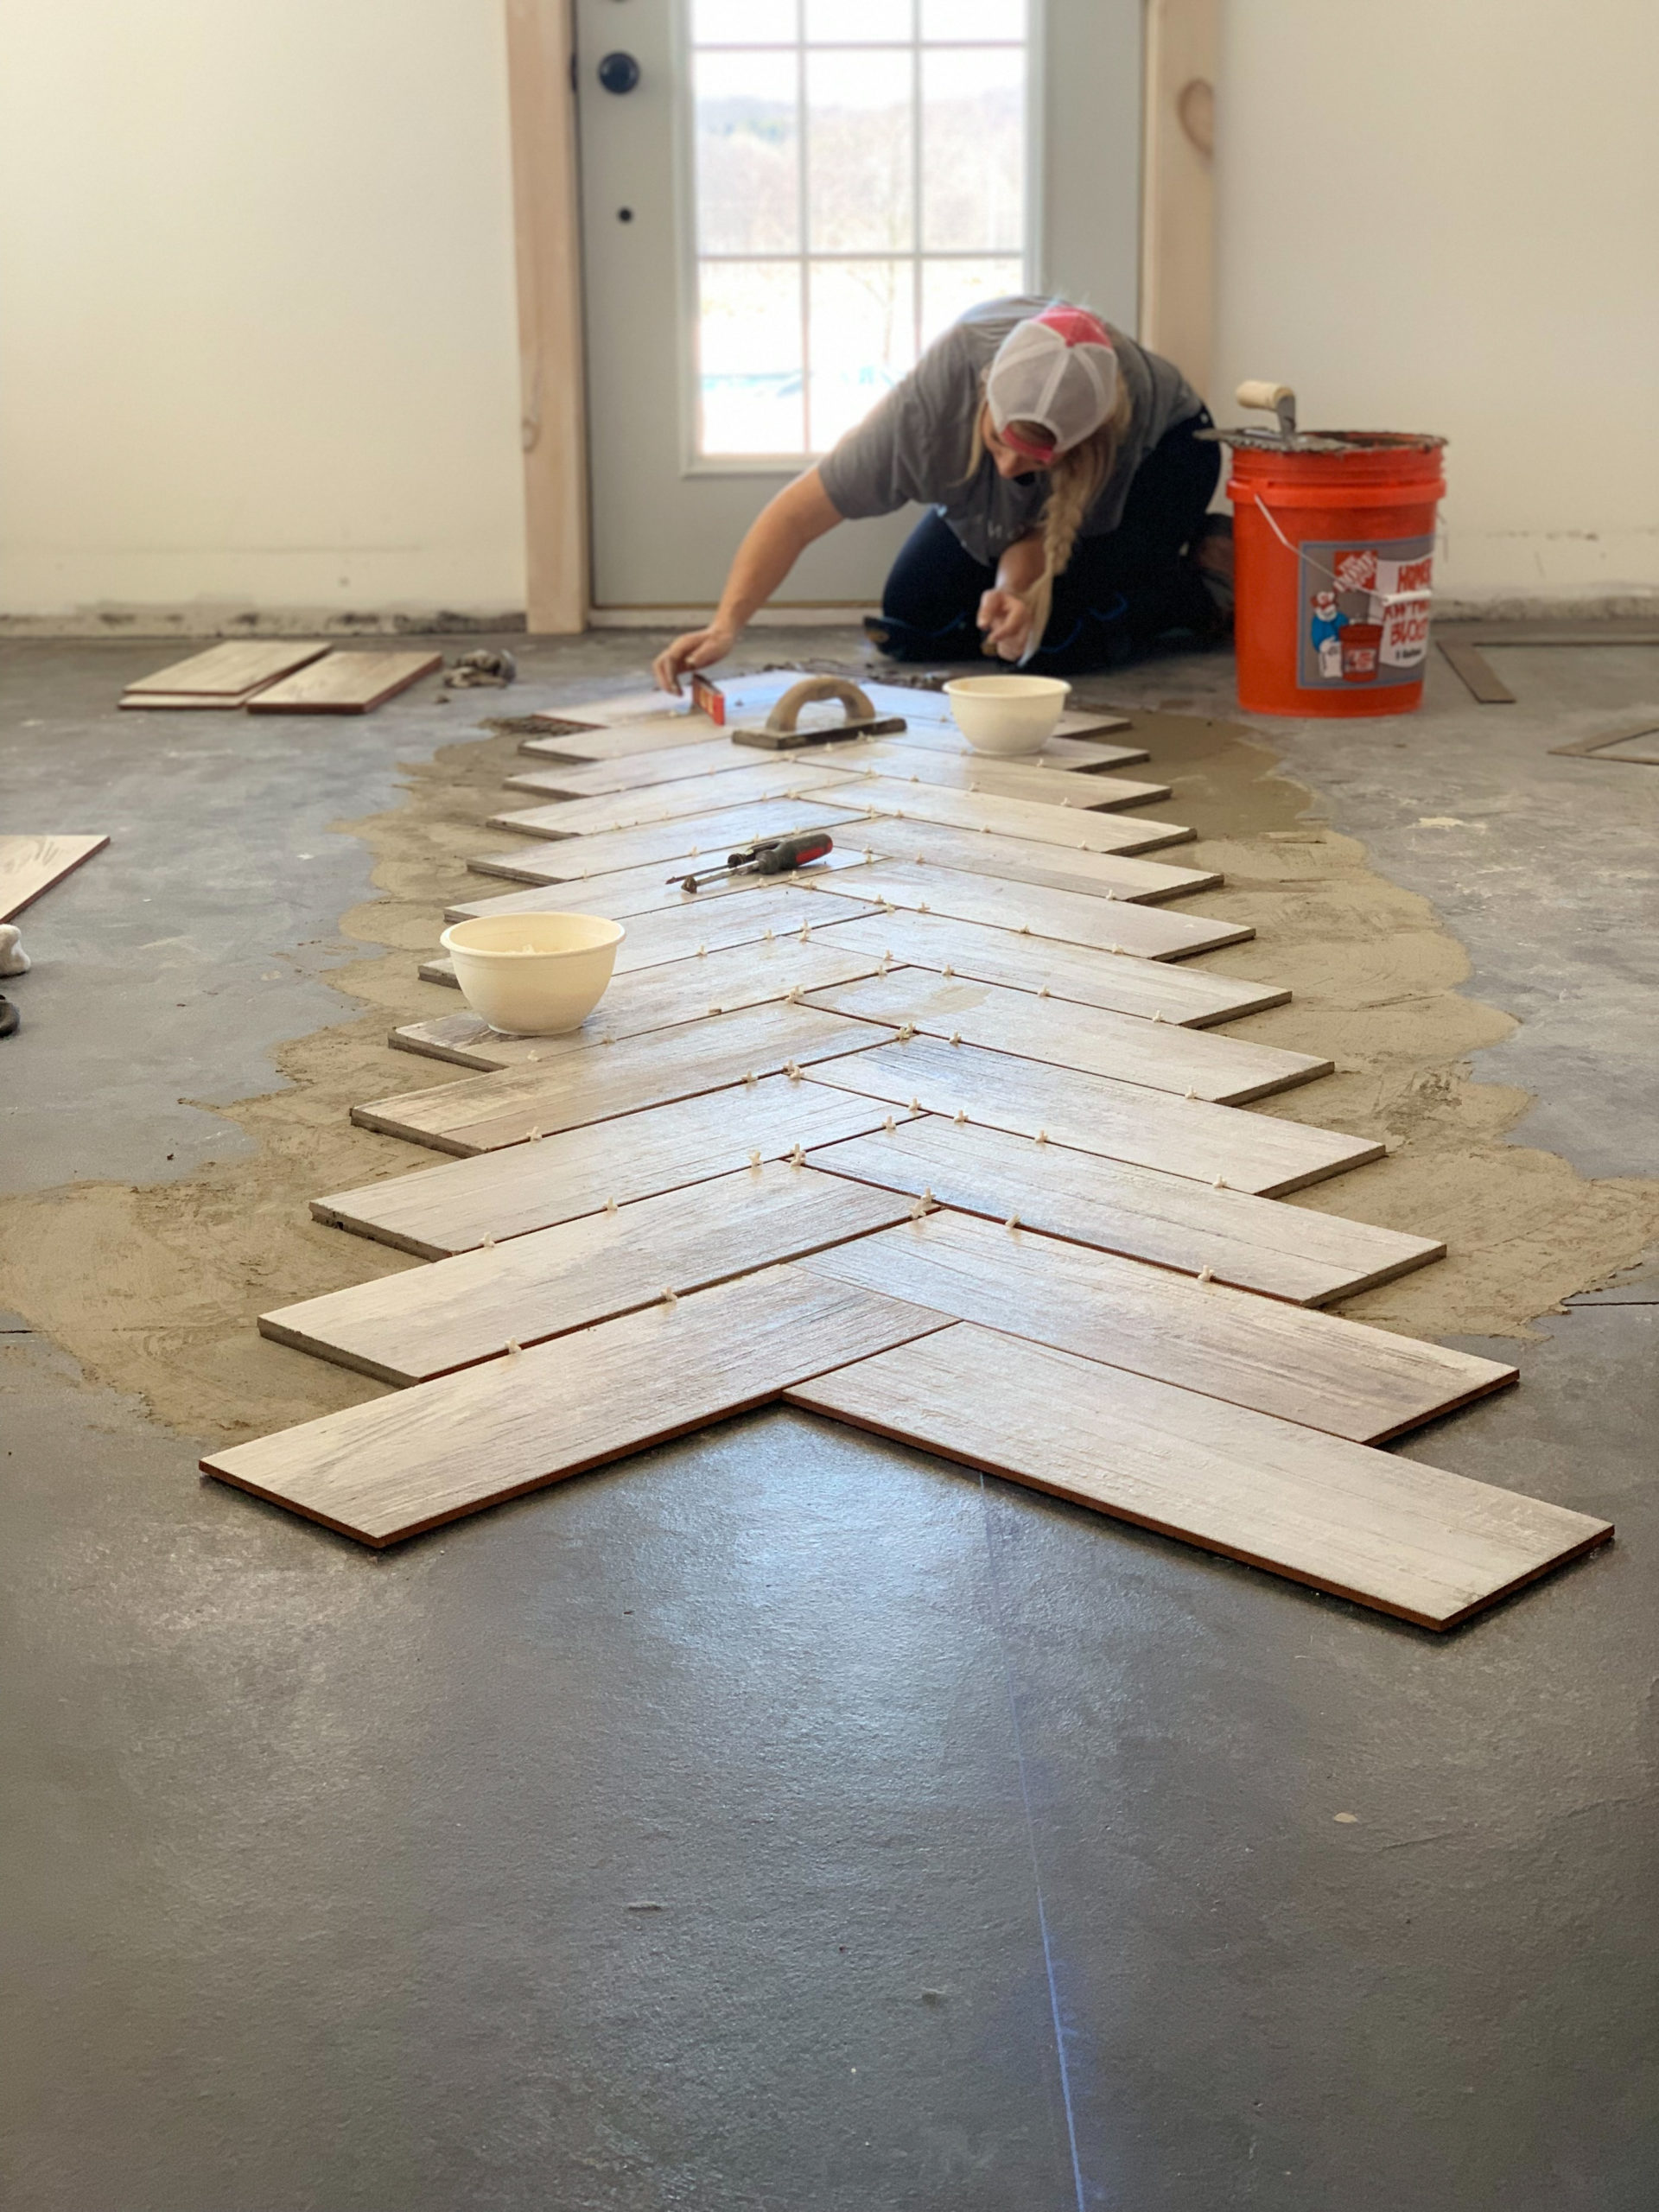
DIY Herringbone Tile Flooring Fletcher Creek Cottage
Services – Russell Hardwood FloorsRussell Hardwood Floors

Related articles:
- Black Walnut Wood Flooring
- Wood Flooring Designs
- Wood Flooring Options For Kitchens
- Contemporary Wood Flooring Ideas
- Dark Wood Floor Bedroom Ideas
- Real Wood Flooring For Kitchens
- Natural Wood Floor Stain
- Oak Wood Flooring
- Birch Wood Flooring Reviews
- Wood Floor Damage Repair
Installing Herringbone Wood Flooring: A Comprehensive Guide
Installing herringbone wood flooring can be an intimidating task, but it doesn’t have to be! With the right preparation and a little bit of patience, you can easily install herringbone wood flooring on your own. Here, we will provide you with a comprehensive guide on how to properly install herringbone wood flooring.
Preparation
Before beginning the installation process, it is important to properly prepare the area. Start by ensuring that the subfloor is level and in good condition. If there are any defects or damage to the subfloor, it is essential to repair them before installing the herringbone flooring. Next, make sure that any existing baseboards or moldings are removed from the area. This will allow for proper expansion and contraction of the wood boards.
Layout
Once the area has been prepared, you can begin laying out the herringbone pattern. Start by measuring out the room and marking off where each board should go. The traditional herringbone pattern is made up of rectangles and triangles so be sure to mark those accordingly. It is important to leave a ¼ inch expansion gap around all edges of the room for expansion and contraction of the wood boards.
Cutting
After laying out the pattern, you can begin cutting the boards to fit. To cut the boards, use a circular saw with an appropriate blade. When cutting each board, be sure to follow any specific directions that come with your herringbone flooring. This may include leaving a specific expansion gap between each board or cutting each board at a specific angle.
Installation
Once all of your boards have been cut, you can begin installing them. Start by nailing down each board using a pneumatic nailer and at least two nails per board. Be sure to check that each board is level as you work your way across the room. If there are any small gaps between boards, you can fill these in with wood putty or caulk.
Finishing Touches
Once all of your boards have been installed, it’s time for the finishing touches! Begin by sanding down any rough edges or uneven surfaces. Make sure to follow any directions that come with your herringbone flooring regarding sanding and finishing techniques. After sanding, apply a finish coat of your choice to protect and seal the flooring. Once this is done, your herringbone wood flooring is ready to use!
Frequently Asked Questions:
Q: What tools do I need for installing herringbone wood flooring?
A: You will need a circular saw with an appropriate blade, a pneumatic nailer, wood putty or caulk, sandpaper, and a finish coat of your choice.
Q: How should I measure out my herringbone pattern?
A: Start by measuring out the room and marking off where each board should go. The traditional herringbone pattern is made up of rectangles and triangles so be sure to mark those accordingly. It is important to leave a ¼ inch expansion gap around all edges of the room for expansion and contraction of the wood boards.
Q: What should I do if there are gaps between my boards?
A: If there are gaps between boards after installation, you can fill them in with wood putty or caulk.