These benefits again solidify a sound reason to use cork in the bathroom and kitchen. Cork flooring is generated from the bark of trees, which is removed from the trees about as soon as a ten years, that causes no harm to the tree. Cork content is also unwilling to bacteria thanks, pests, moisture, mildew, and mold to Suberin, a naturally occurring waxy compound in cork.
Here are Images about How To Lay Cork Flooring
How To Lay Cork Flooring
/cdn.vox-cdn.com/uploads/chorus_image/image/65892042/h1006handbook08.0.jpg)
This particular removal procedure leaves the cork oak tree unharmed as well as in a position to re-grow the bark of its for future harvests. The whole creation process is ecologically sustainable conserving the environmental pollutants of the necessary oxygen from the trees within the operation. Actually, majority of the countries which produce cork have rigid laws protecting these trees as well as the harvesting process.
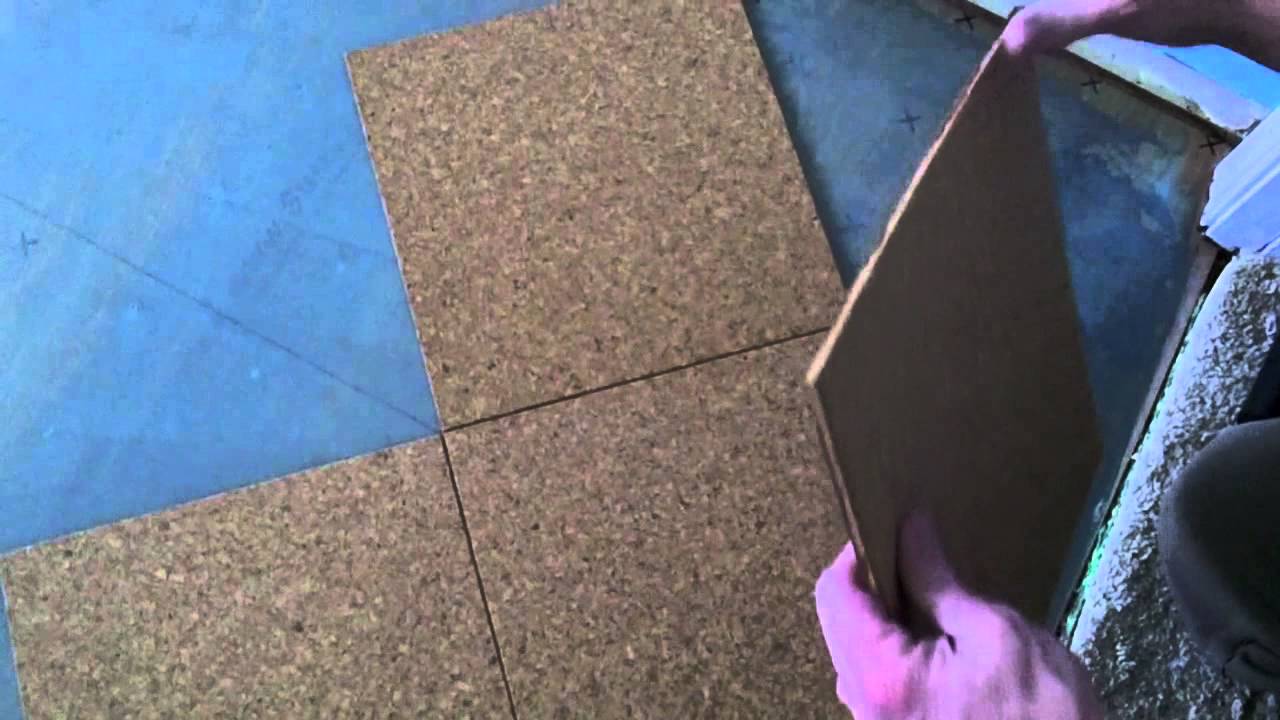
Cork tiles or Floating Cork Flooring
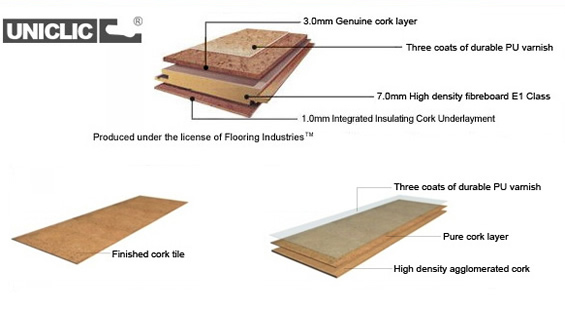
There are quite a few suggestions we can provide you with about cork flooring. Cork flooring is not a new flooring product, in fact it has been utilized for thousands of years. Cork's natural color and shade variation makes it possible for it to rival every additional wood flooring item. Flooring is usually a nightmare if you do this yourself or perhaps not turn out the method that you intended.
Images Related to How To Lay Cork Flooring
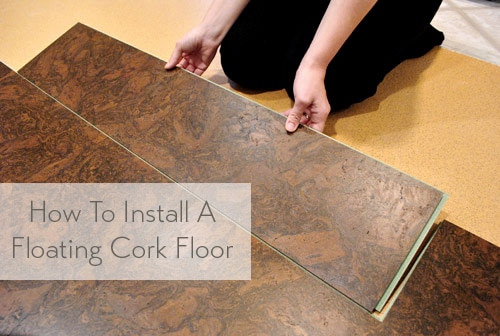
How To Install A Floating Cork Floor Young House Love
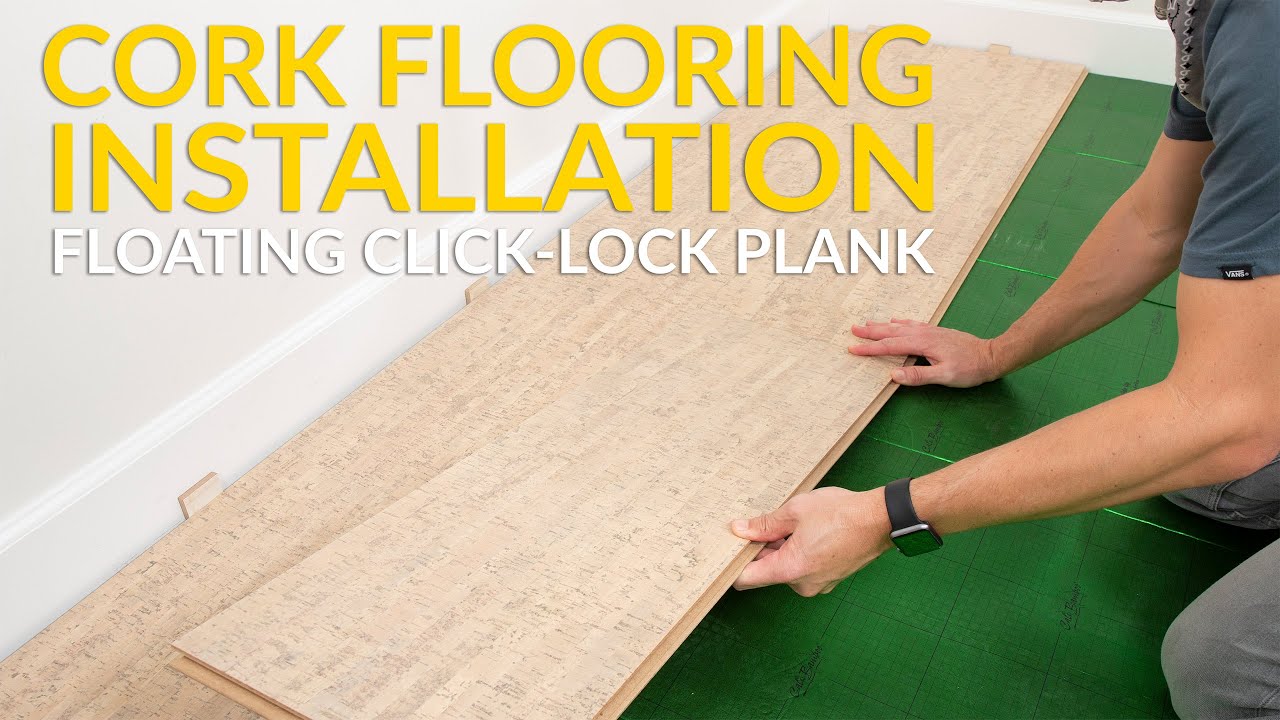
Cali Cork Flooring Floated Click-lock Installation
How to Install a Cork Floor – This Old House
/cdn.vox-cdn.com/uploads/chorus_asset/file/22873091/H1006HANDBOOK01.jpg)
How to Install Cork Tile Flooring (DIY) Family Handyman

How to Install a Cork Floor – This Old House
:no_upscale()/cdn.vox-cdn.com/uploads/chorus_asset/file/22873071/cork_floor_illo.jpg)
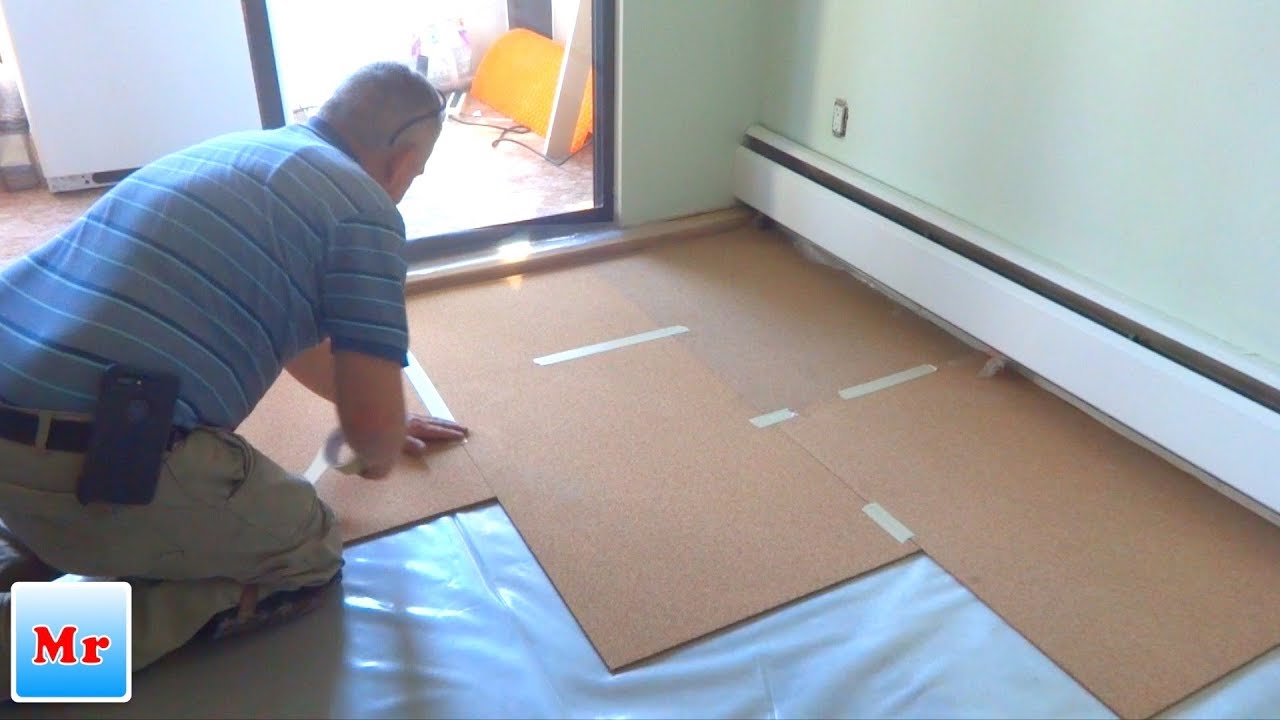
How to Install Cork Underlayment for Laminate Flooring Installation – Mryoucandoityourself
Cork Works: Installing Cork Flooring u2013 Mother Earth Living

Cork Flooring 101: Cost, Types, u0026 Installation – This Old House
/cdn.vox-cdn.com/uploads/chorus_asset/file/23088021/0421_NB_All_About_Cork_Floors_Cork_flooring_iStock_950010876.jpg)
Cork Floor Install – How to install a cork glue down floor.
Cork Flooring Installation: PRO or DIY?Learning Center

Cork Flooring: What Are the Pros u0026 Cons?
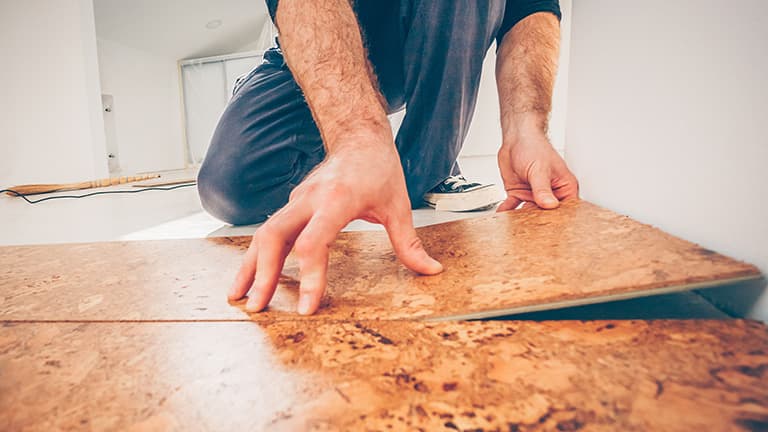
How To Install A Floating Cork Floor Young House Love
Related articles:
- Vintage Cork Floor
- Cork Flooring For Bathroom
- How To Clean Cork Flooring
- Cork Flooring Laundry Room
- Cork Floor Tiles
- Underlayment For Cork Floor
- Laying Cork Flooring
- Floating Cork Flooring
- Disadvantages Of Cork Floors
- Cork Floor Colours
Cork flooring is a popular choice for homeowners due to its durability, comfort, and eco-friendly properties. Installing cork flooring can be a DIY project for those with some experience in home improvement projects. In this article, we will guide you through the step-by-step process of laying cork flooring in your home.
1. Preparing the Subfloor
Before you begin laying cork flooring, it is essential to prepare the subfloor properly. Start by removing any existing flooring material and ensuring the subfloor is clean, dry, and level. Any imperfections in the subfloor should be patched and smoothed out to prevent them from showing through the cork tiles.
FAQs:
Q: Do I need to remove the baseboards before installing cork flooring?
A: It is recommended to remove baseboards before installing cork flooring to ensure a clean and professional finish. However, if you prefer not to remove them, you can install quarter round molding after laying the cork tiles to cover the expansion gap.
2. Acclimating the Cork Tiles
Cork flooring is a natural material that can expand and contract with changes in temperature and humidity. To prevent buckling or gaps in the floor, it is crucial to acclimate the cork tiles to the room’s environment before installation. Lay the tiles flat in the room for at least 48 hours to allow them to adjust to the temperature and humidity levels.
FAQs:
Q: How do I know if the cork tiles are acclimated properly?
A: You can use a moisture meter to check the moisture content of both the cork tiles and the subfloor. Ideally, they should have similar moisture levels before installation.
3. Installing the Underlayment
To provide cushioning and insulation for your cork flooring, it is recommended to install an underlayment. There are various types of underlayment available, such as cork or foam, that can help reduce noise and improve comfort underfoot. Follow the manufacturer’s instructions for installing the underlayment over the subfloor.
FAQs:
Q: Can I skip installing an underlayment for my cork flooring?
A: While it is possible to install cork flooring without an underlayment, it is not recommended as it can affect the durability and comfort of the floor. An underlayment provides added protection against moisture and helps prolong the life of your cork flooring.
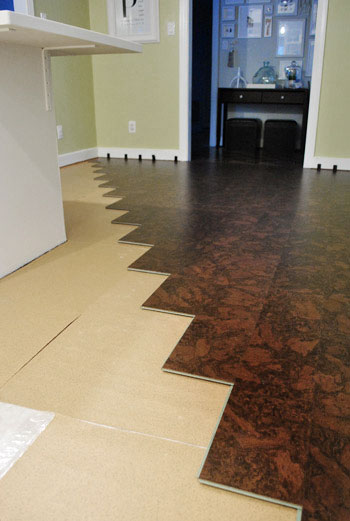
4. Laying the Cork Tiles
Once you have prepared the subfloor and acclimated the cork tiles, it’s time to start laying them down. Begin by determining your starting point in the room, usually along one of the walls. Use spacers to create an expansion gap around the perimeter of the room to allow for natural movement of the cork tiles.
FAQs:
Q: Do I need special tools for cutting cork tiles?
A: Yes, you will need a utility knife or a fine-tooth saw to cut cork tiles to fit around corners or edges. Make sure to measure carefully before cutting to avoid wasting material.
5. Finishing Touches
After laying all of the cork tiles, it’s time to add finishing touches to complete your new flooring installation. Install transition strips at doorways or between different types of flooring materials to create a seamless transition between rooms. Finally, reinstall baseboards or install quarter round molding along with any trim work needed for a polished look.
FAQs:
Q: How do I maintain my cork flooring?
A: To keep your cork flooring looking its best, sweep or vacuum regularly to remove Dirt and debris. Avoid using abrasive cleaners or harsh chemicals, as they can damage the cork. Instead, use a damp mop with a mild cleaner specifically designed for cork floors. Additionally, be sure to wipe up any spills immediately to prevent staining. Lastly, consider resealing the cork every few years to maintain its durability and appearance.
By following these steps and FAQs, you can successfully install cork flooring in your home. Remember to take your time and pay attention to detail to ensure a professional-looking finish. Enjoy the comfort and beauty of your new cork flooring for years to come! 6. Enjoy Your New Cork Flooring
Once you have completed the installation process and added the finishing touches, it’s time to enjoy your new cork flooring. Take pride in your DIY project and appreciate the natural beauty and warmth that cork flooring can bring to your home. With proper maintenance and care, your cork flooring can last for many years and provide a comfortable and eco-friendly flooring option for your space.
FAQs:
Q: Can I refinish my cork flooring if it gets damaged?
A: Yes, cork flooring can be sanded down and refinished if it becomes scratched or damaged over time. However, it is best to consult with a professional to ensure that the refinishing process is done correctly and does not damage the cork further.
By following these additional steps and FAQs, you can fully enjoy the benefits of your new cork flooring and maintain its beauty and durability for years to come. Congratulations on completing your cork flooring installation project!