The styles include solid wood, acrylic-impregnated and engineered. Don't be surprised when a health care professional suggests a wood flooring for your spine and joints. If you already have a Reclaimed or maybe Antique wood floor or are considering purchasing one, consider a little bit of American history is now or might be a portion of the home of yours.
Images Related to How To Install Wood Flooring On Walls
How To Install Wood Flooring On Walls
The benefits of having your wood floor oiled is the fact that it will keep for longer and will also delay aging so you can keep the colour you initially purchased. Engineered wood flooring is designed to be stable, and solid wood flooring could just not fight in this particular area. Another advantage is the fact that the factory finishes are often much tougher than the polyurethane used in the field.
Laminate Flooring Wall Installation
Solid wood flooring is one board with very little glued up laminations; it's essentially wood board that is sized as well as profiled to a certain dimension. Exotic hardwoods and hardwoods with a great all natural finish on them are likely to be by far the most photosensitive. The cost of reclaimed wood flooring will vary widely, depending on the sort of wood you purchase, and the level of surface – the same as regular hard woods.
Flooring on the Wall The Home Depot

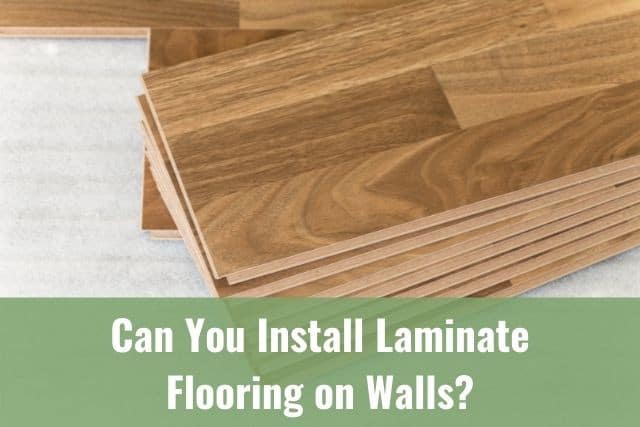
Can You Install Laminate Flooring on Walls? – Ready To DIY
How To Install Wood Flooring On The Wall? » ESB Flooring
Laminate Flooring Backsplash (It looks like WOOD!) – Bower Power
How to install laminate flooring on walls
Installing wood flooring on walls – NewlyWoodwards
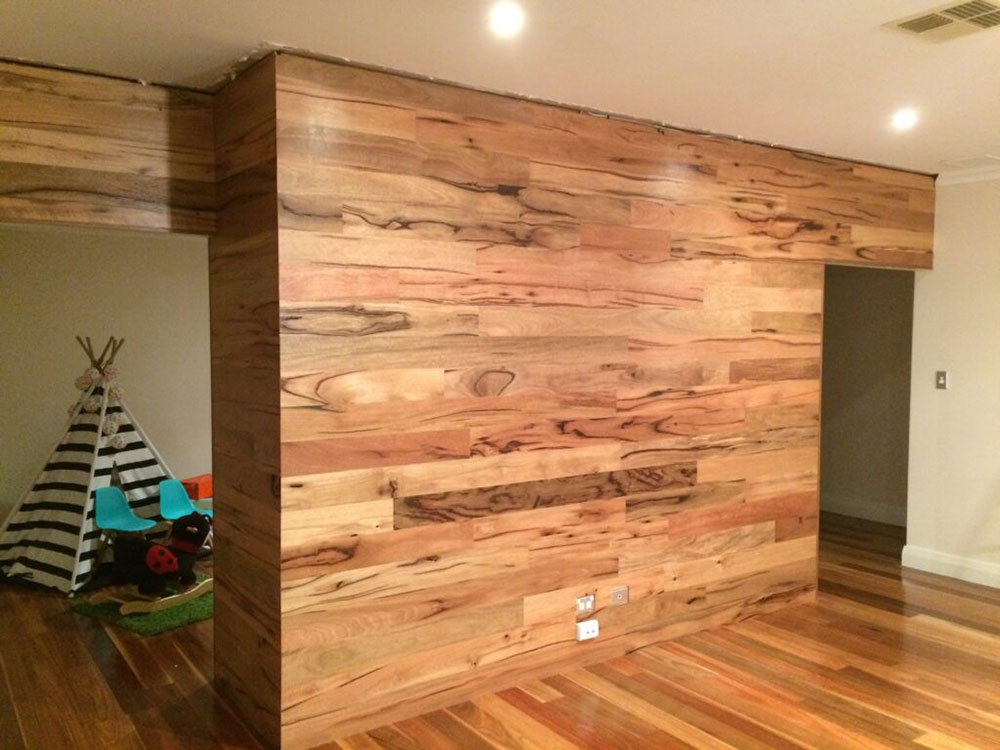
How To Install a Wood Flooring Feature Wall

How to Put Laminate Flooring on the Wall Hunker

Can I Use Laminate Flooring on Walls and How to Install It?

Going up the Wall: Installing Flooring Vertically 2018-10-26

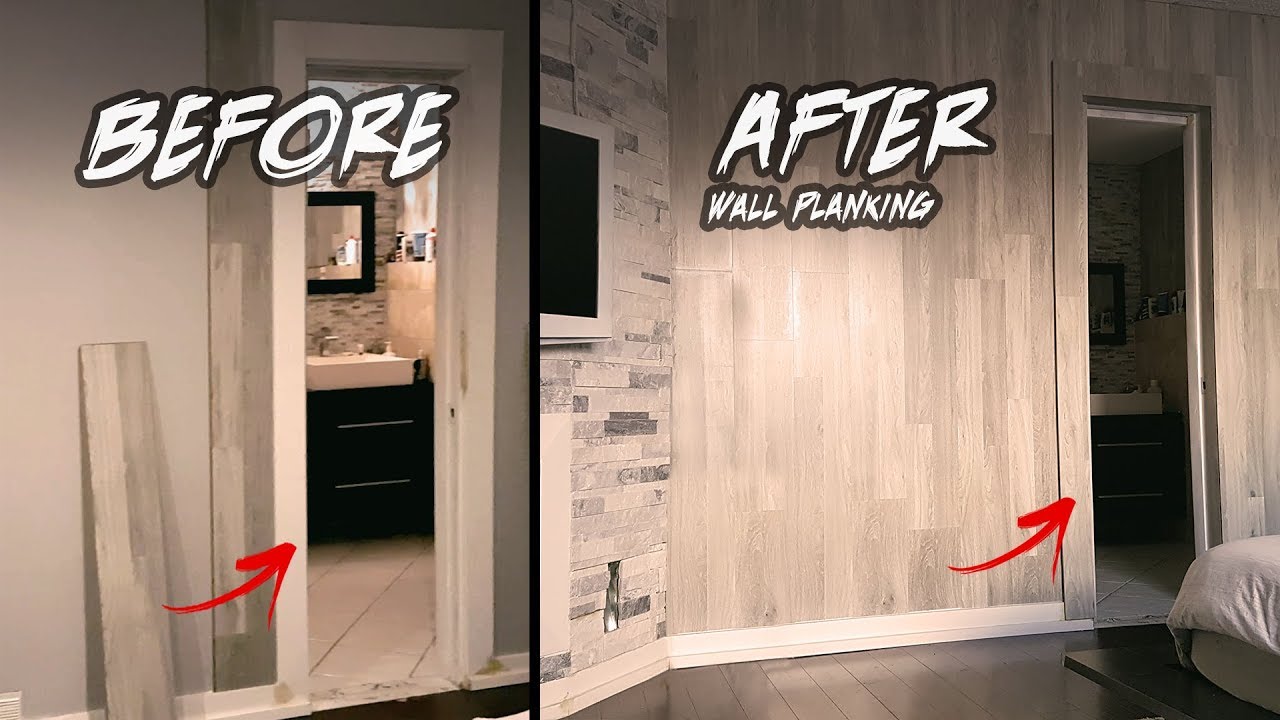
HOME RENOVATION – HOW TO WALL PLANK.. Install Laminate Flooring On Any Walls $100 (Lowes)
18 Flooring on Walls ideas flooring on walls, flooring, house design

Related articles:
- Black Walnut Wood Flooring
- Wood Flooring Designs
- Wood Flooring Options For Kitchens
- Contemporary Wood Flooring Ideas
- Dark Wood Floor Bedroom Ideas
- Real Wood Flooring For Kitchens
- Natural Wood Floor Stain
- Oak Wood Flooring
- Birch Wood Flooring Reviews
- Wood Floor Damage Repair
Title: How to Install Wood Flooring on Walls: A Comprehensive Guide
Introduction:
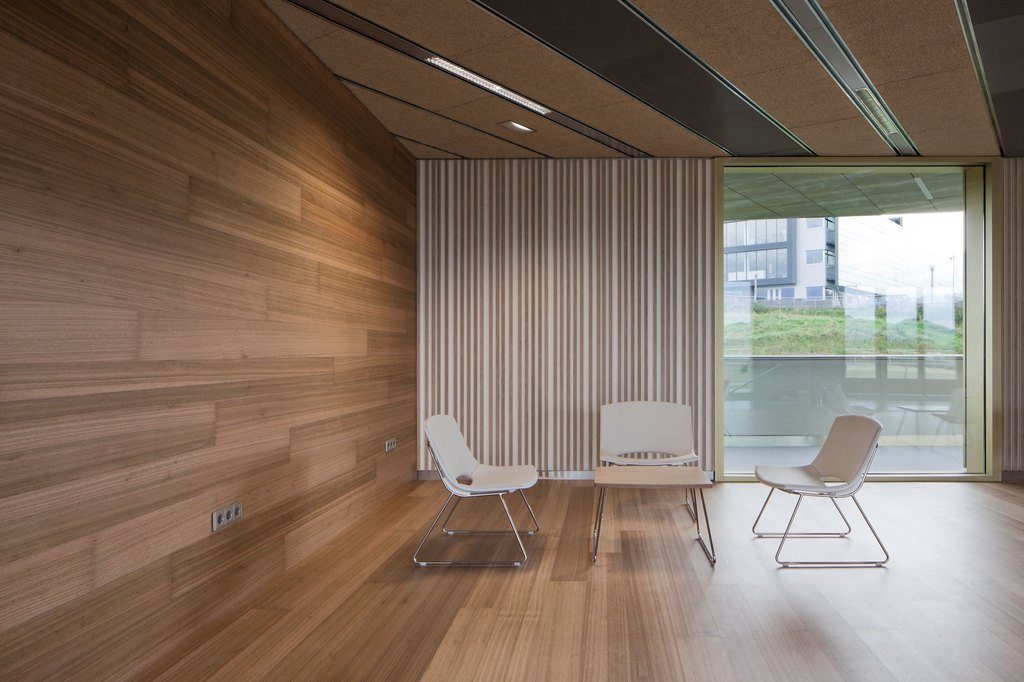
Wood flooring is a popular choice for homeowners due to its timeless appeal, durability, and warm aesthetic. While it is commonly used on floors, wood flooring can also be installed on walls to add a unique touch and create a stunning focal point in any room. In this detailed article, we will guide you through the step-by-step process of installing wood flooring on walls, providing you with the necessary knowledge and techniques to achieve professional-looking results.
I. Preparation:
Before diving into the installation process, it is crucial to prepare the wall surface properly to ensure a successful and long-lasting application.
1. Clean the Walls:
Start by thoroughly cleaning the walls using a mild detergent or wall cleaner. Remove any dirt, dust, or grease that may interfere with the adhesive bond between the wall and wood flooring.
2. Remove Existing Wall Coverings:
If there are any existing wall coverings such as wallpaper or paneling, remove them carefully. Ensure that the surface is smooth and free from any remnants of previous coverings.
3. Repair Imperfections:
Inspect the walls for any imperfections such as cracks, holes, or uneven surfaces. Fill these imperfections using an appropriate filler compound and sand them down to create a smooth finish.
FAQs:
Q1: Can I install wood flooring on all types of walls?
A1: Wood flooring can be installed on various wall types, including drywall, plasterboard, concrete, or brick. However, it is crucial to ensure that your chosen adhesive is suitable for the specific wall material.
Q2: Do I need to remove electrical outlets before installing wood flooring on walls?
A2: It is recommended to remove electrical outlets or switches from the wall before installation. This allows for easier application and ensures a seamless finish. Remember to turn off electricity in the area before attempting any electrical work.
II. Choosing the Right Wood Flooring:
Selecting the appropriate type of wood flooring is essential to achieve the desired aesthetic and ensure the durability of the installation.
1. Consider the Wall’s Purpose and Style:
Determine the purpose of the wall where you plan to install wood flooring. If it is a high-traffic area prone to moisture or humidity, consider using engineered wood flooring as it is more resistant to these conditions. Additionally, consider the style and color of the wood flooring to complement the overall design of your space.
2. Measure and Calculate:
Measure the height and width of the wall you intend to cover with wood flooring. Use these measurements to calculate the amount of wood flooring needed, including extra material for waste, cuts, and potential future repairs.
FAQs:
Q1: Can I use laminate flooring for wall installations?
A1: While laminate flooring can be used on walls, it is important to check with the manufacturer’s guidelines for suitability. Laminate flooring may require additional adhesive or specific installation techniques when used on vertical surfaces.
Q2: How do I determine the number of planks needed for my wall installation?
A2: To calculate the number of planks required, divide the total width of your wall by the width of one plank (including expansion gaps). This will give you an estimate of how many full planks are needed. It is recommended to purchase additional material to account for cuts and waste.
III. Installing Wood Flooring on Walls:
Now that you have prepared your walls and chosen your wood flooring, let’s delve into the installation process itself.
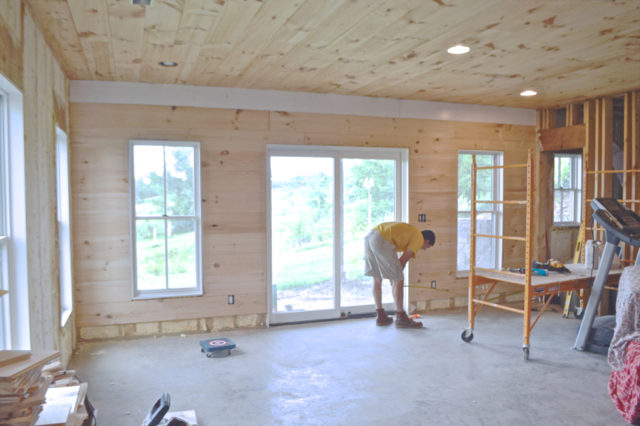
1. Prepare the Surface:
Ensure that the wall is clean and free of dust or debris. Use a damp cloth to wipe down the surface and remove any dirt. This will help the adhesive bond better and create a smooth finish.
2. Apply Adhesive:
Following the manufacturer’s instructions, apply a suitable adhesive to the back of each wood flooring plank. Spread the adhesive evenly using a trowel or notched trowel, ensuring full coverage.
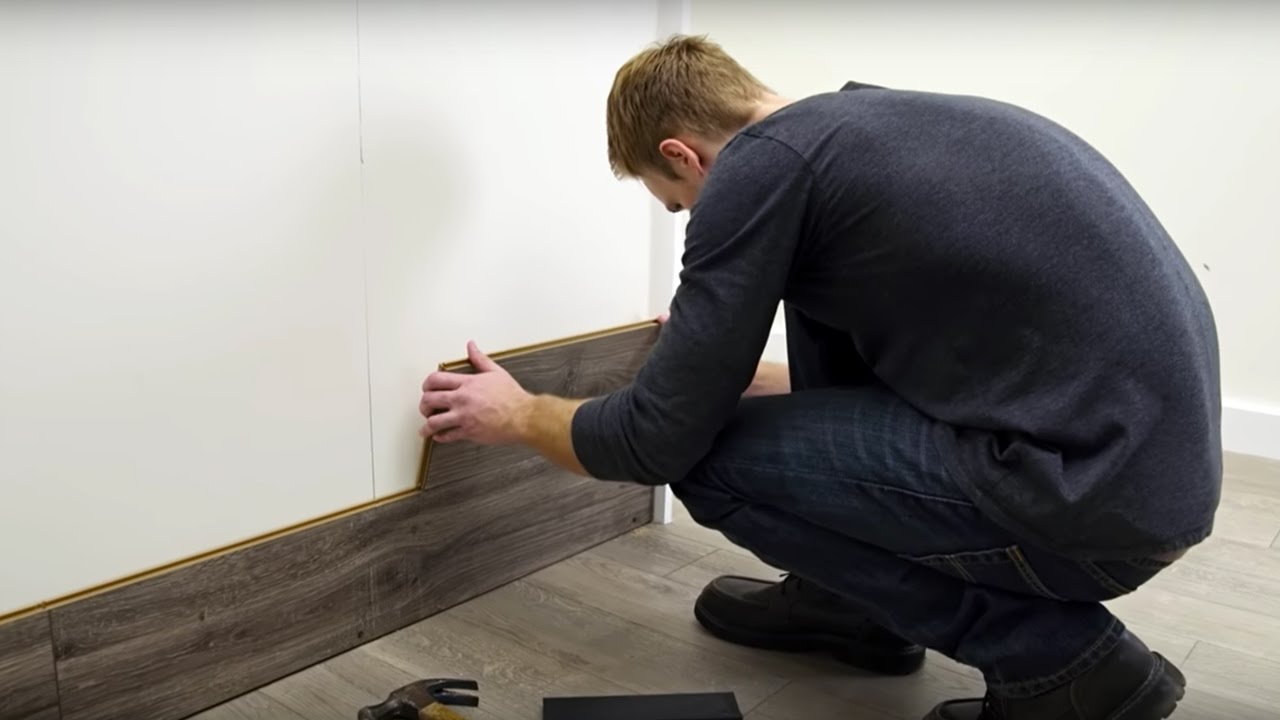
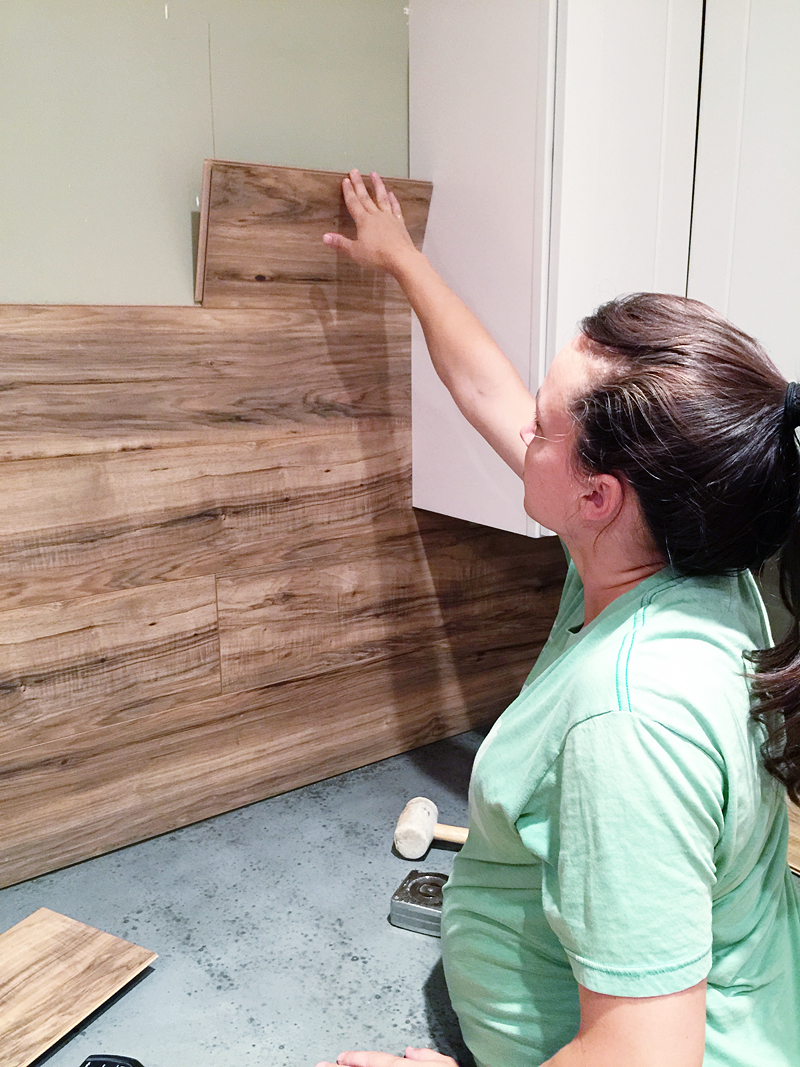
3. Install Wood Flooring:
Starting from the bottom of the wall, press the first plank firmly onto the adhesive, aligning it with the guidelines you have marked. Use a rubber mallet or tapping block to ensure a secure and tight fit. Continue installing planks one by one, using spacers to maintain consistent gaps between each plank.
4. Make Necessary Cuts:
Measure and mark any areas where you need to make cuts in the wood flooring planks, such as around electrical outlets or corners. Use a saw or jigsaw to carefully cut the planks to fit these areas.
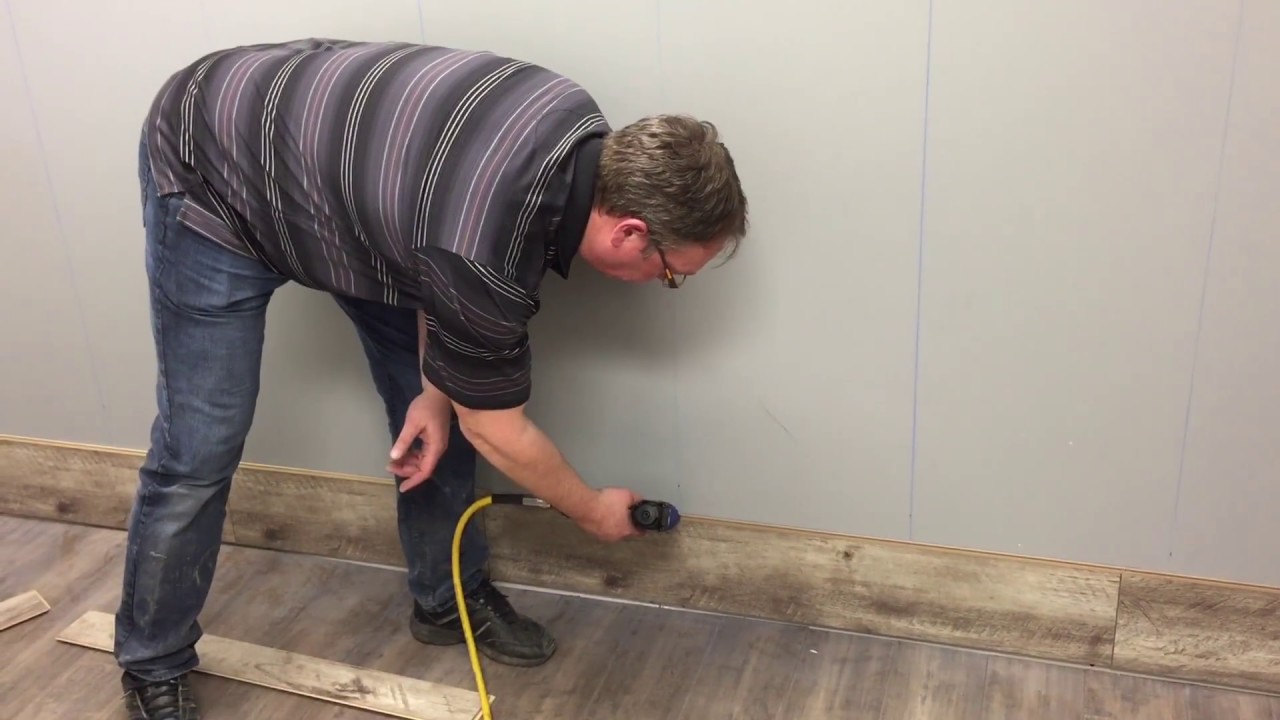
5. Secure and Finish:
Once all planks are installed, use finishing nails or brads to secure them in place. Place the nails at an angle through the tongue of each plank, ensuring they are countersunk below the surface. Fill any nail holes with wood filler and sand it down for a smooth finish.
6. Clean Up:
Remove any excess adhesive from the surface of the wood flooring using a damp cloth or adhesive remover. Clean up any debris or sawdust from the installation area.
FAQs:
Q1: Can I install wood flooring on a textured wall?
A1: It is not recommended to install wood flooring directly on textured walls, as the texture may prevent proper adhesion. Consider sanding or smoothing out the wall surface before installation.
Q2: How long does it take for the adhesive to dry?
A2: The drying time for adhesive can vary depending on the product used. Refer to the manufacturer’s instructions for specific drying times. It is important to allow sufficient drying time before applying any finishing touches or putting stress on the newly installed wood flooring. Q3: Can I install wood flooring on all types of walls, such as concrete or drywall?
A3: Wood flooring can be installed on various types of walls, including concrete and drywall. However, the installation process may differ slightly depending on the wall material. It is important to follow the manufacturer’s instructions and use appropriate tools and techniques for each specific wall type.
Q4: Do I need to use a vapor barrier behind the wood flooring on walls?
A4: In some cases, it may be beneficial to use a vapor barrier behind the wood flooring on walls, especially if there is a potential for moisture or condensation. This can help protect the wood from any moisture-related issues. Consult with a professional or refer to the manufacturer’s recommendations for your specific situation.
Q5: Can I install wood flooring on an exterior wall?
A5: It is possible to install wood flooring on an exterior wall, but additional measures may be necessary to ensure proper insulation and protection against weather elements. Consult with a professional or refer to building codes and regulations in your area for guidance on exterior wall installations.
Q6: Can I install wood flooring on a slanted or curved wall?
A6: Installing wood flooring on slanted or curved walls can be challenging and may require special techniques or tools. It is recommended to consult with a professional or experienced installer for guidance on how to properly install wood flooring on these types of walls.
Q7: Can I install wood flooring on a wall in a bathroom or other high-moisture areas?
A7: While it is possible to install wood flooring on a wall in a bathroom or high-moisture area, it is important to take extra precautions to protect the wood from moisture damage. Consider using waterproof adhesive, sealing the edges of the planks, and ensuring proper ventilation in the room. Again, consulting with a professional or referring to manufacturer recommendations is advised.