Garage floor coatings takes fairly a shorter time to complete. However, thinking about how much the garage can be used, to store lawnmowers, automobiles and even providing a superb place for children to play during bad weather, implementing the best choice of garage area floor paint won't just enhance the appearance of the entire garage.
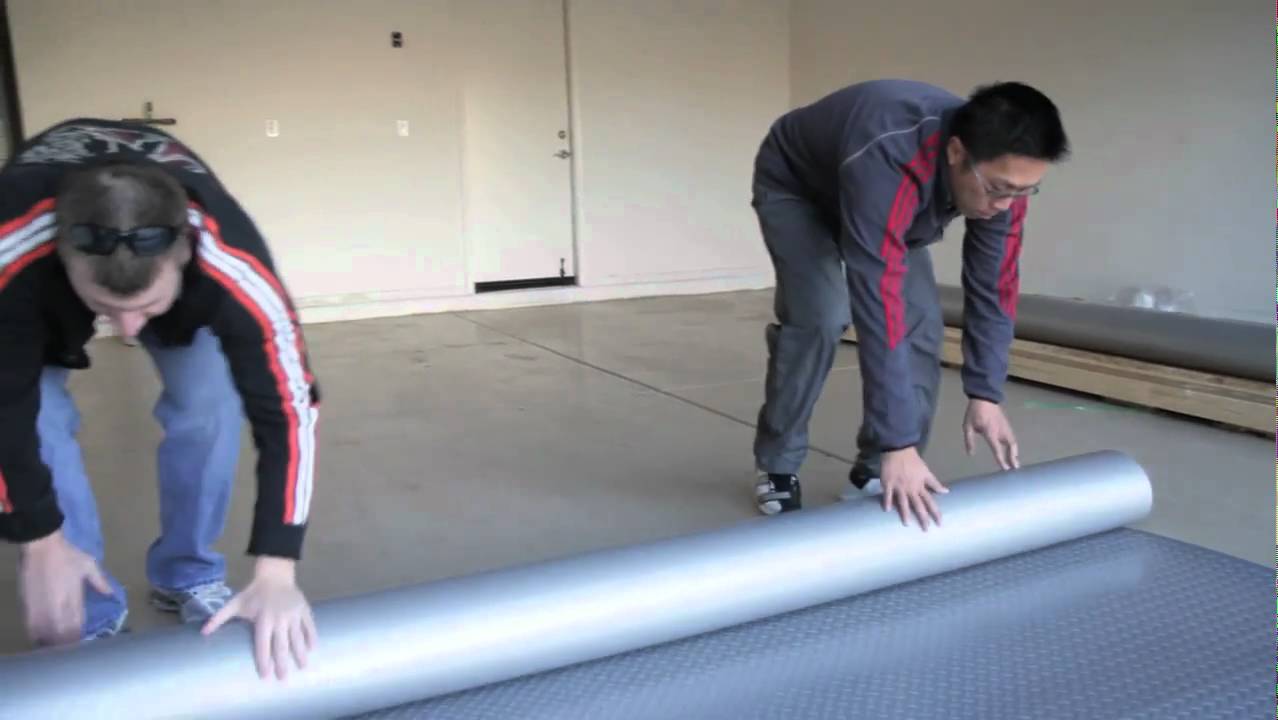
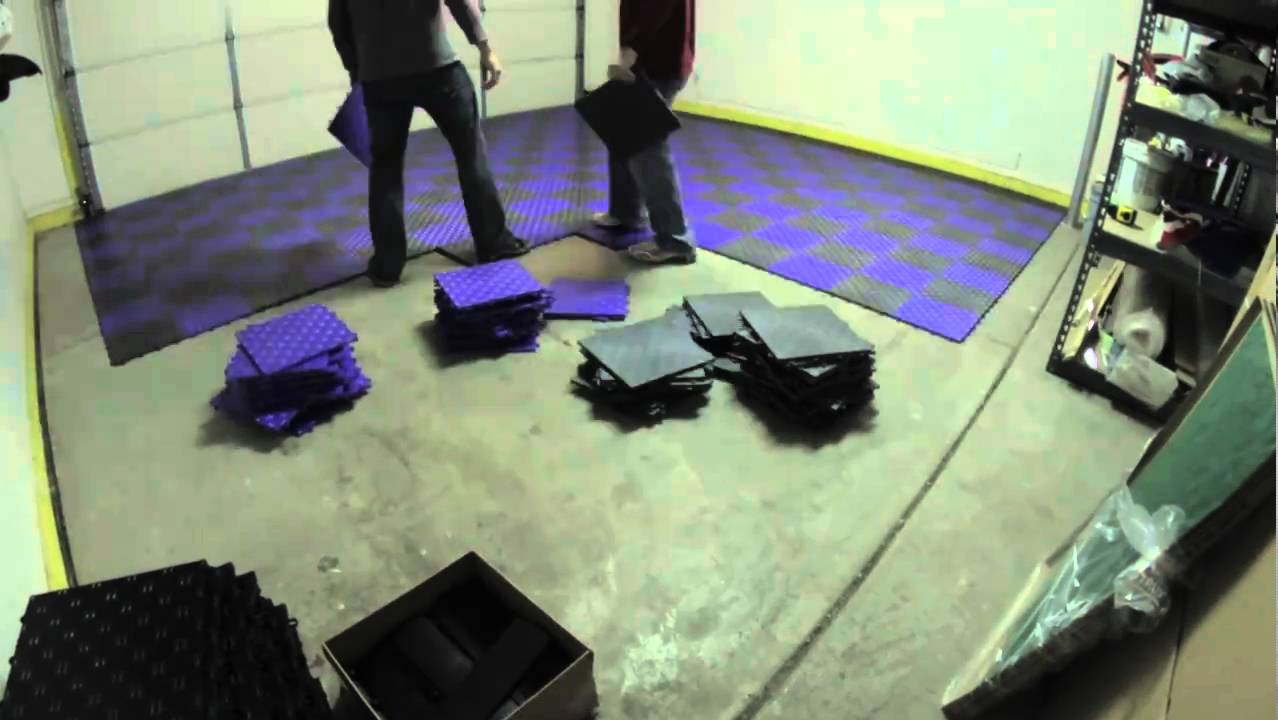
Here are Images about Garage Flooring Installation Video
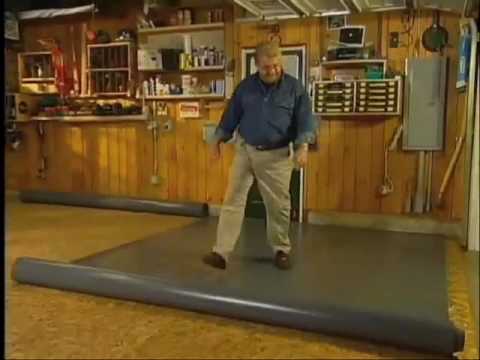
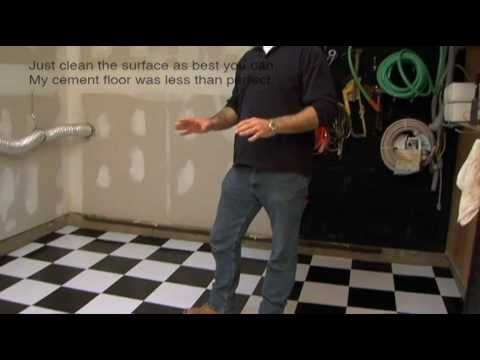
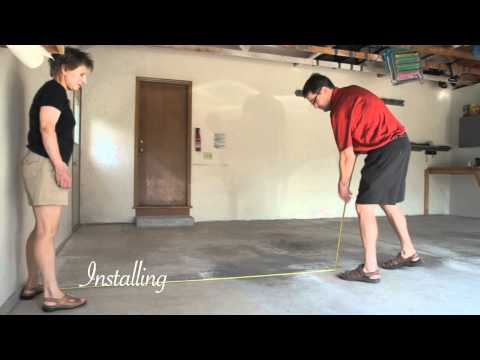
Garage Flooring Installation Video
This material is in fact incredibly durable and created to resist great volumes of strain and force throughout its lifetime. Not only that, though it'll furthermore protect the concrete of yours from additional deterioration. Choose in accordance with the particular use of the garage of yours.
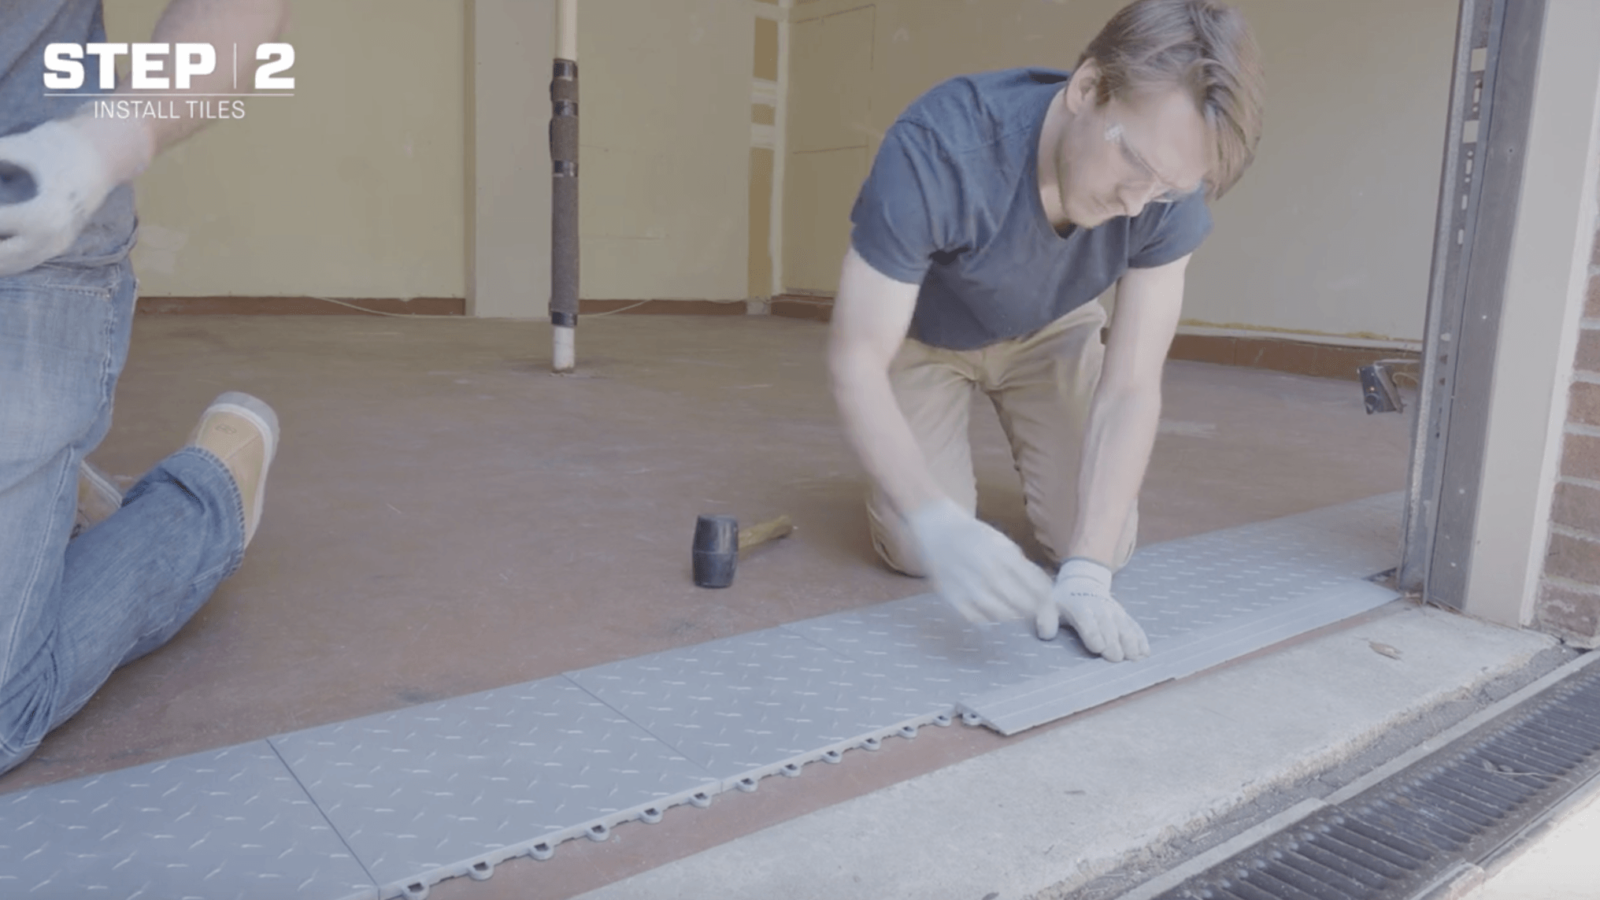
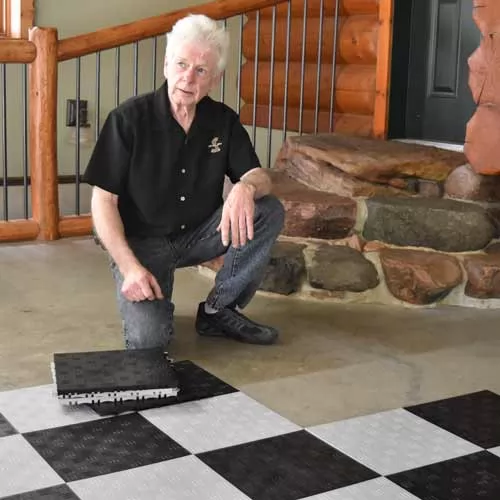
How to Install Garage Tiles
In the event that you're not confident determining what amount you need, request help. What do you would like to attain with your new garage floor covering? Are you thinking about security? The design is designed following the checkered flag. They usually have some sort of an attaching device that allows for them to snap together and remain in place.
Images Related to Garage Flooring Installation Video
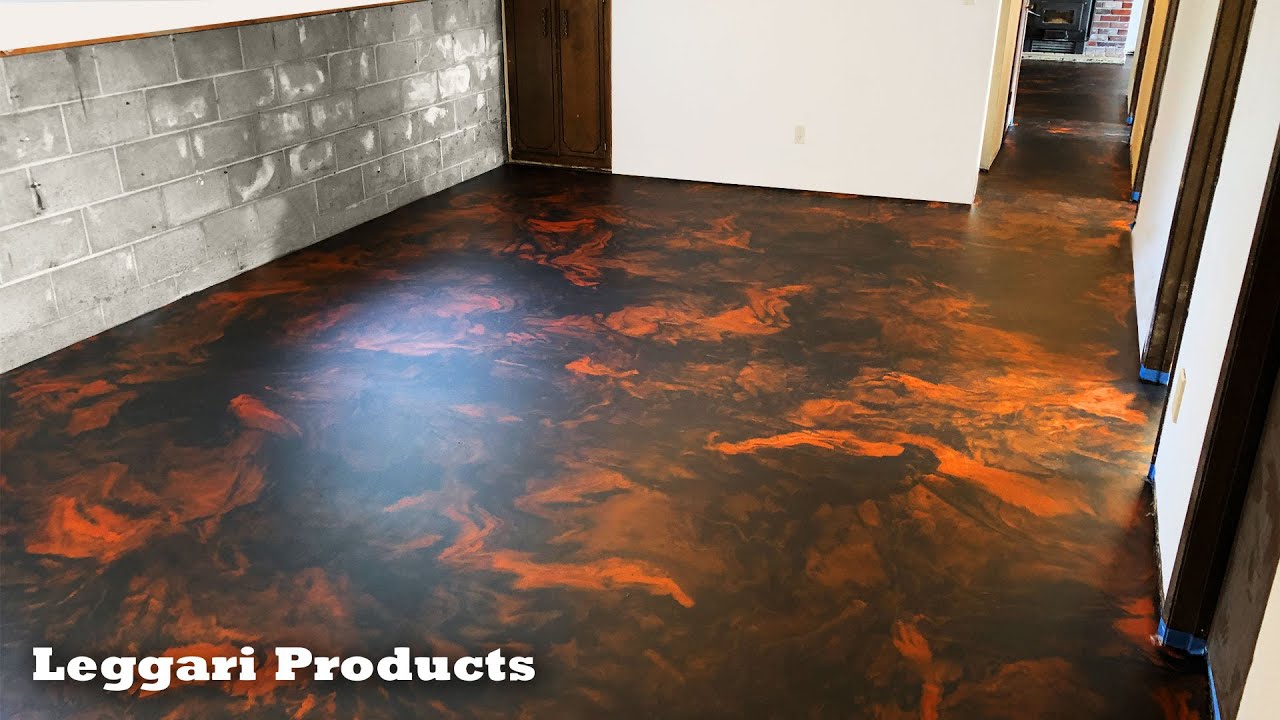
Designer Epoxy Floor Installation That You Can Do Yourself
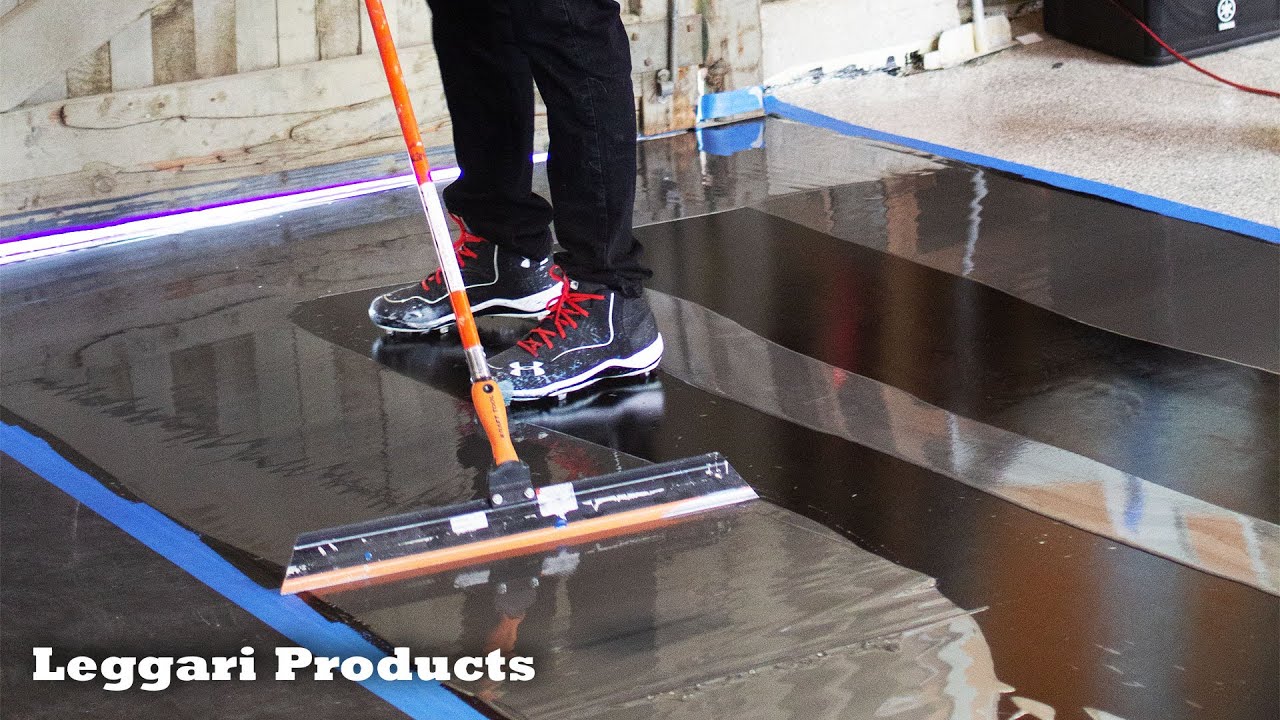
How to do Epoxy Floors – STEP BY STEP GUIDE – S3E3
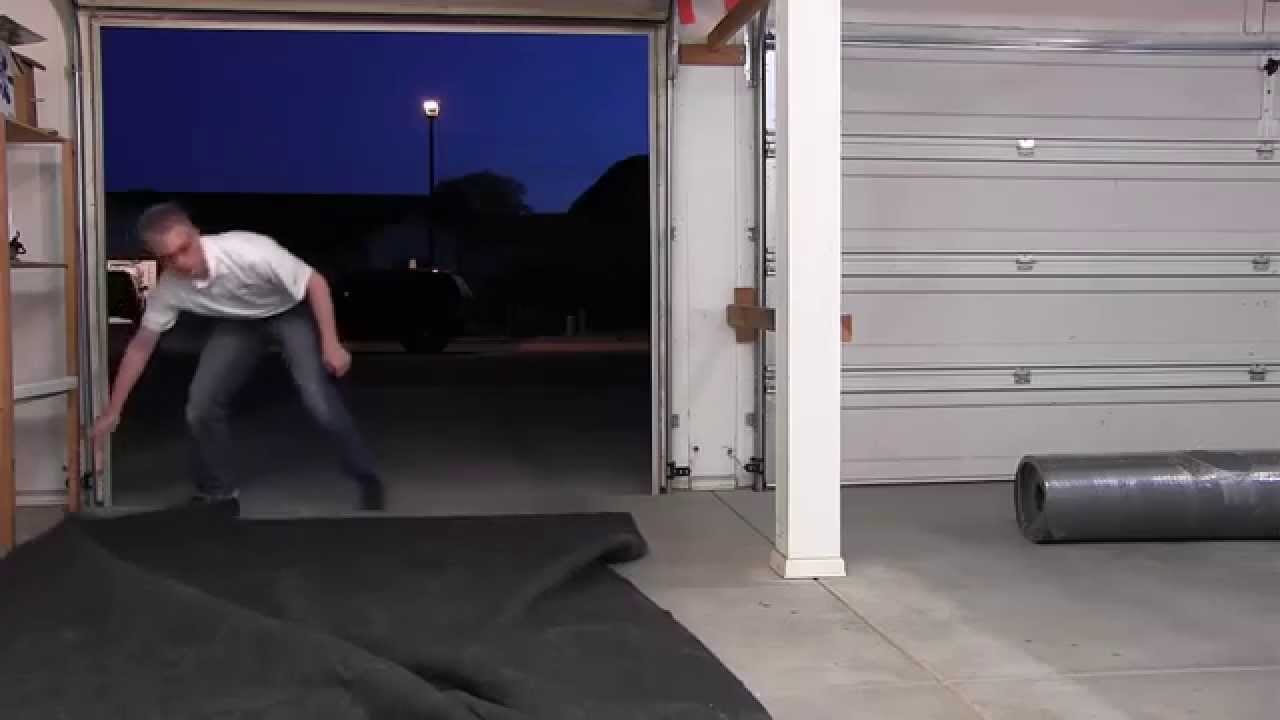
Ron Hazenton G-Floor installation video
Installing Vinyl Floor Tile On Cement Garage Floor / Basement Floor
How I upgraded my garage floor (HUGE Difference)
How to Install Flex Tile Garage Flooring
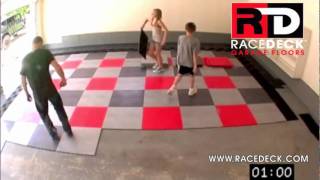
RaceDeck Garage Floor Full Install!
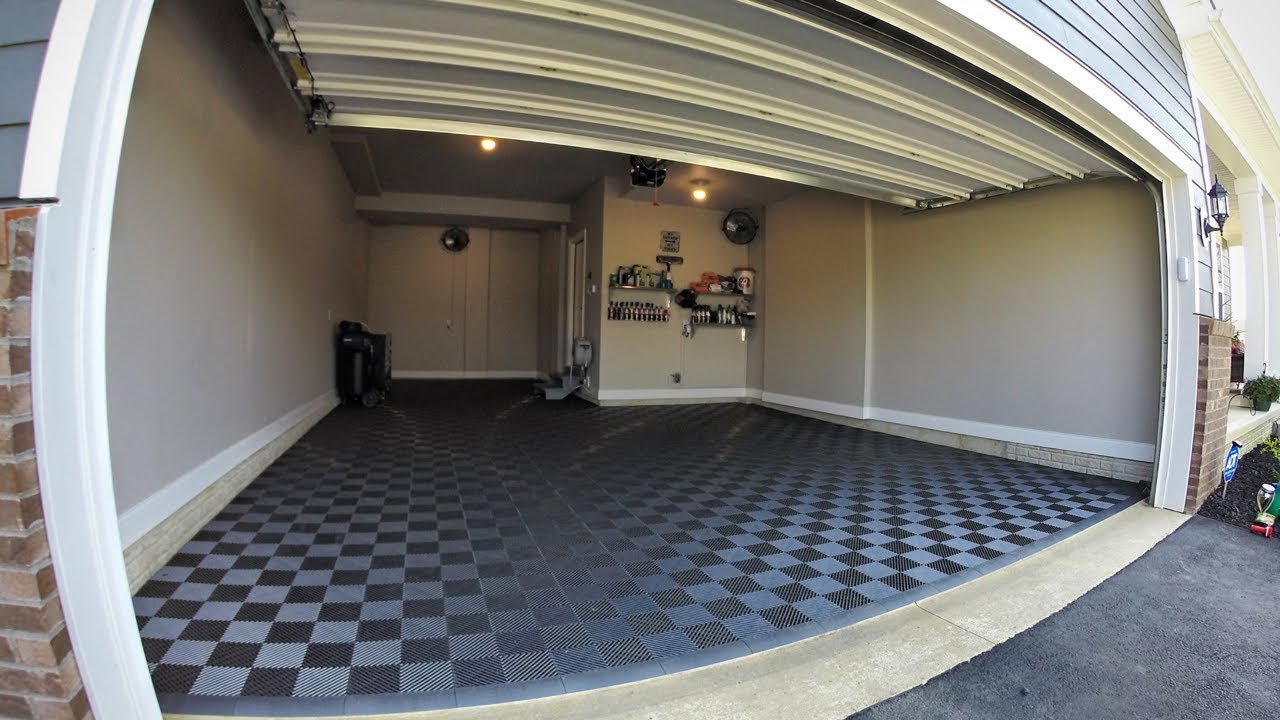
RaceDeck® Garage Floor Installation- How to / Time Lapse – YouTube
How To Tile A Garage Floor Video » The Money Pit
Epoxy Floor Installation Over Old Concrete
How to Install Greatmats Raised Garage Floor Tiles
Drymate Garage Floor Mat Video Review
Related articles:
- Interlocking Garage Floor Tiles
- Garage Floor Coatings
- Garage Floor Ideas
- Garage Floor Paint
- Garage Floor Rubber Covering
- Garage Floor Coating Paint
- Garage Floor Epoxy Ideas
- Best Garage Floor Material
- Black Epoxy Garage Floor Coating
- Garage Floor Slab Thickness
Garage Flooring Installation Video: Step-by-Step Guide for a Durable and Stylish Garage Floor
Introduction:
Are you tired of looking at your dull and worn-out garage floor? Do you want to transform it into a beautiful, durable, and easy-to-maintain space? Look no further! In this article, we will guide you through the process of garage flooring installation using a comprehensive video tutorial. Whether you are a DIY enthusiast or a first-time installer, this step-by-step guide will help you achieve professional results.
Why Choose Garage Flooring Installation Video?
Installing garage flooring can be a daunting task, especially if you have never done it before. However, with the help of a detailed video tutorial, you can easily follow along and complete the installation with confidence. The video provides visual guidance, allowing you to see each step in action, making it easier to understand and replicate the process in your own garage.
Preparation:
Before diving into the installation process, proper preparation is key to ensure optimal results. Let’s take a look at the essential steps involved in preparing your garage floor for installation:
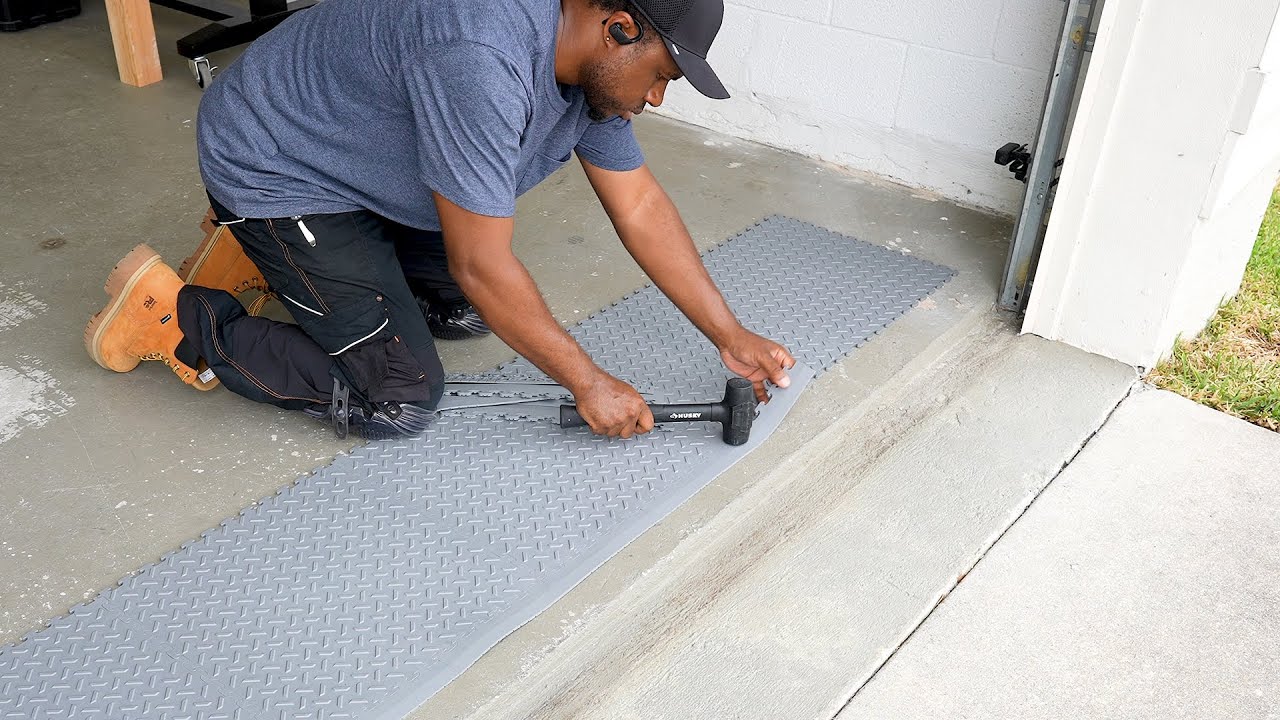
1. Cleaning the Surface:
To ensure proper adhesion and longevity of your new garage floor, it is crucial to start with a clean surface. Remove any debris, oil stains, or existing coatings using a high-quality degreaser. Scrub the floor thoroughly and rinse it clean with water.
Frequently Asked Questions (FAQs):
Q: Can I install the garage floor over an existing coating?
A: It is generally recommended to remove any existing coatings before installing a new garage floor. This ensures better adhesion and prevents potential issues in the future.
Q: What type of degreaser should I use for cleaning?
A: Look for a degreaser specifically designed for garage floors. These products are formulated to effectively remove oil stains and other contaminants commonly found in garages.
2. Repairing Cracks and Imperfections:
Inspect the floor for any cracks, pits, or imperfections. Fill them in using a high-quality concrete filler and a putty knife. Smooth out the surface and allow it to dry completely before proceeding.
FAQs:
Q: Can I skip the crack repair step?
A: It is highly recommended to repair any cracks or imperfections before installing the garage floor. Neglecting this step can lead to unevenness and compromises the durability of the new flooring.
Q: How long does the concrete filler take to dry?
A: Drying time can vary depending on the product used and environmental conditions. Follow the manufacturer’s instructions for specific drying times.
3. Checking Moisture Levels:
Excessive moisture in your garage floor can cause issues with adhesion and lead to future problems. Perform a moisture test by taping a plastic sheet onto the floor and leaving it for 24 hours. If condensation appears on the underside of the plastic, you may need to address moisture-related issues before proceeding with installation.
FAQs:
Q: How can I address moisture issues in my garage floor?
A: If moisture is an ongoing concern, consider applying a moisture barrier coating or using a vapor barrier underlayment before installing the garage floor.
Q: What if there is no condensation under the plastic sheet?
A: If no condensation appears, your garage floor is likely ready for installation. However, it is always a good idea to consult with professionals or follow specific product recommendations to ensure optimal results.
Installation:
Now that you have prepared your garage floor, You are ready to begin the installation process. Here are the steps to follow:
1. Prepare the epoxy or other garage floor coating according to the manufacturer’s instructions. This may involve mixing different components together.
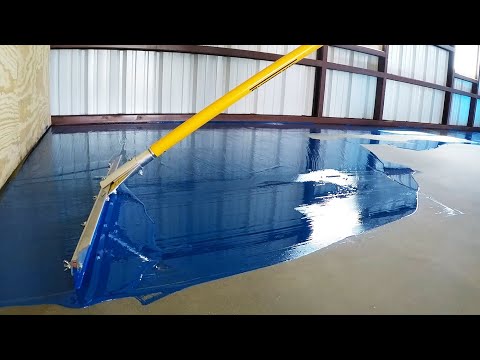
2. Start by applying the coating along the edges of the floor using a brush or roller. Make sure to coat all the edges and corners thoroughly.
3. Once the edges are coated, use a paint roller or squeegee to apply the coating to the rest of the floor. Work in small sections at a time, applying an even layer of the coating.
4. Use a roller with a long handle or a squeegee to smooth out the surface and remove any excess coating. This will help ensure an even and professional-looking finish.
5. Allow the first coat to dry completely according to the manufacturer’s instructions. This usually takes several hours or overnight.
6. Apply a second coat of the garage floor coating following the same process as before. This second coat will provide added durability and protection.
7. Allow the second coat to dry completely before using your garage. This may take several days, so make sure you have alternative parking arrangements if needed.
8. Once fully cured, your new garage floor is ready to be used! Enjoy your clean and durable surface.
Remember to follow any additional instructions provided by the manufacturer of your chosen garage floor coating product for best results. Some additional tips for installing a garage floor coating:
– Make sure the surface of your garage floor is clean and free of any debris before applying the coating. Sweep or vacuum the floor to remove any loose dirt or dust.
– If there are any cracks or imperfections in your garage floor, consider repairing them before applying the coating. This will ensure a smoother and more even finish.
– Use a good quality brush, roller, or squeegee to apply the coating. This will help you achieve better coverage and a more professional-looking result.
– Work in small sections at a time to ensure that the coating is applied evenly and doesn’t dry too quickly. This will help prevent streaks or uneven spots.
– Make sure to ventilate the area well while applying the coating and during the drying process. Open windows or use fans to promote air circulation and help with the drying process.
– Avoid walking on or using your garage until the coating has fully cured. This can take several days, so plan accordingly and make sure you have alternative parking arrangements if needed.
– Regularly clean and maintain your garage floor coating to keep it looking its best. Sweep or mop as needed and avoid using harsh chemicals that could damage the finish.
By following these tips and carefully following the manufacturer’s instructions, you can achieve a durable and professional-looking garage floor coating that will last for years to come. Installing a garage floor coating can help protect your floor from stains, spills, and damage, as well as give it a clean and finished appearance. Here are some tips to help you achieve the best results:
1. Prepare the surface: Before applying the coating, make sure your garage floor is clean and free of any debris. Sweep or vacuum the floor to remove any loose dirt or dust. If there are any cracks or imperfections, consider repairing them before applying the coating.
2. Choose the right coating: There are different types of garage floor coatings available, such as epoxy, polyurethane, or acrylic. Research and choose the one that suits your needs and budget. Follow the manufacturer’s instructions for proper mixing and application.
3. Protect edges and corners: Use a brush to apply the coating along the edges and corners of your garage floor. This will help ensure complete coverage and a professional-looking finish.
4. Apply in small sections: Work in small sections at a time to ensure that the coating is applied evenly and doesn’t dry too quickly. Use a paint roller or squeegee to apply an even layer of the coating to the rest of the floor.
5. Smooth out the surface: Use a roller with a long handle or a squeegee to smooth out the surface and remove any excess coating. This will help achieve an even and professional-looking finish.
6. Allow proper drying time: Allow the first coat to dry completely according to the manufacturer’s instructions. This usually takes several hours or overnight. Apply a second coat for added durability and protection, following the same process as before.
7. Plan for drying time: Allow the second coat to dry completely before using your garage. This may take several days, so make sure you have alternative parking arrangements if needed.
8. Maintain your coated floor: Regularly clean and maintain your garage floor coating to keep it looking its best. Sweep or mop as needed and avoid using harsh chemicals that could damage the finish.
By following these tips and carefully following the manufacturer’s instructions, you can achieve a durable and professional-looking garage floor coating that will last for years to come.