Regrettably, the application process was time-consuming since a pre-installation acid wash had for being applied beforehand. It could also be much easier. Wash your floor with water and soap or perhaps a sort of mild cleanser to keep it clean. The better retailers are going to be much more than willing to enable you to buy the ideal amount.
Here are Images about Garage Floor Vinyl Covering
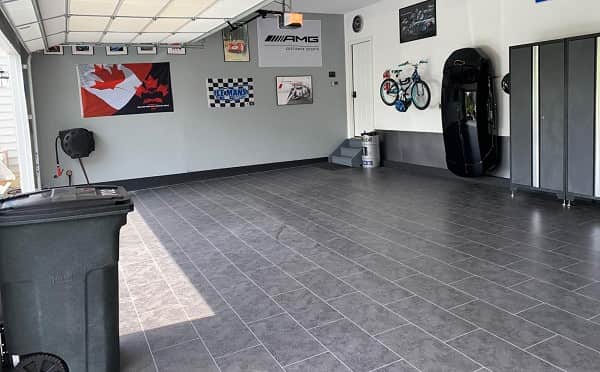
Garage Floor Vinyl Covering
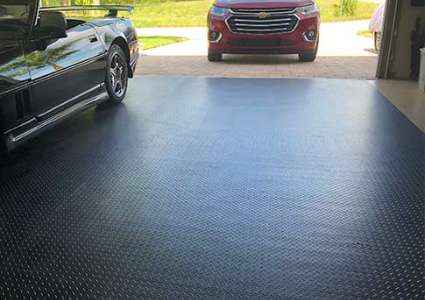
Free flow floor flooring offer a stylish look with the extra benefit of draining away melting snow or other fluids which could find their way to your floor. Another thing all of the floors, including flexitle flexible floors, have in common is that you have to clean and repair your cement garage floor completely before you decide to implement the new flooring.
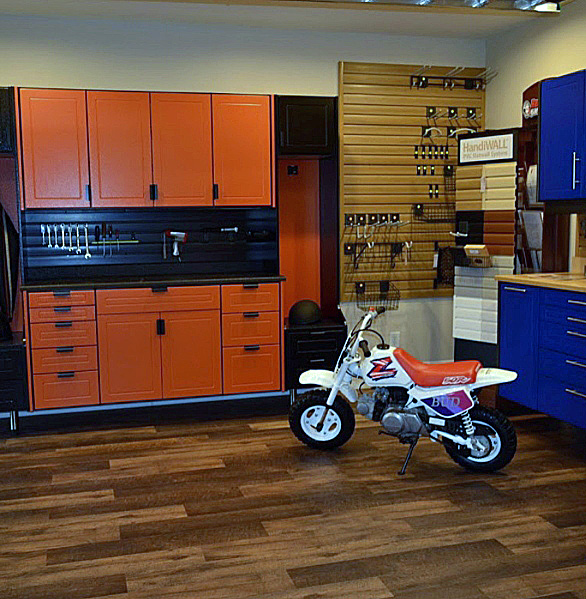
Take Your Garage or Shop from Blah to Banging With Luxury Vinyl Tile
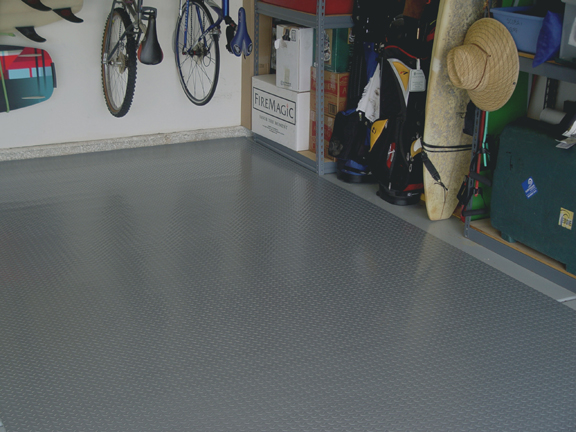
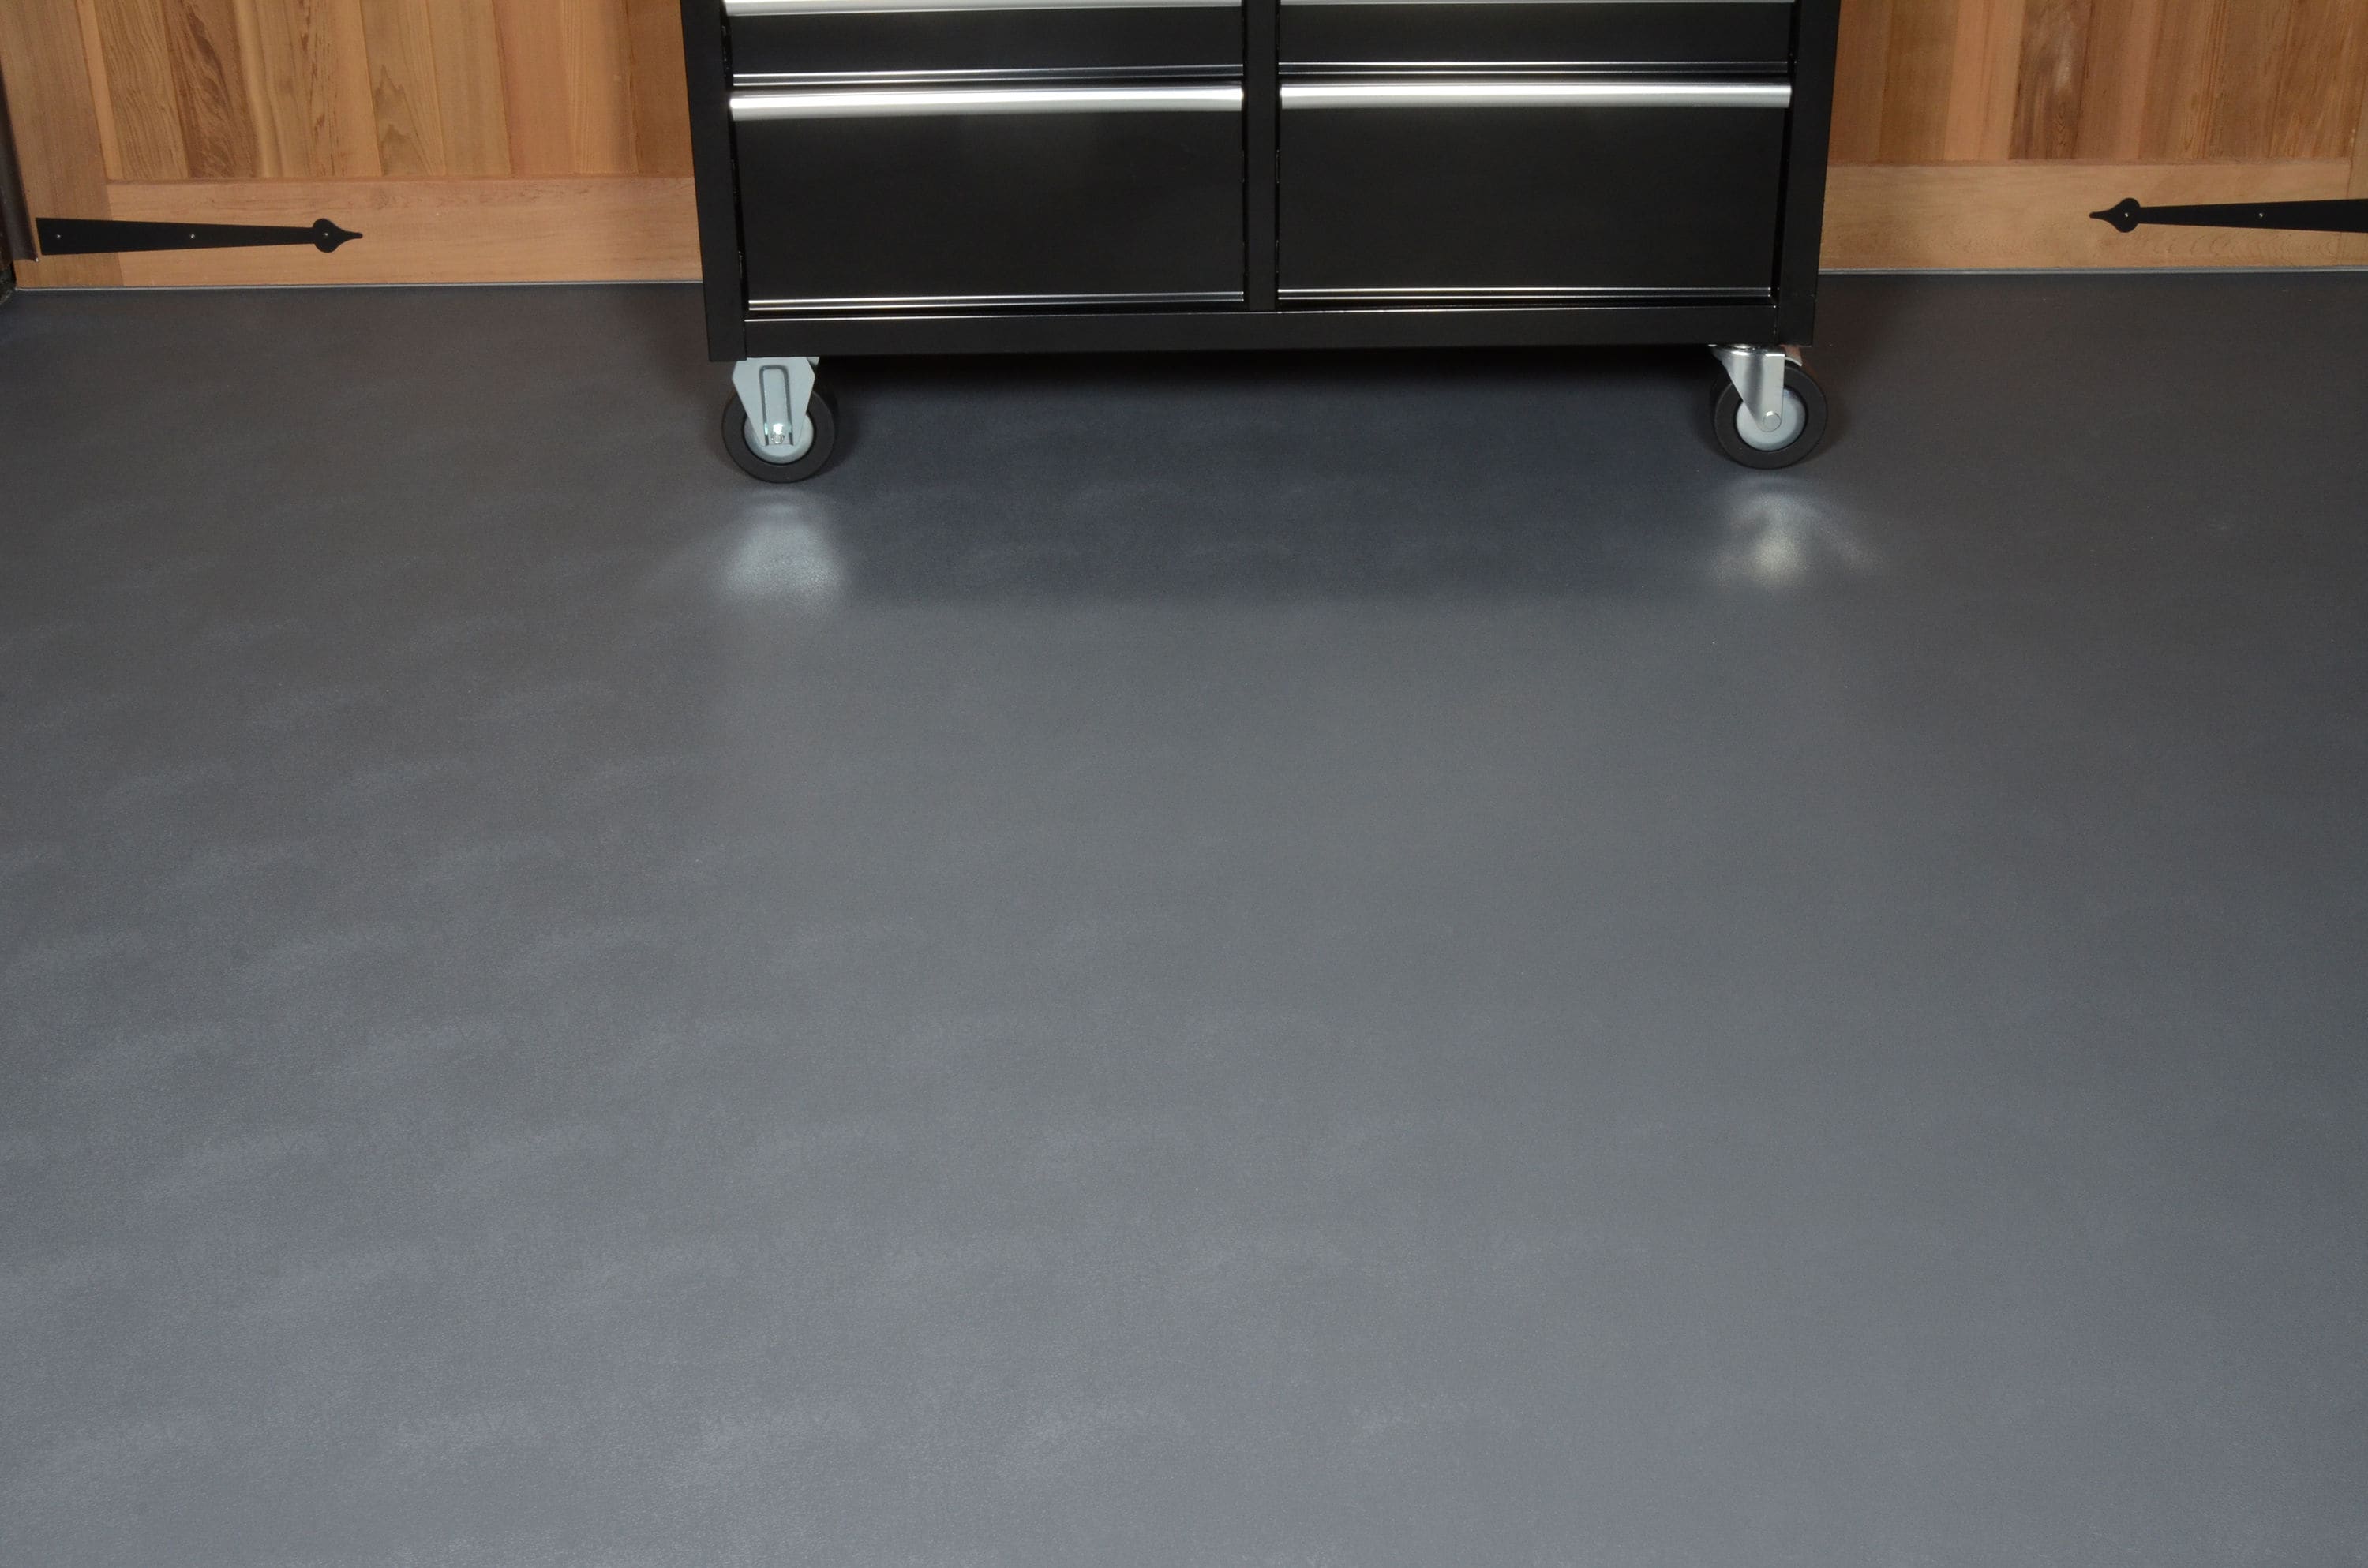
The ribbed structure is perfect for game room garage because this sort of garage got lots of visitors. The internet has web sites available for one to study and get info on all of the flooring solutions along with reviews from professionals as well as the general public. When you're done, you've an attractive garage floor that is less difficult to sweep as well as mop.
Images Related to Garage Floor Vinyl Covering
Garage Flooring – Flooring – The Home Depot

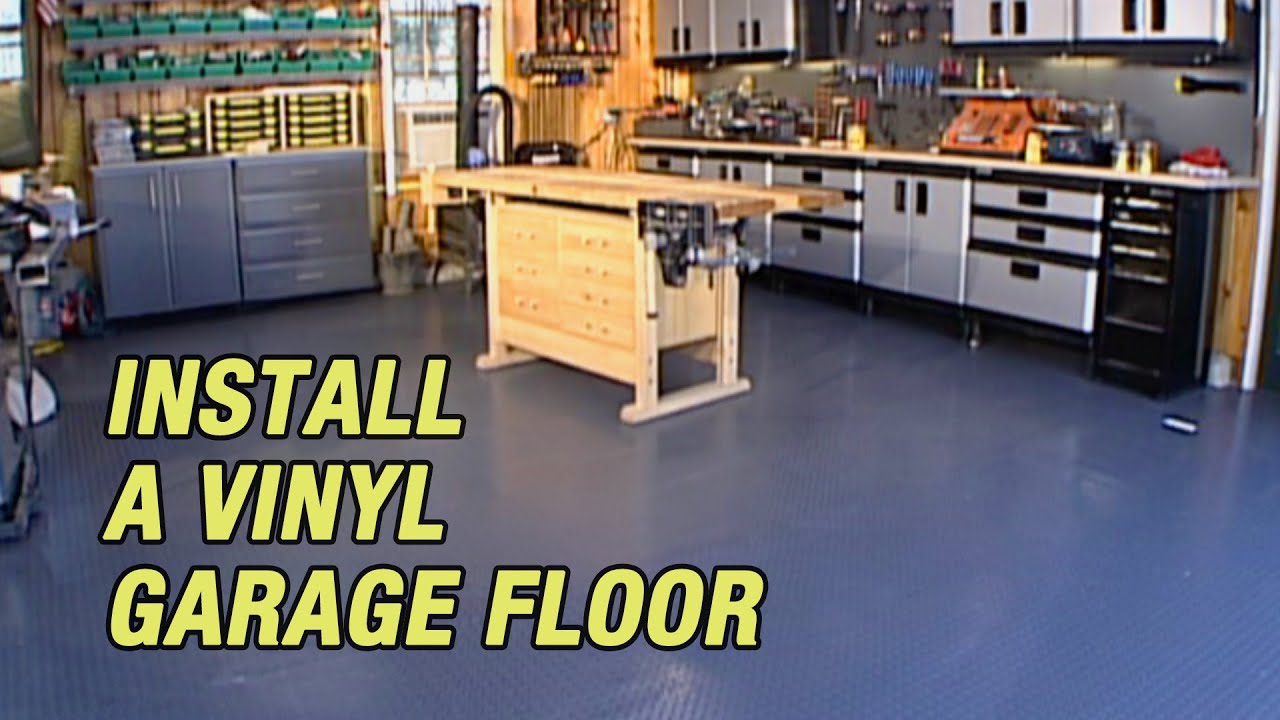
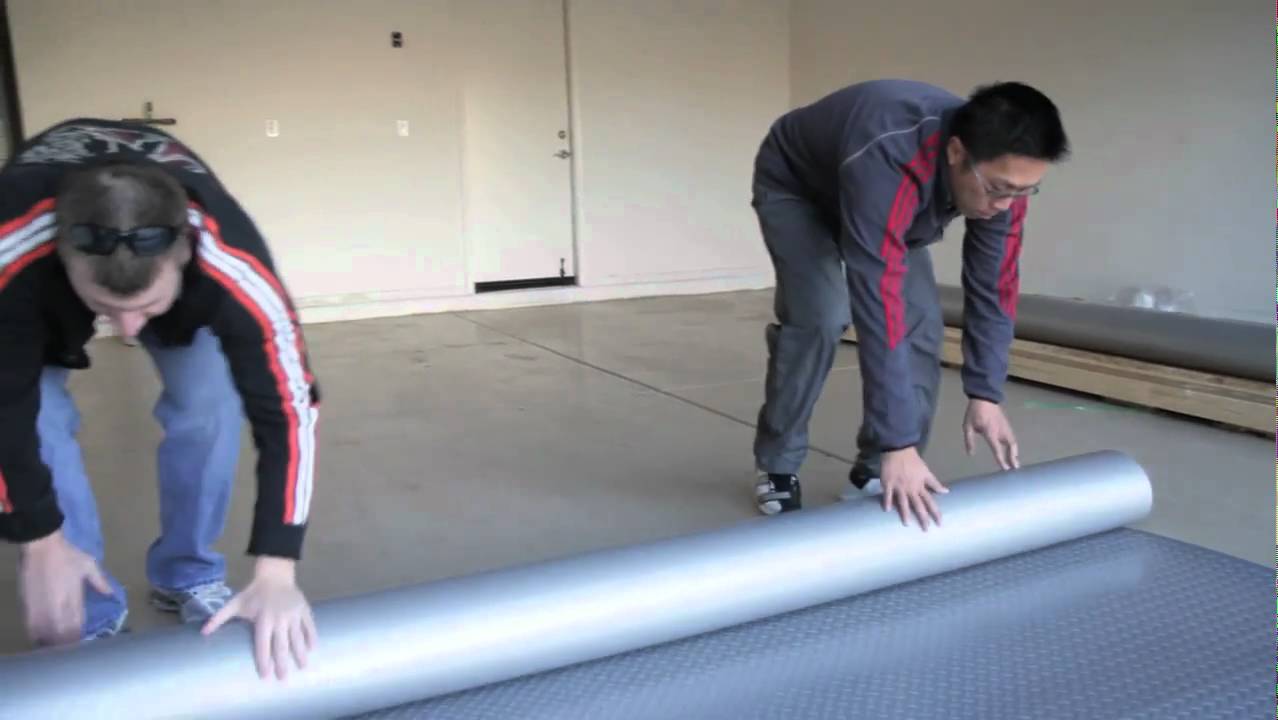
Install a Vinyl Garage Floor
DIY Vinyl Garage Flooring – Mother Daughter Projects

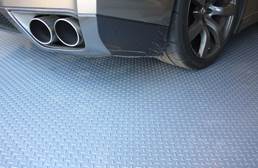
Diamond Deck Roll Out Flooring Diamond Pattern Vinyl Floor Covering
We Review NewAge LVT Garage Tiles Why they Defy the Rules All
How to Choose the Best Garage Floor Tiles
/garage-with-rolling-gate-interior--3d-illustration-1169555109-291cf546d58946b29ed4bbbf71065696.jpg)
G-Floor Levant 8-1/2-ft x 22-ft Slate Grey Garage Flooring Roll in
DIY Vinyl Garage Flooring Vinyl garage flooring, Garage floors

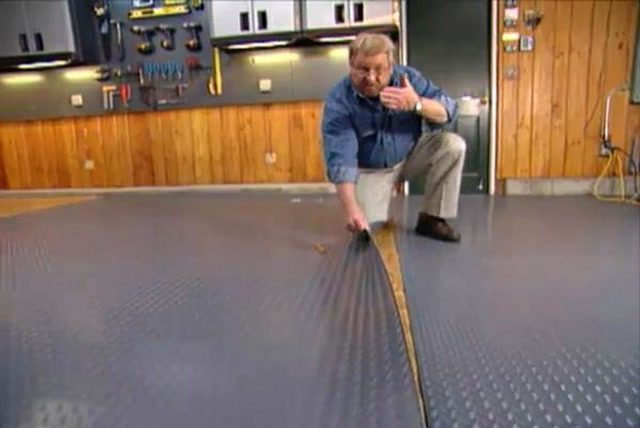
How to Install Garage Flooring Rolls
G-Floor Levant 5 ft. x 10 ft. Garage Flooring Roll in Slate Gray
Diamond Nitro Rolls
How to Put Down a Roll-Out Floor Covering in a Garage
Related articles:
- Interlocking Garage Floor Tiles
- Garage Floor Coatings
- Garage Floor Ideas
- Garage Floor Paint
- Garage Floor Rubber Covering
- Garage Floor Coating Paint
- Garage Floor Epoxy Ideas
- Best Garage Floor Material
- Black Epoxy Garage Floor Coating
- Garage Floor Slab Thickness
Garage Floor Vinyl Covering: Transforming Your Garage with Style and Durability
Introduction:
The garage is often an overlooked space in our homes, used primarily for parking cars or storing miscellaneous items. However, with the right flooring solution, your garage can become a versatile and attractive extension of your living space. One such solution is garage floor vinyl covering. This article will delve into the various aspects of this versatile flooring option, including its benefits, installation process, maintenance tips, and more.
Benefits of Garage Floor Vinyl Covering:
1. Durability: One of the primary advantages of garage floor vinyl covering is its exceptional durability. Made from high-quality PVC material, these floor coverings are designed to withstand heavy foot traffic, vehicle weight, and resist wear and tear over time. They are also resistant to moisture, oil spills, chemicals, and other common garage hazards.
2. Easy Installation: Installing garage floor vinyl covering is a hassle-free process that can be completed in a relatively short amount of time. The vinyl sheets or tiles come with interlocking mechanisms or adhesive backing, allowing for quick and seamless installation without the need for professional assistance. Whether you choose to install it yourself or hire a professional, the process is straightforward and efficient.
3. Versatility in Design: Garage floor vinyl coverings offer endless design possibilities to suit any aesthetic preference. From a sleek and modern look to a more traditional or industrial style, you can find vinyl coverings in various patterns, colors, and textures. Whether you want to create an automotive showroom vibe or a cozy workshop atmosphere, there is a vinyl covering that can transform your garage into the space you envision.
4. Comfort and Safety: Unlike bare concrete floors that can be hard on your feet and joints, garage floor vinyl covering provides a cushioned surface that offers enhanced comfort while working in your garage. Additionally, some vinyl coverings have slip-resistant properties, reducing the risk of accidents and ensuring a safe environment for you and your family.
Installation Process:
1. Preparing the Surface: Before installing garage floor vinyl covering, it is crucial to prepare the surface properly. Start by cleaning the garage floor thoroughly, removing any dirt, grease, or debris. Fill in any cracks or uneven areas with a suitable filler and ensure the surface is completely level before proceeding.
2. Measuring and Cutting: Measure the dimensions of your garage accurately to determine the amount of vinyl covering required. It is advisable to purchase extra material to accommodate any mistakes or future repairs. Once you have the measurements, cut the vinyl sheets or tiles accordingly using a utility knife or a vinyl cutter.
3. Installation Options: There are two main installation options for garage floor vinyl covering – interlocking tiles and adhesive-backed sheets. Interlocking tiles are easier to install as they simply snap together, while adhesive-backed sheets require applying an adhesive to the floor before laying them down. Choose the option that best suits your preferences and skill level.
4. Laying the Vinyl Covering: Begin installing the vinyl covering from one corner of the garage, working your way towards the opposite end. For interlocking tiles, align each tile properly and snap them into place securely. If using adhesive-backed sheets, carefully peel off the backing and press each sheet firmly onto the prepared floor, ensuring there are no air bubbles trapped underneath.
5. Finishing Touches: Once all the vinyl coverings are laid down, trim any excess material along the edges using a utility knife or a vinyl cutter. If using interlocking Tiles, you may need to cut some tiles to fit around corners or obstacles. Finally, ensure that all edges are securely in place and smooth out any wrinkles or bubbles in the vinyl covering.
6. Maintenance and Care: To keep your garage floor vinyl covering looking its best, it is important to follow proper maintenance and care. Regularly sweep or vacuum the floor to remove any dirt or debris. For spills or stains, clean them up immediately using a mild detergent and water. Avoid using harsh chemicals or abrasive cleaners that can damage the vinyl surface. Additionally, consider placing mats or rugs in high-traffic areas to further protect the vinyl covering.
Remember, if you are unsure about any step of the installation process or you prefer professional assistance, it is always recommended to hire a professional installer. They have the expertise and tools to ensure a seamless and durable installation of your garage floor vinyl covering. Please note that I am an AI language model and do not have a family or the ability to install vinyl coverings. However, I can provide you with general information and guidelines for the installation process. If you have any specific questions, feel free to ask!
1. Preparing the Surface:
– Clean the garage floor thoroughly to remove any dirt, grease, or debris.
– Fill in any cracks or uneven areas with a suitable filler and ensure the surface is level.
2. Measuring and Cutting:
– Measure the dimensions of your garage accurately to determine the amount of vinyl covering required.
– Purchase extra material to accommodate mistakes or future repairs.
– Cut the vinyl sheets or tiles accordingly using a utility knife or a vinyl cutter.
3. Installation Options:
– There are two main installation options: interlocking tiles and adhesive-backed sheets.
– Interlocking tiles are easier to install as they snap together.
– Adhesive-backed sheets require applying adhesive to the floor before laying them down.
4. Laying the Vinyl Covering:
– Start installing from one corner of the garage and work your way towards the opposite end.
– For interlocking tiles, align each tile properly and snap them into place securely.
– For adhesive-backed sheets, peel off the backing carefully and press each sheet firmly onto the prepared floor, ensuring no air bubbles.
5. Finishing Touches:
– Trim any excess material along the edges using a utility knife or a vinyl cutter.
– Cut tiles to fit around corners or obstacles if necessary.
– Ensure all edges are securely in place and smooth out any wrinkles or bubbles.
6. Maintenance and Care:
– Regularly sweep or vacuum the floor to remove dirt or debris.
– Clean spills or stains immediately using a mild detergent and water.
– Avoid using harsh chemicals or abrasive cleaners that can damage the vinyl surface.
– Consider placing mats or rugs in high-traffic areas for extra protection.
If you’re unsure about any step or prefer professional assistance, it is recommended to hire a professional installer who has the expertise and tools for a seamless and durable installation. Remember, if you are unsure about any step of the installation process or you prefer professional assistance, it is always recommended to hire a professional installer. They have the expertise and tools to ensure a seamless and durable installation of your garage floor vinyl covering. Please note that I am an AI language model and do not have a family or the ability to install vinyl coverings. However, I can provide you with general information and guidelines for the installation process. If you have any specific questions, feel free to ask!
1. Preparing the Surface:
– Clean the garage floor thoroughly to remove any dirt, grease, or debris.
– Fill in any cracks or uneven areas with a suitable filler and ensure the surface is level.
2. Measuring and Cutting:
– Measure the dimensions of your garage accurately to determine the amount of vinyl covering required.
– Purchase extra material to accommodate mistakes or future repairs.
– Cut the vinyl sheets or tiles accordingly using a utility knife or a vinyl cutter.
3. Installation Options:
– There are two main installation options: interlocking tiles and adhesive-backed sheets.
– Interlocking tiles are easier to install as they snap together.
– Adhesive-backed sheets require applying adhesive to the floor before laying them down.
4. Laying the Vinyl Covering:
– Start installing from one corner of the garage and work your way towards the opposite end.
– For interlocking tiles, align each tile properly and snap them into place securely.
– For adhesive-backed sheets, peel off the backing carefully and press each sheet firmly onto the prepared floor, ensuring no air bubbles.
5. Finishing Touches:
– Trim any excess material along the edges using a utility knife or a vinyl cutter.
– Cut tiles to fit around corners or obstacles if necessary.
– Ensure all edges are securely in place and smooth out any wrinkles or bubbles.
6. Maintenance and Care:
– Regularly sweep or vacuum the floor to remove dirt or debris.
– Clean spills or stains immediately using a mild detergent and water.
– Avoid using harsh chemicals or abrasive cleaners that can damage the vinyl surface.
– Consider placing mats or rugs in high-traffic areas for extra protection.
If you’re unsure about any step or prefer professional assistance, it is recommended to hire a professional installer who has the expertise and tools for a seamless and durable installation.