You do not want to buy too much and spend your hard earned money however, you also do not wish to buy overly small and end up short on the project. If perhaps you've a pro garage with heavier traffic, you need to allow the coloring or maybe coat to dry out for twenty four hours if not more. It was also expensive to adequately cover the floors.
Here are Images about Epoxyshield Garage Floor Coating Instructional Video
Epoxyshield Garage Floor Coating Instructional Video
Regrettably, the application method was time-consuming because a pre-installation acid wash had for being put on beforehand. It could also be easier. Wash the floor of yours with soap and water or maybe a form of gentle cleanser to keep it clean. The better stores are going to be more than willing to help you order the perfect amount.
EPOXYSHIELD® Garage Floor Coating Kit Product Page
Scrub your floor with a shop brush and water and soap to remove all the oil, grease and dirt. Garage mats are simply less expensive plus more useful. The cost of a weighty class rolled floor might be about the same as a cheap tile floor. You may also be equipped to find some garage flooring tiles that are as varied in colors as paint.
Images Related to Epoxyshield Garage Floor Coating Instructional Video
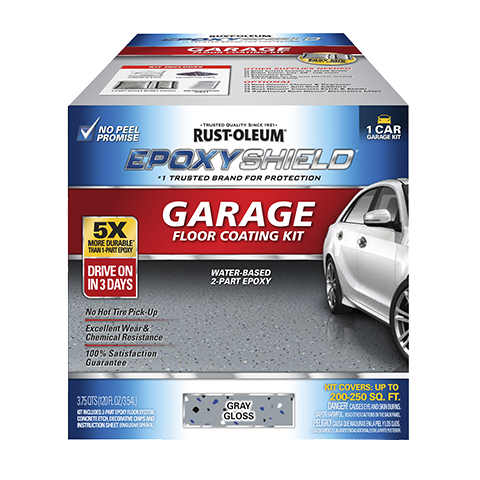
EPOXYSHIELD Garage Floor

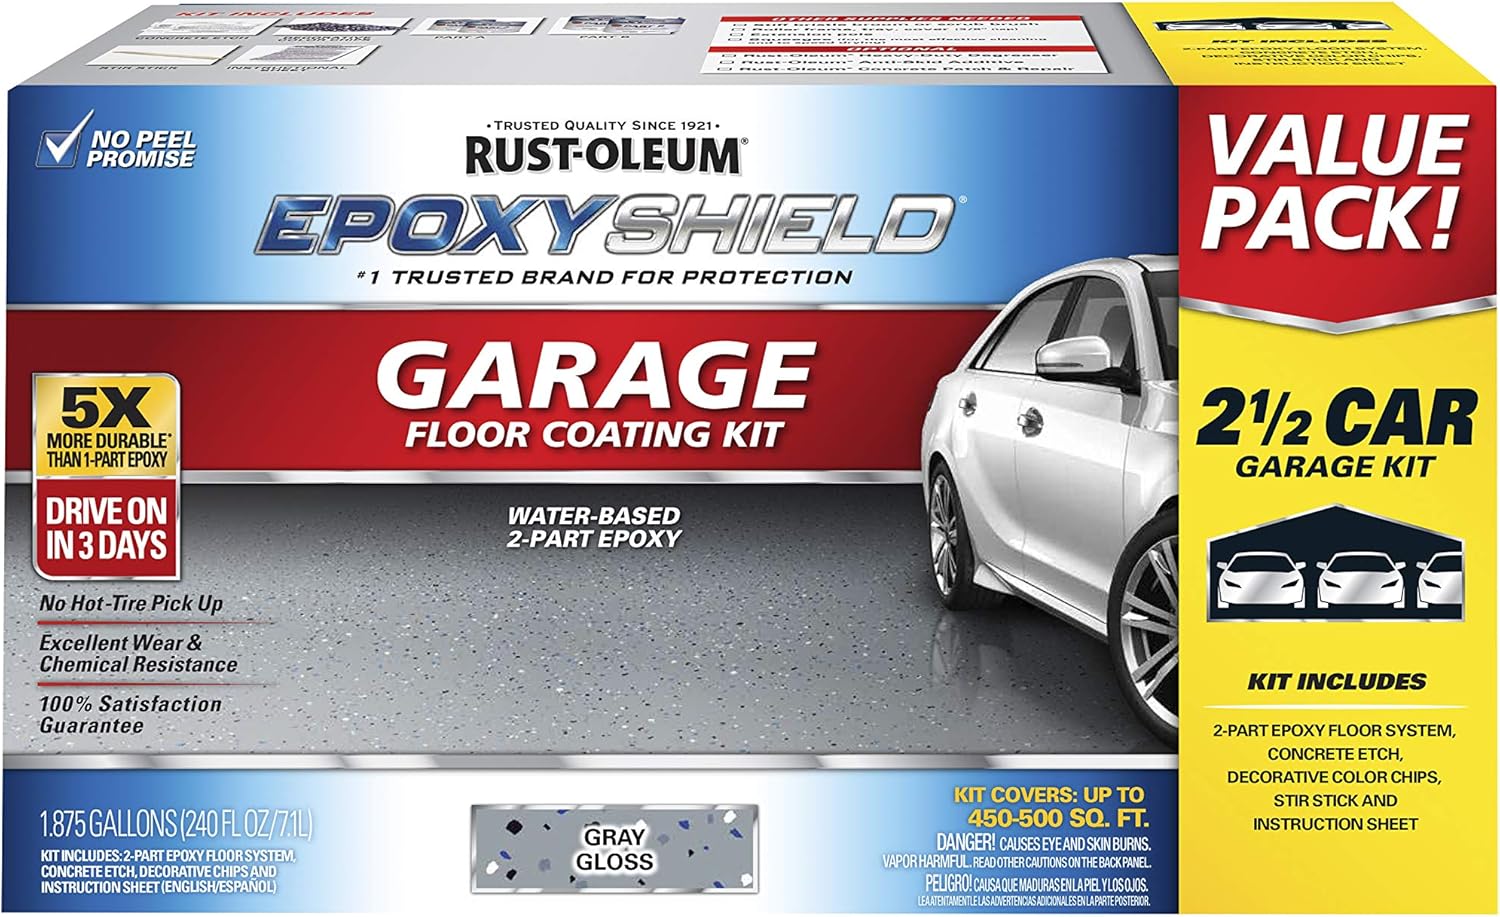
Garage Epoxy Floor – Rust-Oleum EpoxyShield
How to Use Rust-Oleum® Epoxyshield® Garage Floor Coating Kit to

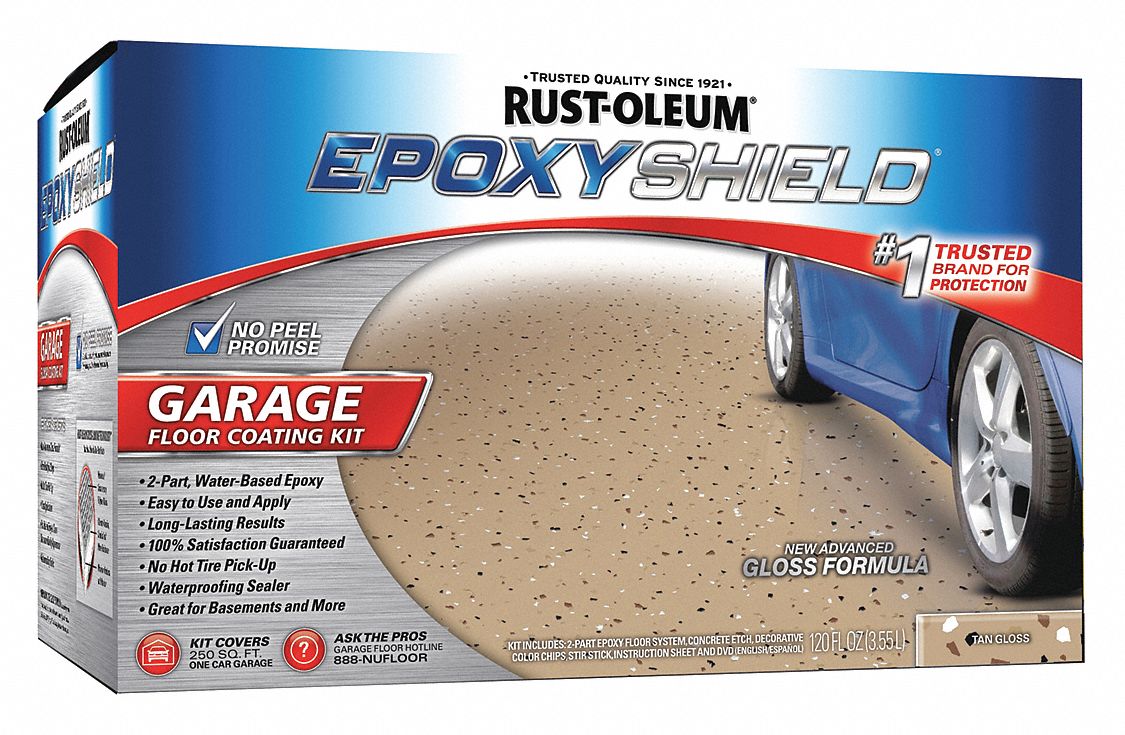
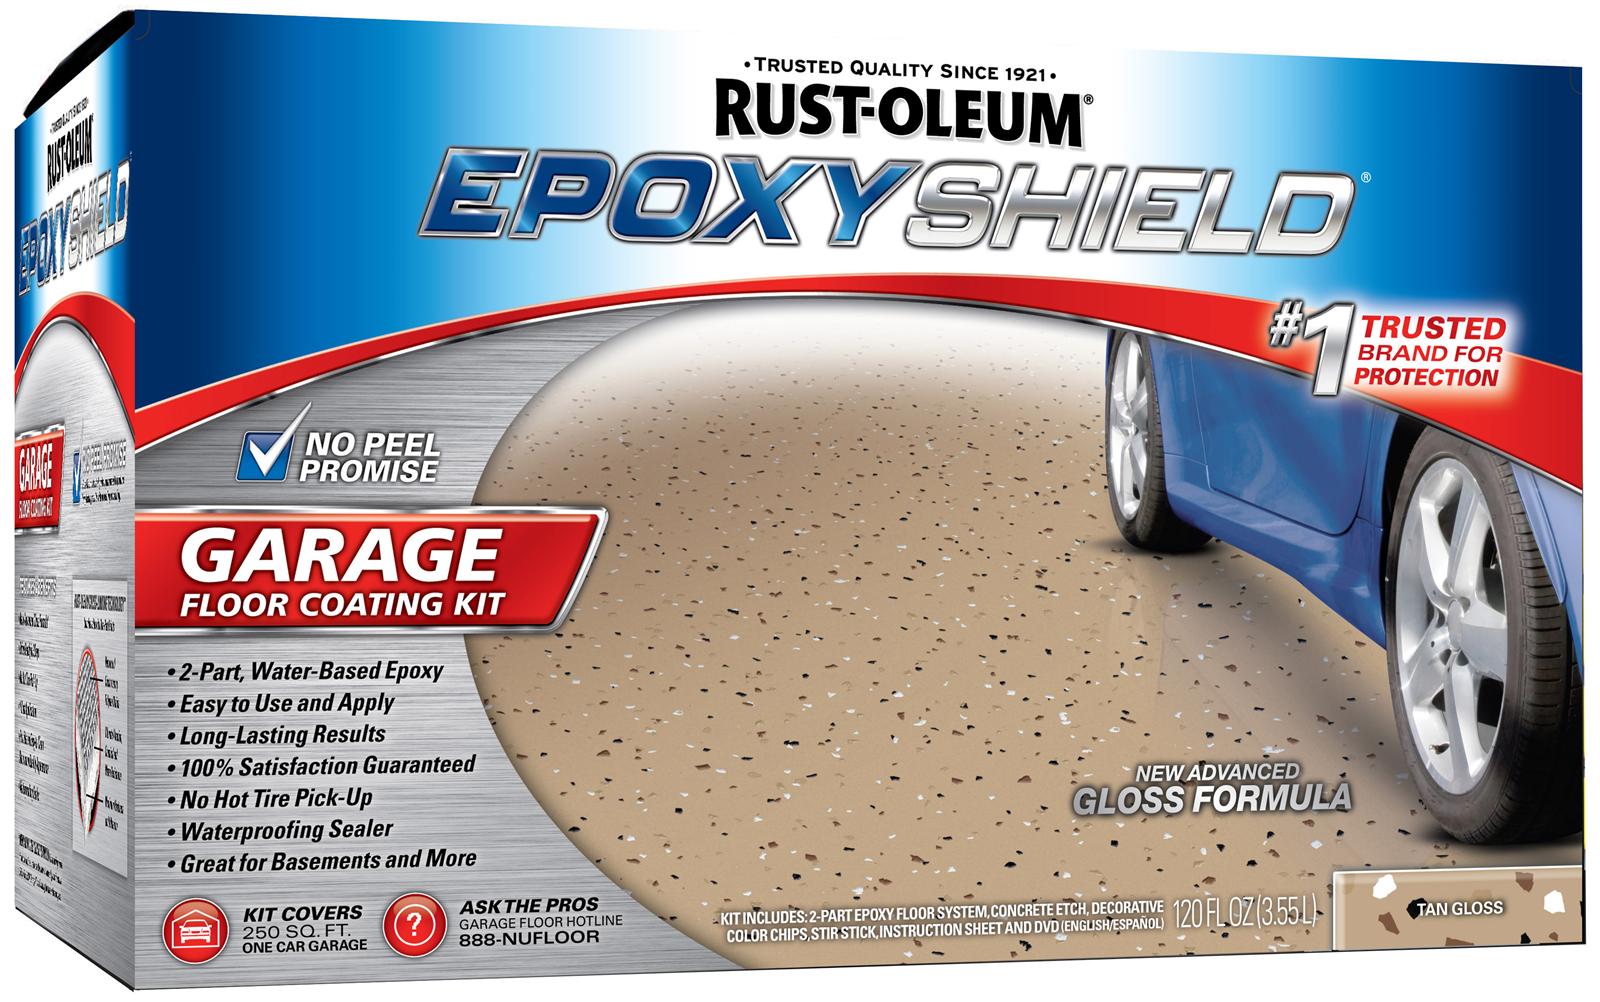
Garage Floor Kit: Amine Cured Epoxy, EpoxyShield, Tan, 120 oz Container Size
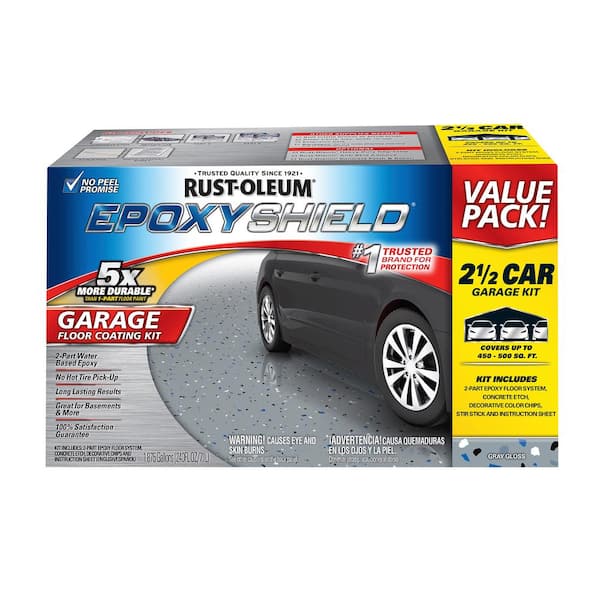
Rust-Oleum Epoxyshield Garage Floor Coating Kit Grey delivery

Rust-Oleum 261845 EpoxyShield Garage Floor Coating , 2 gal, Gray
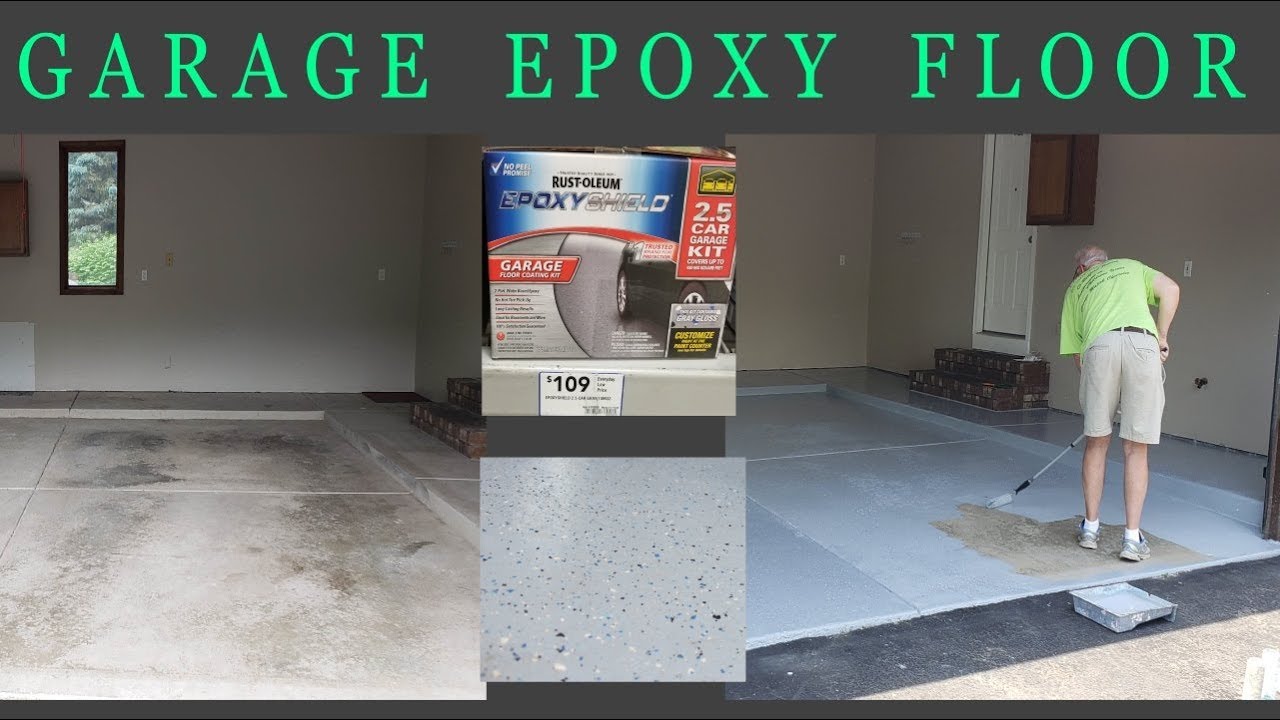
How to apply Rust Oleum garage floor epoxy.

Amazon.com: Rust-Oleum 261846 EPOXYSHIELD Garage Floor Coating

Rust-Oleum Corporation 251966 Rust-Oleum Epoxy Shield Garage Floor Coatings Summit Racing
Rust-Oleum EpoxyShield 2 Gal. Gray Garage Floor Epoxy 261845
Rust-Oleum Epoxyshield Garage Floor Coating Kit Tan delivery

Rust-Oleum EpoxyShield Satin Basement Floor Coating Kit, Tan, 120

Related articles:
- Interlocking Garage Floor Tiles
- Garage Floor Coatings
- Garage Floor Ideas
- Garage Floor Paint
- Garage Floor Rubber Covering
- Garage Floor Coating Paint
- Garage Floor Epoxy Ideas
- Best Garage Floor Material
- Black Epoxy Garage Floor Coating
- Garage Floor Slab Thickness
The Epoxyshield garage floor coating instructional video offers a comprehensive and step-by-step guide to creating a durable and beautiful garage floor. This video provides everything necessary for a successful project, from the tools and materials needed to the detailed instructions on the actual application process. With this guide, you can easily and quickly create a garage floor that will last for years and look beautiful.
Tools and Materials
Before beginning the project, it is important to make sure that you have all of the necessary tools and materials. You will need a roll of Epoxyshield patch kit, an Epoxyshield etching solution, a paint brush, a roller, a dry rag, and a brush. You will also need to ensure that your garage floor is clean and free of dirt and debris before beginning the application process.
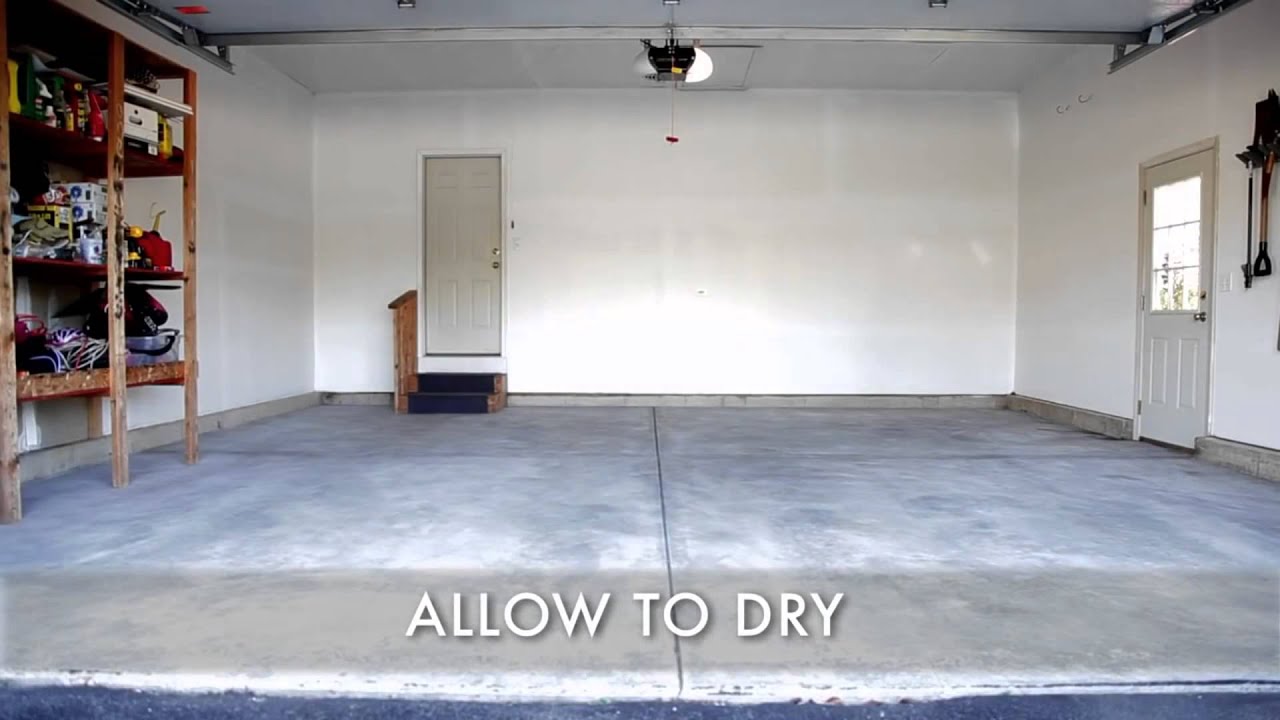
Preparing the Surface
Once you have all of your tools and materials ready, it’s time to start preparing the surface. Begin by thoroughly cleaning the floor with soapy water, then rinse it off with clean water. After it has dried completely, use the Epoxyshield etching solution to etch the surface of the concrete. This will help to ensure that the Epoxyshield adheres properly to the garage floor.
Application Process
Now that your floor is prepped for coating, it’s time to begin applying the Epoxyshield patch kit. Start by using the paintbrush to apply a thin layer of Epoxyshield over the entire area. Make sure that there are no gaps or bubbles in the coating. Once that layer has dried completely, use the roller to apply two more layers of Epoxyshield. Allow each layer to dry completely before moving on to the next one. Finally, use a dry rag to buff out any imperfections in the finish.
Finishing Touches
The final step in applying your Epoxyshield garage floor coating is to add some finishing touches. These can include anything from painting stripes or shapes on your floor to adding an epoxy sealant for extra protection against moisture and wear-and-tear. For best results, make sure you follow all instructions carefully before beginning any of these steps.
FAQs
Q: How long does it take for Epoxyshield to dry?
A: The drying time for Epoxyshield varies depending on factors such as temperature and humidity levels in your workspace. In general, however, it should take approximately 4-6 hours for each coat of Epoxyshield to dry completely before applying additional coats or finishing touches.
Q: How many coats of Epoxyshield do I need?
A: Generally speaking, three coats of Epoxyshield are recommended for best results. However, if you are looking for extra protection against wear-and-tear or moisture damage, then you may want to consider adding an additional coat or sealing agent after completing your project.
Q: Is an epoxy sealant necessary?
A: An epoxy sealant is not absolutely necessary; however, it can provide extra protection against wear-and-tear as well as moisture damage over time. If you are looking for extra protection against these factors then it may be worth considering adding an epoxy sealant after completing your project.