This demonstrates the producers of laminates have more confidence in the durability of their products, and also you can, also. In this case, it's crucial to find out whether or not there's way too much moisture in the floor area as well as, when there's, you ought to be able to get rid of this particular moisture problem otherwise it'll continuously haunt you with mold and mildew problems.
Images Related to Beading Around Laminate Flooring
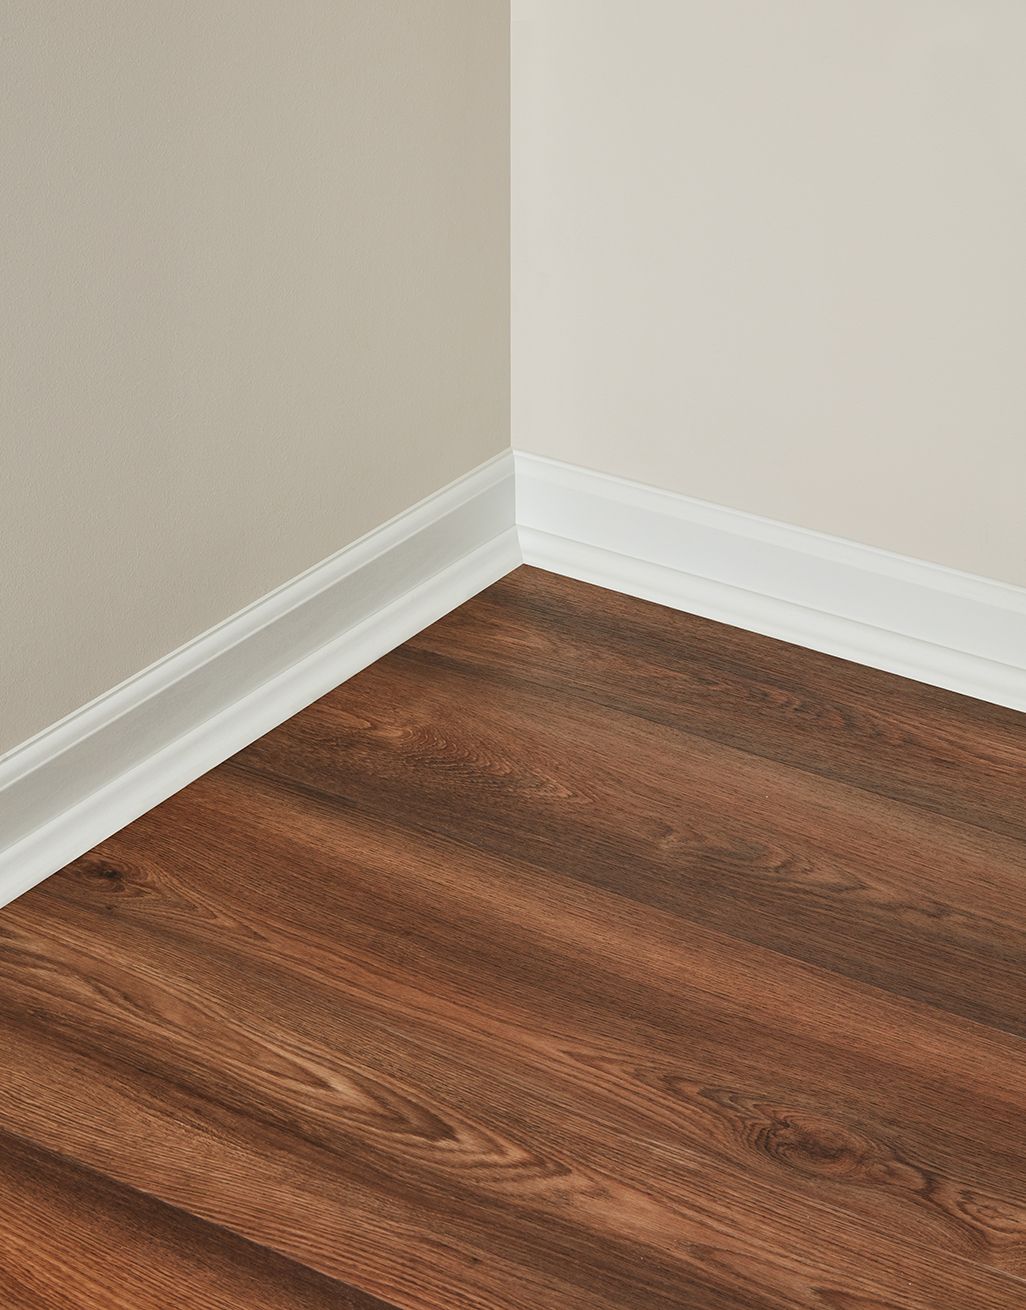
Beading Around Laminate Flooring
Laminate flooring is generally installed on a foam cushioning inside a frame that you simply put into place around the external part of the home ahead of installation. A third choice is a glue-less laminate with a method that breaks the tongue and groove together, locking the floor directly into place. And so, it's not surprising that it would look and feel just like actual wood. Connect the change pieces in doorways as well as level changes.
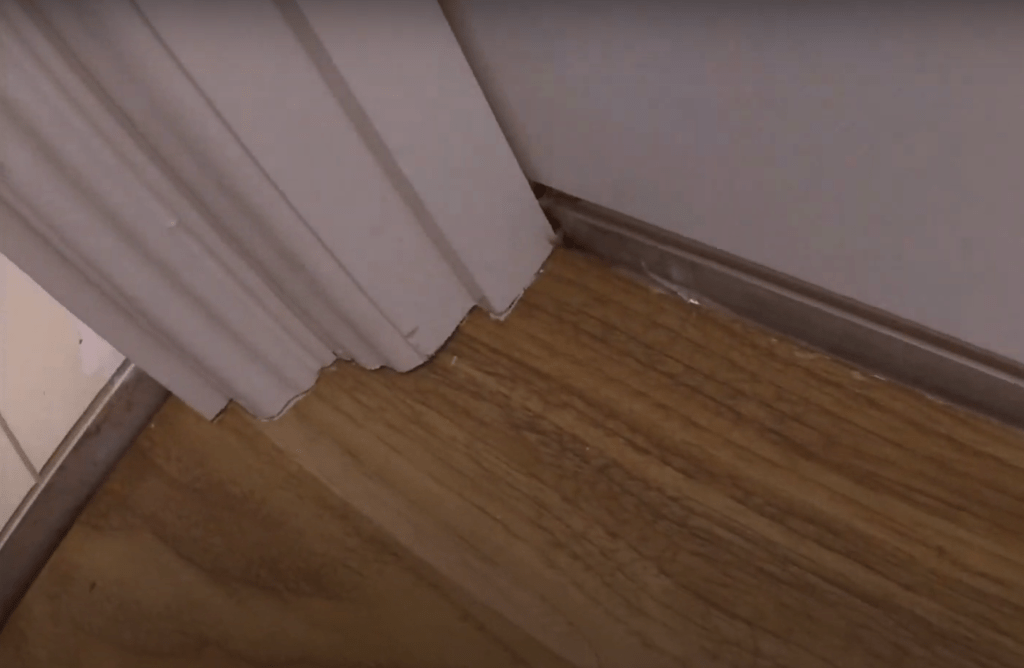
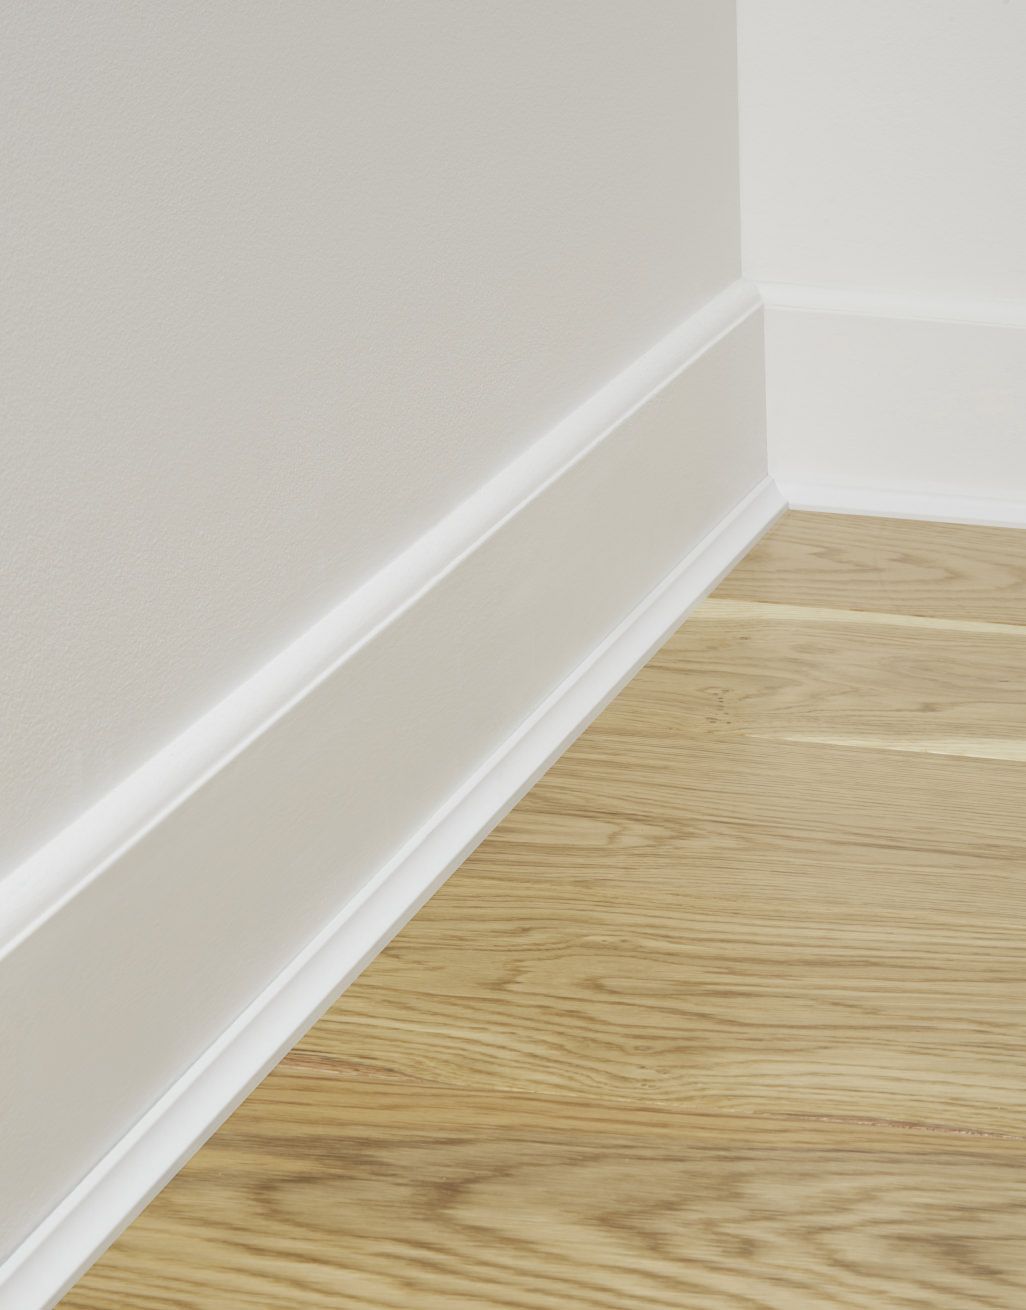
Flat beading, neat finish The Flooring Forum – Number 1 Floor

Even when using a standard wood image, like an oak feed, the 2 style is somewhat different. Decorative laminate was really the origins and the beginning of what now is referred to as laminate flooring. Saving a lot of cash isn't the only thing you will get with Westhollow floors. You might be looking for a few ideas for installing laminate flooring in case you are merely learning how to install laminate flooring.
5 Laminate flooring edging alternatives and when to use them
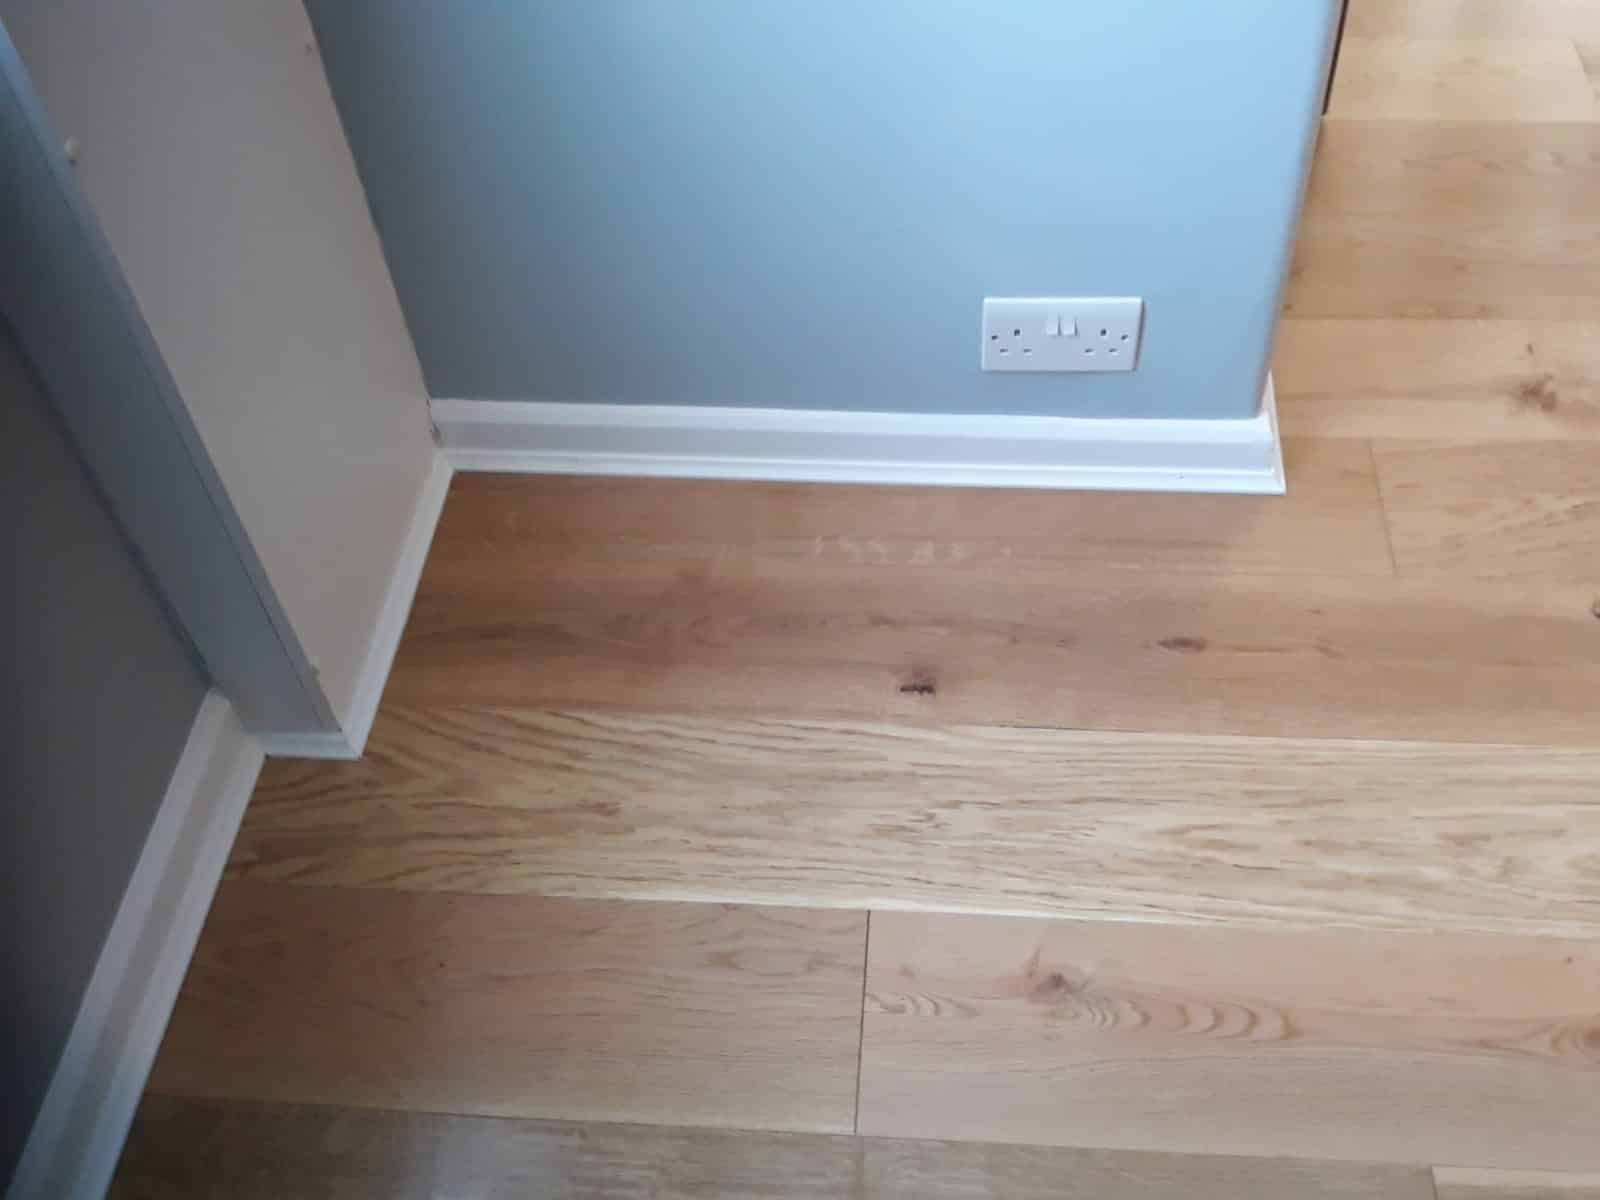
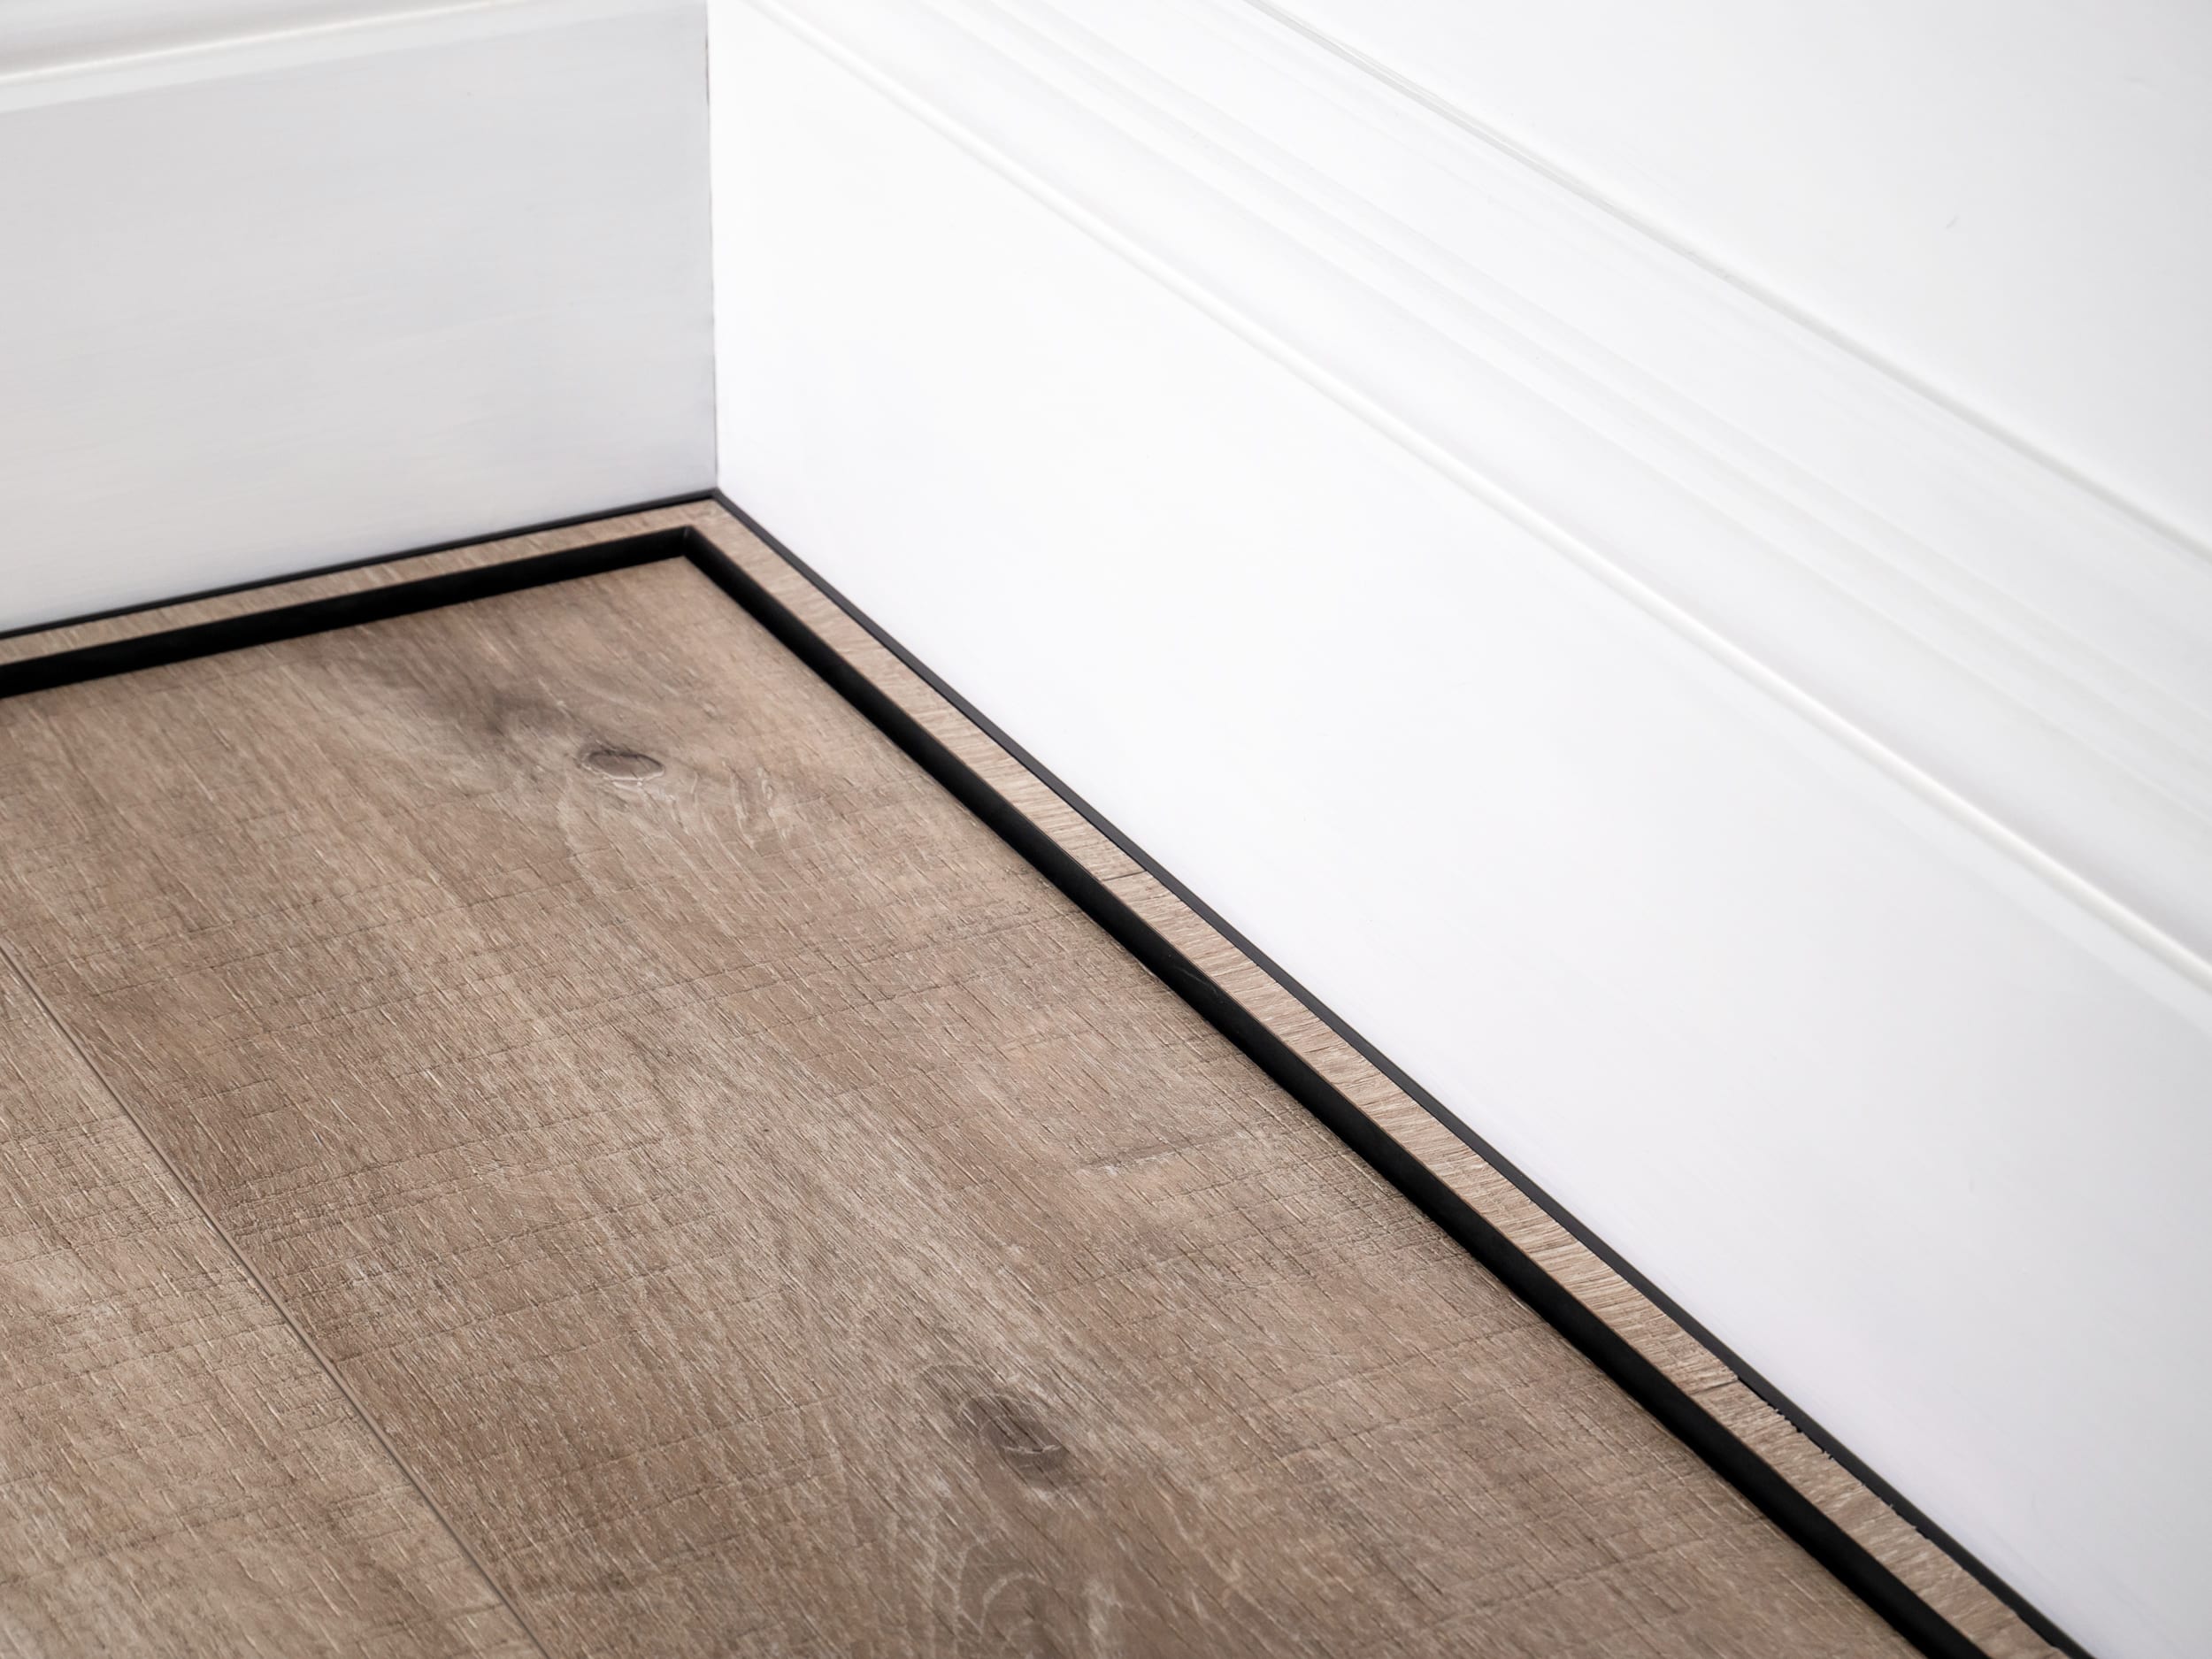
Fitted Oak Engineered Floor with White Beading – Peter Andrews
Perfecting Laminate Floor edges: Beading or Skirting? Get it Right
What Size Expansion Gap is Required for Laminate Flooring? – DIYist

Laminate Flooring – Beading vs. Skirting Boards Wezaggle

What Size Expansion Gap is Required for Laminate Flooring? – DIYist

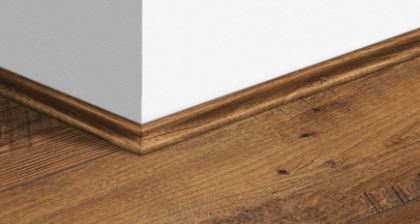
FC14 – White – Scotia Beading
Manhattan Woodmix 042 Balterio True Matching Laminate Beading

Flat beading, neat finish The Flooring Forum – Number 1 Floor

Evocore Cloudy White Oak Scotia Beading
Ali Tramline End
silicone/mastic around floor Houzz UK
Related articles:
- Coastal Laminate Flooring
- Commercial Laminate Flooring
- Slate Laminate Flooring
- Laminate Flooring Types
- Laminate Flooring Design
- Commercial Quality Laminate Flooring
- Black Laminate Flooring
- Tigerwood Laminate Flooring
- Royal Cherry Laminate Flooring
- Laminate Flooring Thickness For Basement
Beading Around Laminate Flooring: A Comprehensive Guide
Making sure your flooring is installed correctly is the key to a long-lasting, beautiful finish. When it comes to laminate flooring, however, beading can be a tricky thing to master. Beading around laminate flooring requires precision and attention to detail, so it’s important to understand the process before attempting it on your own. In this article, we’ll discuss why beading is important, how to do it correctly, and tips for getting the best results.
Why Is Beading Important?
Beading around laminate flooring is necessary because it helps create a seamless transition between different pieces of laminate. Without beading, you could end up with gaps where pieces don’t fit together properly or that allow dust or water to penetrate the floor. Beading also creates a more aesthetically pleasing look by hiding any seams and providing a clean finish.
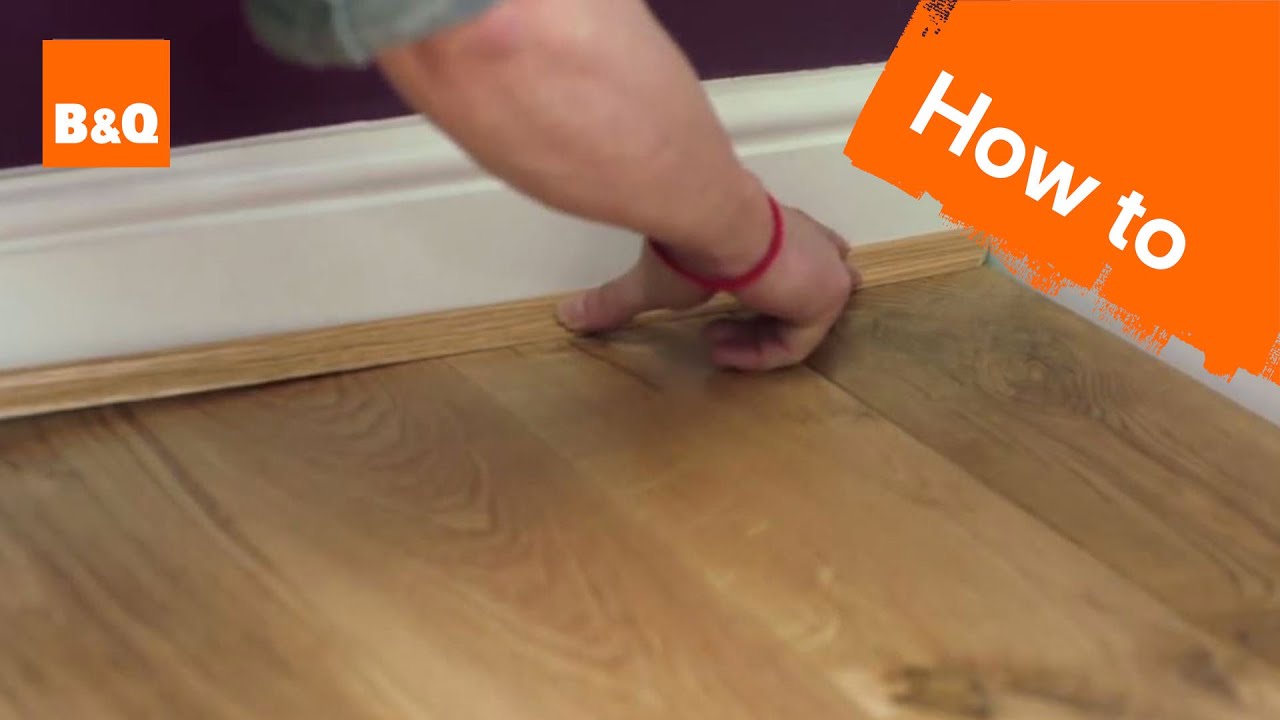
How to Bead Around Laminate Flooring
The process for beading around laminate flooring is relatively simple, but there are a few steps you’ll need to follow in order to get the best results. Here’s what you’ll need:
• Measuring tape
• Pencil or marker
• Laminate beading
• Hammer
• Nails
• Sandpaper
Step 1: Measure and Mark: Measure the area where you’re installing the beading and use a pencil or marker to mark where you want it to go. It’s important to measure twice and cut once in order to ensure accuracy.
Step 2: Cut the Beading: Cut the beading to size using a saw or knife. Make sure that the ends of the beading are cut at an angle so they fit together more easily.
Step 3: Nail in Place: Using a hammer, nail the beading into place along the marks you made earlier. Make sure that the nails are placed securely so that they won’t come loose over time.
Step 4: Sand and Finish: Once all of the beading is in place, use sandpaper to smooth out any rough edges or imperfections. Then, apply a finish coat of sealant or varnish if desired.
Tips for Getting the Best Results
• Measure twice and cut once – This will help ensure that you get a clean, neat finish.
• Use a level – Make sure the beading is level by using a spirit level before nailing it into place. This will help prevent uneven surfaces and gaps between pieces of laminate.
• Take your time – Beading around laminate flooring takes patience and attention to detail. Don’t rush through the process; take your time and make sure each step is done correctly before moving on to the next one.
• Use sealant – After nailing in the beading, apply a layer of sealant or varnish for added protection against water damage or dirt buildup.
FAQs about Beading Around Laminate Flooring
Q: How do I know which type of beading to use?
A: It depends on what type of laminate you’re using and where you’re installing it. If you’re unsure, ask your local hardware store for advice on which type would be best suited for your project.
Q: How much sealant should I use?
A: Generally speaking, two coats of sealant should suffice; however, it’s best to check with your manufacturer for specific instructions on how much sealant they recommend using for your particular project.
Q: What tools do I need?
A: You’ll need measuring tape, a pencil or marker, laminate beading, nails, hammer, and sandpaper for this project.
Q: How long does beading take?
A: The time frame for completing this project depends on how much area needs to be covered and how experienced you are with installation tasks like this one. However, as a general rule of thumb, it should take no more than two hours for an experienced professional to bead