Seek out professional experienced advice when choosing a hardwood floor wax as well as cleaner designed to protect and beautify the specific hardwood content put in before application of any such material. To sweep the floor at least once a week is actually the greatest thing that can be done except of course when there are actually especial occasions that need proper cleaning.
Here are Images about Hardwood Floor Nailer Manual
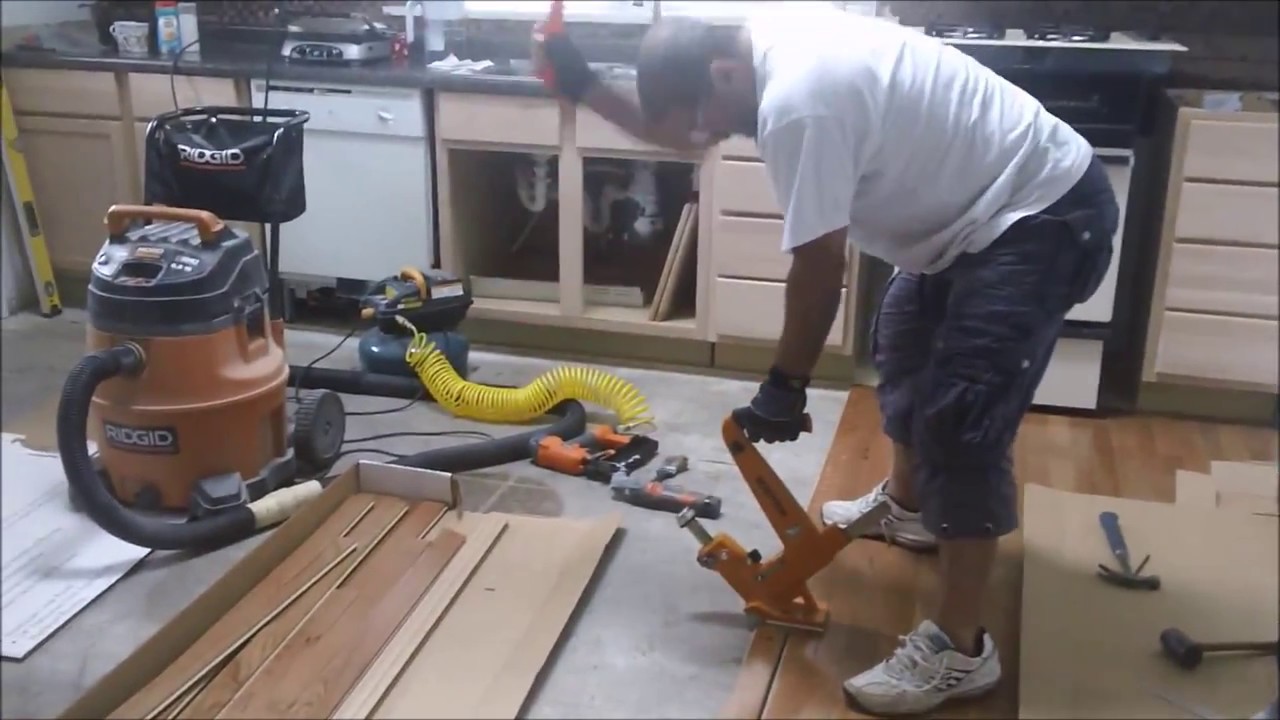
Hardwood Floor Nailer Manual

With the arrival of lower price marketing for hardwood floor surfaces, the commodity nowadays competes strongly with cheaper flooring types as laminate as well as bamboo flooring. Hardwood floors, un-finished, done or engineered, call for daily cleaning with a periodic yearly maintenance plan to retain the luster, serious rich tones and also the entire appeal of any wood flooring.
Manual Hardwood Flooring Cleat Nailer Dr FiXiT- USA Best DIY Projects
After a several years, when the natural wood has weathered just a little, it is going to be needed to obtain the floors resurfaced. Though it is important to check with the maker specifications for this process and it is every bit as crucial if no more so that the present sub floor is actually stable and well adhered to the joists to stay away from shifting, breakage or heaving of the newly installed item.
Images Related to Hardwood Floor Nailer Manual
45 – Manual 16-Gauge Hardwood Flooring Nailer – POWERNAIL

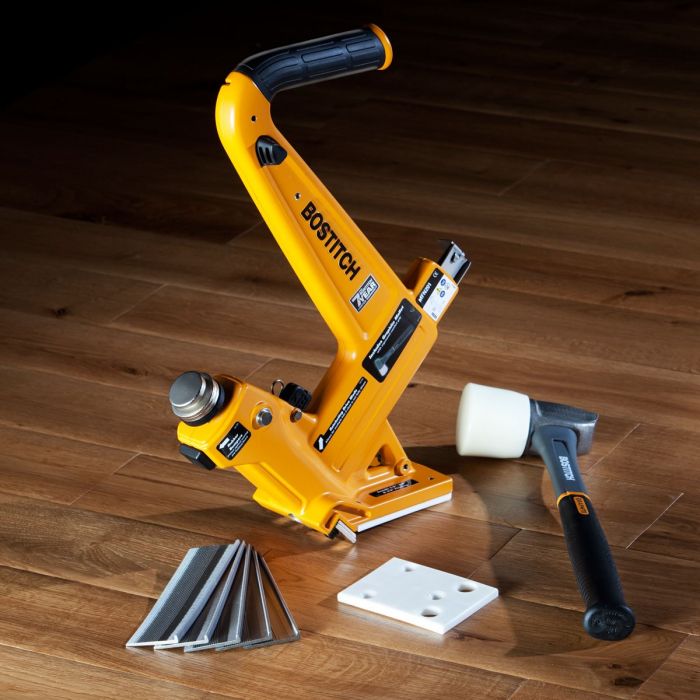
Bostitch MFN-201 Manual Hardwood Flooring Cleat Nailer (Type 0

Bostitch MFN-201 Manual Flooring Nailer (38-50mm)
101R – Manual 16-Gauge Hardwood Flooring Nailer – POWERNAIL

16-Gauge Manual Hardwood Flooring Nailer u2013 Super Arbor

H330 Hardwood Flooring Manual Nailer

Dewalt Manual Floor Nailer 16 Gauge Rental DWMFN-201 – The Home Depot

Hardwood Flooring Cleat Nailer – MIIIFN BOSTITCH

50MFLEX – Manual 18-Gauge Flooring Nailer – POWERNAIL

BOSTITCH Flooring Nailer Kit (MFN-201)

SENCO Manual Hardwood Flooring Cleat Nailer Shf15 BRAND 730001N

Powernail 16ga Manual-Ratcheting Hardwood Flooring Nailer for Tongue and Groove Floor

Related articles:
- Hardwood Floor Finish Brands
- Hand Scraped Hardwood Flooring
- Home Hardwood Floor
- Hardwood Floor Deep Cleaner
- Engineered Hardwood Floor
- Cherry Hardwood Flooring Reviews
- Hardwood Floor Cleaning And Refinishing
- Wide Plank Pine Hardwood Flooring
- Hardwood Flooring Designs Photos
- Hardwood Floor Selection Guide
Hardwood floor nailers are essential tools for quickly and efficiently installing hardwood floors. They allow you to drive nails into the floor with a single stroke, making it much easier and faster than doing it by hand. This article will provide an overview of hardwood floor nailers and explain how to use them properly.
What is a Hardwood Floor Nailer?
A hardwood floor nailer is a power tool used to drive nails into a hardwood floor. It works by using air pressure to drive nails into the wood with a single stroke. This makes installing hardwood floors much easier and faster than doing it by hand. It also ensures that the nails are driven in straight and secure, which helps ensure a good fit.
Types of Hardwood Floor Nailers
There are two main types of hardwood floor nailers: manual and pneumatic. Manual hardwood floor nailers are operated by hand, while pneumatic hardwood floor nailers are powered by air pressure. Both types are effective for installing hardwood floors, but pneumatic models tend to be more powerful and efficient.
Benefits of Using a Hardwood Floor Nailer
Using a hardwood floor nailer can save you time and energy when installing hardwood floors. The nails are driven in straight and secure, which helps ensure a good fit. It also reduces the risk of damage to the wood, as it eliminates the need for hammering each nail in place. Additionally, it eliminates the need for multiple tools, such as hammers and saws, saving you both time and money.
How to Use a Hardwood Floor Nailer
Using a hardwood floor nailer is relatively simple, but there are some important steps to follow in order to ensure a successful installation.
Step 1: Select the right type of nailer for your project.
It’s important to select the right type of nailer for your project. Manual models are suitable for small projects, while pneumatic models are better suited for larger projects.
Step 2: Prepare the wood before nailing it in place.
Before nailing your wood down, make sure that it is clean and free from debris or any other foreign objects that could interfere with the installation process.
Step 3: Position your nailer correctly before firing a nail.
Make sure that you position your nailer correctly before firing off a nail. This will help ensure that the nails are driven in straight and secure, which helps to ensure a good fit.
Step 4: Securely attach the hose to the nailer before use.
If you’re using a pneumatic model, make sure that you securely attach the hose before use. This will help ensure that the pressure is evenly distributed throughout the installation process.
Step 5: Ensure proper safety precautions when using your nailer.
When using your nailer, always make sure that you take proper safety precautions, such as wearing safety glasses, gloves, and ear protection. Additionally, never point the tool towards yourself or anyone else while in use.
Common Questions About Hardwood Floor Nailers
Q: What type of nails should I use with my hardwood floor nailer?
A: It’s important to select nails that match both the type of wood being installed and the size of your nailer’s chamber. Generally speaking, 1-1/4 inch nails are suitable for most projects involving standard-thickness hardwoods such as oak or maple. However, if you’re working with thicker woods or engineered flooring, you may need larger nails or specialized fasteners designed specifically for those materials. Q: How often should I lubricate my nailer?
A: It’s recommended that you lubricate your pneumatic nailer every 50-100 hours of use or once every month if used more frequently than this. This will help