Some extra detriments to installing incomplete hardwoods are actually: the vapors linked to finishing the floor on site, the reduced amount of coats being applied as well as the lack of ability to seal the finish with the UV light process. This artificial material serves as the bottom level and it is usually impervious to moisture. For many centuries, hardwood floors are actually gracing magnificent homes through the Deep South to elegant homes of queens & kings.
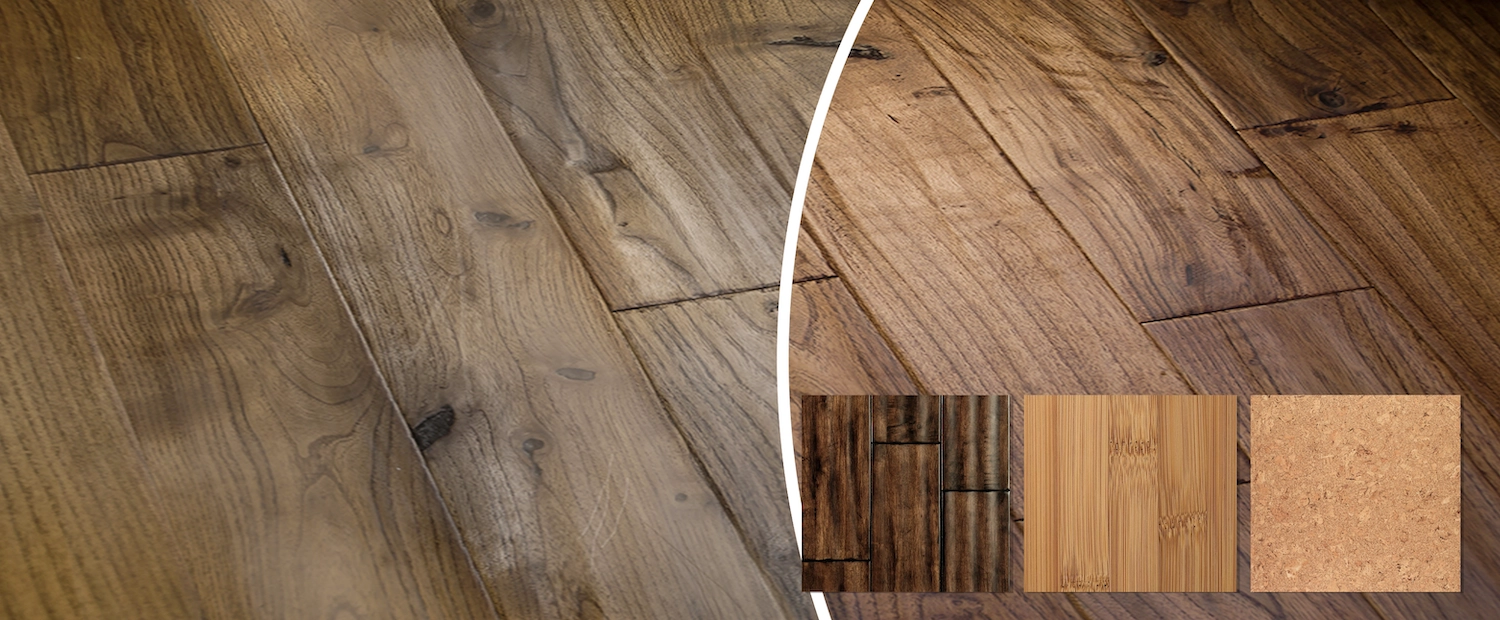
Here are Images about Finishing Hardwood Floors By Hand
Finishing Hardwood Floors By Hand

You will require some serious sledgehammer, crow bar, and then circular saw job if you at any time wish to replace that glued down hardwood floor. Knowing how to clean hardwood floors is actually crucial since the bane of hardwood is actually dirt and grit, that will scratch and mark the floor if not removed promptly. Hardwood is certainly a premium flooring choice for commercial use and for custom, upscale houses.
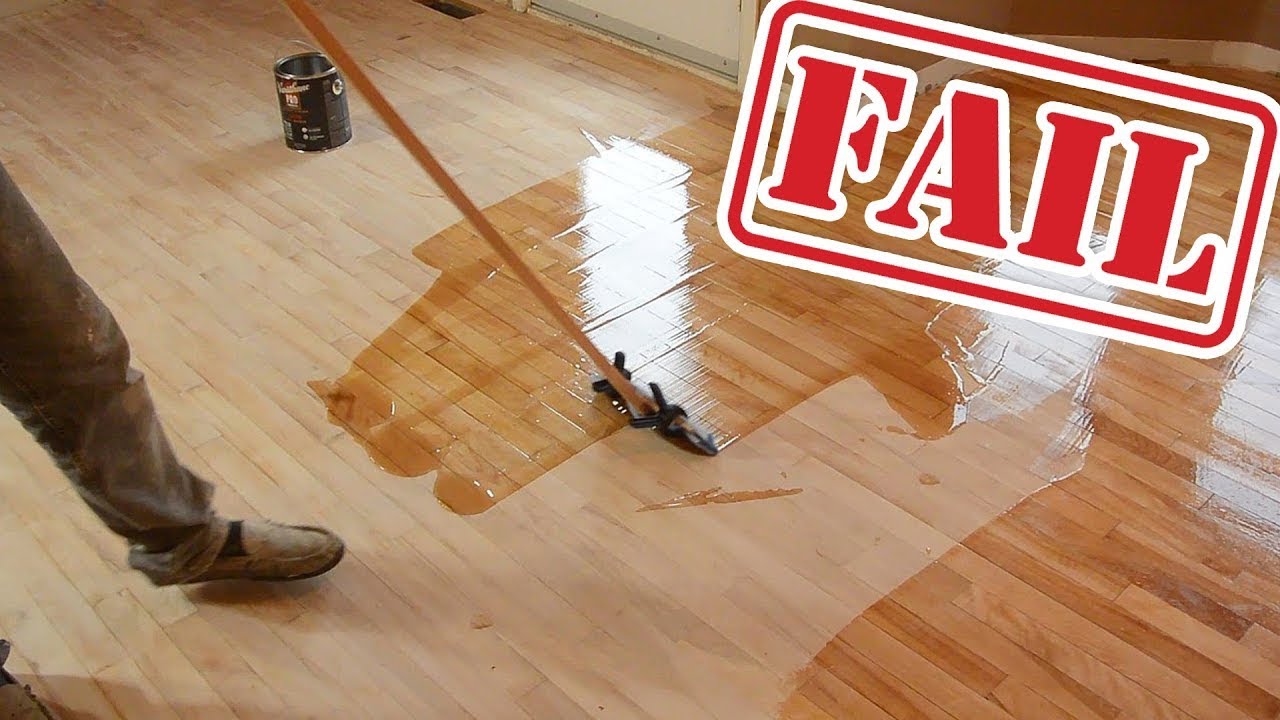
Wood Floor Refinishing FAILS! (YouTubers Called Out!)
Prior to getting into the useful suggestions on hardwood flooring, it's but appropriate to initially examine the reason why you will want to consider the flooring type in the earliest place. In the event you did a genuinely excellent job of installing your hardwood flooring working with the glue down method, you won't encounter almost as a lot of creaky floor syndrome as you'd with other methods of set up.
Images Related to Finishing Hardwood Floors By Hand
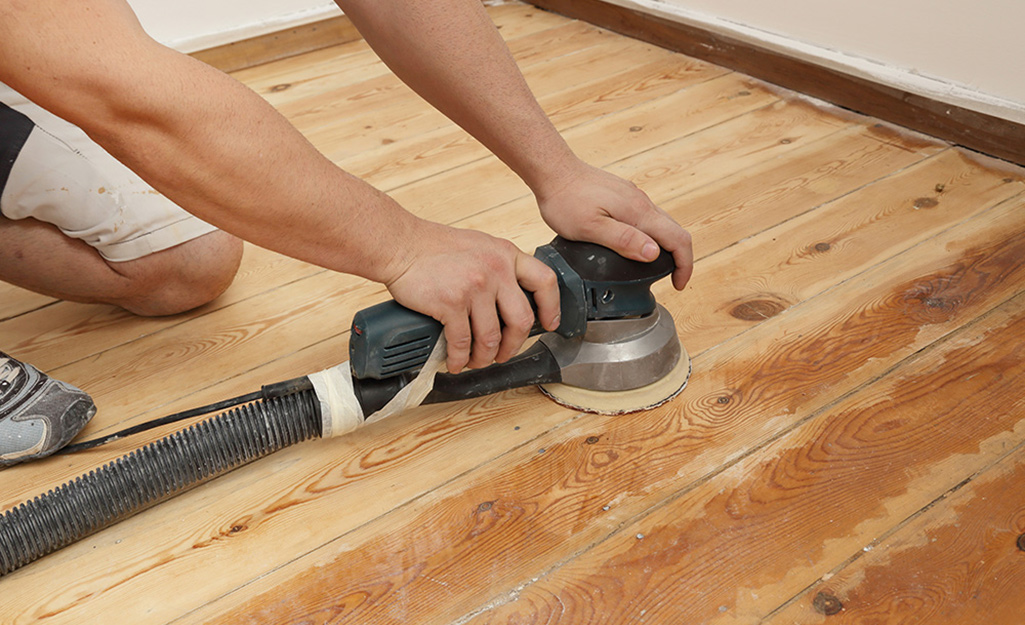
How to Sand and Save a Wood Floor
How To Refinish Hardwood Floors
How to Refinish Hardwood Floors the Easy Way – This Old House
/cdn.vox-cdn.com/uploads/chorus_asset/file/19494866/02_refinishing.jpg)
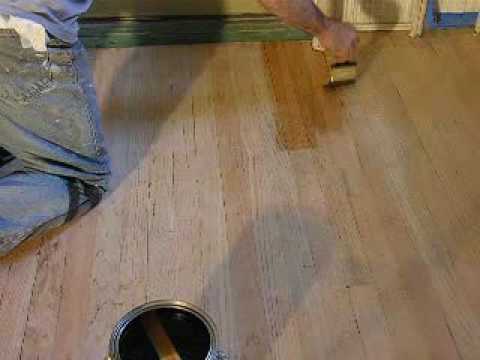
How to Stain Hardwood Floors by Hand

How To Refinish Hardwood Floors
Non-Sandable Floor Refinishing N-Hance
Sanding Hardwood Floors by Hand

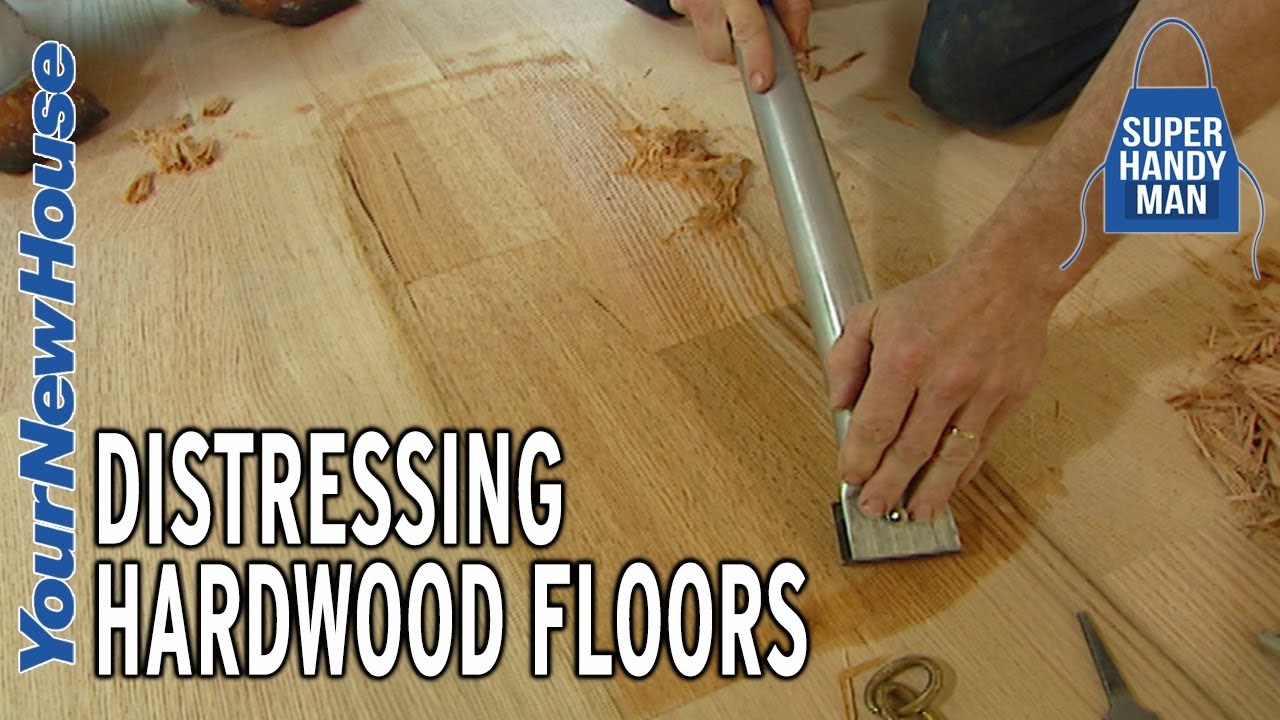
Distressing Hardwood Floors – DIY Hand Scraping
How to Sand a Floor by Hand – Winchester Wood Floors

How to Hand-Scrape Wood Floors

Sanding Hardwood Floors by Hand

How To Refinish Hardwood Floors – DIY Home Improvement HGTV
Related articles:
- Hardwood Floor Finish Brands
- Hand Scraped Hardwood Flooring
- Home Hardwood Floor
- Hardwood Floor Deep Cleaner
- Engineered Hardwood Floor
- Cherry Hardwood Flooring Reviews
- Hardwood Floor Cleaning And Refinishing
- Wide Plank Pine Hardwood Flooring
- Hardwood Flooring Designs Photos
- Hardwood Floor Selection Guide
Hardwood floors are timeless pieces of art that give any space a warm and inviting feel. But when it comes to finishing hardwood floors, many people don’t realize that there is an option for doing this by hand. Doing so can give you more control over the end result and help you create a look that is unique to your home. This article will provide an in-depth look into the process of finishing hardwood floors by hand and how you can achieve a beautiful and lasting finish.
What You Need for Hand-Finishing Hardwood Floors
The good news is that you don’t need too many supplies to finish hardwood floors by hand. The most important items you’ll need are:
– Sandpaper or an orbital sander
– Vacuum
– Tack cloth
– Natural bristle brush
– Finish of your choice
– Rags or steel wool
– Putty knife
– Painter’s tape
– Drop cloths
Steps to Take Before Applying Finish to Hardwood Floors
Before you begin applying finish to your hardwood floors, there are some steps you will need to take to ensure the success of your project.
1. Prepare the Floor: Start by removing any existing finishes from the floor with a sander or sandpaper. Be sure to vacuum up all dust before proceeding.
2. Clean the Floor: Use a tack cloth and natural bristle brush to remove any debris from the surface of the floor. If there are any scratches or gouges, use a putty knife and painter’s tape to fill them in.
3. Apply Primer: Apply a primer to the floor and let it dry completely according to the manufacturer’s instructions. This will help ensure a smooth finish when applying the finish of your choice.
4. Protect Against Spills: Before you begin applying finish, make sure you have drop cloths in place to protect against spills and stains.
How to Apply Finish By Hand to Hardwood Floors
Now that you have everything ready, it’s time to start applying finish to your hardwood floors by hand. Here are the steps you’ll need to take:
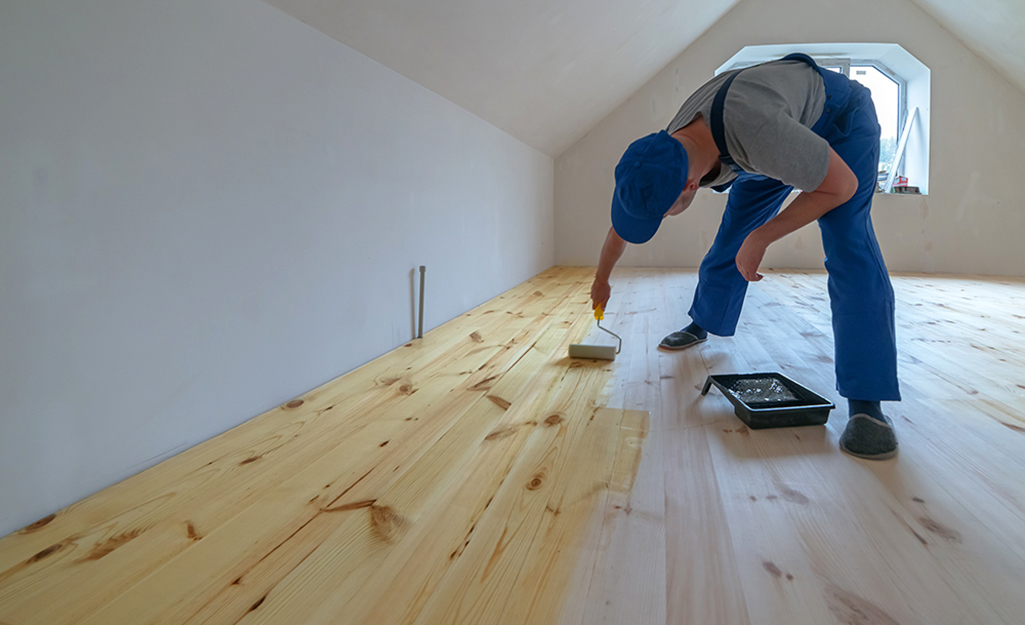
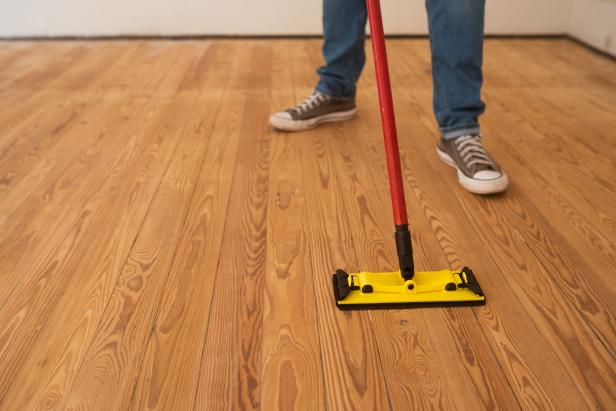
1. Pour a small amount of finish onto the floor and spread it out with a natural bristle brush following the grain of the wood.
2. Work in small sections, brushing in small circles and overlapping strokes until you have covered all areas of the floor with finish.
3. Allow the first coat of finish to dry completely before adding a second coat if necessary.
4. Once the second coat is dry, buff out any uneven spots with steel wool or a clean rag.
5. Let the finished floor dry for at least 24 hours before walking on it or placing furniture on it.
6. If desired, add additional coats of finish for added protection against wear and tear over time.
7. For added protection, consider adding a wax sealer coat after all coats of finish have been applied and allowed to dry properly.
8. When finished, enjoy your beautiful hand-finished hardwood floors!
FAQs About Hand-Finishing Hardwood Floors
Q: How long will it take me to hand-finish my hardwood floors?
A: It depends largely on the size of the area being finished as well as how experienced you are with this task, but it could take anywhere from 1 day up to several days depending on these factors.
Q: What type of finish should I use?
A: This will depend on your own personal preference as well as what type of look you want for your finished hardwood floors. Oil-based polyurethane finishes are typically more durable than water-based finishes, but water-based finishes tend to be easier to apply and clean up after application is complete. There are also other types of finishes available such as waxes and oils if desired.
Q: How do I maintain my hand-finished hardwood floors?
A: Once