Regular household cleaning and dusting products and solutions are going to cause you, however, and damage need to apply just products specially made for hardwood. One of the primary changes that most household owners do to their floors is to refinish them. Apart from being gorgeous and hardwearing, hardwood flooring surfaces are eco-friendly.
Here are Images about DIY Network Hardwood Floor Installation
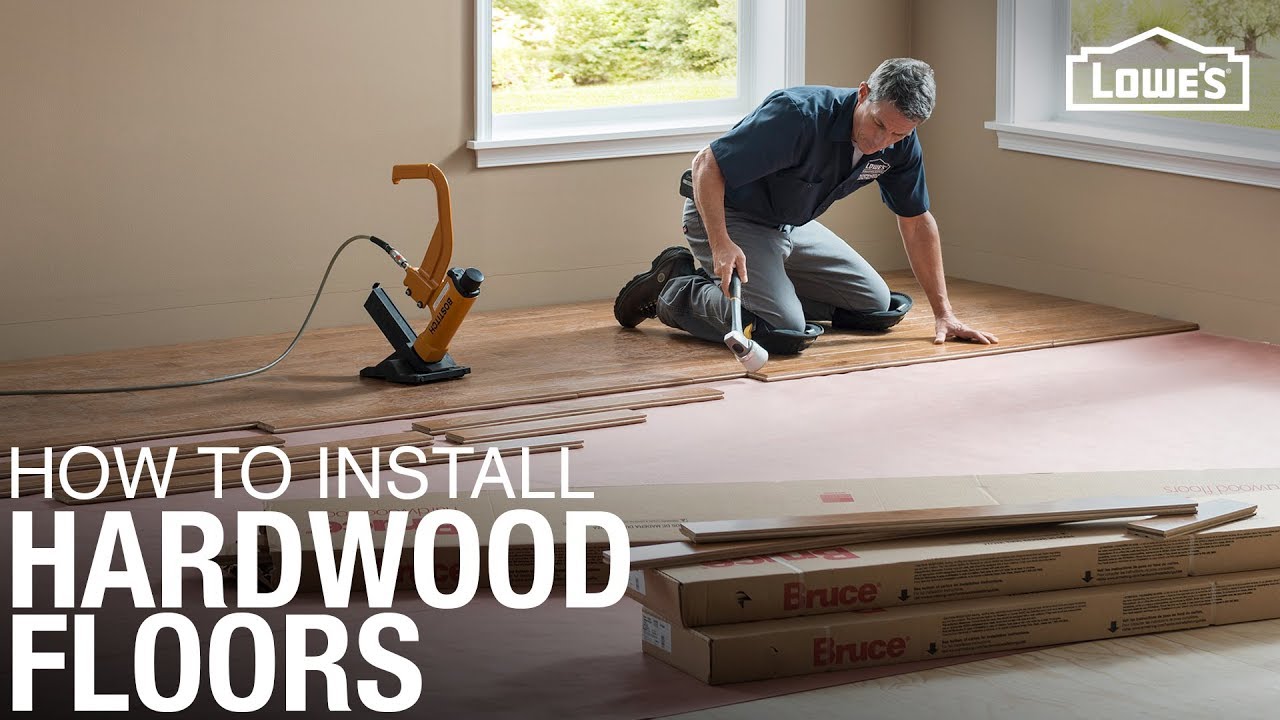
DIY Network Hardwood Floor Installation

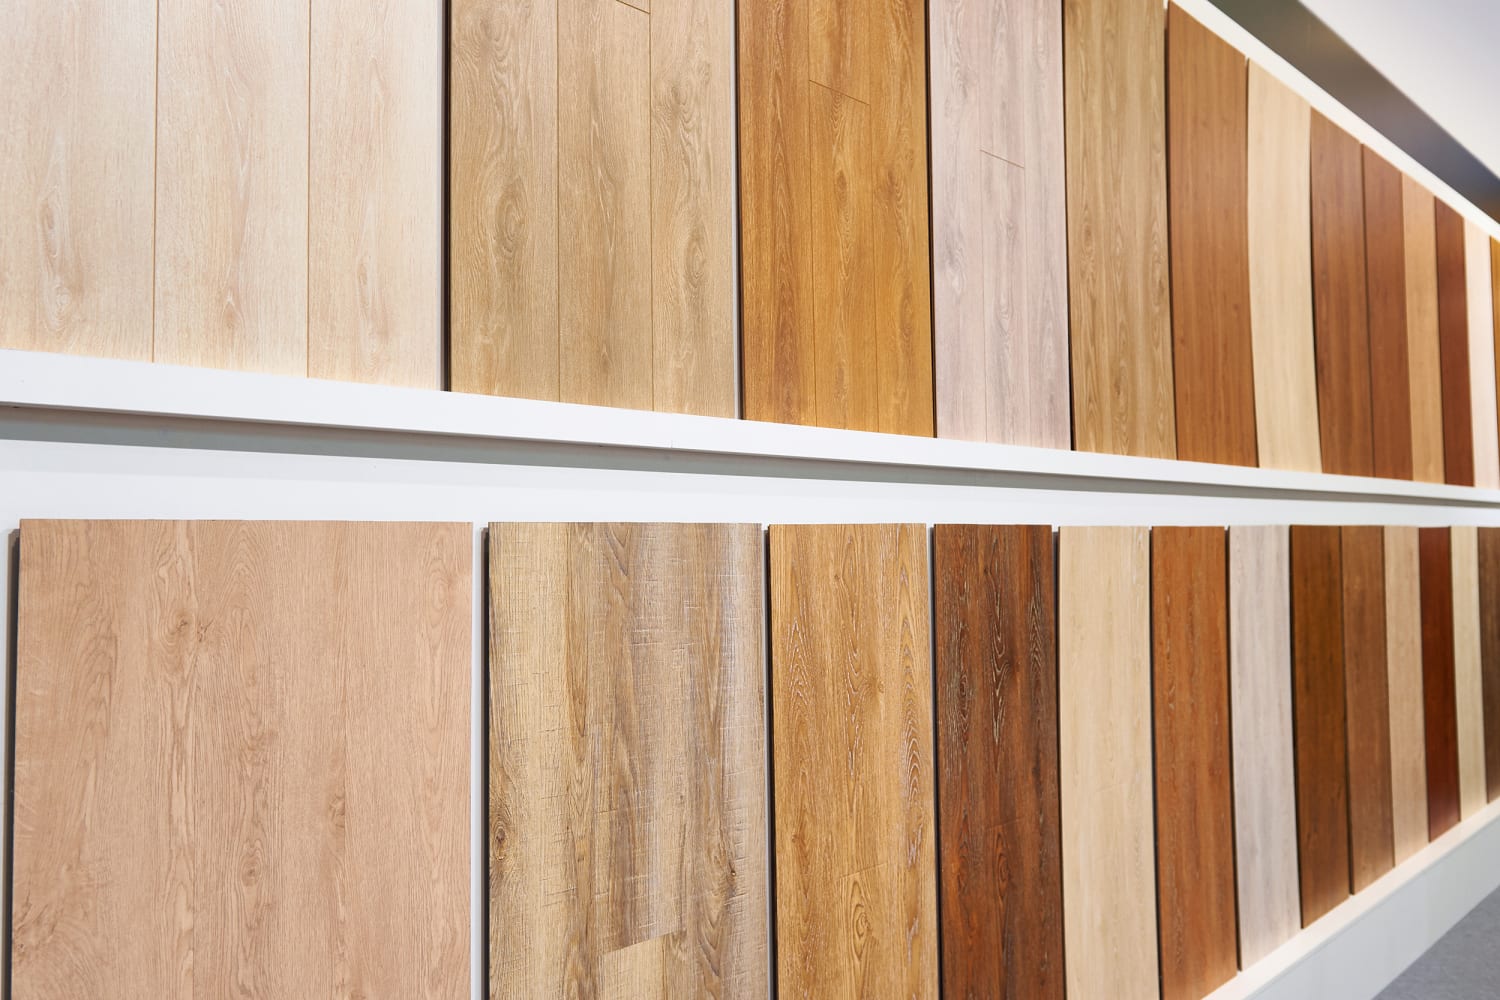
In case you're shopping for flooring on a supply and install basis you plan to ensure that the company warrants their installers work as well as the installers are competent. Often called wood laminate flooring, engineered wood floor surfaces are easily accessible in a variety of specifications, each meant to coincide with a particular space of the home.
Learn How to Install Hardwood Floors DIY Projects
Additionally, any nearby hardwood floor contractors will have professional wood flooring sales and service reps on duty that will help you design custom wood flooring! Right now there are literally hundreds of wood inlay kinds and patterns to choose from. Installing hardwood flooring is a huge financial commitment that pays off in a huge way in the end. And, the floating flooring is much easier to maintain.
Images Related to DIY Network Hardwood Floor Installation
DiY Networks Sweat Equity installed Simple Floors Heritage

Tips for DIY Hardwood Floors Installation – She Wears Many Hats

Bangs Thumb With Hammer* Diy flooring, Flooring, Diy home

Tips for DIY Hardwood Floors Installation – She Wears Many Hats

Tips for DIY flooring projects: Everything you need to know
How to Install a Mixed-Media Floor how-tos DIY

Catch The New DIY -Made In Milwaukee- Show, Featuring “Royal Wood

How to Install Bamboo Flooring DIY Network #Bambooflooringideas

How To Install Hardwood Flooring

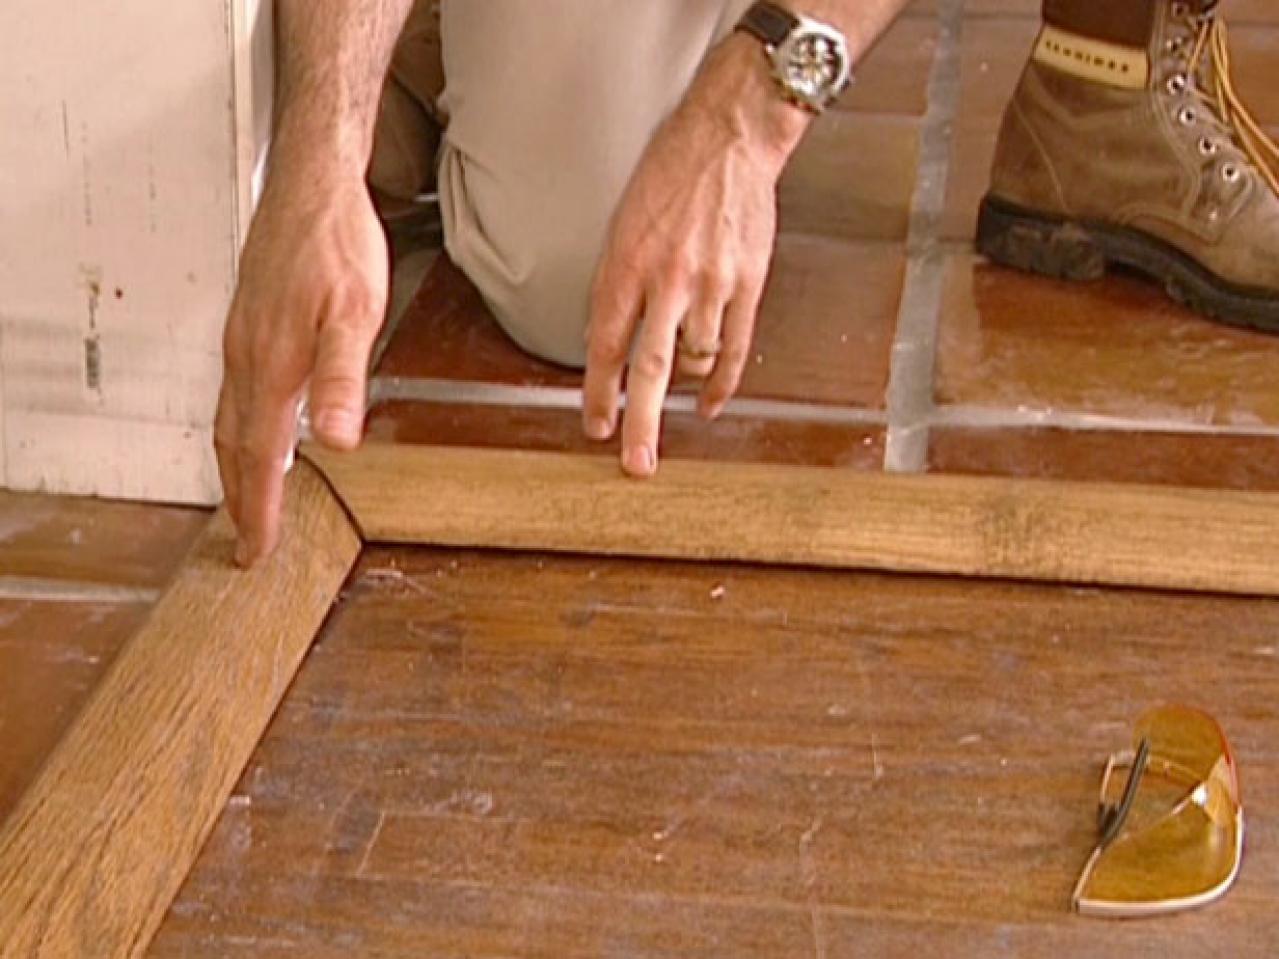
How to Install a Tile Floor Transition how-tos DIY
How To Install Hardwood Flooring
DIY Solid Hardwood Clip On Flooring u2013 Easiklip Floors

Related articles:
- Hardwood Floor Finish Brands
- Hand Scraped Hardwood Flooring
- Home Hardwood Floor
- Hardwood Floor Deep Cleaner
- Engineered Hardwood Floor
- Cherry Hardwood Flooring Reviews
- Hardwood Floor Cleaning And Refinishing
- Wide Plank Pine Hardwood Flooring
- Hardwood Flooring Designs Photos
- Hardwood Floor Selection Guide
Installing hardwood floors can be a complicated home renovation project, but with the right tools and techniques it can be a rewarding experience. This comprehensive guide will provide you with all the information you need to confidently install hardwood floors in your home!
What Tools Are Needed for DIY Network Hardwood Floor Installation?
Before you get started on the installation, it’s important to make sure you have all the necessary tools. Here’s a list of what you’ll need:
– Hammer
– Nails
– Tape measure
– Level
– Utility knife
– Wood glue
– Caulk
– Hardwood flooring planks
– Saw (for cutting planks to size)
– Wood filler (for filling any gaps)
– Mop and cleaning supplies (for prepping the floor)
What Are the Steps of DIY Network Hardwood Floor Installation?
1. Prepare Your Subfloor: The first step is to prepare your subfloor. Make sure that it is level, clean, and free of any debris. This is a crucial step, as any imperfections could lead to unevenness in your hardwood floor.
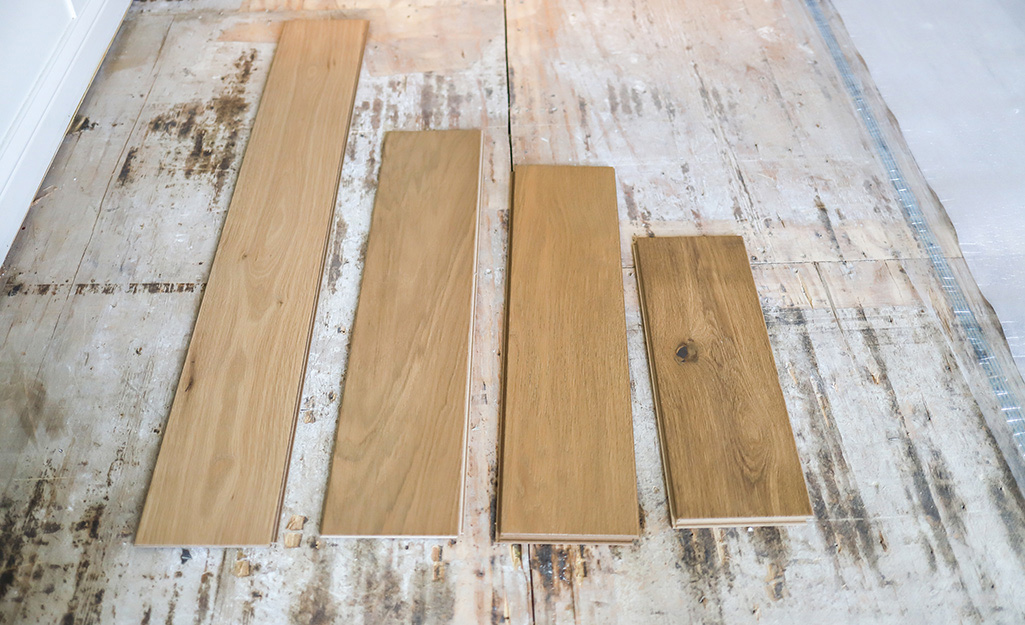
2. Measure and Cut Planks: Once your subfloor is ready, it’s time to start measuring and cutting your planks. Use a tape measure to accurately measure the length and width of each plank and then use a saw to cut them to size.
3. Lay Out Planks: Once all the planks are cut, lay them out on the subfloor in the pattern you want for your hardwood floor. As you do this, make sure to leave small gaps between each plank for expansion and contraction due to temperature changes.
4. Secure Planks: Once you have your planks laid out, it’s time to secure them to the subfloor. Use wood glue and nails to firmly attach each plank in place. Make sure to hammer the nails into the subfloor at an angle so they won’t come loose over time.
5. Fill Gaps: After securing all the planks in place, it’s time to fill any gaps between them with wood filler or caulk. This will ensure your hardwood floor looks its best once finished.
6. Finish: Finally, finish off your hardwood floor with a sealant or finish of your choice. This will help protect it from spills and everyday wear and tear.
What Are the Benefits of DIY Network Hardwood Floor Installation?
Installing hardwood floors yourself can have many benefits. Not only can it help you save money by avoiding professional installation fees, but it can also give you a sense of pride knowing that you completed this project on your own! Additionally, installing hardwood floors yourself can also help increase the value of your home if done correctly.
Conclusion
Installing hardwood floors may seem like a daunting task, but with this comprehensive guide you will have all the information needed to confidently take on this project yourself! By following these steps and using the right tools, you can create a beautiful hardwood floor that will last for years!