Consists of several levels of laminate material, vinyl wood flooring wood like look remains cost that is low, answering the demand for low-cost hardwood flooring covering information which is available in a wide variety of styles, finishes as well as simulated wood specie finishes at realistic, down-to-earth prices which are reasonable under any current spending budget restrictions. This is just where living green is necessary.
Images Related to Wood Floor Natural Finish
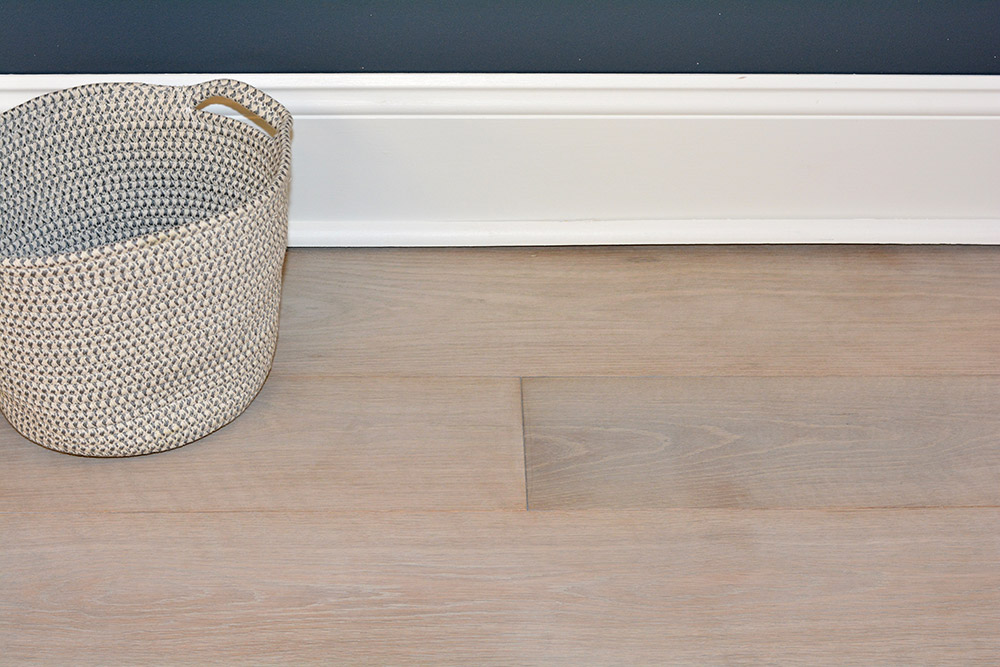
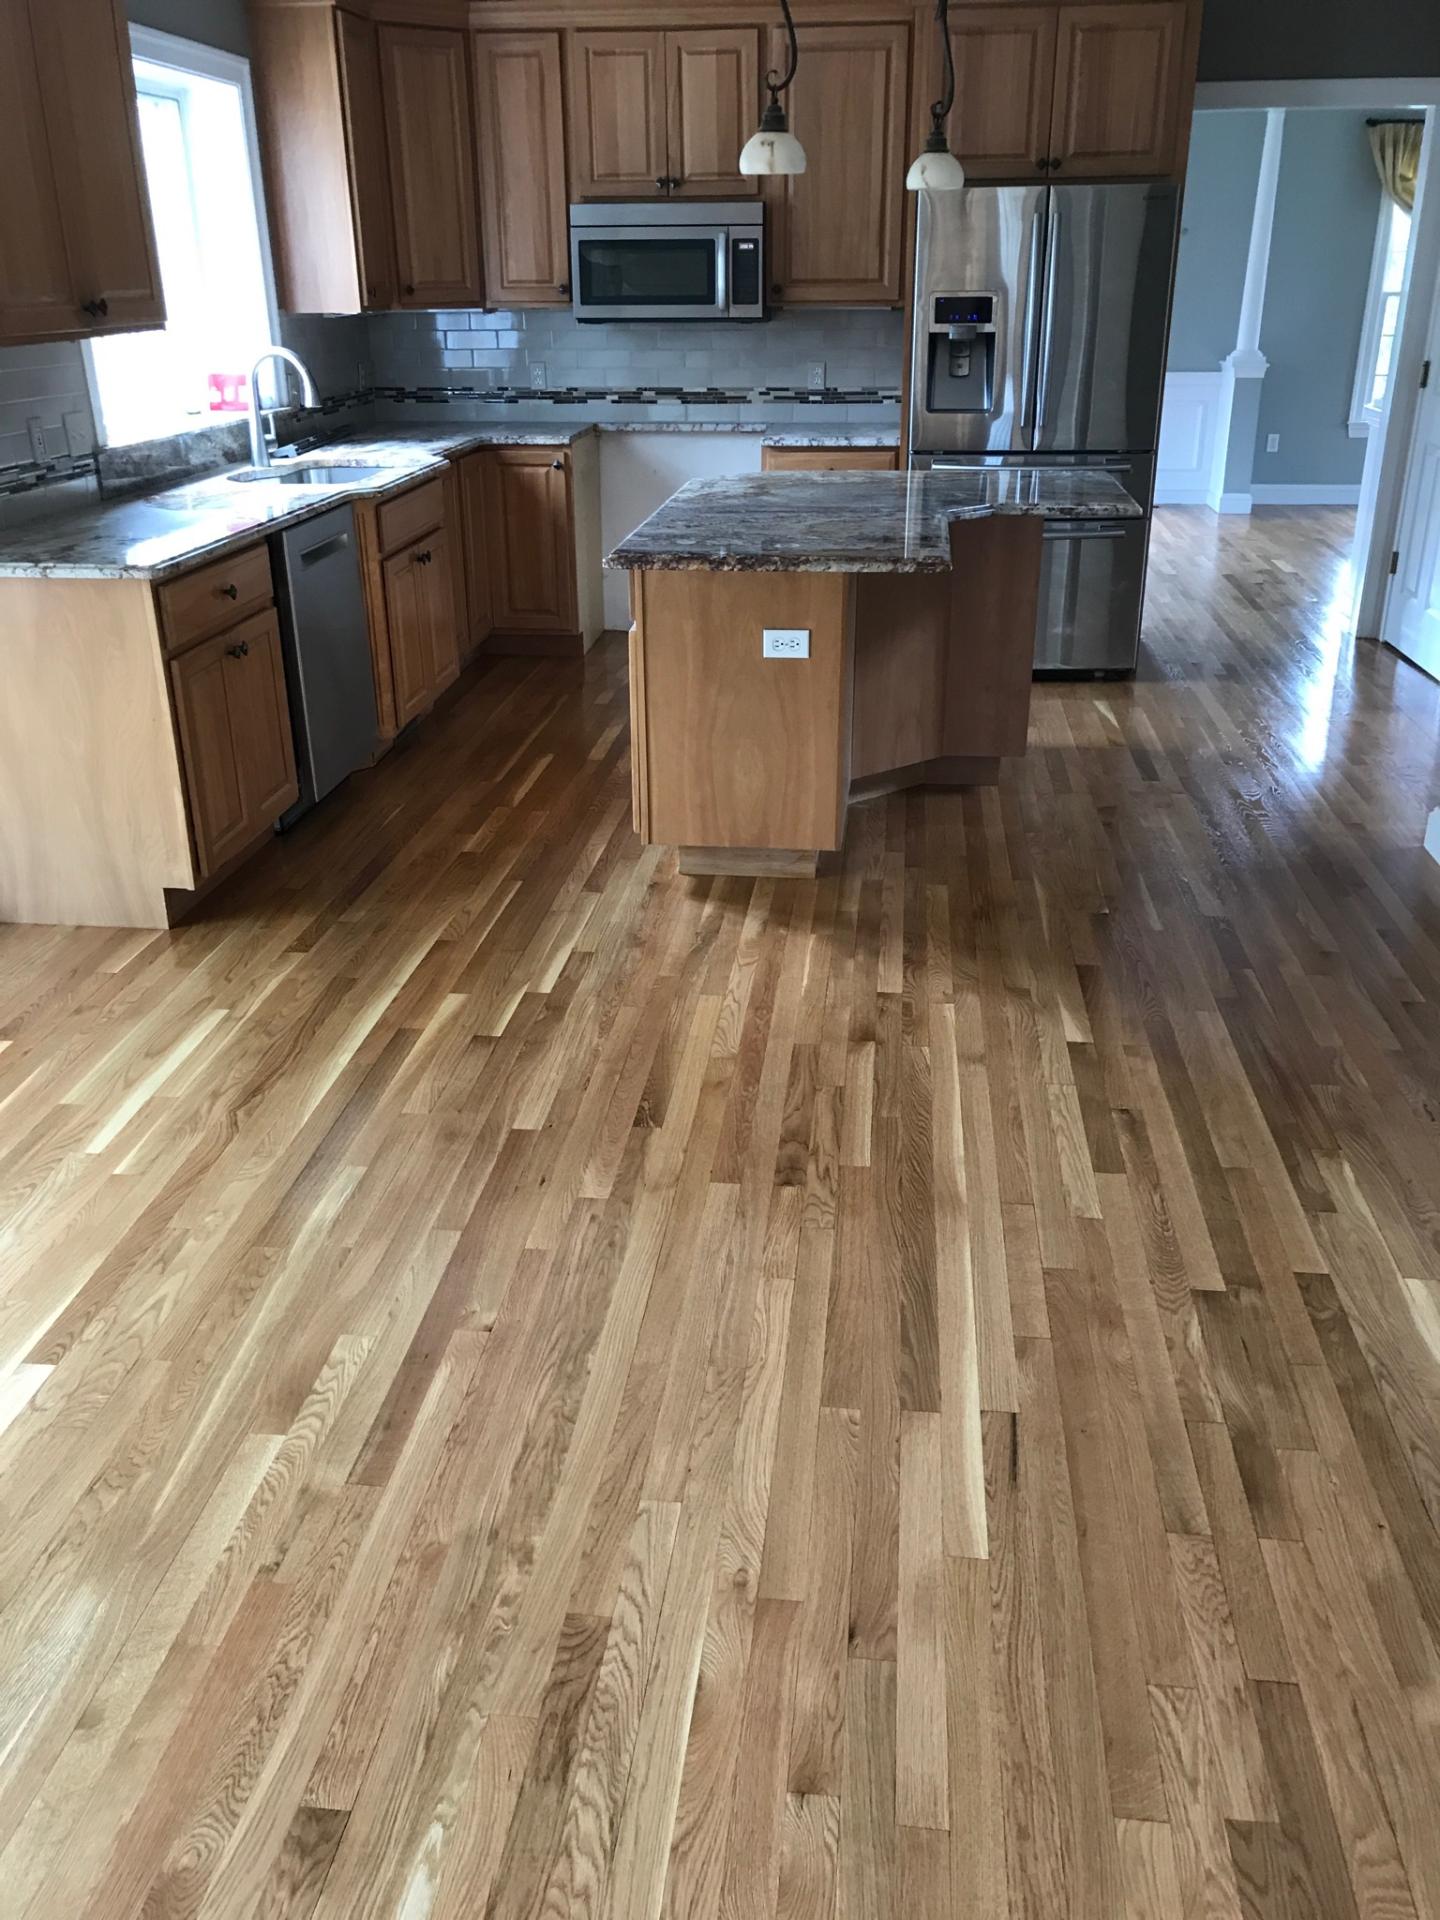
Wood Floor Natural Finish

Most prefinished hardwood floors truly can't be refinished easily. Moreover , be positive that the floor of yours isn't a wood effect vinyl, they have become extremely popular in recent years because of their seemingly low maintenance attributes, they are really simple to clean but the moment they are looking old and dull or scratched, unfortunately the sole option is replacing.
All About Natural Oil Finishes Bona US
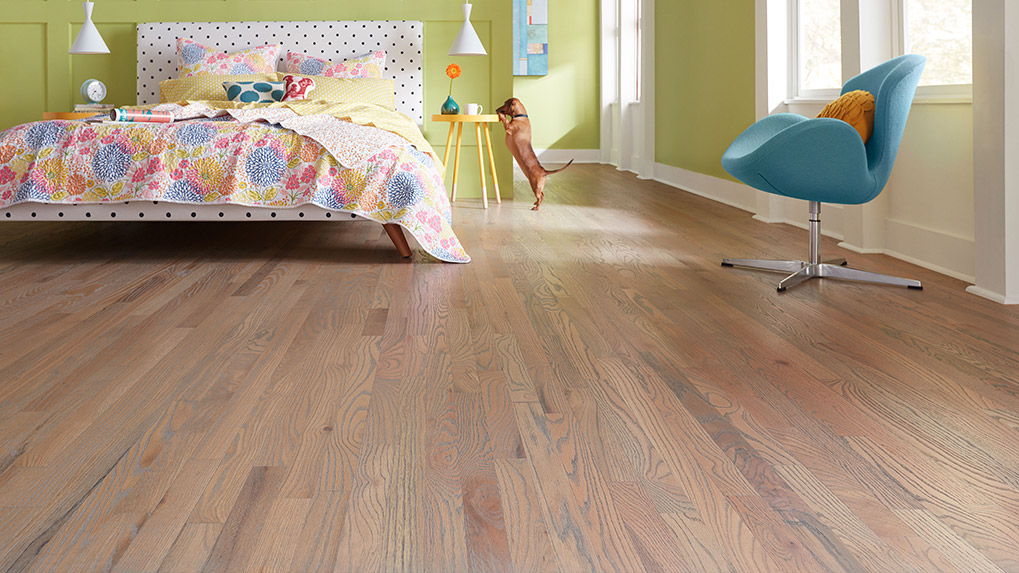
Lighter wood colors are perfect for formal living rooms and dining areas, while darker shades are great for kitchens and family rooms. From domestic to exotic hardwoods, the number of antique woods reclaimed from generations of long ago delivers limitless charm and beauty that has taken over 500 years to create. The colour of the wood you choose will rely on your interior plan as well as private preferences.
Natural Oil Finish vs UV Oil Finish for Your Hardwood Floors

Using a Natural Oil Finish on a Wide Plank Floor Wide Plank
European Oil / Natural Oil Wood Finish – Auten Wideplank Flooring

Natural White Oak Floors with Oil Based Finish Central Mass
natural water base red oak floors – Google Search Hardwood

White Oak W/ Natural Finish u0026 Matte Sheen – A-MAX Hardwood Flooring

White Oak W/ Natural Finish u0026 Matte Sheen – A-MAX Hardwood Flooring

Top 4 Hardwood Flooring Trends in 2016!

Hardwood Floor Refinishing Grand Rapids, MI

Hickory Hardwood Flooring with Natural Finish Wood floor kitchen

Is a Natural Oil Finish Right for Your Hardwood Floors
Mirage launches new texture with DuraMatt finish on White Oak

Related articles:
- Black Walnut Wood Flooring
- Wood Flooring Designs
- Wood Flooring Options For Kitchens
- Contemporary Wood Flooring Ideas
- Dark Wood Floor Bedroom Ideas
- Real Wood Flooring For Kitchens
- Natural Wood Floor Stain
- Oak Wood Flooring
- Birch Wood Flooring Reviews
- Wood Floor Damage Repair
Wood Floor Natural Finish: Enhancing the Beauty of Your Space
Introduction:
Wood floors have long been a popular choice for homeowners due to their timeless beauty and durability. One of the most appealing options for finishing wood floors is a natural finish. A natural finish allows the true character of the wood to shine through, enhancing its natural beauty and providing a warm and inviting atmosphere to any space. In this article, we will explore the benefits of choosing a wood floor natural finish, discuss the different types available, and provide answers to some frequently asked questions.
1. The Beauty of a Natural Finish:
A natural finish brings out the unique characteristics of each wood species, highlighting its grain patterns and color variations. Unlike stained finishes, which add color to the wood, a natural finish preserves the original appearance of the wood, showcasing its inherent beauty. Whether you have oak, maple, cherry, or any other type of hardwood flooring, a natural finish will allow its natural charm to take center stage.
FAQs:
Q: Will a natural finish make my wood floor look dull?
A: Not at all! A properly applied natural finish will enhance the luster and depth of your wood floor, giving it an elegant sheen while maintaining its natural look.
Q: How often do I need to refinish my wood floor if I choose a natural finish?
A: The frequency of refinishing depends on various factors such as foot traffic and maintenance routine. On average, you can expect to refinish your wood floor every 7-10 years.
2. Types of Natural Finishes:
When it comes to natural finishes for wood floors, there are several options available. Each type offers unique characteristics and benefits that cater to different preferences and requirements. Let’s take a closer look at some popular choices:
a) Oil-Based Finishes:
Oil-based finishes are known for their deep penetration into the wood fibers, providing excellent protection against wear and moisture. They enhance the natural beauty of the wood by giving it a warm, rich color and a subtle sheen. Oil-based finishes also offer easy maintenance, as they can be spot-repaired without requiring a full refinishing job.
b) Water-Based Finishes:
Water-based finishes have gained popularity due to their low VOC content and fast drying time. They provide excellent durability, resisting scratches and stains effectively. Water-based finishes offer a clear and natural look, preserving the original appearance of the wood while providing a protective layer. Additionally, they are available in different sheen levels, allowing you to choose the desired level of glossiness for your space.
c) Wax Finishes:
Wax finishes have been used for centuries to protect and enhance wood floors. They provide a soft, matte finish that adds warmth and depth to the wood. Wax finishes are easy to apply and maintain, making them an attractive option for those who prefer a more traditional look.
FAQs:
Q: Can I use an oil-based finish on my engineered wood floor?
A: It is generally recommended to use water-based finishes on engineered wood floors due to their stability and compatibility with this type of flooring.
Q: How long does it take for a water-based finish to cure?
A: Water-based finishes typically take around 7-10 days to fully cure. During this time, it is important to avoid heavy furniture placement or excessive foot traffic.
3. Preparation and Application:
Achieving a flawless natural finish requires proper preparation and application techniques. Here are some essential steps to follow:
a) Sanding The floor: Before applying the finish, it is crucial to sand the wood surface to remove any imperfections, scratches, or previous finishes. Start with a coarse-grit sandpaper and gradually move to finer grits for a smooth and even surface.
b) Cleaning the floor: After sanding, thoroughly clean the floor to remove any dust or debris. Use a vacuum cleaner or a damp cloth to ensure a clean surface for the finish.
c) Applying the finish: Follow the manufacturer’s instructions for your chosen natural finish. Use a brush, roller, or applicator pad to apply an even coat of finish in the direction of the wood grain. Avoid applying too much finish at once to prevent pooling or streaking. Allow the first coat to dry according to the recommended drying time.
d) Sanding between coats: For optimal results, lightly sand the first coat with a fine-grit sandpaper before applying subsequent coats. This will help smooth out any imperfections and promote adhesion between layers.
e) Applying additional coats: Depending on the desired level of sheen and protection, apply additional coats of finish following the same process as before. Allow each coat to dry completely before applying the next one.
f) Final buffing: Once all coats have dried, lightly buff the surface with a fine-grit sandpaper or a buffing pad to achieve a smooth and polished finish.
g) Maintenance: To maintain the natural beauty of your wood floor, regularly clean it using a soft broom or vacuum cleaner to remove dirt and debris. Avoid using harsh chemicals or abrasive cleaners that can damage the finish. Additionally, place mats at entryways to prevent dirt and moisture from being tracked onto the floor.
By following these steps and choosing the right natural finish for your wood floor, you can achieve a stunning and long-lasting result that enhances the beauty of your space. Overall, achieving a flawless natural finish on a wood floor requires proper preparation and application techniques. This includes sanding the floor to remove imperfections, cleaning the surface thoroughly, applying the finish in the direction of the wood grain, sanding between coats for optimal results, applying additional coats as needed, and final buffing for a smooth and polished finish. It is also important to regularly maintain the floor by cleaning it with a soft broom or vacuum cleaner and avoiding harsh chemicals or abrasive cleaners. By following these steps and choosing the right natural finish, you can achieve a stunning and long-lasting result for your wood floor. To summarize, here are the steps for achieving a flawless natural finish on a wood floor:
1. Sand the floor: Use coarse-grit sandpaper to remove imperfections, scratches, and previous finishes. Gradually move to finer grits for a smooth and even surface.
2. Clean the floor: After sanding, thoroughly clean the floor to remove dust and debris. Use a vacuum cleaner or damp cloth for a clean surface.
3. Apply the finish: Follow the manufacturer’s instructions for your chosen natural finish. Use a brush, roller, or applicator pad to apply an even coat in the direction of the wood grain. Avoid applying too much at once.
4. Sand between coats: Lightly sand the first coat with fine-grit sandpaper before applying subsequent coats for smoothness and adhesion.
5. Apply additional coats: Depending on desired sheen and protection, apply more coats following the same process as before. Allow each coat to dry completely before applying the next one.
6. Final buffing: Once all coats have dried, lightly buff the surface with fine-grit sandpaper or a buffing pad for a smooth and polished finish.
7. Maintenance: Regularly clean the floor using a soft broom or vacuum cleaner. Avoid harsh chemicals or abrasive cleaners. Use mats at entryways to prevent dirt and moisture from damaging the finish.
By following these steps and maintaining your wood floor properly, you can achieve a stunning and long-lasting natural finish that enhances the beauty of your space.