If you're now uncertain then any experienced wood flooring contractor should have the ability to assist you. This particular wood has character from plentiful natural traits. They're also a popular choice as they never require sanding unlike other types of wood floors. This type of hard wood flooring is manufactured by bonding a couple of tiers of wood under high pressure.
Images Related to Do It Yourself Wood Floor Refinishing
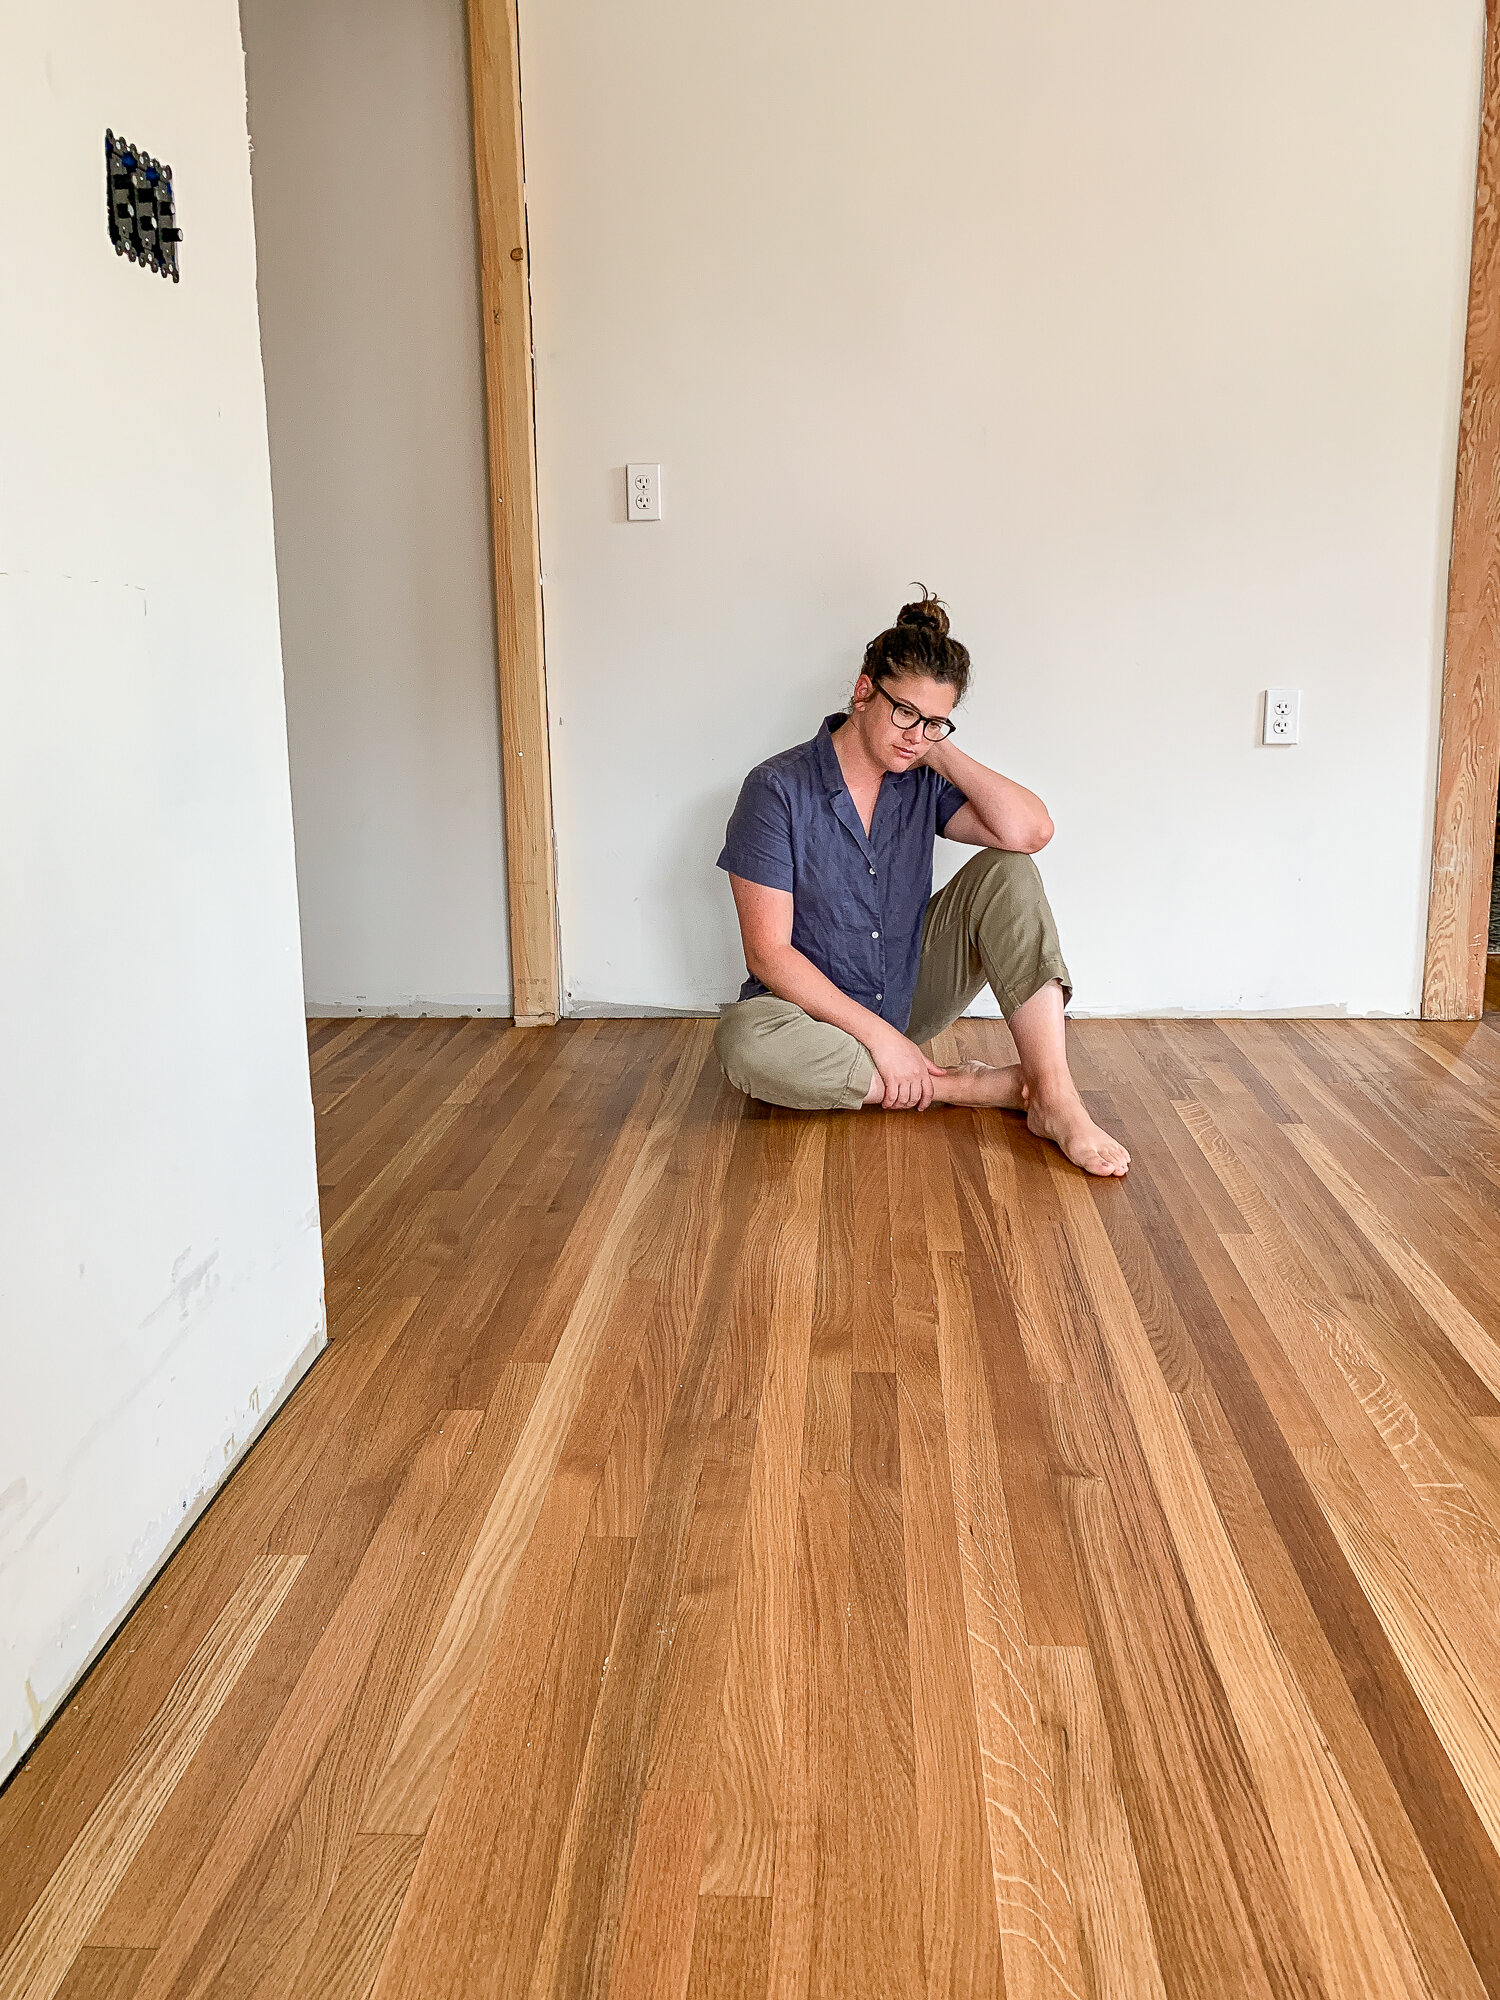
Do It Yourself Wood Floor Refinishing
/cdn.vox-cdn.com/uploads/chorus_image/image/65891819/00_refinishing_xl.0.jpg)
Hiring a pro to do the job will leave you with the perfect finish and may even end up saving you cash, after all it would be a good deal more expensive to try the job yourself, hire the machines, buy the sand paper as well as finishing components, only to in that case have to retain the services of in the professionals to redo the work afterward as you're unsatisfied with the finish.
How To Refinish Hardwood Floors
Solid wood flooring will last over 100 years, and the finish may be quickly renewed if needed. Reclaimed wood floors, produced without cutting forests, are a specialized niche market and are usually produced by small companies for instance the digital camera pictured in the slides. Check with people that have had the wood flooring of theirs fitted. The internet is additionally a really good source of info for wood flooring.
Frugal DIY Hardwood Floor Refinishing for Beginners – Pretty Passive

How To Refinish Hardwood Floors – DIY Home Improvement HGTV
How To Refinish Hardwood Floors – DIY Home Improvement HGTV

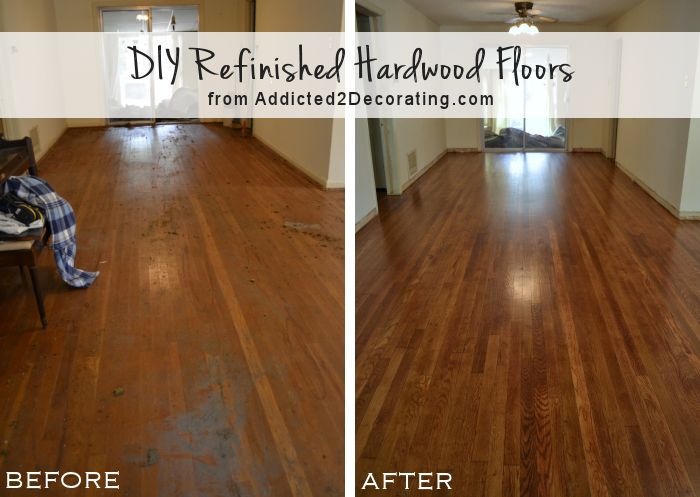
My DIY Refinished Hardwood Floors Are Finished! – Addicted 2
Refinish Hardwood Floors – Should You DIY? BuildDirectLearning

Refinishing Hardwood Floors DIY Wood Floor Refinishing Tips
We Hit A Snag And Had to Refinish Our Floors Twice – DIY Fail
How To Refinish Hardwood Floors – DIY Home Improvement HGTV
DIY: Hardwood Floor Refinishing – LIVING A DESIGNED LIFE

DIY Ideas: Tips For Refinishing Wood Floors HuffPost Life
24 DIY refinishing hardwood floors ideas refinishing hardwood

How to Refinish Hardwood Floors

Related articles:
- Black Walnut Wood Flooring
- Wood Flooring Designs
- Wood Flooring Options For Kitchens
- Contemporary Wood Flooring Ideas
- Dark Wood Floor Bedroom Ideas
- Real Wood Flooring For Kitchens
- Natural Wood Floor Stain
- Oak Wood Flooring
- Birch Wood Flooring Reviews
- Wood Floor Damage Repair
Do It Yourself Wood Floor Refinishing: A Complete Guide to Transforming Your Floors
Wood floors are a timeless and elegant addition to any home, but over time, wear and tear can cause them to lose their luster. Refinishing your wood floors is a great way to breathe new life into your space and restore the beauty of your flooring. While hiring a professional to refinish your floors can be costly, doing it yourself can save you money and allow you to take pride in the transformation of your home. In this comprehensive guide, we will walk you through the steps of DIY wood floor refinishing, from preparation to finishing touches.
Preparation: The Key to a Successful Refinishing Project
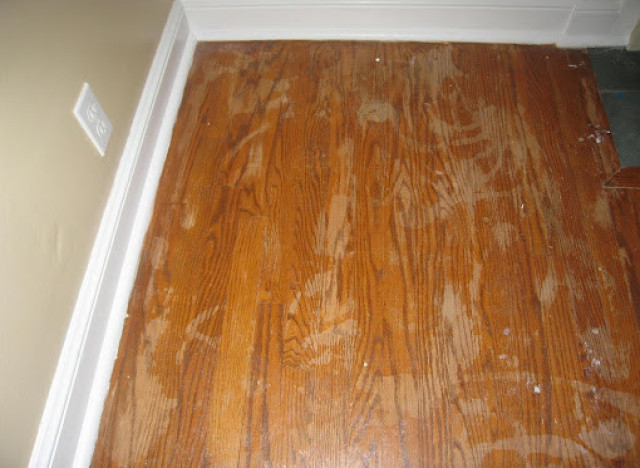
Before you begin the refinishing process, it is essential to thoroughly prepare your floors. Start by removing all furniture from the room and thoroughly clean the floors with a wood floor cleaner to remove any dirt, dust, and grime. Next, inspect the floors for any damage, such as deep scratches or gouges, and make any necessary repairs before proceeding with the refinishing process.
FAQs:
Q: Do I need to sand my wood floors before refinishing?
A: Yes, sanding is an essential part of the refinishing process as it removes the existing finish and evens out the surface of the wood. This step is crucial for achieving a smooth and uniform finish.
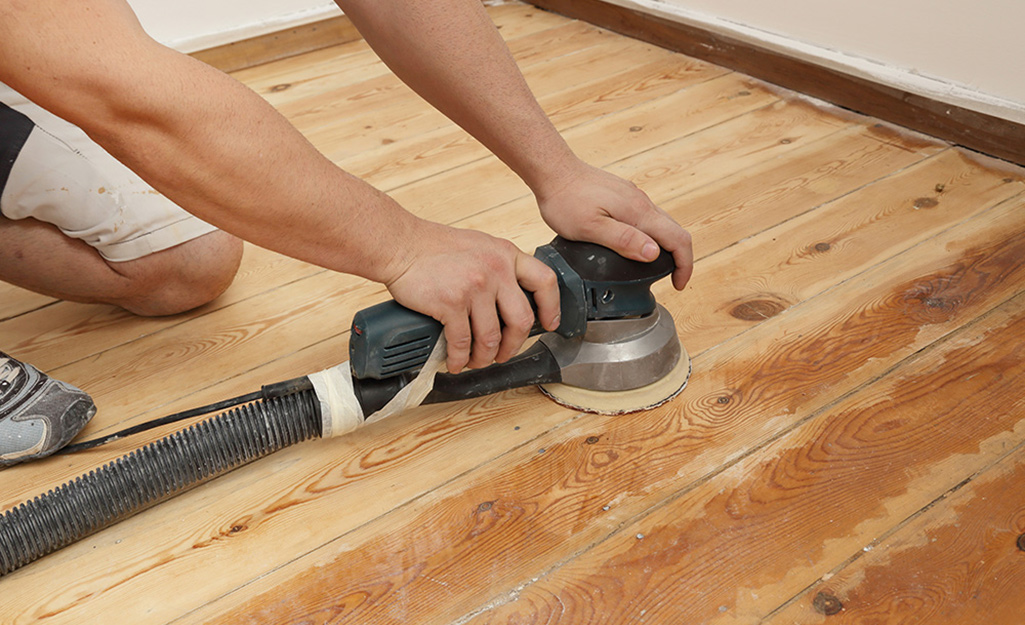
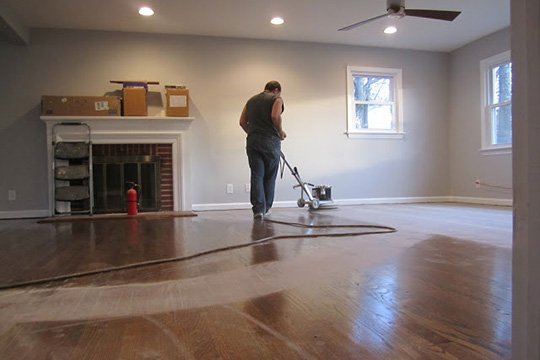
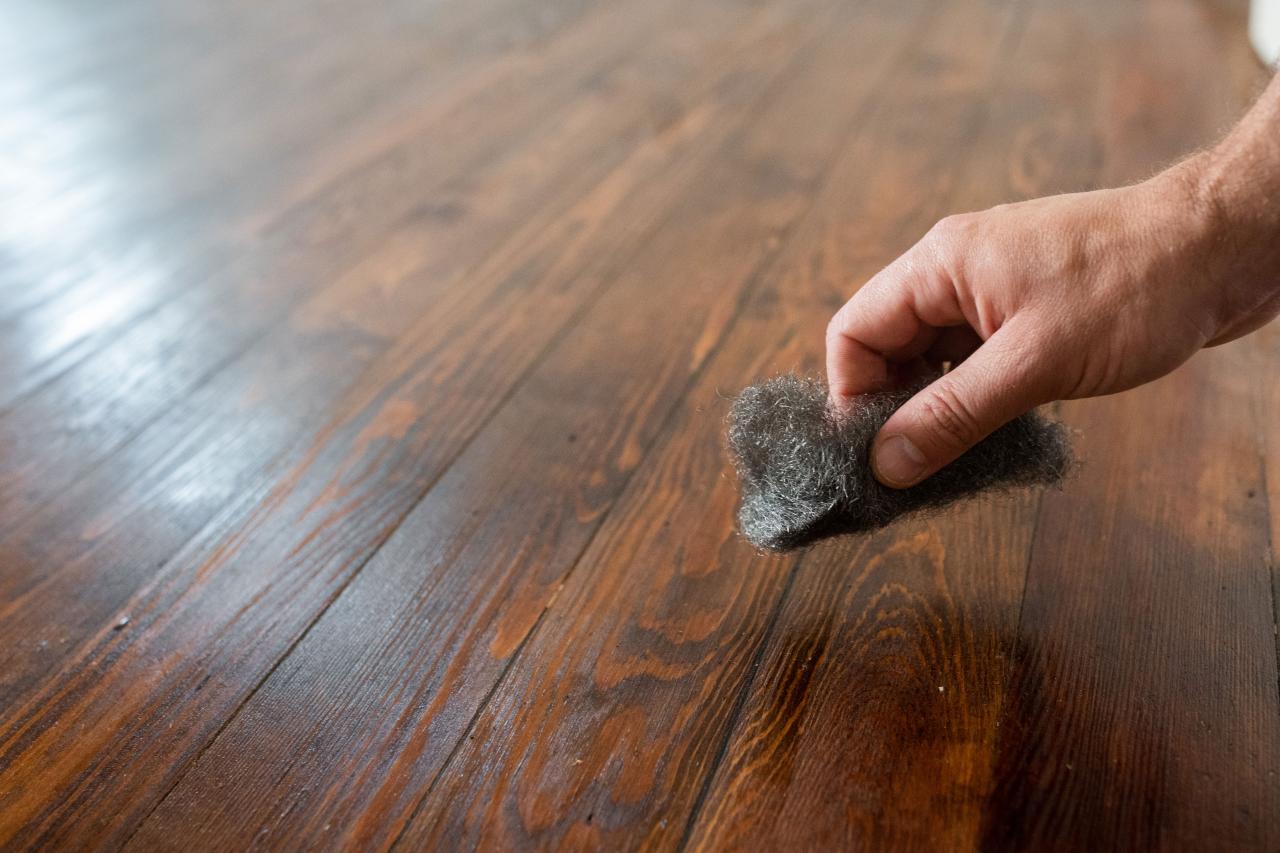
Sanding: Achieving a Smooth Surface
Once your floors are clean and free of any damage, it is time to start sanding. Begin by using a drum sander with coarse sandpaper to remove the existing finish and level out any uneven areas on the floor. Work in small sections, moving in a back-and-forth motion with the grain of the wood. Once you have sanded the entire floor with the coarse sandpaper, switch to a finer grit sandpaper and repeat the process to achieve a smooth surface.
FAQs:
Q: How do I know when I have sanded enough?
A: You will know you have sanded enough when the entire floor has a consistent appearance and feels smooth to the touch. Be sure to inspect the floor carefully for any remaining imperfections before moving on to staining.
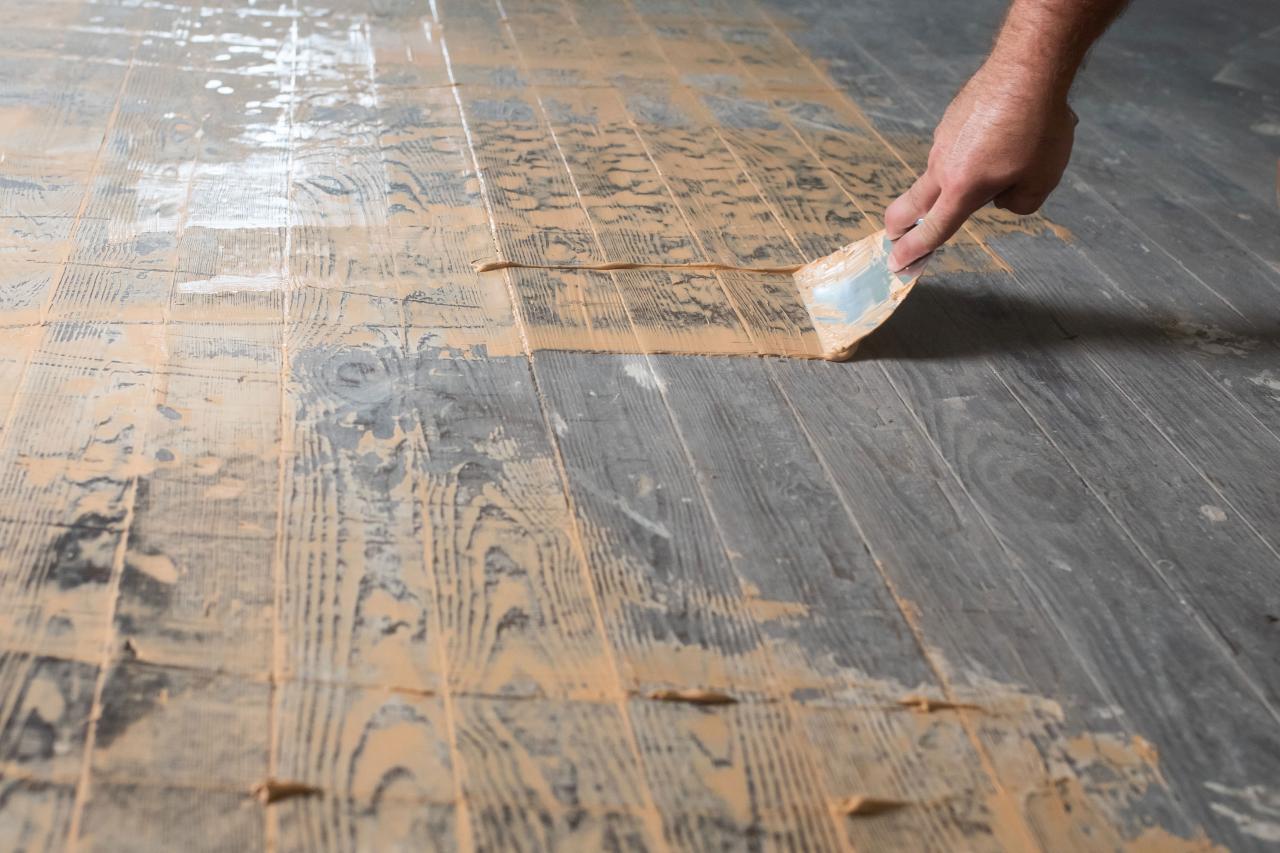
Staining: Adding Color and Depth
After sanding is complete, you have the option to stain your wood floors to add color and depth. Choose a stain that complements your home’s decor and apply it evenly with a brush or rag, working in small sections. Allow the stain to dry according to the manufacturer’s instructions before applying additional coats if desired. Once you have achieved your desired color, allow the stain to dry completely before applying a protective finish.
FAQs:
Q: How many coats of stain should I apply?
A: The number of coats of stain you apply will depend on the depth of color you want to achieve. Typically, one or two coats of stain are sufficient, but you can apply additional coats for a darker hue.
Finishing: Protecting Your Newly Refinished Floors
The final step in DIY wood floor refinishing is applying a protective finish to seal and protect your floors from everyday wear and tear. Choose a high-quality polyurethane finish in either oil-based or water-based depending on your preference. Apply the finish evenly with a brush or roller, working in small sections and following the grain of the wood. Allow each coat to dry completely before applying additional coats as needed for added durability.
FAQs:
Q: How long should I wait Before walking on my newly refinished floors?
A: It is recommended to wait at least 24-48 hours before walking on your newly refinished floors to allow the finish to fully cure and harden. Be sure to follow the manufacturer’s instructions for drying times and avoid moving furniture back into the room until the finish is completely dry.
In conclusion, refinishing your wood floors can be a rewarding DIY project that can breathe new life into your home. By following these steps and tips, you can achieve a professional-looking finish that will enhance the beauty and value of your space. Remember to take your time, pay attention to detail, and follow the manufacturer’s instructions for best results. With proper care and maintenance, your newly refinished wood floors can last for years to come. Remember to wear protective gear such as a mask and goggles while sanding and staining your wood floors to protect yourself from harmful fumes and dust. Additionally, be sure to properly ventilate the room during the refinishing process to prevent the buildup of fumes.
If you encounter any stubborn stains or imperfections that cannot be removed through sanding, consider using a wood filler to fill in gaps or cracks before applying stain. This will help create a smooth and uniform surface for the stain to adhere to.
Regular maintenance of your newly refinished wood floors is essential to ensure they remain in top condition. Sweep or vacuum regularly to remove dirt and debris, and clean up spills promptly to prevent damage. Avoid using harsh chemicals or abrasive cleaners that can strip away the protective finish.
By following these tips and guidelines, you can successfully refinish your wood floors and enjoy a beautiful, durable surface for years to come. If you have any specific questions or concerns about the refinishing process, don’t hesitate to consult with a professional for guidance.