Solid wood flooring is going to last over 100 years, as well as the finish can be easily renewed if needed. Reclaimed wood floors, produced without cutting trees, are a niche market and are generally manufactured by small businesses such as the digital camera pictured inside the slides. Check with folks that have had their wood flooring fitted. The internet is additionally an incredibly good source of info for wood flooring.
Images Related to Wood Floor Installation Tips
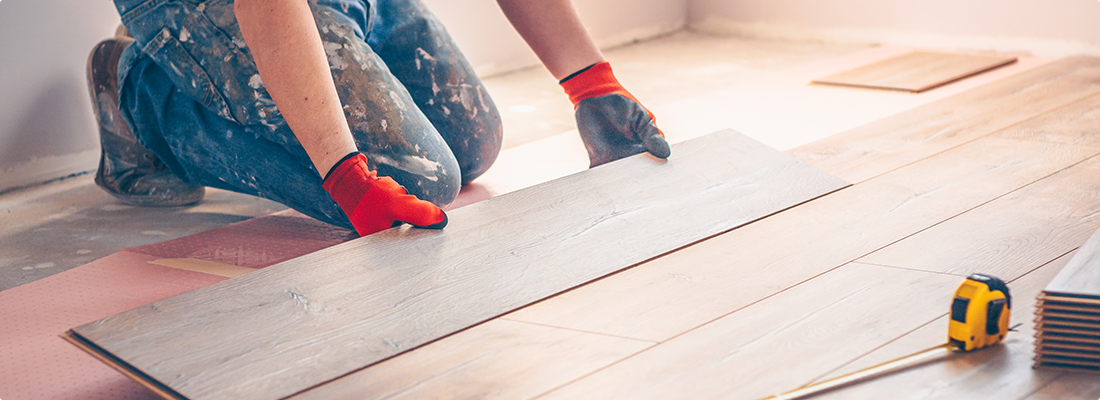
Wood Floor Installation Tips
Hardwood floors are not hard adequate to sweep or dust and also mopping, although it demands cleaning solutions manufactured for hardwood floors. Also you do not have to deal with that micro bevel groove in between each board that is likely to fill up with crumbs as well as dust. Wood floors have the proper, beautiful and warm look that's perfect for all forms of rooms. Which includes modifications in surface moisture, humidity, and subfloor moisture.
How to Install Hardwood Floors Better Homes u0026 Gardens

Most hardwoods darken as well as become bolder over period, but some woods like Santos Mahogany essentially achieve lighter from sunlight. The elegance, natural beauty and versatility of wood flooring renders it one of the most popular selections for present day home owners and with great reason! Along with the aesthetic trends, wood flooring decreases other, dust, and allergens debris associated with carpeting without the "cold" sense of tile.
Engineered Hardwood Flooring Installation: Tips and Common

How to install wood flooring u2013 DIY Kährs US
How to measure a room for installing a hardwood floor

Pro Tips and Tricks for Installing Laminate Flooring Family Handyman
How to Install Hardwood Floors – This Old House
/cdn.vox-cdn.com/uploads/chorus_image/image/67012168/Entry_1118-IdeaHouse_18-011.0.0.jpg)
Top ten tips for Installing Wood Flooring – The Wood Floori

Tips for Installing an Engineered Hardwood Floor

Tips for DIY flooring projects: Everything you need to know
Tips for DIY Hardwood Floors Installation – She Wears Many Hats

How to Install Hardwood Flooring DIY Wood Flooring Bruce
Laminate Floor Installation for Beginners 9 Clever Tips

Engineered Wood Flooring Installation Instructions – Wood and

Related articles:
- Black Walnut Wood Flooring
- Wood Flooring Designs
- Wood Flooring Options For Kitchens
- Contemporary Wood Flooring Ideas
- Dark Wood Floor Bedroom Ideas
- Real Wood Flooring For Kitchens
- Natural Wood Floor Stain
- Oak Wood Flooring
- Birch Wood Flooring Reviews
- Wood Floor Damage Repair
Wood Floor Installation Tips
Wood floors add warmth, beauty, and elegance to any space. Whether you are renovating your home or building a new one, proper installation of wood flooring is crucial to ensure its longevity and enhance its aesthetic appeal. In this article, we will provide you with a comprehensive guide on wood floor installation tips, covering everything from preparation to finishing touches. So let’s dive in and explore the world of wood floor installation!
1. Preparing for Installation
Before you start installing your wood floors, it is essential to prepare the subfloor properly. The subfloor should be clean, dry, level, and free from any debris. Remove any existing flooring materials such as carpet, vinyl, or tile. Repair any cracks or imperfections in the subfloor to ensure a smooth surface for the wood flooring.
FAQs:
Q: Can I install wood flooring over a concrete subfloor?
A: Yes, it is possible to install wood flooring over a concrete subfloor. However, it requires additional steps such as moisture testing, laying down a vapor barrier, and using an adhesive specifically designed for this purpose.
Q: How do I know if my subfloor is level?
A: You can use a long level or straight edge to check the levelness of the subfloor. Place it across different areas of the floor and look for any gaps or unevenness. If you notice any significant variations, you may need to level the subfloor using self-leveling compounds.
2. Acclimating the Wood Flooring
Wood is a natural material that expands and contracts with changes in humidity and temperature. To avoid issues such as warping or buckling after installation, it is crucial to acclimate your wood flooring before installing it. Acclimation allows the wood to adjust to the conditions of its environment.
To acclimate your wood flooring:
1. Remove the packaging and stack the boards in the room where they will be installed.
2. Leave the wood flooring in the room for at least 48 hours before installation.
3. Maintain a consistent temperature and humidity level during acclimation.
FAQs:
Q: How long should I acclimate my wood flooring?
A: The recommended acclimation period is typically 48-72 hours. However, it may vary depending on factors such as the type of wood, the manufacturer’s guidelines, and the local climate conditions.
Q: What is the ideal temperature and humidity level for acclimating wood flooring?
A: The ideal temperature for acclimation is usually between 60-80°F (15-27°C), and the humidity level should be within 35-55%. These conditions mimic normal living conditions and allow the wood to adjust accordingly.
3. Installing the Underlayment
An underlayment is a thin layer of material installed between the subfloor and the wood flooring. It provides various benefits, including sound insulation, moisture protection, and cushioning. There are different types of underlayment available, such as foam, cork, or felt.
To install the underlayment:
1. Roll out the underlayment parallel to the direction you plan to lay your wood flooring.
2. Trim any excess material using a utility knife.
3. Secure the underlayment to the subfloor using staples or adhesive, following the manufacturer’s instructions.
FAQs:
Q: Do I always need to install an underlayment?
A: While an underlayment is not always necessary, it offers several advantages Such as sound reduction, moisture protection, and added cushioning. It can also help to smooth out minor imperfections in the subfloor. However, the need for an underlayment will depend on factors such as the type of wood flooring being installed and the condition of the subfloor. It is best to consult with a flooring professional or follow the manufacturer’s guidelines for your specific flooring product. Q: Can I reuse underlayment from a previous flooring installation?
A: It is generally not recommended to reuse underlayment from a previous flooring installation. Underlayment materials can deteriorate over time and may not provide the same level of protection and support as new underlayment. It is best to use new underlayment for optimal performance and longevity of your wood flooring.
Q: How do I know which type of underlayment to choose?
A: The type of underlayment you choose will depend on factors such as the type of wood flooring you are installing, the condition of the subfloor, and any specific requirements or recommendations from the manufacturer. It is best to consult with a flooring professional or follow the manufacturer’s guidelines for your specific wood flooring product to determine the appropriate type of underlayment to use.
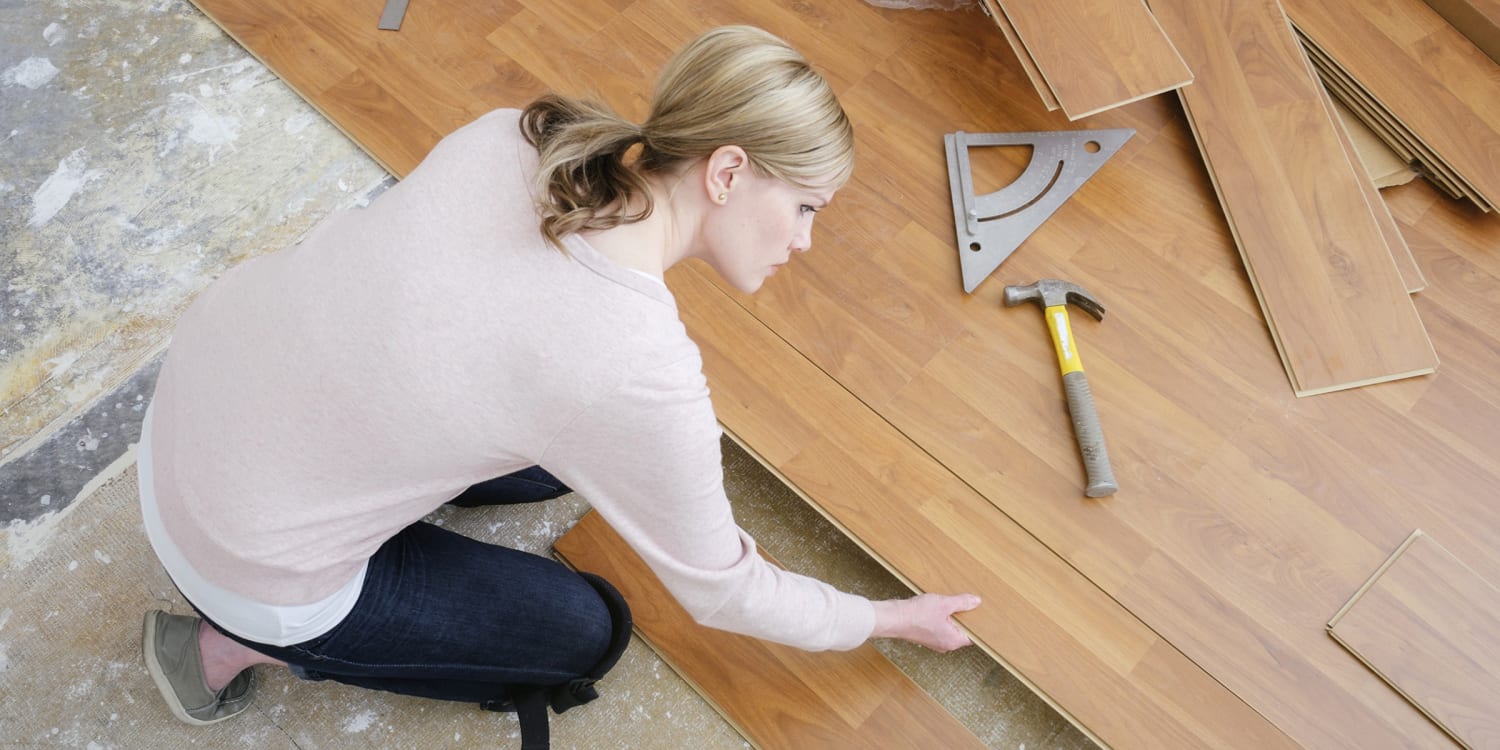
4. Installing the Wood Flooring
Once you have prepared the subfloor and installed the underlayment, you are ready to install the wood flooring. Follow these steps:
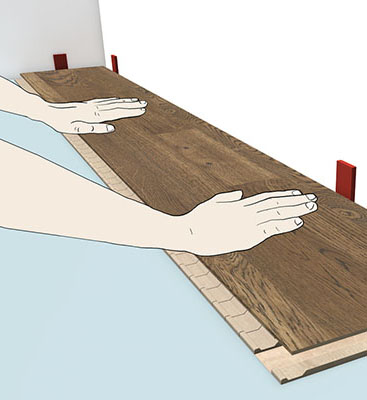
1. Begin by laying the first row of boards along one wall, with the tongue side facing towards the center of the room.
2. Use spacers between the boards and the wall to maintain an expansion gap, typically about 1/4 inch.
3. Connect each board by angling it slightly and fitting it into the groove of the previous board. Use a tapping block and rubber mallet to secure each board in place.
4. Continue installing rows of boards, making sure to stagger the end joints for a more stable and visually appealing installation.
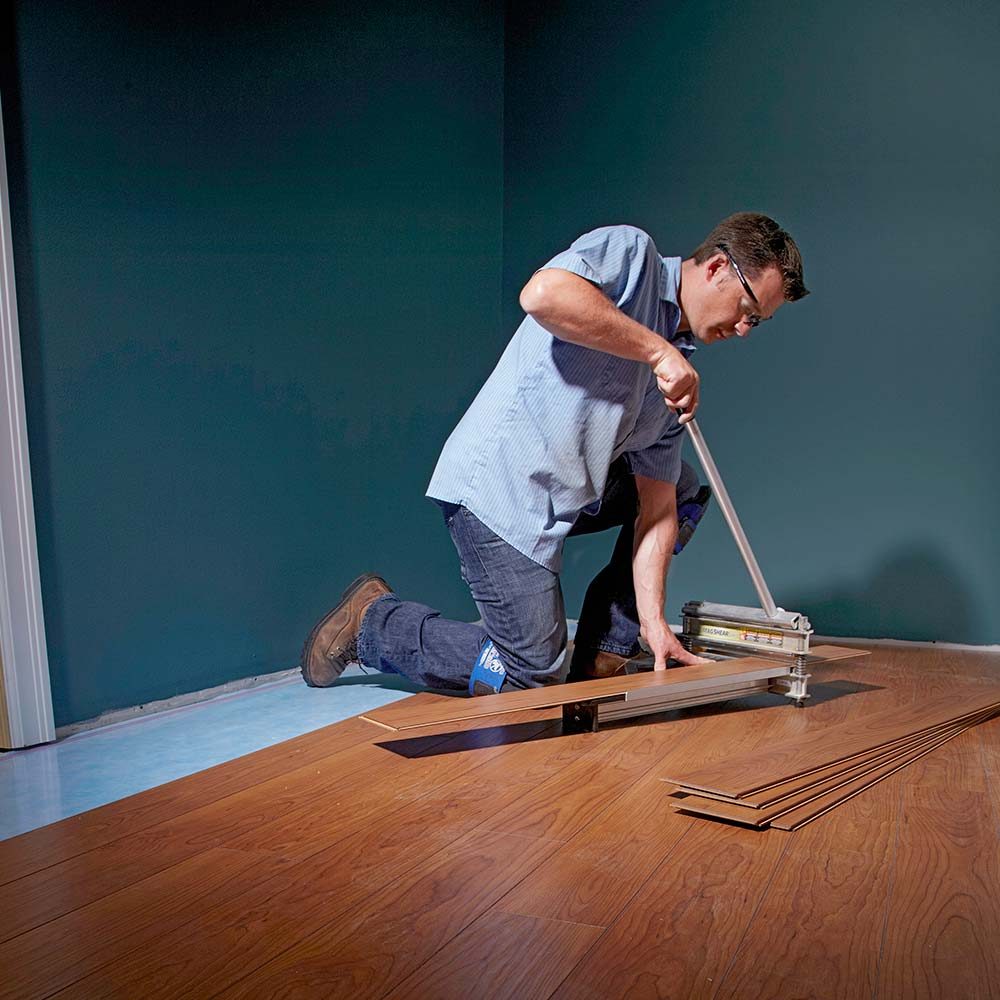
5. Cut any necessary pieces to fit around obstacles such as doorways or heating vents using a saw or jigsaw.
6. Once all the boards are installed, remove the spacers and install baseboards or molding to cover the expansion gap.
FAQs:
Q: Should I nail or glue down the wood flooring?
A: The method of installation (nailing or gluing) will depend on the type of wood flooring you are installing. Solid hardwood flooring is typically nailed down, while engineered wood flooring can be either nailed, glued, or floated (installed without fasteners). It is important to follow the manufacturer’s guidelines for your specific wood flooring product to ensure proper installation.
Q: How long does it take for the wood flooring to fully acclimate after installation?
A: After installation, it can take several weeks for the wood flooring to fully acclimate to its environment. During this time, it is important to maintain a consistent temperature and humidity level to minimize any potential issues such as warping or buckling. It is recommended to consult with the manufacturer or a flooring professional for specific guidelines on acclimation periods for your wood flooring.