Additionally, selecting stain resistant grout is almost certainly a superb idea for tile in a kitchen where spills commonly happen. Over and above that, it is available in a number of styles, colors, and sizes. If any boards need replacing, does it at this time, for the brand new tile floor will deal with the subfloor permanently. Installing ceramic tile flooring directly to the vinyl of yours or linoleum subfloor surfaces is greatly discouraged.
Images Related to Tile Flooring Upland Ca
Tile Flooring Upland Ca
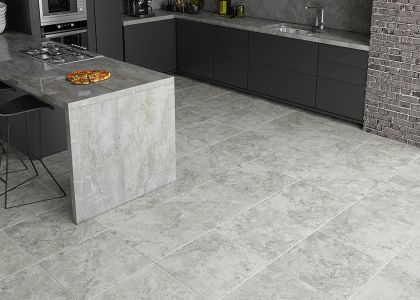
Ceramic tile flooring is not cheap! Nonetheless, this should not be your main consideration when deciding to redesign your kitchen floor or perhaps bathroom floor. Once you plan to install ceramic tile flooring in all the rooms of your house you're bringing a quality of consistency to the home. Ensure that each tile is despite the next.
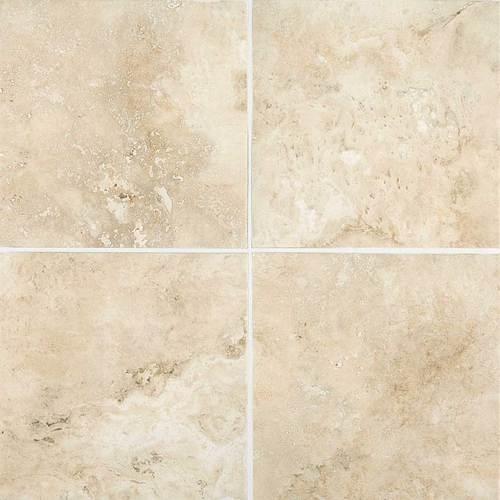
Dal-Tile Esta Villa Terrace Beige Ceramic u0026 Porcelain Tile
And compare their prices on which you are able to have cheaper price for the marble tiles you choose. Nip off the surface area side area intelligently to a marked line and get rid of the general reduced sections at will. In fact, they likely were sure it needed to be done and told you about it at the onset of the venture. You are able to buy a kit originating from a hardware store for a single car garage, which could quickly set you back $500 plus.
Tile Installation in Upland, CA Wilshire Tile, Inc.

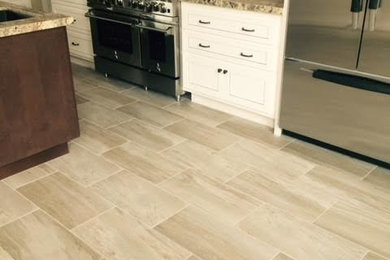
Tile Flooring in Upland, CA from Perryu0027s Complete Floor
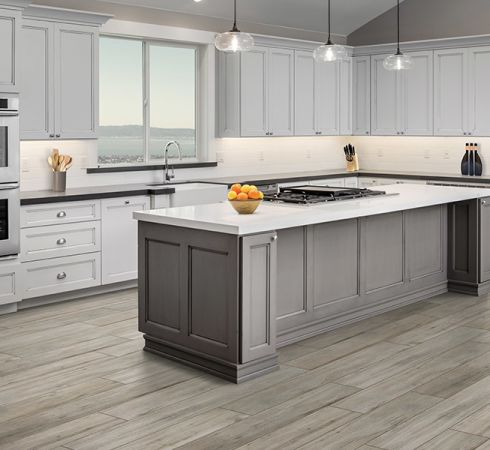
Flooring inspiration in Upland, CA from Perryu0027s Complete Floor

Flooring store in Upland, CA Perryu0027s Complete Floor
Trend West Flooring – Upland, CA, US 91784 Houzz
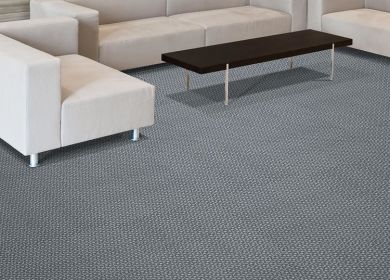
Tile Brands – Upland, Ca – Warren Clarku0027s Custom Carpets

Upland Tile u0026 Stone – Tile Store in Upland

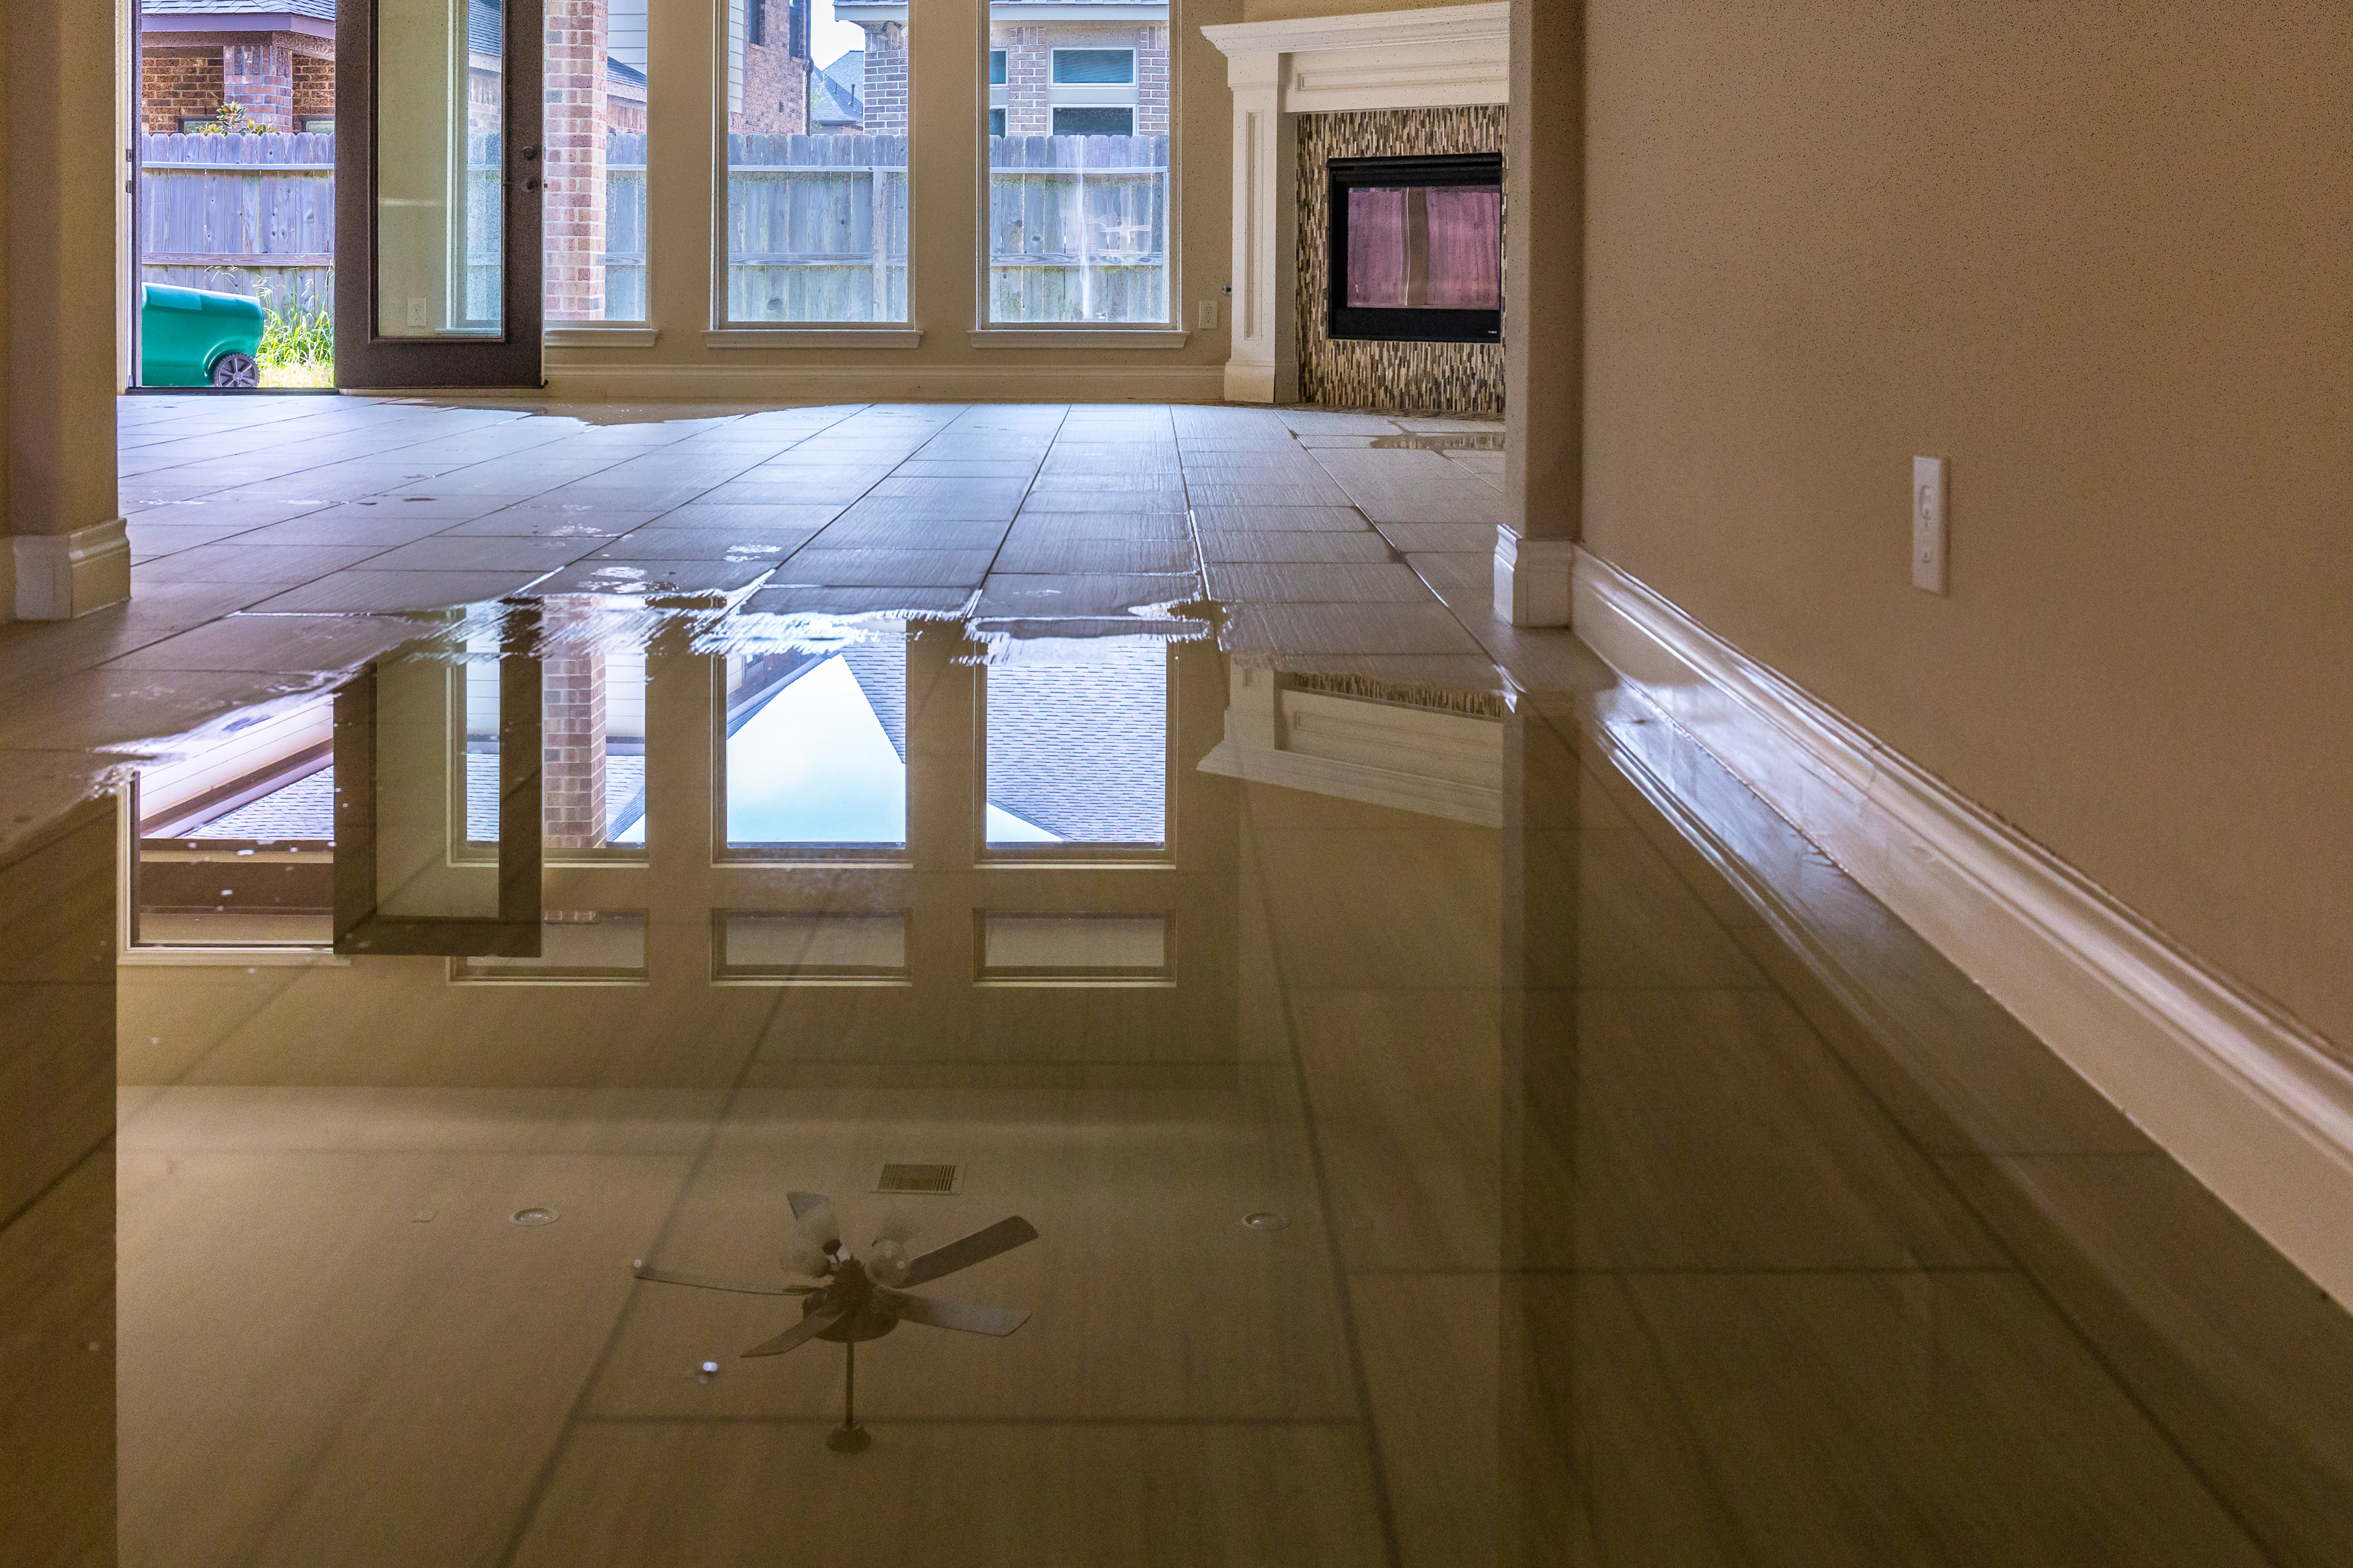
How Can Excessive Water Damage Your Tile Flooring – Shamrock Restore
Stone Collection inc – Home Facebook

FLOOR DECOR – 139 Photos u0026 45 Reviews – Carpeting – 955 W 9th St

Welcome to Floor Decor Inc in Upland

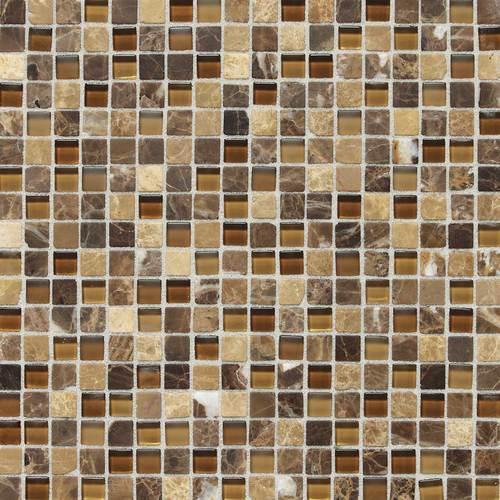
Dal Tile Stone Radiance™ Butternut Emperador Blend Natural Stone
Related articles:
- Vintage Bathroom Floor Tile Patterns
- Bathroom Floor Tile DIY
- Limestone Bathroom Floor Tiles
- Bathroom Floor Porcelain Tile
- Concrete Bathroom Floor Ideas
- White Bathroom Ceramic Tiles
- Bathroom Floor Baseboard
- Rustic Bathroom Flooring Ideas
- Bathroom Flooring Options
- Bamboo Bathroom Flooring Ideas
Tile Flooring Upland Ca: A Comprehensive Guide to Choosing the Perfect Floor
Introduction:
Tile flooring is a popular choice among homeowners in Upland, California due to its durability, versatility, and aesthetic appeal. With a wide range of options available, finding the perfect tile flooring for your Upland home can be both exciting and overwhelming. In this comprehensive guide, we will explore everything you need to know about tile flooring in Upland, including types of tiles, benefits, installation process, maintenance tips, and frequently asked questions.
Table of Contents:
1. Types of Tile Flooring
2. Benefits of Tile Flooring
3. Installation Process
4. Maintenance Tips
5. Frequently Asked Questions
1. Types of Tile Flooring:
When it comes to tile flooring in Upland, CA, you have a plethora of options to choose from. Some popular types include ceramic tile, porcelain tile, natural stone tile, glass tile, and mosaic tile.
Ceramic tile: Ceramic tiles are made from clay and other natural materials. They are known for their durability and versatility. They come in various sizes, colors, and finishes, making them suitable for any room in your home.
Porcelain tile: Porcelain tiles are also made from clay but are fired at higher temperatures than ceramic tiles. This makes them denser and more resistant to water absorption. Porcelain tiles are ideal for high-moisture areas such as bathrooms and kitchens.
Natural stone tile: Natural stone tiles such as marble, granite, travertine, and slate add a touch of elegance to any space. Each type of natural stone has its unique characteristics and variations in color and pattern.
Glass tile: Glass tiles are becoming increasingly popular due to their stunning visual appeal and ability to reflect light. They come in various shapes, sizes, and colors and can be used to create beautiful backsplashes or accent walls.
Mosaic tile: Mosaic tiles are small pieces of glass, ceramic, or natural stone arranged in intricate patterns. They are perfect for adding a decorative touch to your floors, walls, or even outdoor spaces.
2. Benefits of Tile Flooring:
Tile flooring offers numerous benefits that make it an attractive choice for homeowners in Upland, CA.
Durability: Tiles are highly durable and can withstand heavy foot traffic, making them suitable for both residential and commercial spaces. They are resistant to scratches, stains, and moisture, ensuring longevity and low maintenance.
Versatility: With a wide range of colors, patterns, sizes, and textures available, tile flooring allows you to create the desired look for any space. Whether you prefer a classic or contemporary style, there is a tile option to suit your taste.
Easy Maintenance: Tile flooring is relatively easy to maintain. Regular sweeping or vacuuming and occasional mopping with a mild detergent will keep your tiles looking clean and fresh. They do not require any special cleaning products or treatments.
Temperature Regulation: Tile flooring has excellent thermal conductivity, which helps regulate indoor temperature. In warmer climates like Upland, CA, tiles can keep your home cooler during hot summer months.
Allergy-Friendly: Unlike carpeting, which can trap allergens such as dust mites and pet dander, tile flooring is hypoallergenic. It does not harbor allergens and is easy to clean, making it an ideal choice for those with allergies or respiratory issues.
3. Installation Process:
Installing tile flooring requires careful planning and attention to detail. Here is a General overview of the installation process:
1. Preparation: The first step is to prepare the subfloor by ensuring it is clean, dry, and level. Any existing flooring may need to be removed, and any cracks or uneven areas should be repaired.
2. Layout: Before installing the tiles, it’s important to plan the layout to ensure a visually appealing result. This involves measuring the space, marking guidelines, and dry-fitting the tiles to see how they will fit together.
3. Adhesive Application: Once the layout is determined, an appropriate adhesive or mortar is applied to the subfloor using a trowel. The adhesive should be spread evenly and at the correct thickness.
4. Tile Installation: The tiles are then pressed firmly into place on top of the adhesive, starting from one corner and working outward. Spacers may be used to maintain consistent spacing between tiles.
5. Grouting: After the tiles have set in place, grout is applied between them using a grout float. Excess grout is wiped away with a damp sponge, and the grout is left to dry according to manufacturer instructions.
6. Sealing (optional): Depending on the type of tile used, it may be necessary to apply a sealant to protect against stains and moisture. This step should be done after the grout has fully cured.
7. Finishing Touches: Once the installation is complete, any trim or edge pieces can be installed for a finished look.
It’s important to note that tile installation can be complex and time-consuming, especially for larger areas or intricate patterns. It may be advisable to hire a professional installer to ensure a high-quality and long-lasting result. Additionally, proper maintenance and care are crucial for keeping tile flooring in good condition. Regular sweeping or vacuuming, along with mopping with a mild detergent or vinegar solution, can help remove dirt and grime. Avoid using harsh cleaners or abrasive tools that can damage the tiles. It’s also important to promptly clean up any spills to prevent staining.
In conclusion, tile flooring offers numerous benefits such as durability, easy maintenance, temperature regulation, and allergy-friendliness. The installation process involves careful preparation, layout planning, adhesive application, tile installation, grouting, optional sealing, and finishing touches. Hiring a professional installer may be recommended for a satisfactory outcome. Regular cleaning and proper maintenance are essential for preserving the appearance and longevity of tile flooring. In summary, the process of installing tile flooring involves several steps:
1. Prepare the subfloor by ensuring it is clean, dry, and level. Remove any existing flooring and repair any cracks or uneven areas.
2. Plan the layout by measuring the space, marking guidelines, and dry-fitting the tiles to ensure a visually appealing result.
3. Apply an appropriate adhesive or mortar to the subfloor using a trowel, spreading it evenly and at the correct thickness.
4. Press the tiles firmly into place on top of the adhesive, starting from one corner and working outward. Use spacers to maintain consistent spacing between tiles.
5. Apply grout between the tiles using a grout float. Wipe away excess grout with a damp sponge and let it dry according to manufacturer instructions.
6. Optionally, apply a sealant to protect against stains and moisture after the grout has fully cured.
7. Install any trim or edge pieces for a finished look.
It’s important to hire a professional installer for larger areas or intricate patterns to ensure a high-quality result. Regular cleaning and maintenance are necessary to preserve the appearance and longevity of tile flooring.