All these has its pros and cons, so when you are choosing the flooring of yours you have to have a look at factors including the styles & colours that will suit your kitchen, how simple the flooring will be to maintain, whether the flooring provides quality which is high and durability, and if the floors fits in with your budget.
Here are Images about Kitchen Floor Tile Stickers
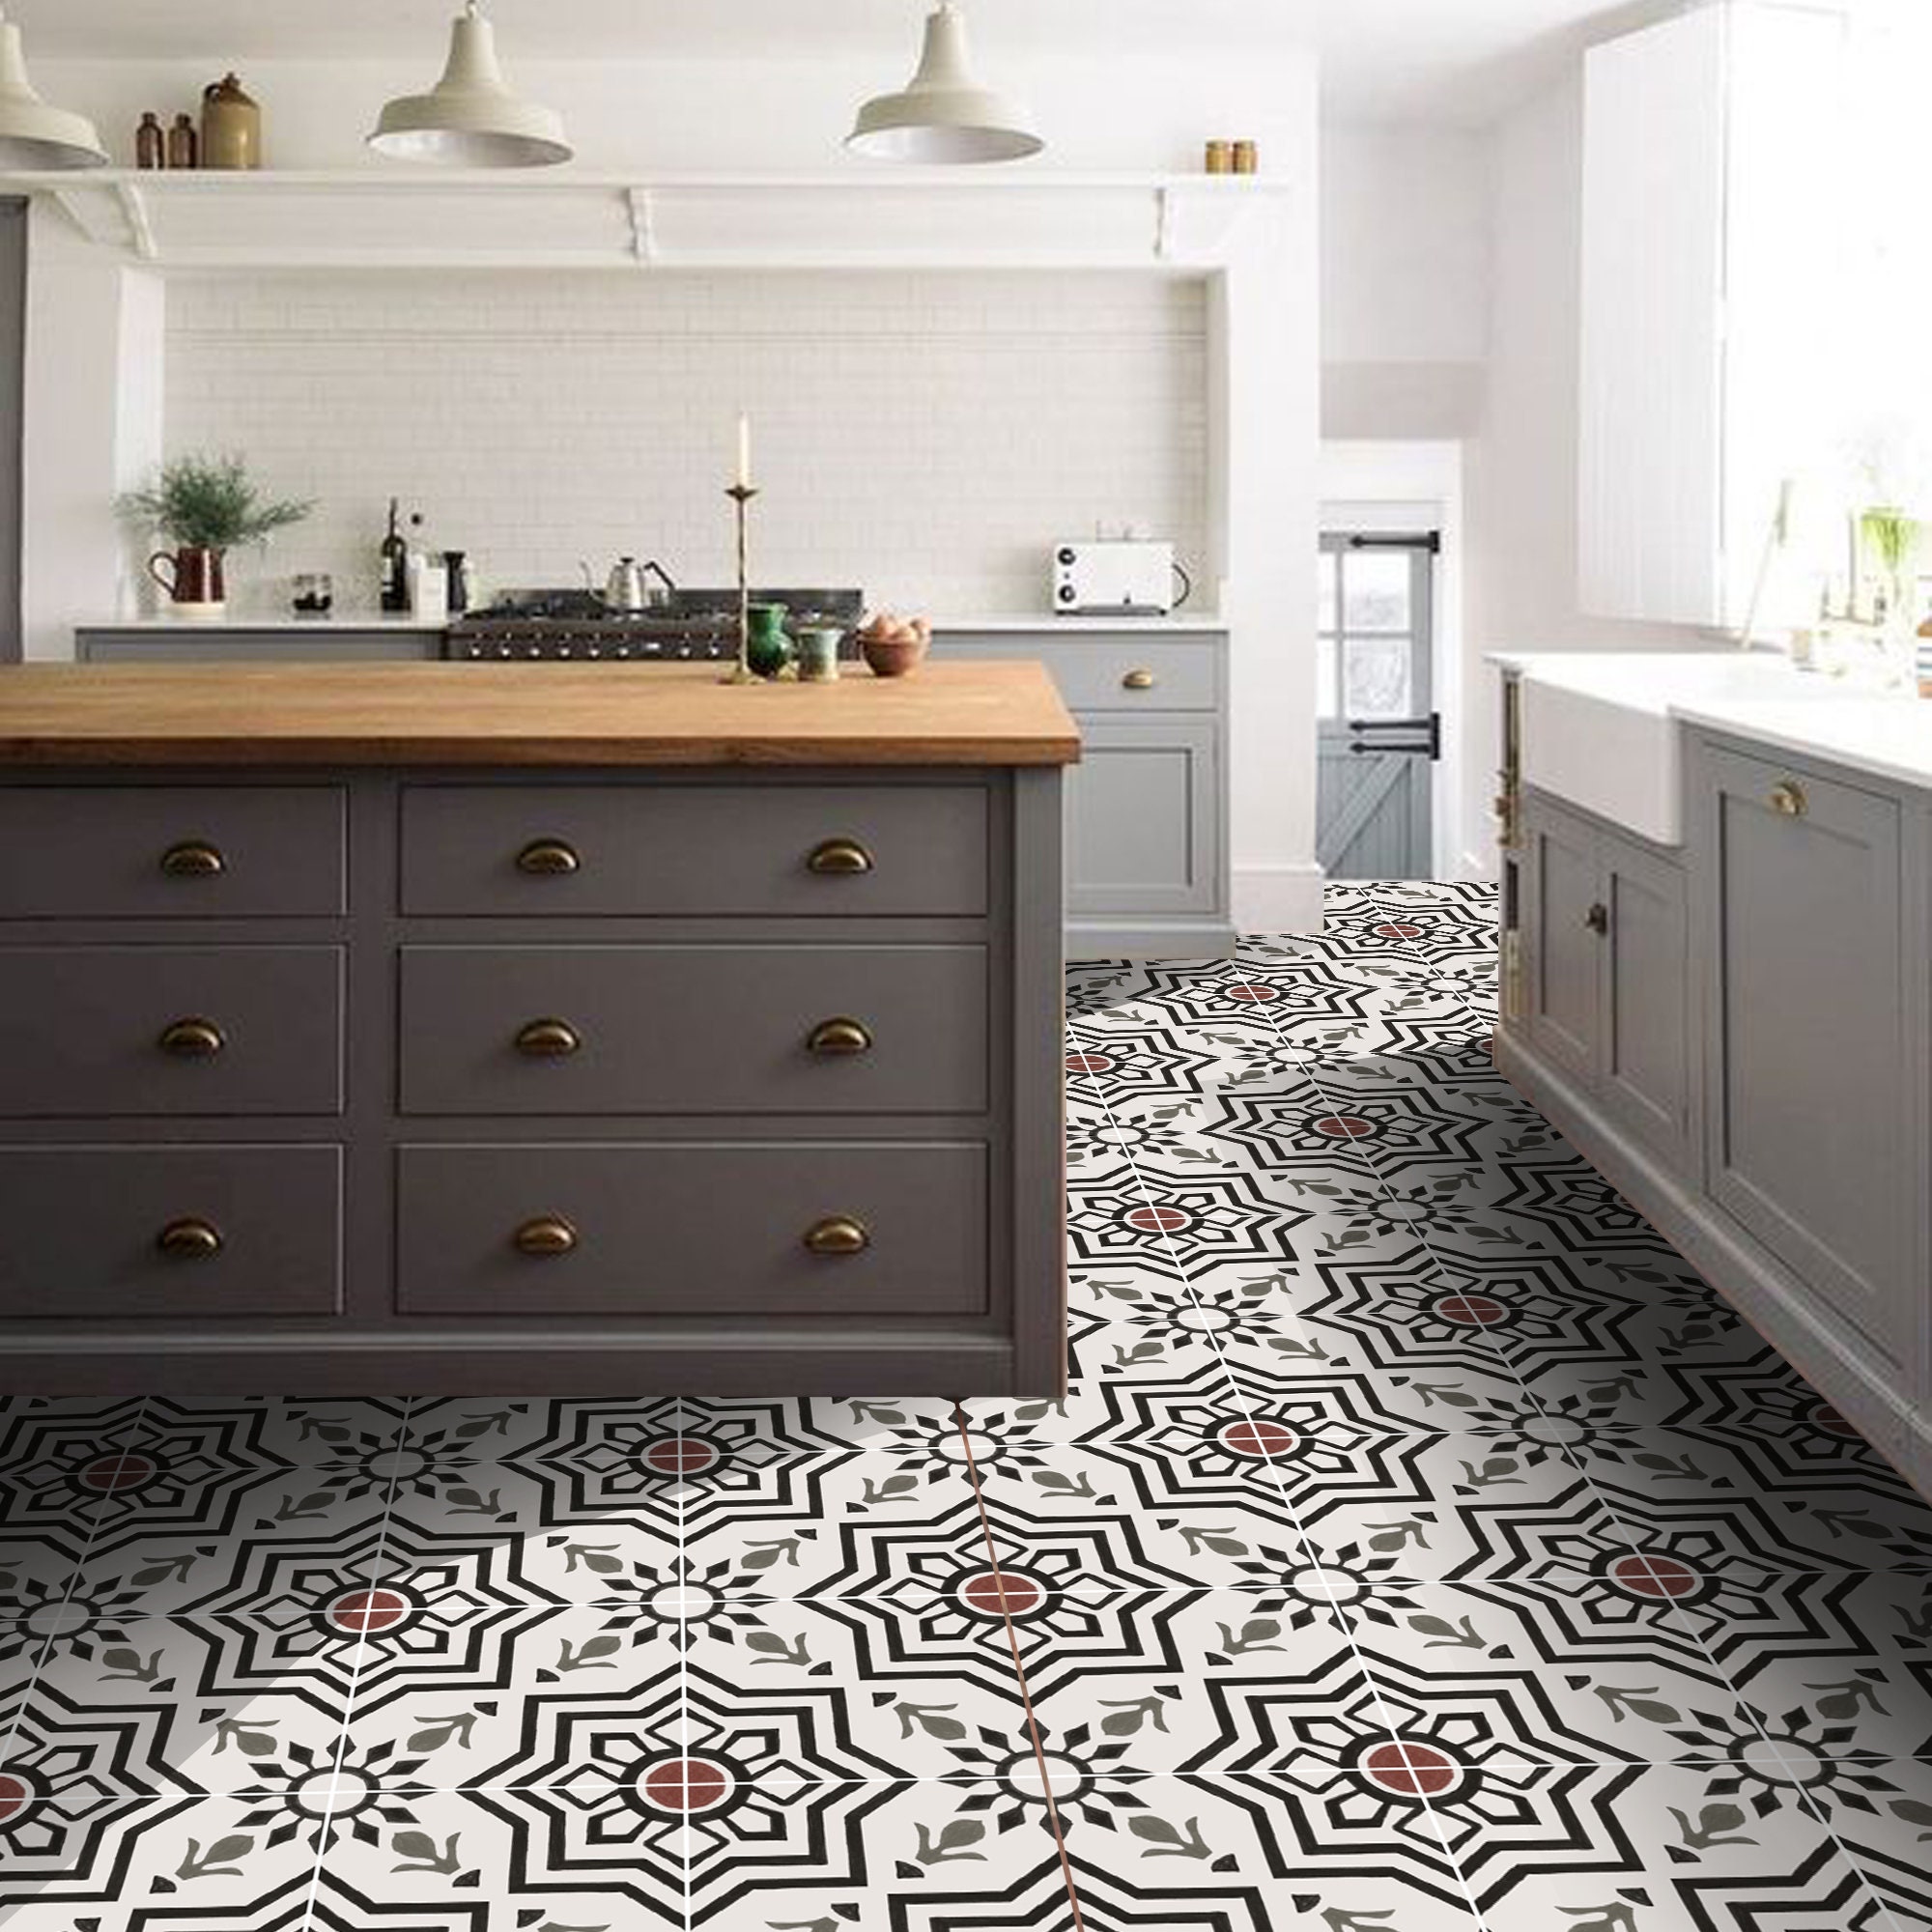
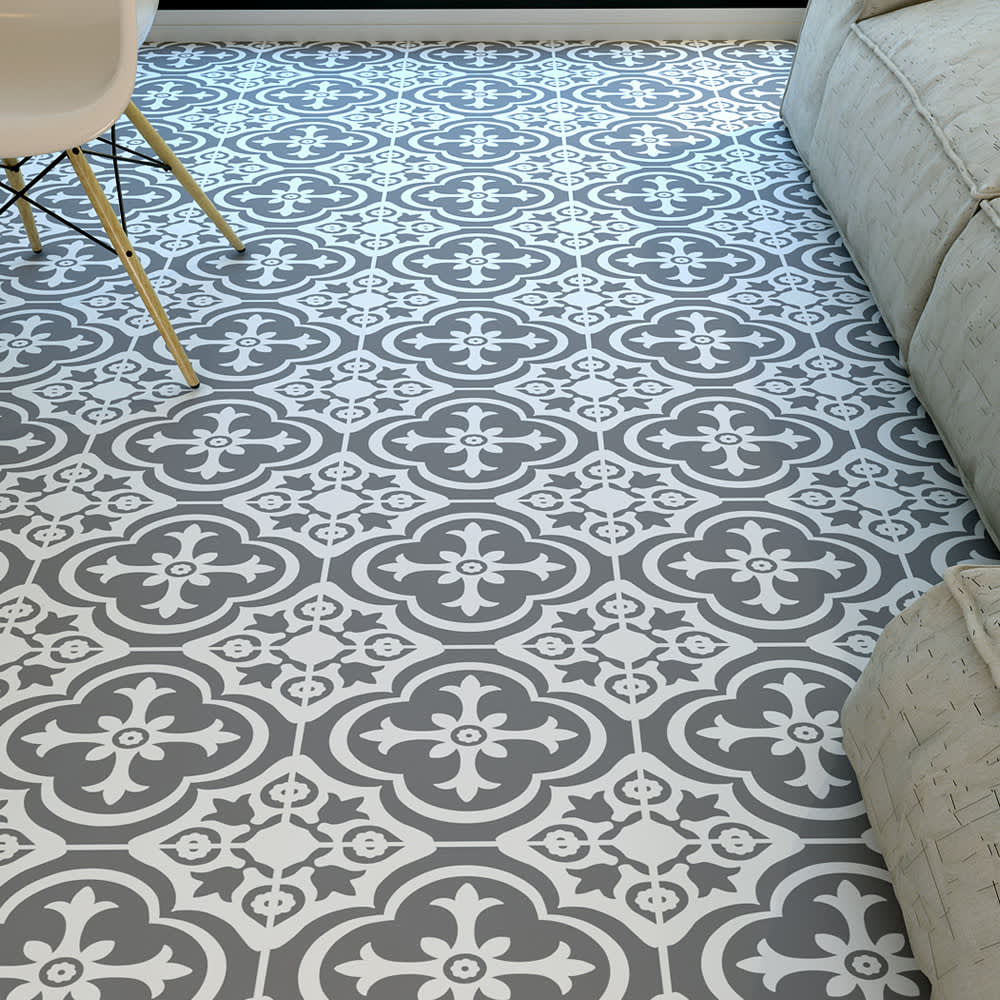
Kitchen Floor Tile Stickers
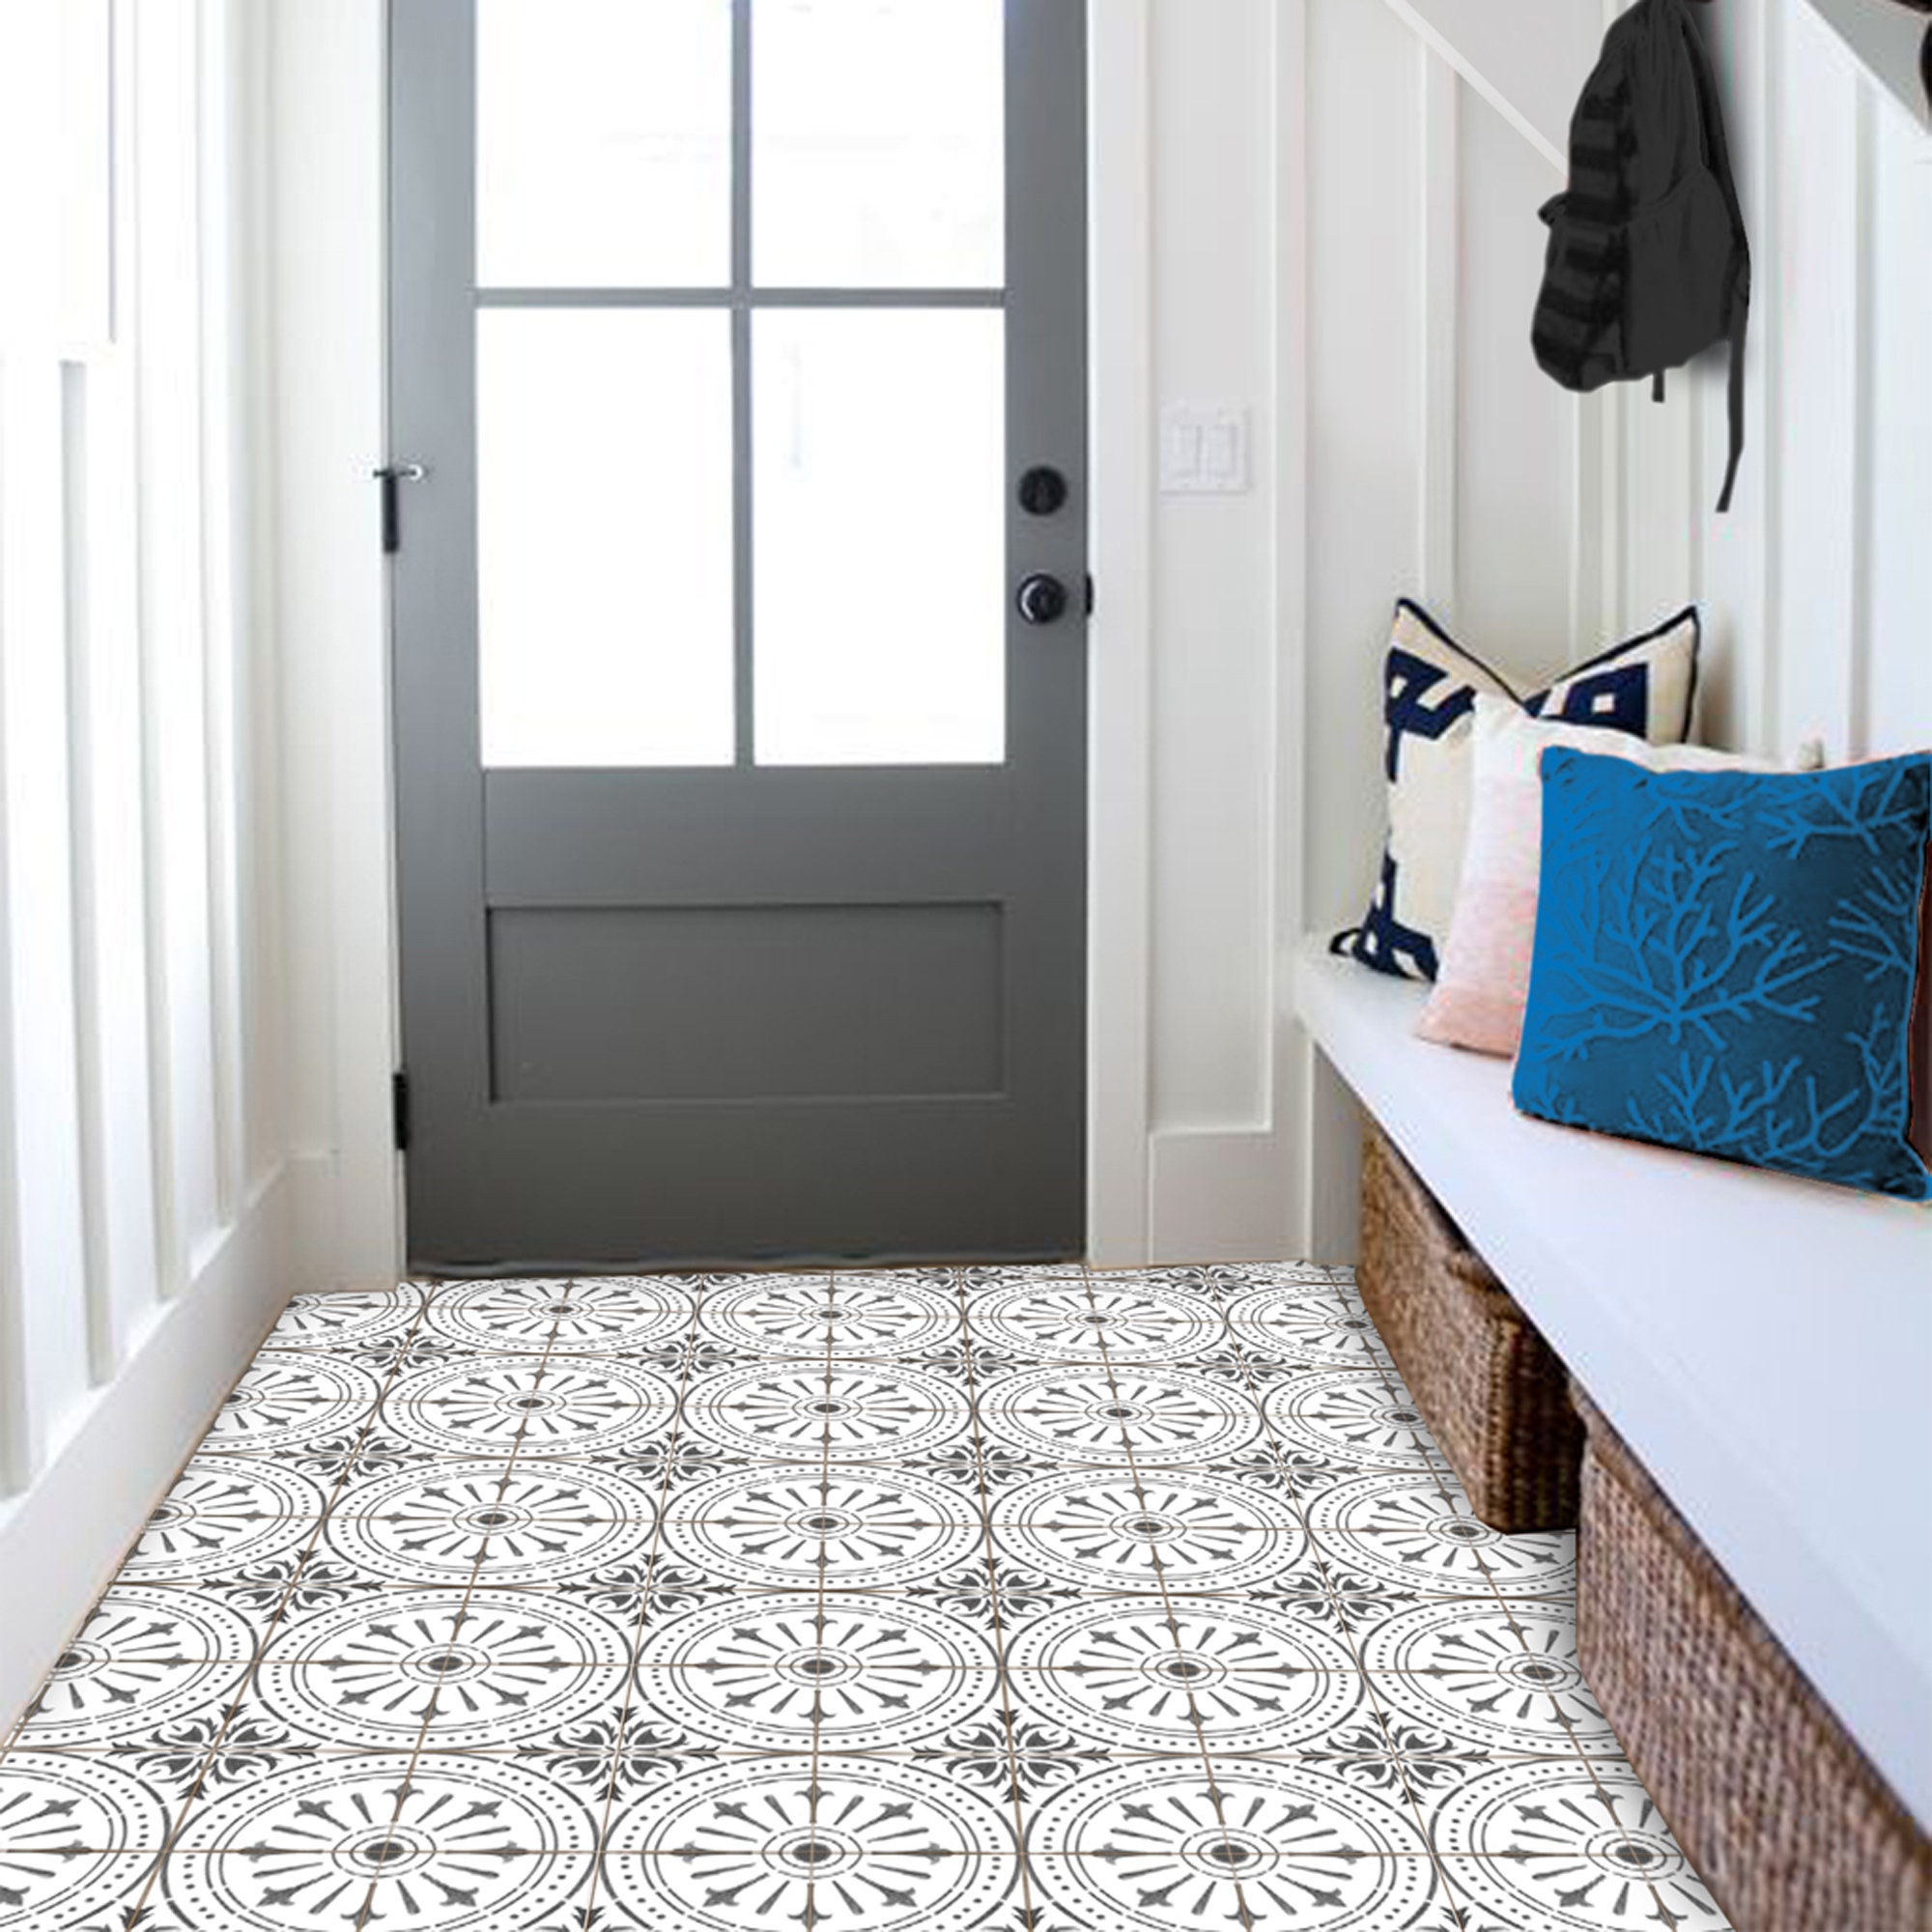
This is where homeowners prefer to store the food of theirs, dining utensils, the like and kitchen gadgets. Natural slate stone tiles are durable, stain resistant and non-slip surface due to their textures; intended for the hectic kitchen. Stone is unquestionably long-lasting and hard-wearing, but requires sealing to prevent dirt buildup. It’s impossible to tell that they are laminate flooring until you appear closer at them.
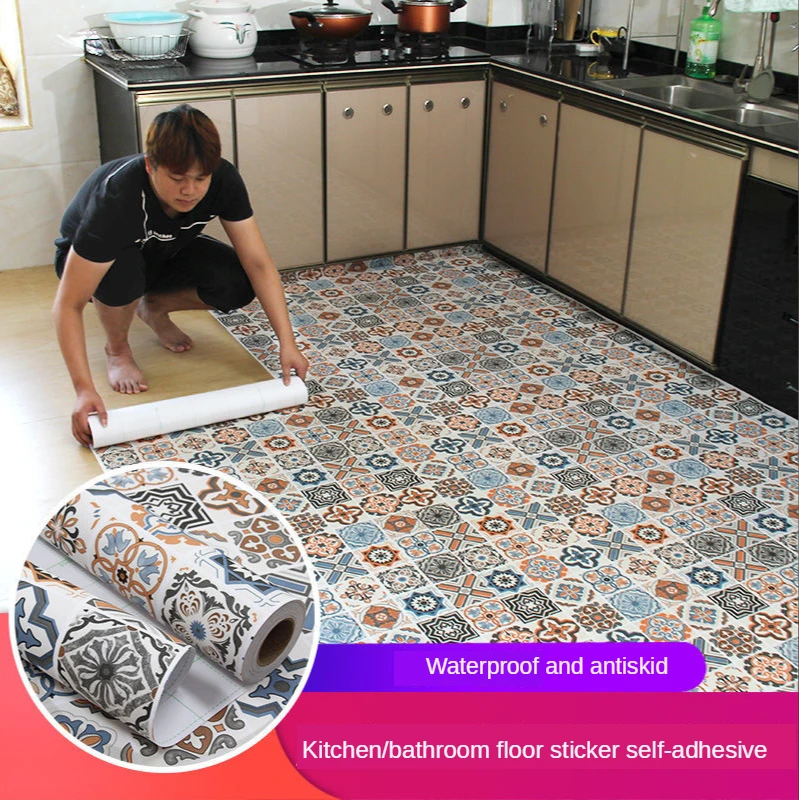
Floor stickers self adhesive bathroom floor stickers kitchen tile
If perhaps you select this type of flooring for the kitchen space of yours, you could make use of the pre-finished or unfinished alternative that would have to have sanding after installation. This strong durability actually stays true when cleaners are used-to cleanse the floor to keep it hygienic. That means they are quite straightforward to keep clean.
Images Related to Kitchen Floor Tile Stickers
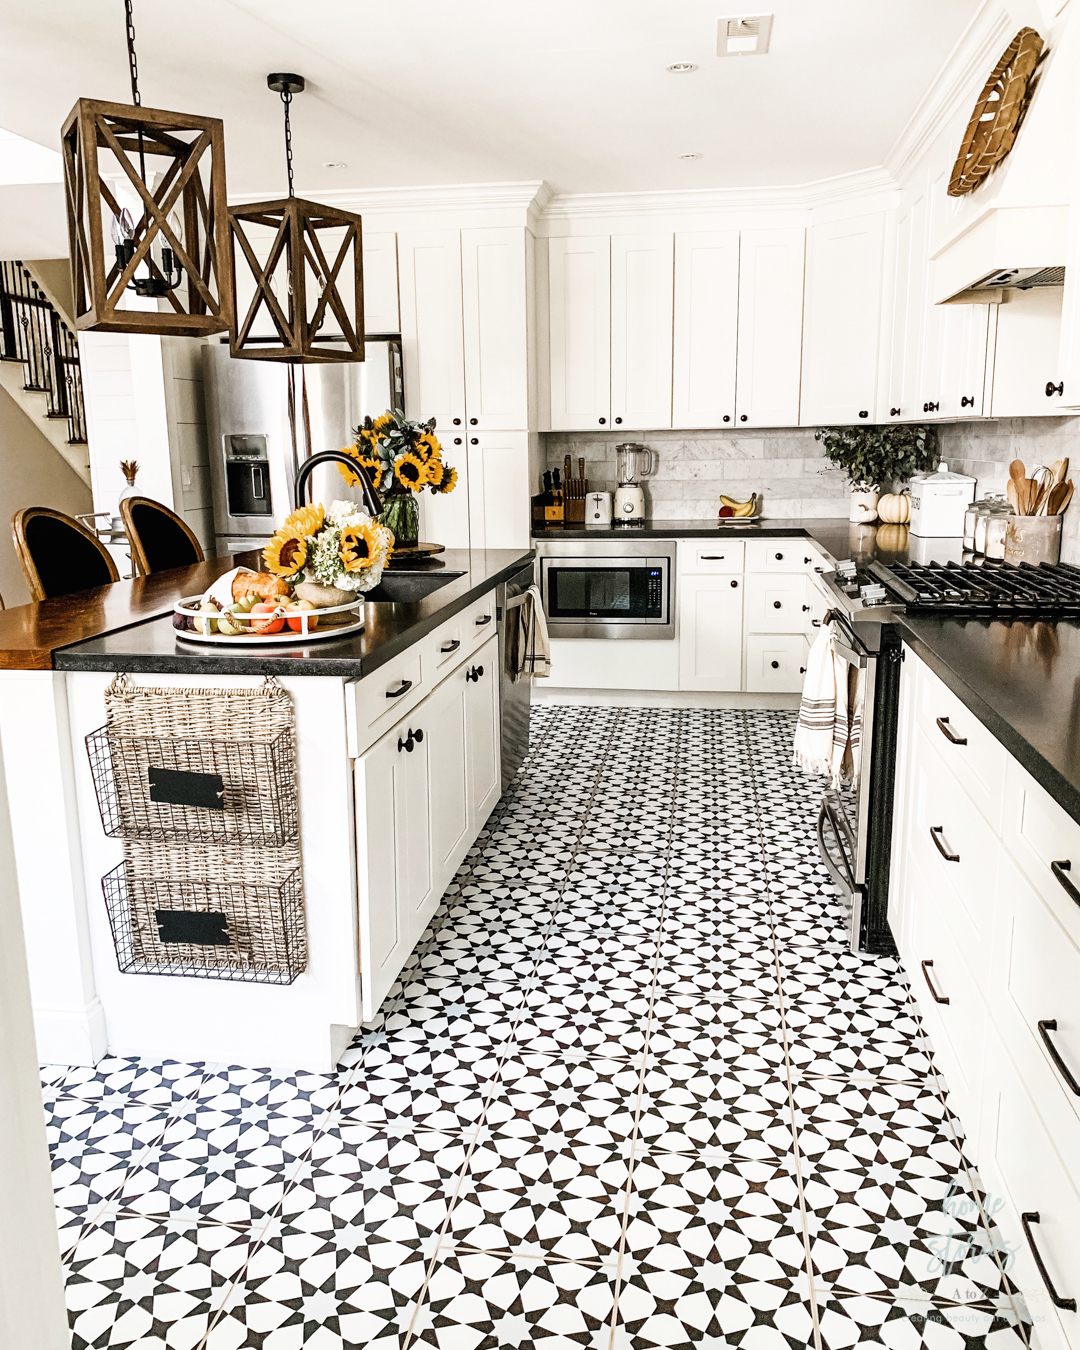
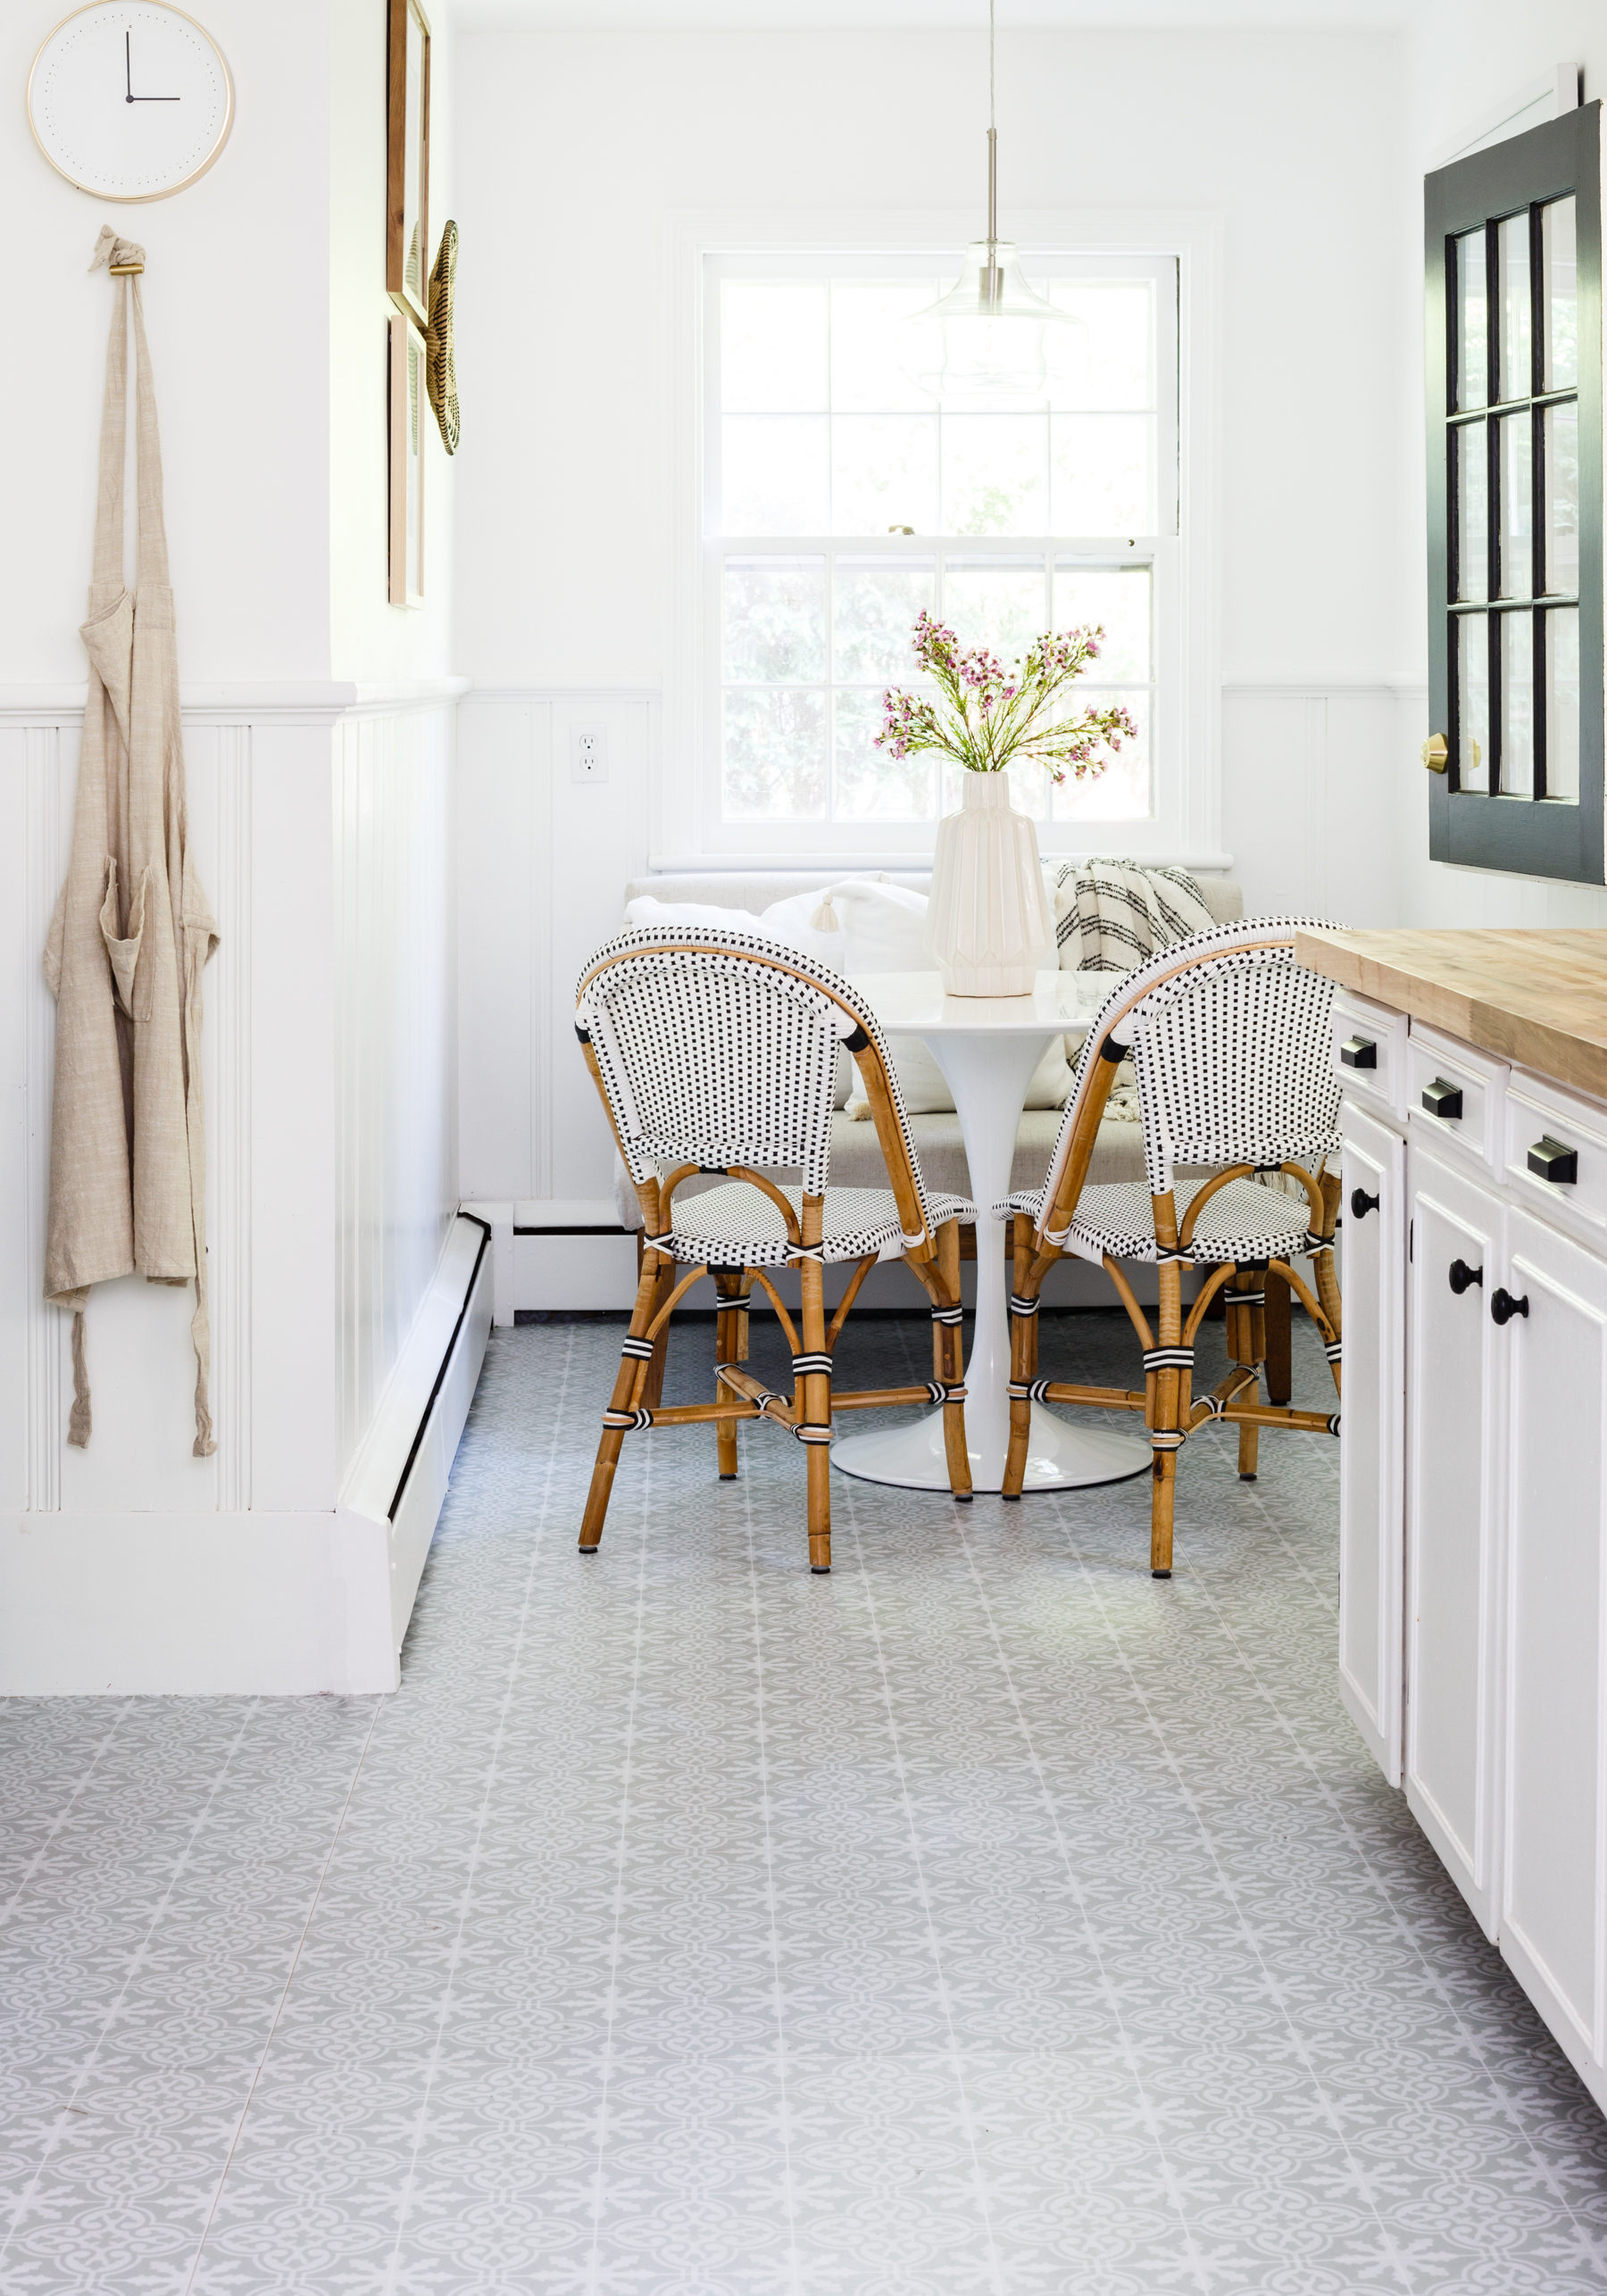
How to Update Tile Without Removing It {Peel and Stick Floor Tiles}
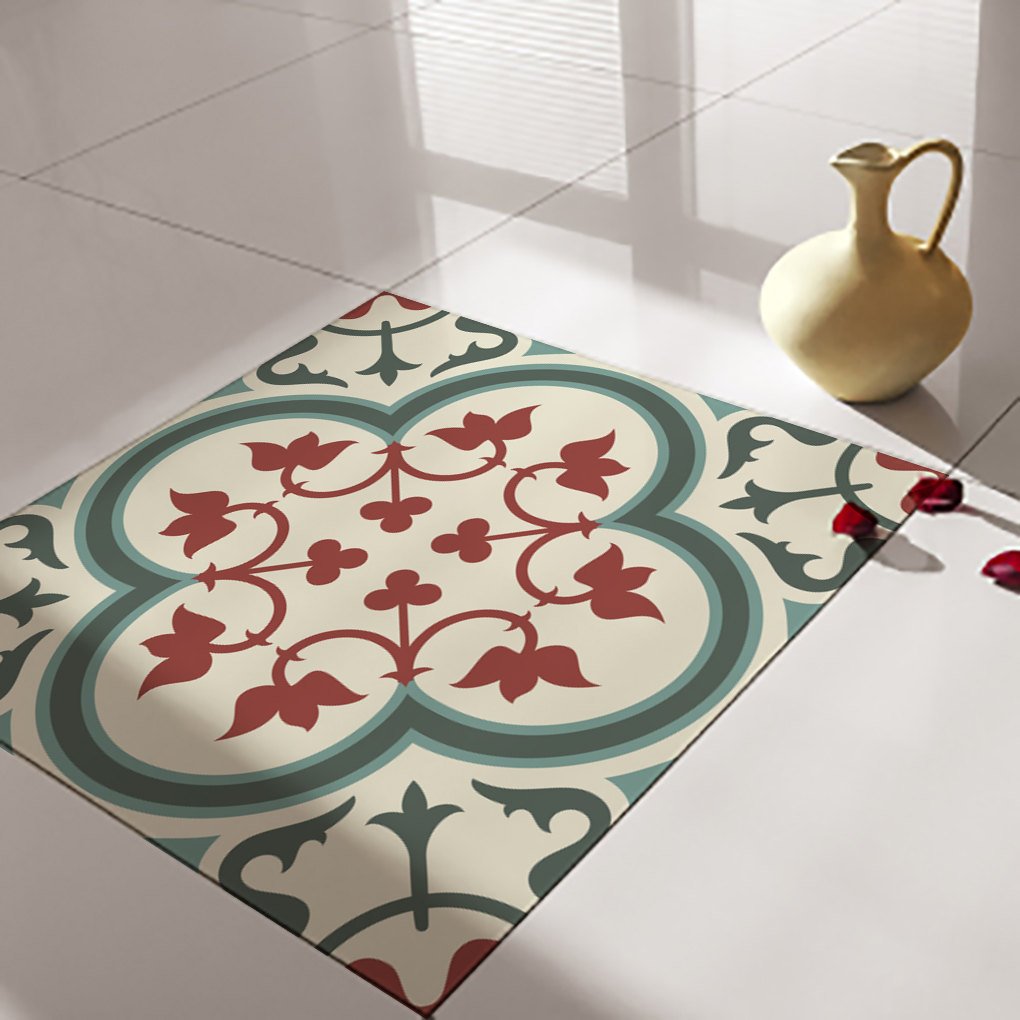
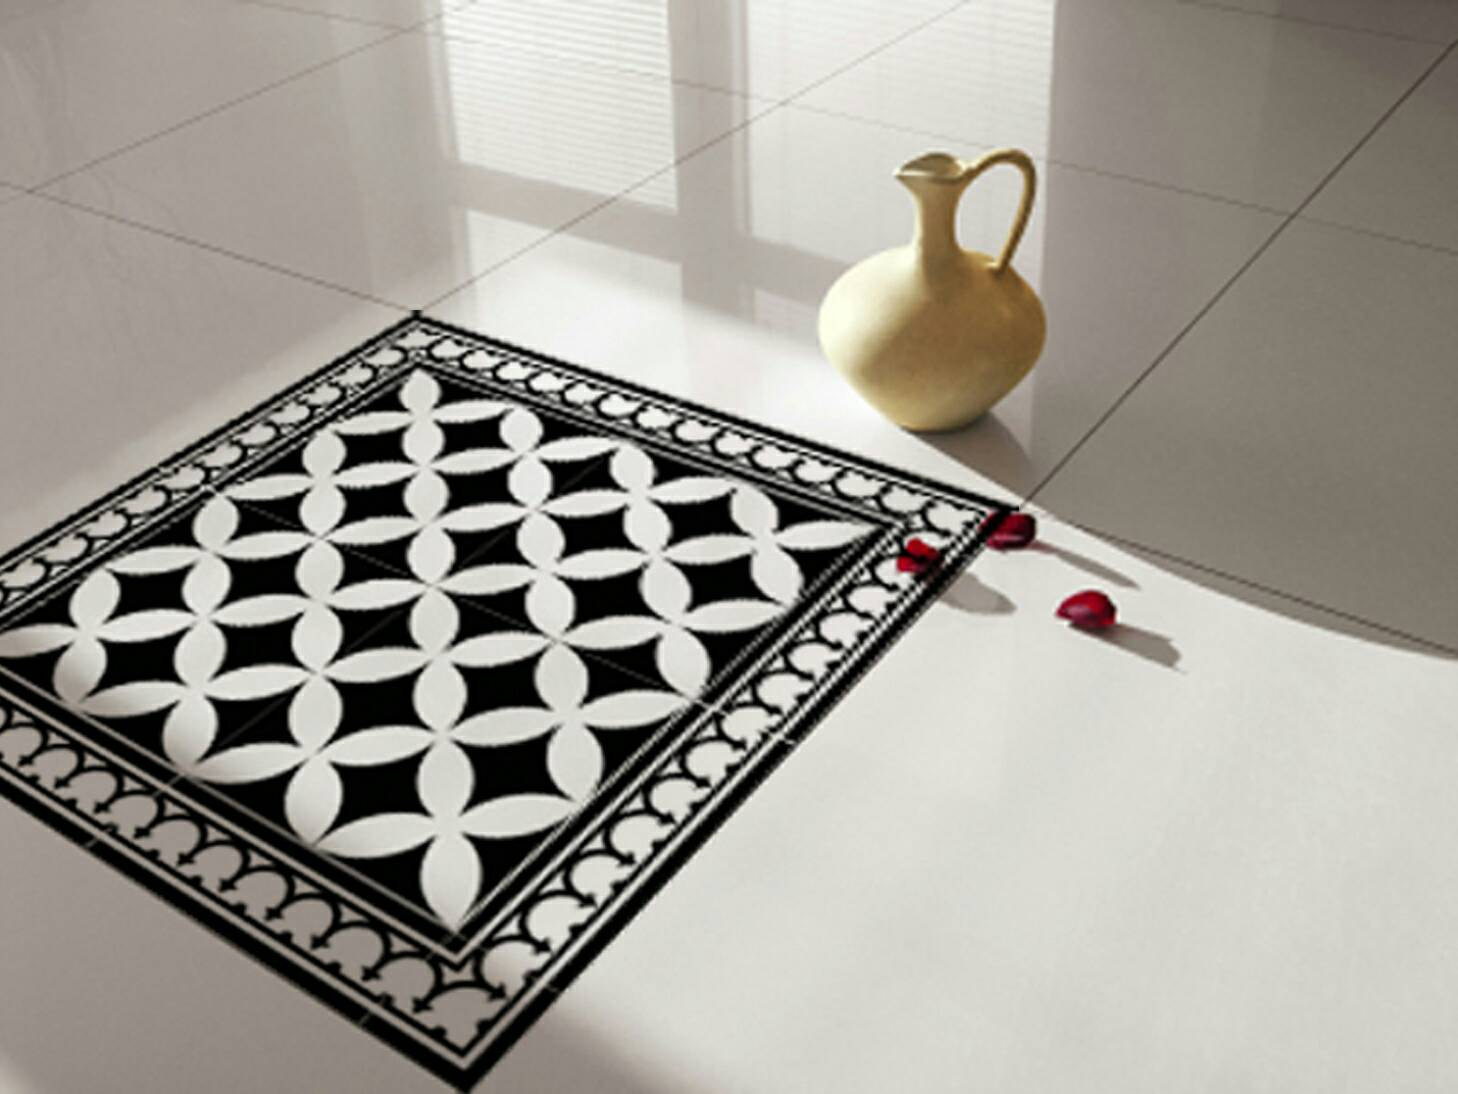
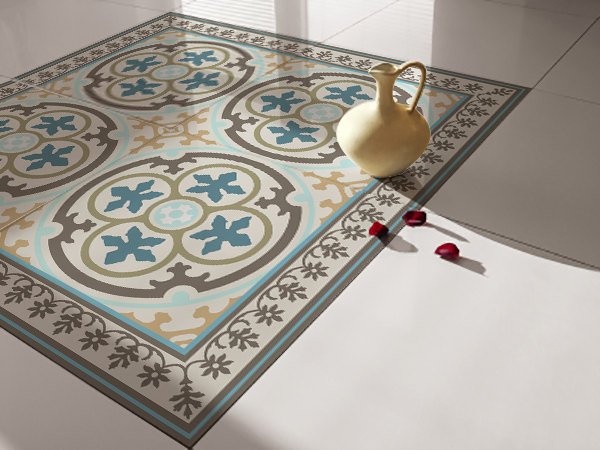
Traditional Tiles u2013 Floor Tiles u2013 Floor Vinyl u2013 Tile Stickers
Tile stickers – Tiles for Kitchen/Bathroom Back splash – Floor decals – Kabbalah Black
The Low Down on my Peel and Stick Kitchen Floors
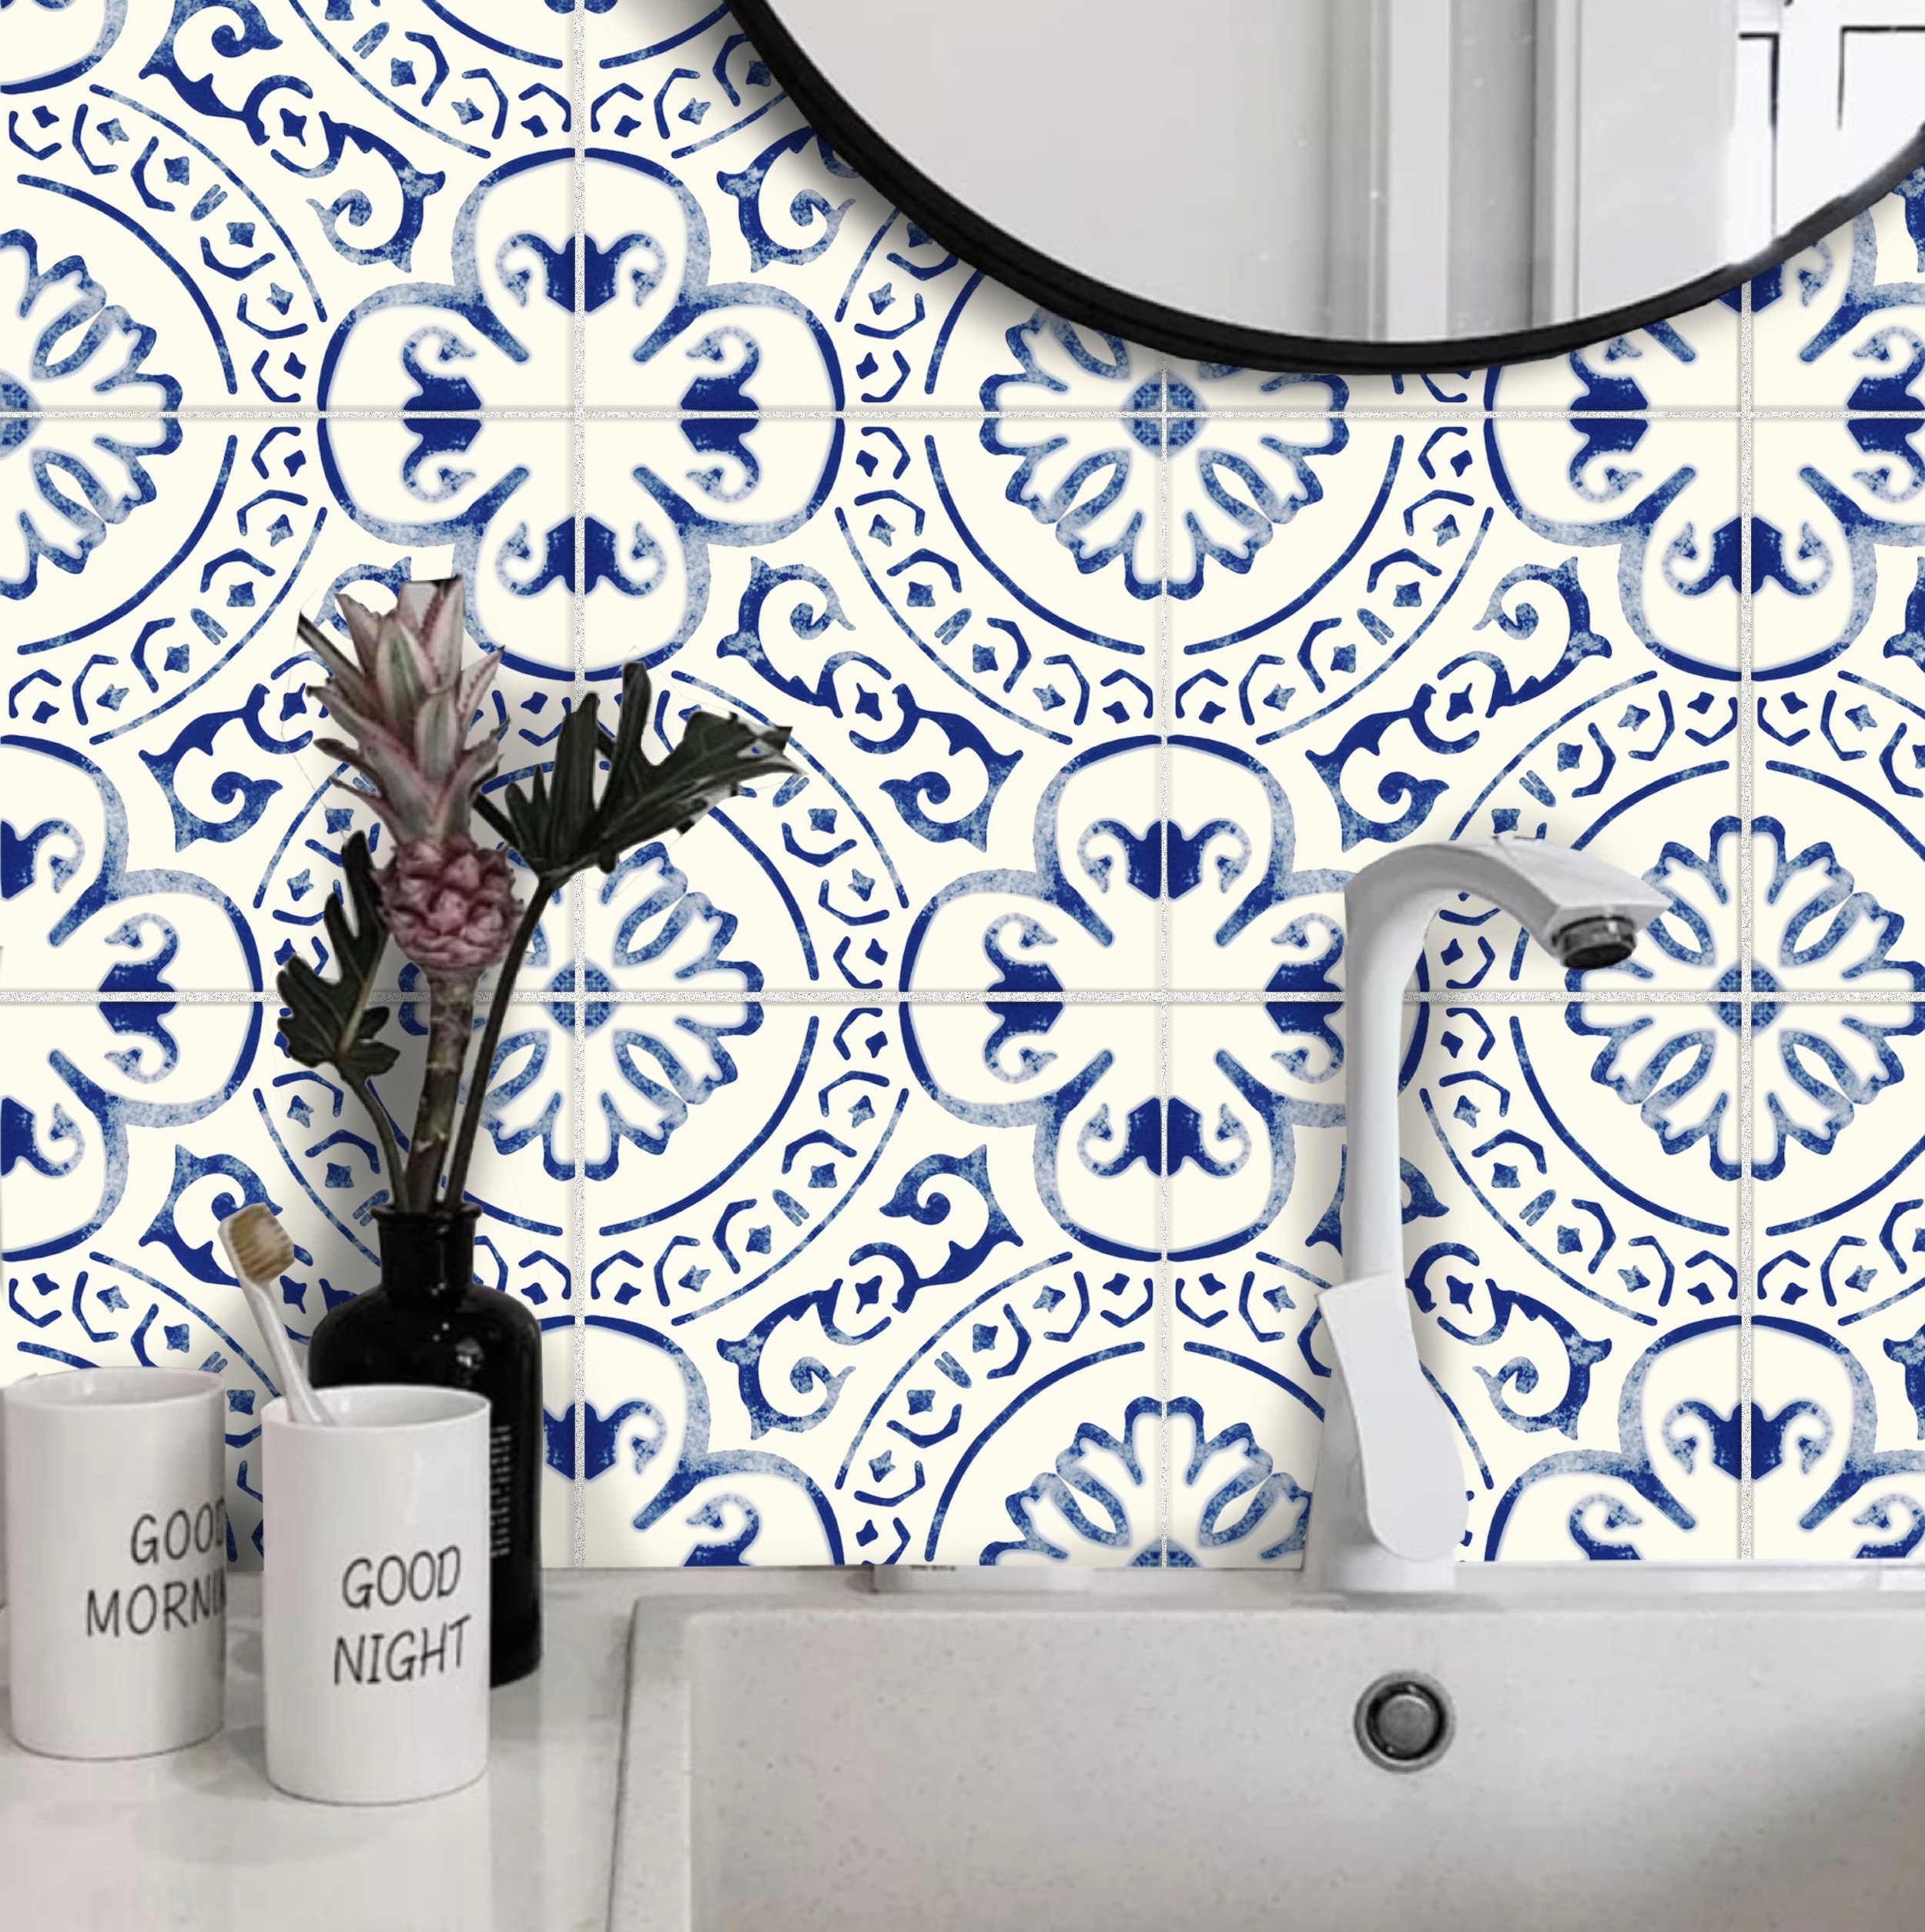
Tile Sticker Kitchen, bath, floor, wall Waterproof u0026 Removable Peel n Stick: A72N Navy Blue/white
Traditional Tiles – Floor Tiles – Floor Vinyl – Tile Stickers – Tile Decals – bathroom tile decal – kitchen tile decal – 132
The Best Peel u0026 Stick Decorative Tile Decals Apartment Therapy
CVLIFE Removable Tiles Wall Sticker Self Adhesive Floor Tiles Stickers Peel and Stick Kitchen Tile Backsplashes with Waterproof

Tile Stickers Tiles for Kitchen/bathroom Back Splash Floor Etsy

Geometrical Moroccan Tiles (Pack 32) – Moonwallstickers.com

Copenhagen Tile Stickers, Square Style Tile, Tile Decal, Tile

Traditional Tiles – Floor Tiles – Floor Vinyl – Tile Stickers – Tile Decals – bathroom tile decal – kitchen tile decal – 104
Related articles:
- Stained Concrete Basement Floor
- Finishing Basement Floor
- Refinish Concrete Basement Floor
- Best Flooring For Basement
- Basement Gym Flooring Ideas
- Laminate Flooring In Basement
- Basement Concrete Floor Sweating
- Basement Floor Finishing Ideas
- Painting Unfinished Basement Floor
- Unique Basement Flooring
Kitchen Floor Tile Stickers: A Stylish and Affordable Solution for a Fresh Look
Introduction:
Are you tired of your dull and outdated kitchen floor? Do you dream of a new, stylish look without the hassle and expense of replacing your tiles? Look no further than kitchen floor tile stickers. These innovative and affordable solutions can transform your kitchen instantly, giving it a fresh and modern appearance. In this article, we will delve into the world of kitchen floor tile stickers, exploring their benefits, installation process, maintenance tips, and frequently asked questions.
Benefits of Kitchen Floor Tile Stickers:
1. Cost-Effective: One of the primary advantages of using kitchen floor tile stickers is their affordability. Replacing tiles can be an expensive endeavor, involving not only the cost of new tiles but also the labor charges for installation. By opting for tile stickers, you can achieve a new look for a fraction of the price.
2. Easy Installation: Installing kitchen floor tile stickers is a breeze. With self-adhesive backing, they can be applied directly onto your existing tiles without the need for any special tools or professional assistance. In just a few simple steps, you can revamp your kitchen floor effortlessly.
3. Versatile Design Options: Tile stickers come in an array of designs, colors, patterns, and sizes to suit every taste and style. Whether you prefer a sleek and contemporary look or a rustic and traditional vibe, there is a tile sticker design that will cater to your preferences.
4. Temporary Solution: If you are renting your home or simply want to update your kitchen temporarily, tile stickers are an ideal choice. They can easily be removed without causing any damage to the underlying tiles, allowing you to switch back to the original look whenever desired.
Installation Process:
Installing kitchen floor tile stickers is a straightforward process that requires minimal effort and time. Follow these simple steps to achieve a flawless finish:
1. Prepare Your Surface: Before applying the tile stickers, ensure that your kitchen floor is clean, dry, and free from any dust or debris. Thoroughly sweep and mop the area, allowing it to dry completely before proceeding.
2. Measure and Cut: Measure the dimensions of your tiles accurately and mark them on the tile stickers. Use a sharp utility knife or scissors to cut the stickers along the marked lines. It is essential to achieve precise measurements to ensure a seamless fit.
3. Peel and Stick: Carefully peel off the backing of each tile sticker, starting from one corner. Align the sticker with the edge of the tile and press it firmly onto the surface, smoothing out any air bubbles or wrinkles as you go. Repeat this process for each tile until your entire kitchen floor is covered.
4. Finishing Touches: Once all the stickers are applied, go over them with a clean cloth or sponge to ensure they adhere properly. Pay attention to the edges and corners, pressing them down firmly for a secure bond.
Maintenance Tips:
To ensure that your kitchen floor tile stickers retain their beauty and longevity, it is essential to follow some maintenance tips:
1. Regular Cleaning: Keep your tile stickers looking fresh by regularly cleaning them with mild soap and water. Avoid using abrasive cleaners or scrub brushes that may damage the sticker’s surface.
2. Avoid Excessive Moisture: While most tile stickers are water-resistant, prolonged exposure to excessive moisture can weaken their adhesive properties. Wipe up any spills immediately to prevent water from seeping underneath the stickers.
3. Gentle Handling: Be cautious while moving Furniture or heavy objects on the floor with tile stickers. Avoid dragging or sliding items across the surface, as this can cause the stickers to peel or tear.
4. Regular Inspections: Periodically check the tile stickers for any signs of wear or damage. If you notice any peeling or lifting, replace the affected stickers promptly to maintain a seamless look.
In conclusion, updating your kitchen floor with tile stickers is a cost-effective and easy way to transform the space. With their versatility, ease of installation, and temporary nature, they are an ideal solution for renters or those who want to change up their kitchen’s appearance without a major renovation. By following proper maintenance tips, you can enjoy beautiful and long-lasting results. Overall, updating your kitchen floor with tile stickers is a simple and efficient process. By following the steps outlined above and maintaining your tile stickers properly, you can achieve a flawless finish that will enhance the look of your kitchen. Updating your kitchen floor with tile stickers is a simple and efficient process. Here are the steps:
1. Thoroughly sweep and mop the area: Before applying the tile stickers, make sure the floor is clean and dry. Sweeping and mopping will remove any dirt or debris that could affect the adhesive.
2. Measure and cut: Measure the dimensions of your tiles accurately and mark them on the tile stickers. Use a sharp utility knife or scissors to cut the stickers along the marked lines. Precise measurements are essential for a seamless fit.
3. Peel and stick: Carefully peel off the backing of each tile sticker, starting from one corner. Align the sticker with the edge of the tile and press it firmly onto the surface, smoothing out any air bubbles or wrinkles as you go. Repeat this process for each tile until your entire kitchen floor is covered.
4. Finishing touches: Once all the stickers are applied, go over them with a clean cloth or sponge to ensure they adhere properly. Pay attention to the edges and corners, pressing them down firmly for a secure bond.
To maintain your tile stickers’ beauty and longevity, follow these maintenance tips:
1. Regular cleaning: Clean your tile stickers regularly with mild soap and water to keep them looking fresh. Avoid using abrasive cleaners or scrub brushes that may damage the sticker’s surface.
2. Avoid excessive moisture: While most tile stickers are water-resistant, prolonged exposure to excessive moisture can weaken their adhesive properties. Wipe up spills immediately to prevent water from seeping underneath the stickers.
3. Gentle handling: Be cautious when moving furniture or heavy objects on the floor with tile stickers. Avoid dragging or sliding items across the surface, as this can cause peeling or tearing.
4. Regular inspections: Periodically check the tile stickers for signs of wear or damage. If you notice any peeling or lifting, replace the affected stickers promptly to maintain a seamless look.
In conclusion, updating your kitchen floor with tile stickers is a cost-effective and easy way to transform the space. By following the steps outlined above and maintaining your tile stickers properly, you can achieve a flawless finish that will enhance the look of your kitchen.