Wood floors which is created could completely modify the home's texture and look without doing other alterations on to the residence's interior and for a lesser amount of cost compared to traditional hardwood flooring. This particular type of wood floors is affixed using staples, glue or nails. Rather, a level of foam underlay is put directly on top of the sub floor and the wood pieces are laid out along with this particular foam material.
Images Related to Removing Old Wood Flooring
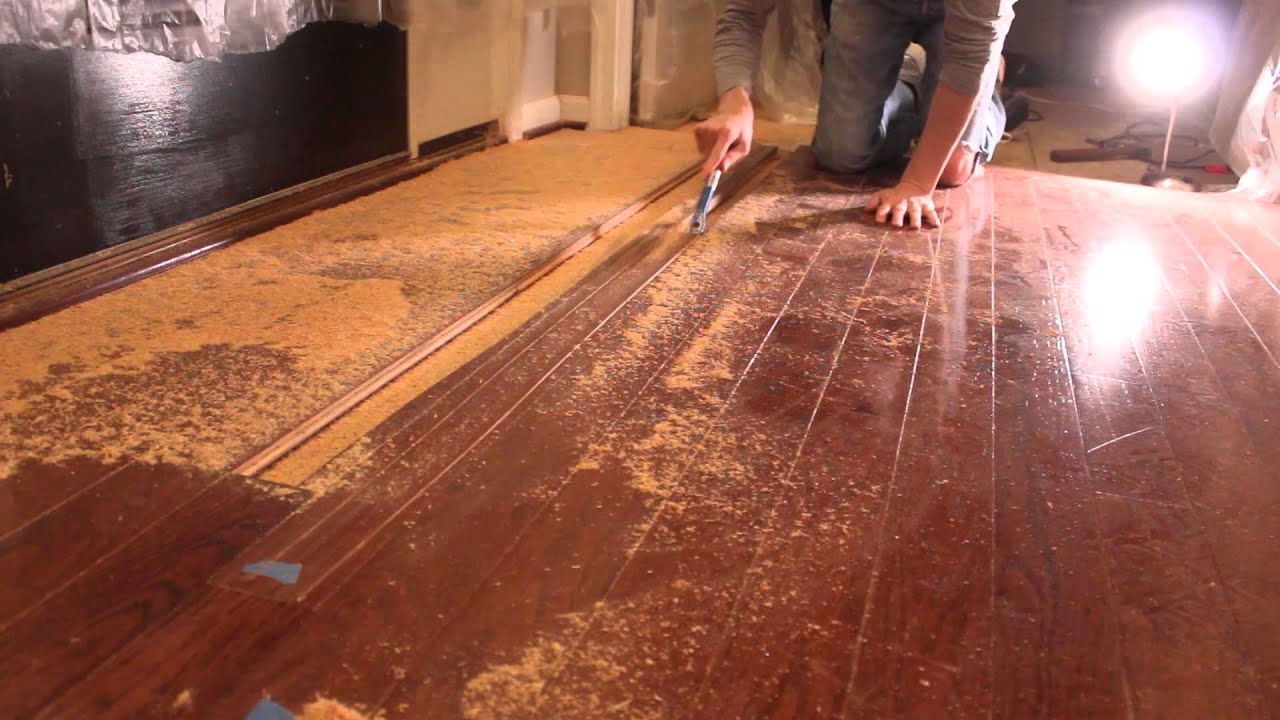
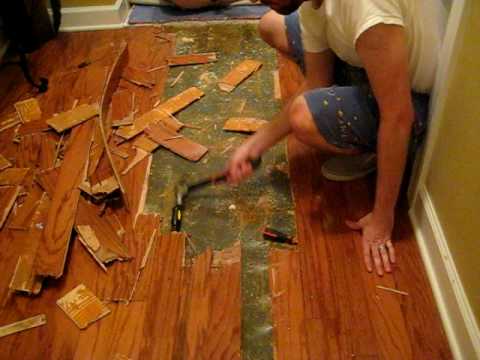
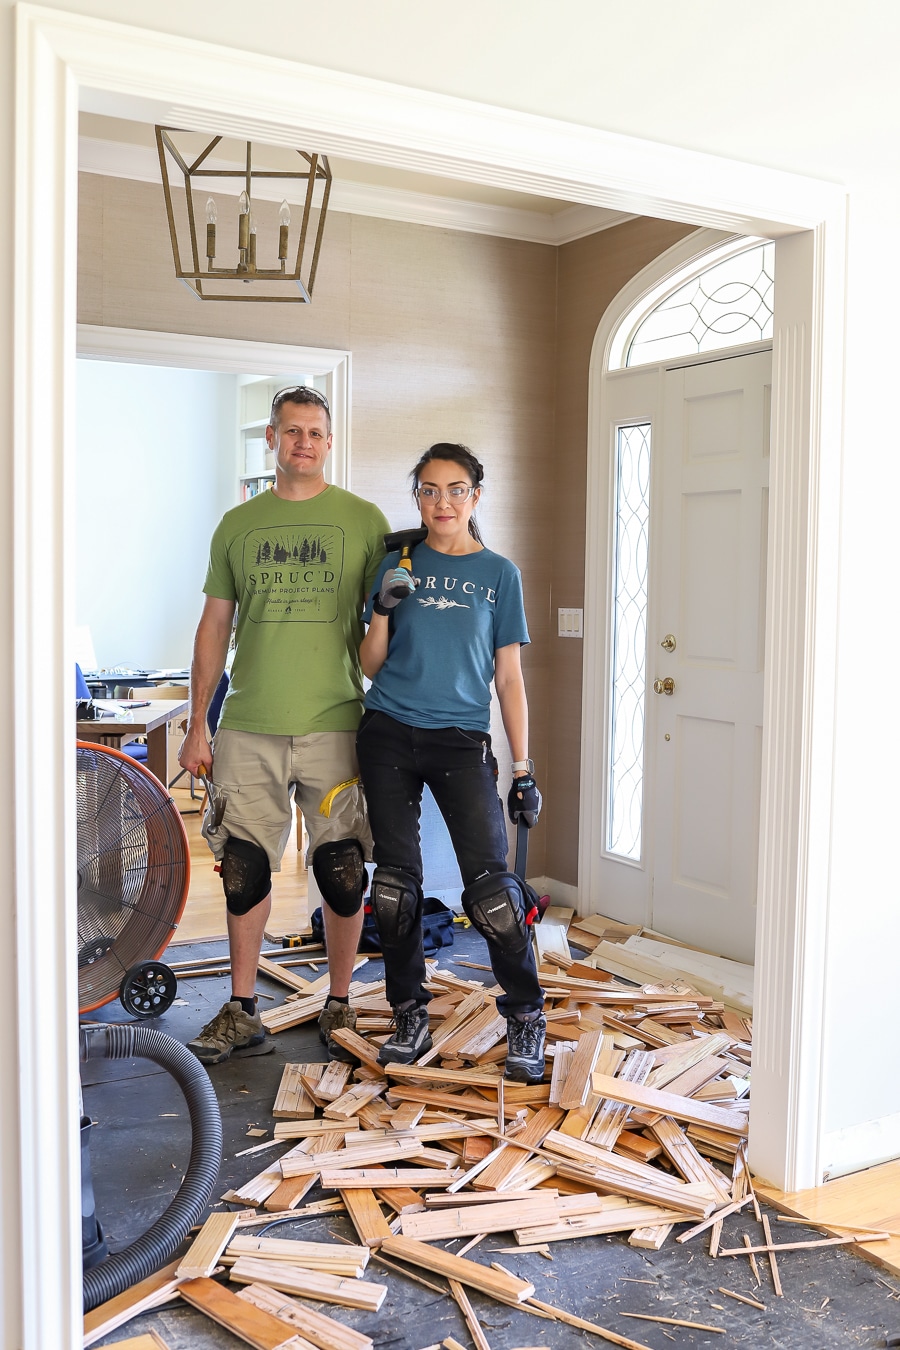
Removing Old Wood Flooring
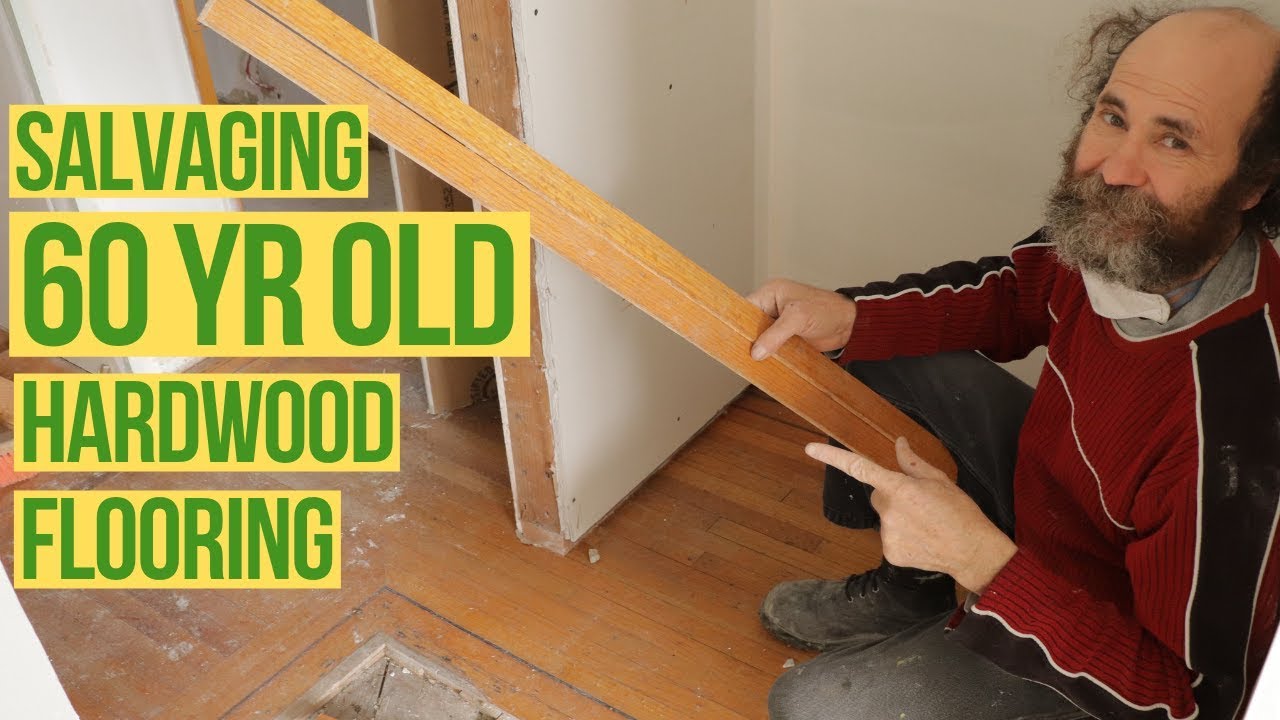
Ultimately, hardwood floors are going to need refinishing and even sanding & refinishing, but can be sanded may well times over. Reclaimed wood is generated from wood which would typically end up in a garbage dump or perhaps burned or disposed of in various other manner. Foremost check in case you'd all of the boards left over if the floor was fitted, frequently the fitter will recommend keeping some of the left over floors in the loft so long as you have to repair a section.
Home Improvement: How to Remove Hardwood Flooring the Best Way

If you're taking into consideration the installation of the floor by a professional person or service you are going to need to perform some research. There's virtually a limitless amount of hardwood flooring selections available to consumers from un finished to engineered and pre-finished laminate flooring each developed with functions which increase the overall styling and durability of a selected style and color.
Removing Old Wood Floor (Part 1)
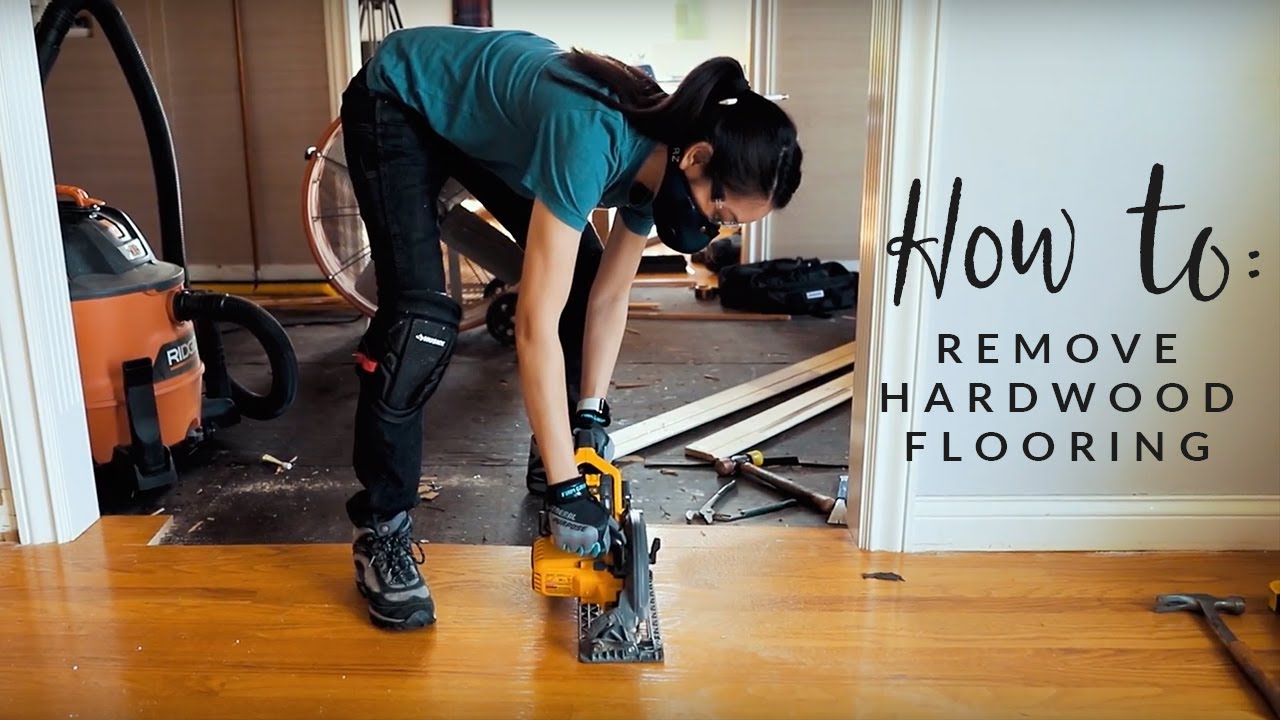
How to Remove HARDWOOD FLOORING for REUSE
How to Remove Hardwood Floor: 12 Steps (with Pictures) – wikiHow

How To Remove Hardwood Flooring the Easy Way
How To Remove Hardwood Flooring the Easy Way
How To Remove Hardwood Flooring (the EASY way!)
Home Improvement: How to Remove Hardwood Flooring the Best Way

Refinish or Replace Your Hardwood Floors? – Macwoods

Awesome How To Remove Tar Glue Tile Off Hardwood Floor And View

How To Remove Paint From Wooden Floors u2013 KNOW IT INFO

Remove Old Hardwood Floor Wax Build Up – Quick Video Too

How To Remove Hardwood Flooring the Easy Way
Related articles:
- Black Walnut Wood Flooring
- Wood Flooring Designs
- Wood Flooring Options For Kitchens
- Contemporary Wood Flooring Ideas
- Dark Wood Floor Bedroom Ideas
- Real Wood Flooring For Kitchens
- Natural Wood Floor Stain
- Oak Wood Flooring
- Birch Wood Flooring Reviews
- Wood Floor Damage Repair
Removing Old Wood Flooring
Wood flooring has long been a popular choice for homeowners due to its timeless beauty and durability. However, there may come a time when you need to remove your old wood flooring, whether it is because it has become worn and damaged or you simply want to update the look of your space. Whatever the reason may be, removing old wood flooring can be a challenging task that requires careful planning and execution. In this article, we will guide you through the process of removing old wood flooring step by step, providing detailed instructions and helpful tips along the way.
1. Preparation: Gathering the Right Tools
Before you begin the process of removing your old wood flooring, it is essential to gather all the necessary tools and equipment. Here are some of the tools you will need for this project:
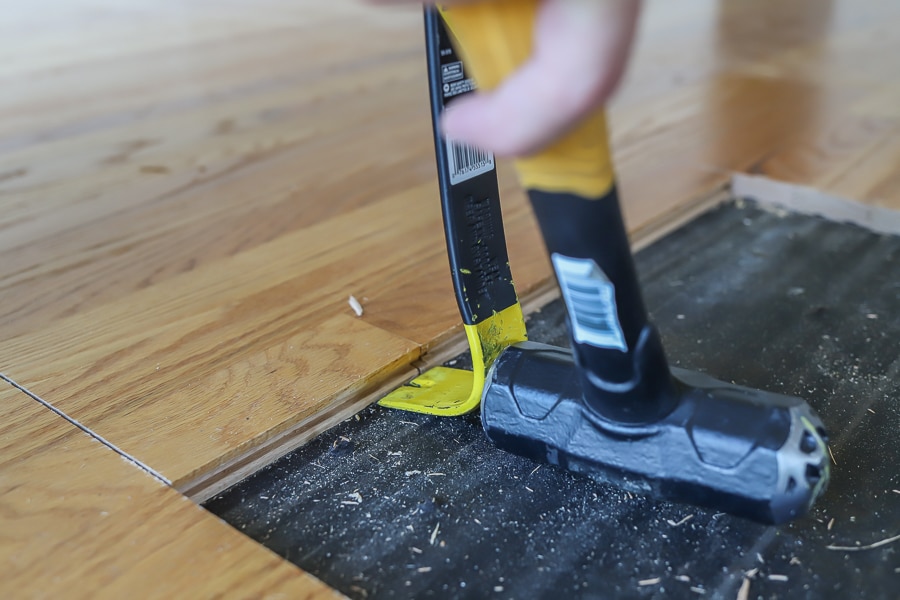
a) Pry bar: A pry bar is an indispensable tool when it comes to removing old wood flooring. It will help you lift and remove individual planks or sections of flooring with ease.
b) Hammer: A hammer will be useful for various tasks, such as removing nails or tapping on the pry bar to loosen stubborn planks.
c) Utility knife: A utility knife will come in handy for cutting through any adhesive or caulk that may be holding the wood flooring in place.
d) Safety goggles and gloves: It is crucial to protect your eyes and hands during this process. Safety goggles will shield your eyes from flying debris, while gloves will provide a firm grip and protect your hands from splinters.
e) Dust mask: Removing old wood flooring can create a lot of dust and debris. Wearing a dust mask will prevent you from inhaling harmful particles.
FAQs:
Q: Do I need to wear protective gear while removing old wood flooring?
A: Yes, it is highly recommended to wear safety goggles, gloves, and a dust mask to protect yourself from potential hazards such as flying debris and dust particles.
Q: Can I use any pry bar for removing old wood flooring?
A: It is best to use a pry bar specifically designed for flooring removal, as it will have the right size and shape to effectively lift and remove the planks.
2. Assessing the Condition of the Wood Flooring
Before you start ripping out your old wood flooring, take a moment to assess its condition. This step is crucial as it will help you determine the best approach for removing the flooring. Here are some common scenarios you may encounter:
a) Loose or damaged planks: If only a few planks are loose or damaged, you may be able to remove and replace them individually without having to remove the entire floor.
b) Glued-down flooring: If your wood flooring is glued down, you will need to apply a bit more effort and caution during the removal process. Glued-down flooring usually requires more time and patience to remove than nail-down flooring.
c) Nailed-down flooring: If your wood flooring is nailed down, you will need to locate and remove the nails before you can start removing the planks. This can be a time-consuming task but is relatively straightforward.
FAQs:
Q: How do I know if my wood flooring is glued down or nailed down?
A: You can determine whether your wood flooring is glued down or nailed down by inspecting the edges of the planks. Glued-down flooring typically has adhesive visible along the edges, while nail-down flooring will have nails protruding through the surface.
Q: Can I reuse the old Wood flooring after removing it?
A: It is possible to reuse old wood flooring after removing it, depending on its condition. If the planks are still in good shape and can be salvaged, you may be able to use them for other projects or reinstall them in a different area. However, keep in mind that reusing old flooring may require additional cleaning and preparation before use. Q: How can I safely remove glued-down wood flooring?
A: To safely remove glued-down wood flooring, you will need to use a floor scraper or a heat gun to soften the adhesive. Start by scoring the surface of the flooring with the floor scraper, then apply heat to the adhesive using a heat gun. Once the adhesive is soft, carefully scrape away the flooring using the floor scraper. Be cautious not to damage the subfloor in the process.
Q: Can I remove old wood flooring without damaging the subfloor?
A: It is possible to remove old wood flooring without damaging the subfloor, but it requires careful and precise removal techniques. Using the right tools such as a pry bar or floor scraper can help minimize damage. Take your time and work slowly to avoid causing any harm to the subfloor.
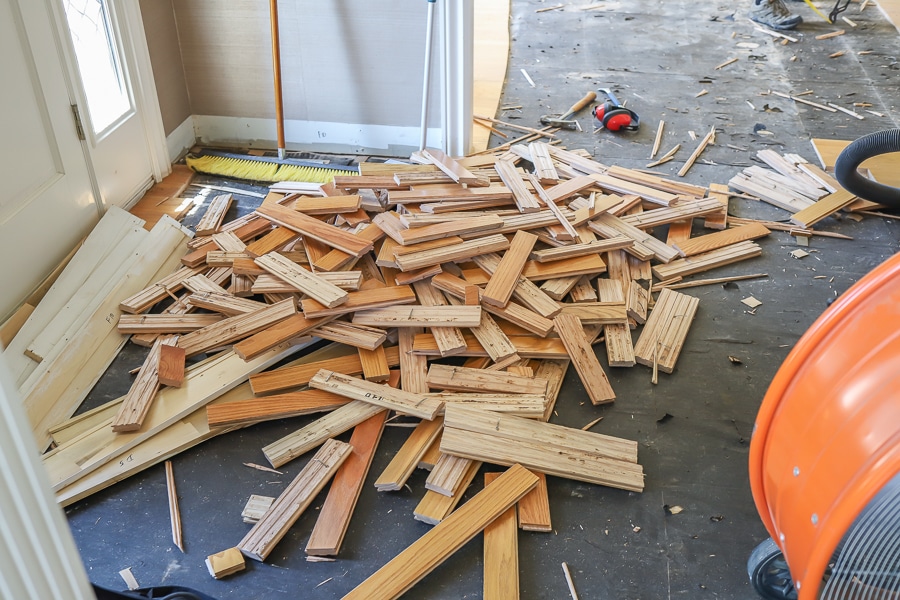
Q: What should I do with the removed wood flooring?
A: If the removed wood flooring is in good condition, you can consider reusing it for other projects or selling it to someone who may have a use for it. Alternatively, you can dispose of it properly at a local recycling center or contact a waste disposal service for assistance.
Q: How long does it typically take to remove old wood flooring?
A: The time it takes to remove old wood flooring depends on various factors such as the size of the area, type of installation (glued-down or nailed-down), and your level of experience. It can range from a few hours for a small room to several days for a larger space or a more complex removal process.
Remember, always prioritize safety when removing old wood flooring and consult professionals if needed.
“How can I safely remove old wood flooring without damaging the subfloor?”
To safely remove old wood flooring without damaging the subfloor, follow these steps:1. Prepare the area: Clear the room of any furniture or obstructions. Wear protective gear, such as safety glasses and gloves.
2. Inspect the flooring: Determine whether the wood flooring is nailed down or glued. This will affect the removal method you choose.
3. Remove baseboards and trim: Carefully remove any baseboards or trim along the edges of the flooring using a pry bar or a trim removal tool. Set them aside for later reinstallation.
4. Start removing the flooring: If the wood flooring is nailed down, use a pry bar to gently lift each board from its edges. Apply even pressure to avoid splintering or cracking. Insert a thin piece of scrap wood under the pry bar to distribute pressure and protect the subfloor.
5. For glued flooring: If the wood flooring is glued down, start by cutting it into manageable sections using a circular saw or reciprocating saw. Create straight cuts parallel to the floorboards, making sure not to cut into the subfloor. Then, use a pry bar to lift and remove each section.
6. Remove nails or staples: After removing each board, check for any remaining nails or staples on the subfloor. Use pliers or a nail puller to extract them carefully without damaging the subfloor.
7. Clean up debris: As you progress, remove loose nails, staples, or other debris promptly to prevent accidents and damage during removal.
8. Inspect and repair subfloor: Once all the old wood flooring is removed, thoroughly inspect the subfloor for damages like rot, water stains, or unevenness. Address any issues before installing new flooring.
9. Dispose of removed materials responsibly: Depending on local regulations, dispose of old wood flooring in an appropriate manner—recycling if possible or following waste disposal guidelines.
Remember to work slowly and patiently to minimize the risk of damaging the subfloor during removal. If you’re uncertain about any step, consult with a professional for guidance and assistance.