For all the choices out there, you are going to find tile flooring that may be fitted in any place of the home of yours. You're now prepared to grout. Installing a tile flooring isn't very difficult but does demand a bit of perseverance and preparation. A large amount of individuals wax them to keep them even more protected. Ceramic tiles and porcelain are usually used in bathrooms and kitchens.
Images Related to Vinyl Tile Floor Preparation
Vinyl Tile Floor Preparation
/cdn.vox-cdn.com/uploads/chorus_image/image/65891755/howto_vinylfloor_05.0.jpg)
It is very heavy and heavy, and it doesn't involve any kind of glazing before use. This's typically a one or two year warranty. In the event that you need the floor of yours to have the look of brass, bronze or steel, this's the one to go for. It typically takes the contractor two to three days to perform a tile flooring installation. You can decide to do some of the prep do the job yourself to conserve a lot of money.
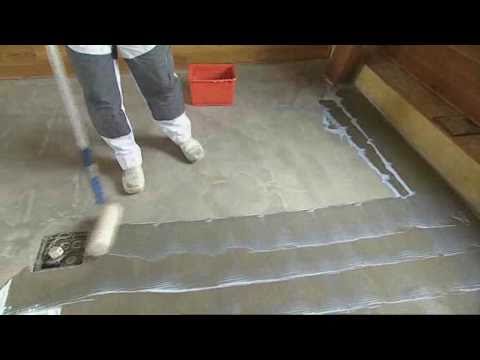
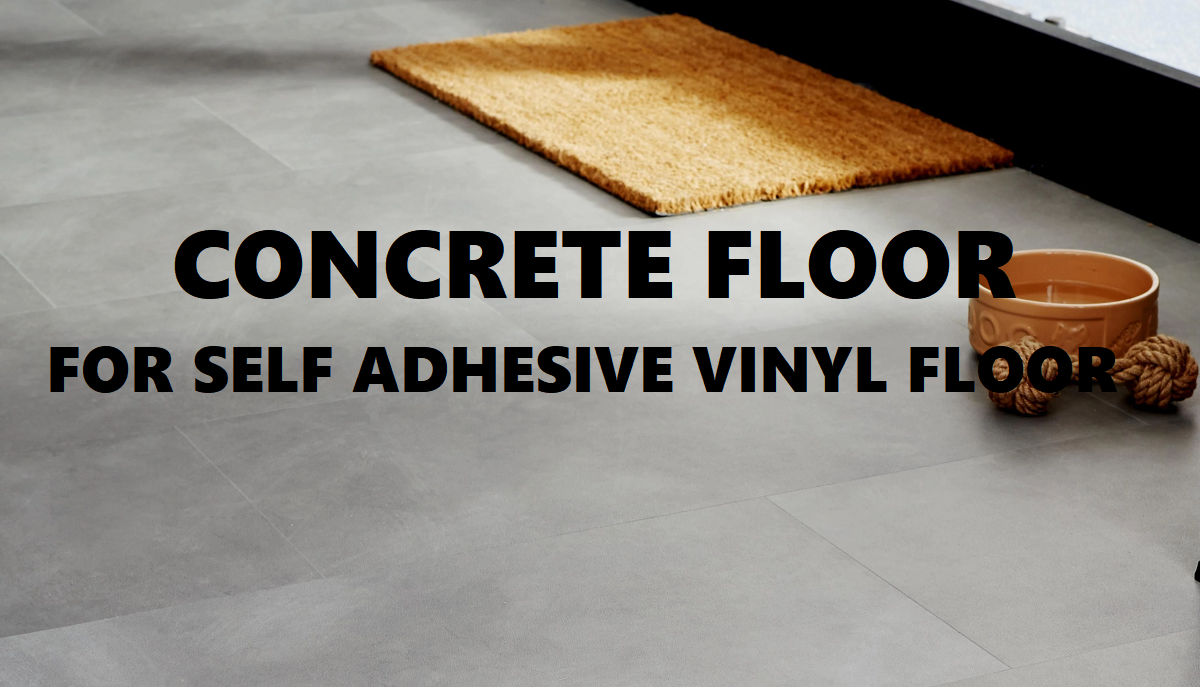
How to prepare your floor for Stepper Self adhesive vinyl flooring
This's needed for one to find a way to calculate precisely the amount of tiles you will need. In the more conventional days, tiles were merely used in rooms with a great deal of moisture, traffic, rough and tumble. There is great independence in the usage of mosaic tiles and most folks who hire artists to design their house choose to use these as the medium of theirs.
How to Prep a Subfloor for Luxury Vinyl Flooring

Preparation Before Vinyl Flooring Installation – Moduleo
Installing Your Peel-and-Stick Vinyl Tile Floor

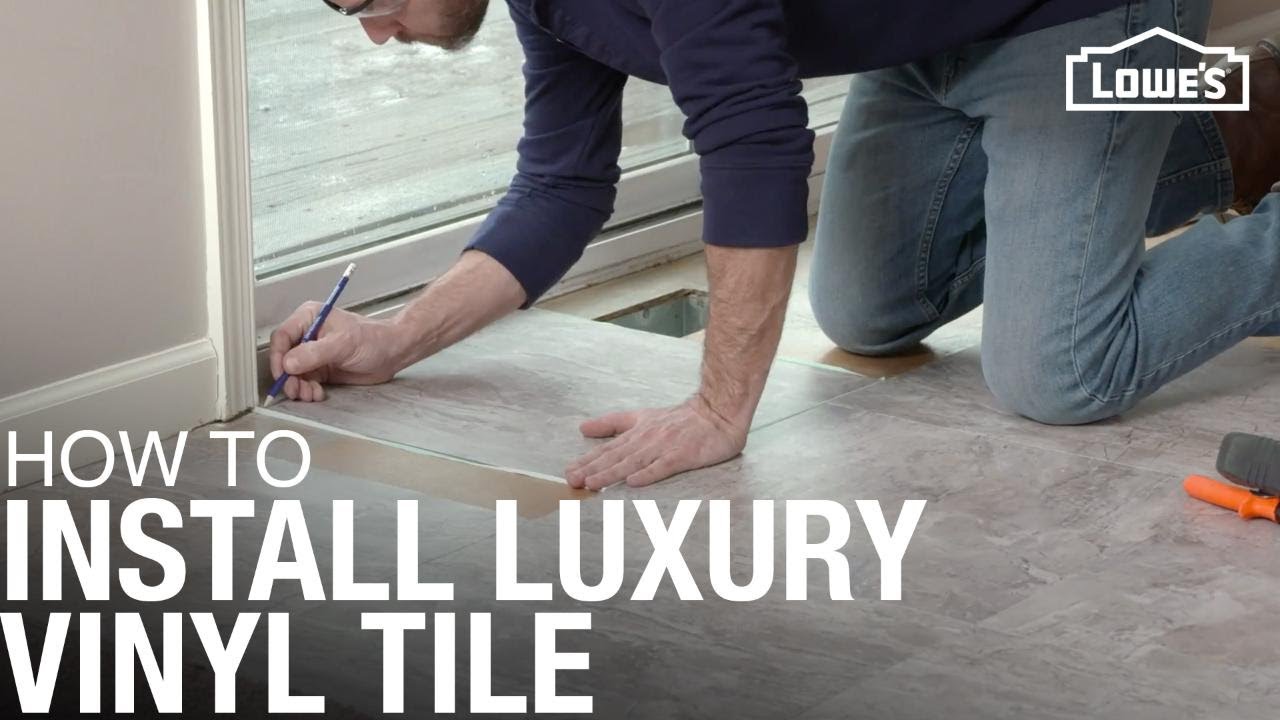
How to Install Luxury Vinyl Tile Flooring
Vinyl Plank Installation: How to Install Vinyl Plank Flooring on

Luxury Vinyl Tile Installation

How To Prepare A Concrete Floor For Vinyl Flooring? Parrys

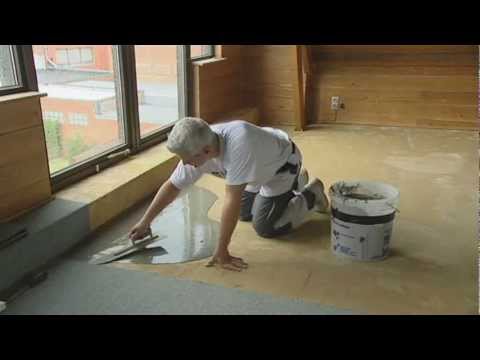
Skim Coating Floor Preparation u2014 Du0026S Flooring
How To Prep Floors For Luxury Vinyl Planks: NYNR Refresh Challenge

How to Prepare a Floor for Peel u0026 Stick Tile

How To Prepare Concrete Floor For Self Adhesive Vinyl Tiles (Peel
Can You Put Vinyl Tile On Concrete Floor? – Ready To DIY

Related articles:
- Vintage Bathroom Floor Tile Patterns
- Bathroom Floor Tile DIY
- Limestone Bathroom Floor Tiles
- Bathroom Floor Porcelain Tile
- Concrete Bathroom Floor Ideas
- White Bathroom Ceramic Tiles
- Bathroom Floor Baseboard
- Rustic Bathroom Flooring Ideas
- Bathroom Flooring Options
- Bamboo Bathroom Flooring Ideas
If you’re looking to install vinyl tile flooring in your home, you’ll need to have a clear understanding of the preparation process. Taking time to properly prep your floor is essential for achieving the best results and ensuring a long-lasting, beautiful finish. In this article, we’ll cover all you need to know about prepping your floor for vinyl tile installation.
Clear the Room
The first step in preparing for vinyl tiles is to clear the room of furniture and any other items. This will provide you with a clean space in which to work, which will make the process easier and more efficient.
Clean the Subfloor
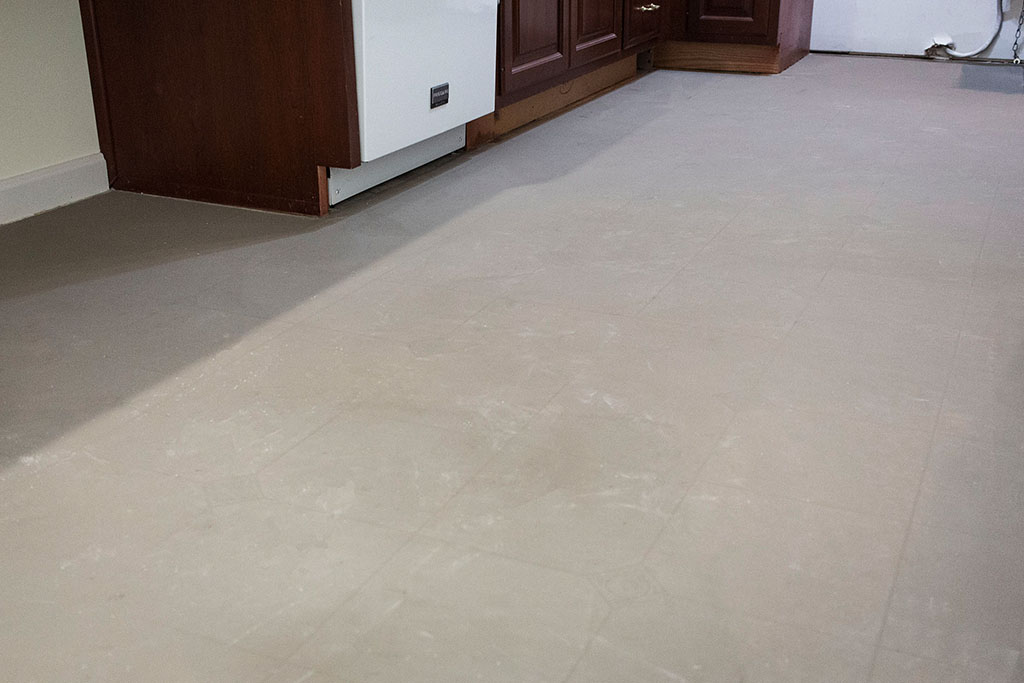
The next step is to thoroughly clean the subfloor. This will ensure that any dirt and debris won’t interfere with the adhesion of the tiles. Use a vacuum cleaner to carefully remove dirt and dust from the floor, then mop it with a damp cloth or mop and some detergent. Let it dry completely before proceeding.
Check for Uneven Surfaces
Next, take a close look at the subfloor for any uneven surfaces or bumps. If there are any, you’ll want to use a flat sanding block to smooth them out. This will ensure that the vinyl tiles will adhere properly, and that there won’t be any gaps or lumps between them.
Remove Old Flooring
If necessary, you may also need to remove any existing flooring before installing vinyl tiles. Use a utility knife to carefully cut around baseboards and doorways, then use a pry bar or other tool to pull up the old flooring. Take care not to damage any underlying surfaces in the process.
Prime the Subfloor
Before laying down new vinyl tiles, you should prime the subfloor. This will ensure that your new flooring has a strong adhesive bond with the substrate below it. Use an appropriate primer according to the manufacturer’s instructions, then let it dry completely before proceeding.
Lay Down Underlayment
Once your subfloor is primed and ready to go, you can begin laying down underlayment. This will provide an extra layer of cushioning between your subfloor and your new vinyl tiles, which will help protect them from wear and tear and make them more comfortable underfoot. Use an appropriate underlayment material according to your manufacturer’s instructions.
Install Your Vinyl Tiles
Finally, it’s time for you to install your new vinyl tiles! Carefully read all manufacturer instructions before beginning this step, as it is vitally important that you follow them closely for best results. Make sure to apply adhesive evenly and press down firmly on each tile as you go, taking care not to leave any gaps between them.
Conclusion
The preparation process for installing vinyl tile flooring can be lengthy, but it’s essential for achieving a high-quality finish that will last for many years. By following these steps closely and taking care with each one, you can ensure that your new floor looks great and lasts for years to come!