A wood floors needs to be impeccably installed in order to stand a possibility in the bathroom, in which moisture and standing water can kill it quickly flat. The proper choices become an investment which will increase the price tag of the house, if and when you choose to sell the house of yours. Here once again, you've a number of options.
Here are Images about Vinyl Flooring For Kitchen And Bathroom
Vinyl Flooring For Kitchen And Bathroom
/cdn.vox-cdn.com/uploads/chorus_asset/file/22159959/CLX_Coastal_Riviera_Linen_10048776_H.0.jpg)
You are able to refurbish as well as replace these tiles with no lots of hassle. Choose from several choices as marble, limestone, and also travertine. In the event that choose cork, a flooring material overloaded with good qualities, as it's sound insulation and warm underfoot, as well as being non-slip and rot-proof even when wet. First, not one of these flooring options are tough enough, barring hardwood.
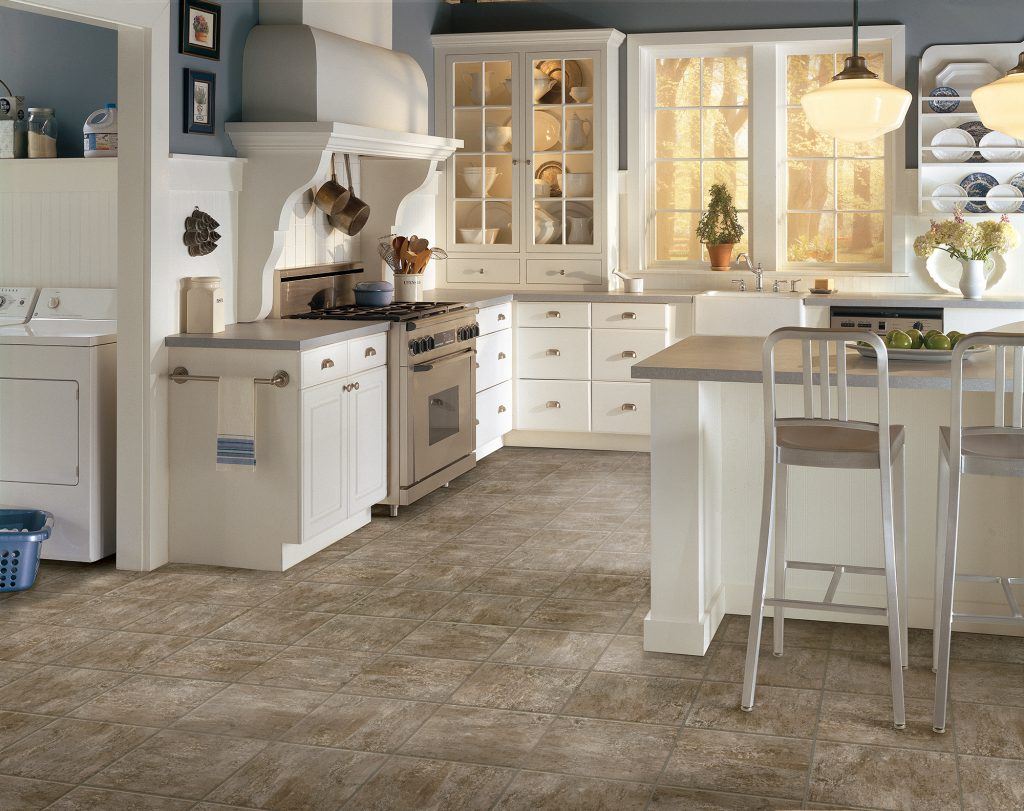
5 Options for Kitchen Flooring and Bathroom Flooring Ideas
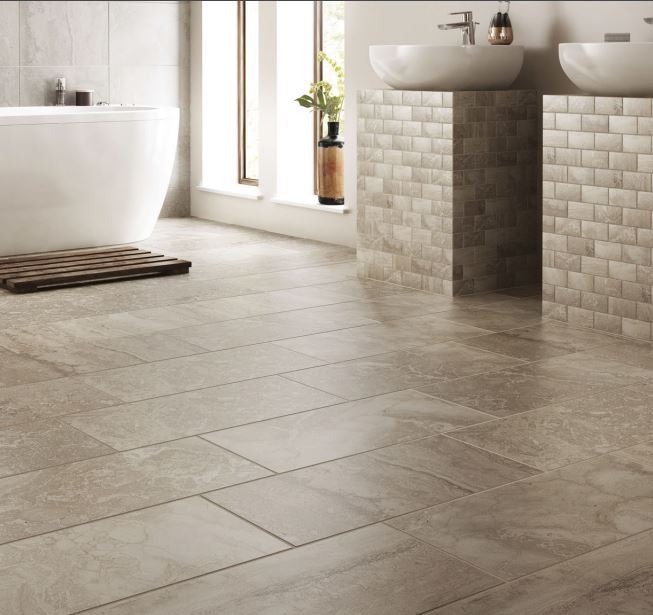
Because you'd most likely like to get every previous detail just right, you are guaranteed to use a lot of time in picking flooring for this. Enjoy because you select the types, colors, sizes and patterns of bathroom floor tile as well as related details for the bathroom of yours. Several completely different bathroom floor tiles ideas include tiling the bathroom of yours with flooring made of cork, hardwood or bamboo.
Images Related to Vinyl Flooring For Kitchen And Bathroom
5 Options for Kitchen Flooring and Bathroom Flooring Ideas
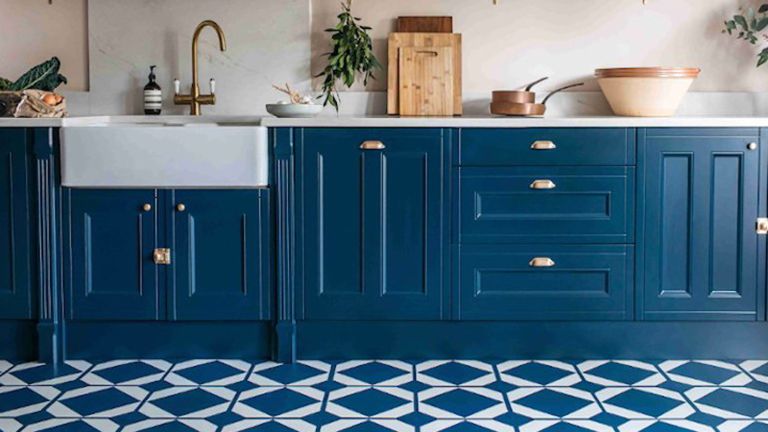
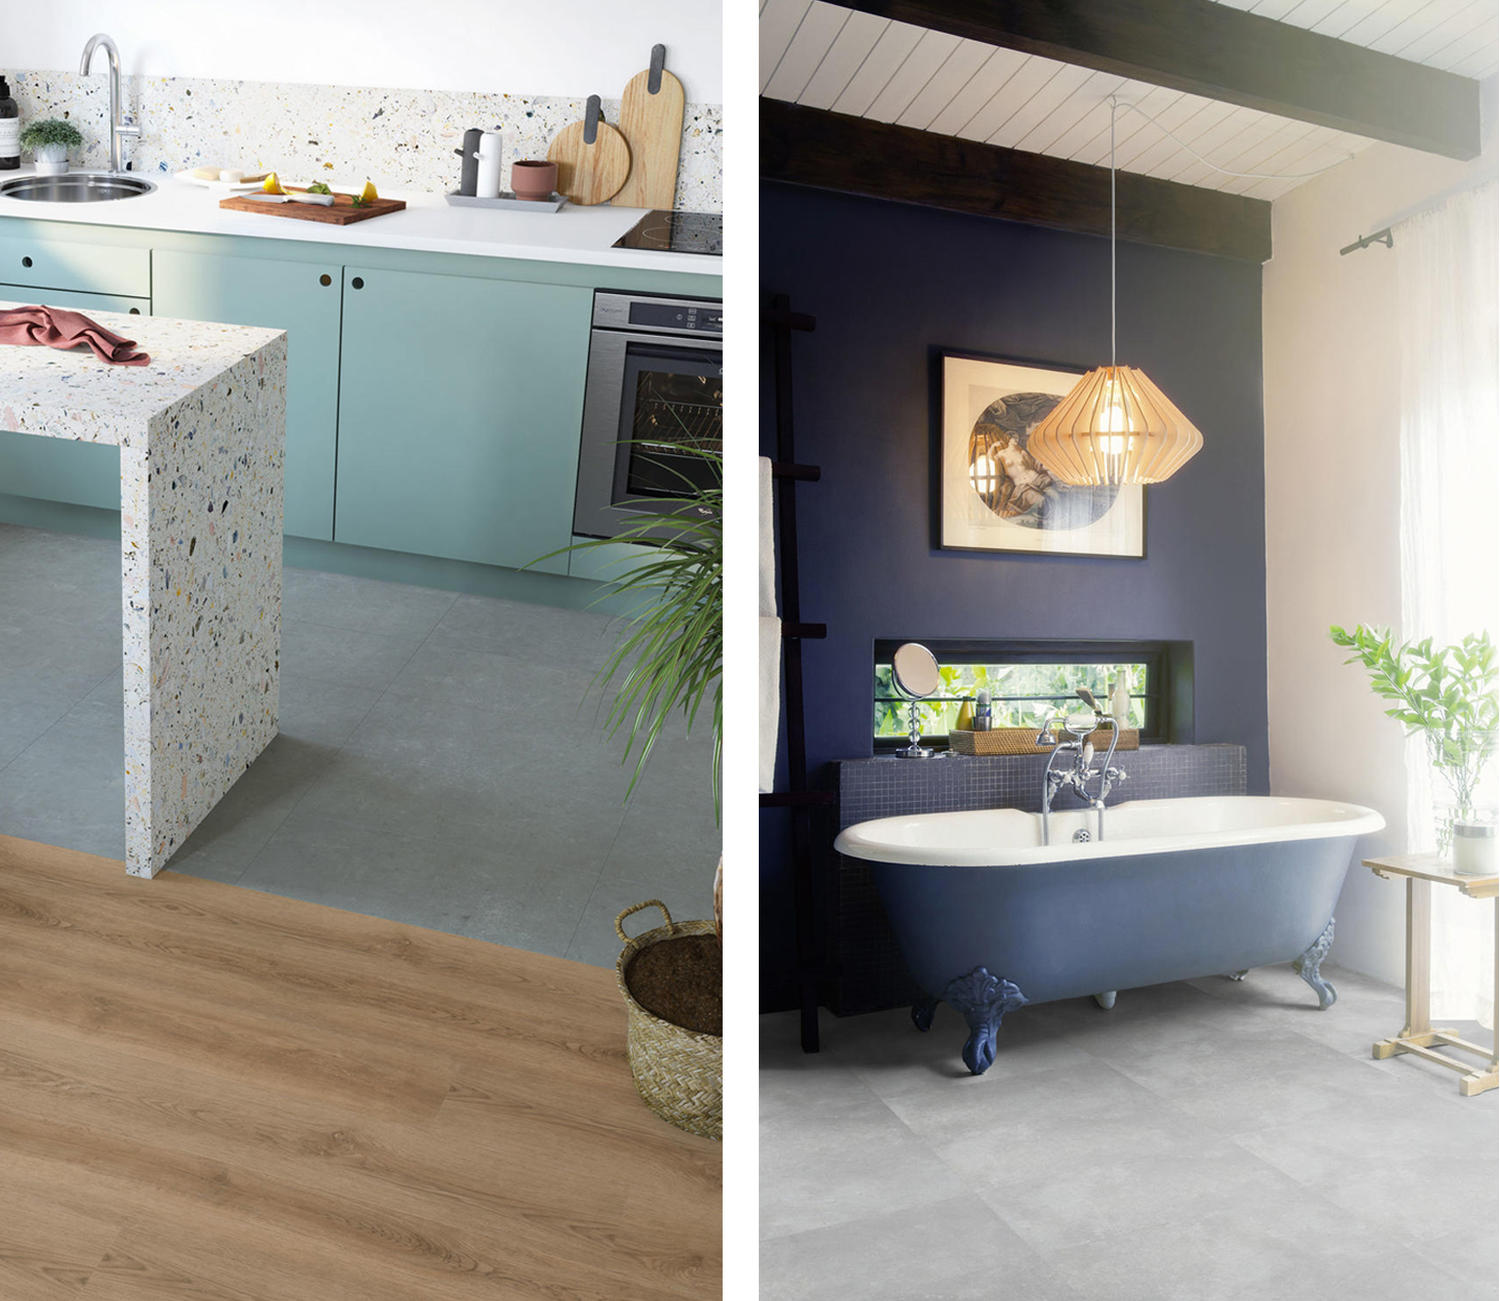
Vinyl flooring for kitchens: 14 floor ideas made from vinyl Real
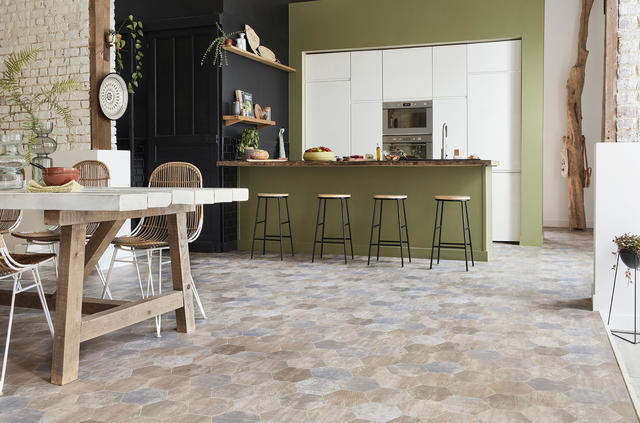
Vinyl flooring in Kitchens and Bathrooms Tarkett
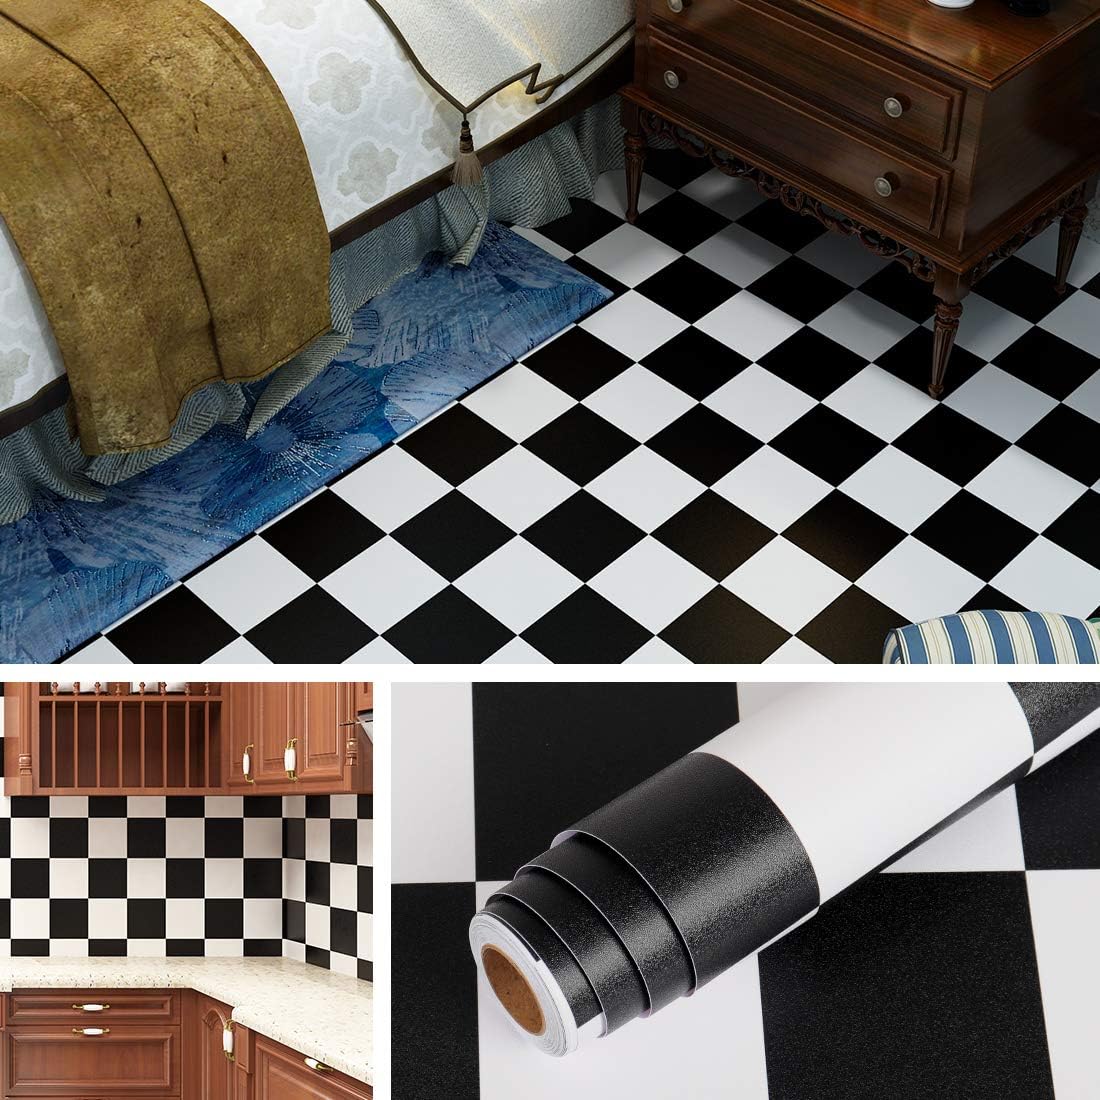
Livelynine Checkered Black and White Vinyl Flooring Roll 15.8×78.8 in Waterproof Peel and Stick Floor Tile for Bedroom Kitchen Backsplash Bathroom
Luxury Vinyl Flooring for Kitchens and Bathrooms Westland Carpet

Vinyl Flooring – The Home Depot

Luxury Vinyl Flooring Tile LVT Flooring Harvey Maria

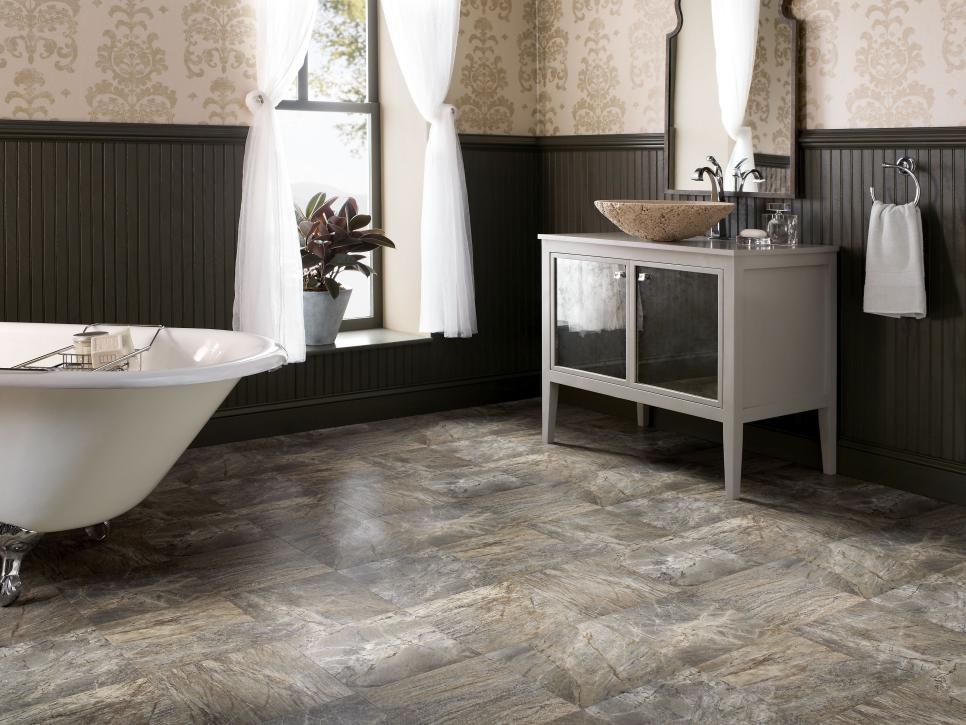
Exploring Vinyl Bathroom Flooring Options
:max_bytes(150000):strip_icc()/vinyl-bathroom-flooring-options-1824802_sheet_vinyl-61536508e1494f688cce13a52302ad50.jpg)
Livelynine Peel And Stick Floor Tile Beige Marble Vinyl Flooring Tile Peel And Stick Tiles For Floor Kitchen Bedroom Restroom Renter Farmhouse

Vinyl Flooring – The Home Depot

Vinyl flooring in Kitchens and Bathrooms Tarkett
Vinyl Bathroom Floors HGTV
Related articles:
- Vintage Bathroom Floor Tile Patterns
- Bathroom Floor Tile DIY
- Limestone Bathroom Floor Tiles
- Bathroom Floor Porcelain Tile
- Concrete Bathroom Floor Ideas
- White Bathroom Ceramic Tiles
- Bathroom Floor Baseboard
- Rustic Bathroom Flooring Ideas
- Bathroom Flooring Options
- Bamboo Bathroom Flooring Ideas
Vinyl Flooring For Kitchen And Bathroom: A Stylish and Durable Choice
Introduction:
When it comes to choosing the perfect flooring for your kitchen and bathroom, there are numerous options available in the market. However, one type that stands out from the rest is vinyl flooring. Vinyl flooring has gained immense popularity in recent years due to its versatility, durability, and affordability. In this article, we will delve into the various aspects of vinyl flooring for kitchens and bathrooms, including its benefits, installation process, maintenance tips, and frequently asked questions.
Benefits of Vinyl Flooring:
1. Versatility: Vinyl flooring comes in a wide range of colors, patterns, and designs. Whether you prefer a classic or contemporary look, vinyl flooring offers endless possibilities to suit your personal style and complement your kitchen or bathroom decor.
2. Durability: Vinyl flooring is highly durable and can withstand heavy foot traffic, making it an ideal choice for kitchens and bathrooms. It is resistant to scratches, stains, and moisture, ensuring that your floor remains in pristine condition even after years of use.
3. Easy Installation: Vinyl flooring is relatively easy to install, especially when compared to other flooring options. It can be installed over most existing floors without the need for extensive preparation work. This not only saves time but also reduces the overall cost of installation.
4. Comfort Underfoot: Vinyl flooring provides a cushioned feel underfoot, making it comfortable to stand on for long periods while working in the kitchen or getting ready in the bathroom. Its resilience also helps reduce fatigue during prolonged standing.
5. Easy Maintenance: One of the biggest advantages of vinyl flooring is its low maintenance requirement. Regular sweeping or vacuuming along with occasional mopping using a mild detergent is all it takes to keep your vinyl floor looking clean and fresh.
Installation Process:
Installing vinyl flooring in your kitchen or bathroom requires careful planning and attention to detail. Here is a step-by-step guide to help you through the installation process:
1. Prepare the Subfloor: Ensure that the subfloor is clean, dry, and level. Remove any existing flooring material and repair any imperfections or damages before proceeding.
2. Acclimate the Vinyl Flooring: Before installation, allow the vinyl flooring to acclimate to the room temperature for at least 48 hours. This helps prevent expansion or contraction of the material after installation.
3. Measure and Cut: Take accurate measurements of your kitchen or bathroom floor space and transfer them onto the vinyl flooring sheets. Use a utility knife or vinyl cutter to cut the sheets according to your measurements, leaving a small gap around the edges for expansion.
4. Apply Adhesive: Apply adhesive recommended by the manufacturer evenly on the subfloor using a trowel. Allow the adhesive to set as per the manufacturer’s instructions before proceeding.
5. Install the Vinyl Flooring: Carefully lay out the vinyl flooring sheets on top of the adhesive, starting from one corner of the room. Smooth out any air bubbles or wrinkles using a roller or a heavy object. Continue this process until you cover the entire floor area.
6. Trim and Finish: Once all the sheets are installed, trim off any excess vinyl using a utility knife or vinyl trimmer. Install baseboards or quarter-round moldings to give your flooring a polished look.
Maintenance Tips:
To ensure your vinyl flooring retains its beauty and durability over time, here are some maintenance tips to keep in mind:
1. Regular Cleaning: Sweep or vacuum your vinyl flooring regularly to remove dirt and dust particles That can scratch the surface. Use a soft bristle broom or a vacuum with a brush attachment to avoid any damage.
2. Mopping: Occasionally mop your vinyl flooring with a mild detergent and warm water solution. Avoid using harsh chemicals or abrasive cleaners as they can cause damage. Rinse the floor thoroughly after mopping to remove any residue.
3. Spills and Stains: Clean up spills immediately to prevent staining. Blot the spill with a clean cloth or paper towel, and then gently clean the area with a mild detergent and warm water solution. Avoid scrubbing vigorously as it can damage the flooring.
4. Protection from Furniture: Use furniture pads or felt protectors under the legs of heavy furniture to prevent scratches or indentations on the vinyl flooring.
5. Avoid Sharp Objects: Do not drag sharp objects or heavy appliances across the vinyl flooring as they can cause scratches or tears. Use lifting or sliding techniques to move heavy items instead.
6. Avoid Excessive Moisture: Vinyl flooring is moisture-resistant but not completely waterproof. Wipe up any spills or moisture promptly and avoid excessive water exposure, especially in areas like bathrooms or kitchens where water is more likely to be present.
7. Protect from Sunlight: Prolonged exposure to direct sunlight can cause fading or discoloration of vinyl flooring. Use curtains, blinds, or window films to protect your floors from UV rays.
By following these installation and maintenance tips, you can enjoy the benefits of vinyl flooring in your kitchen or bathroom for years to come. Thank you for sharing these installation and maintenance tips for vinyl flooring. It’s important to follow the manufacturer’s instructions during installation to ensure a proper and long-lasting result. Regular cleaning and proper maintenance will also help preserve the beauty and durability of the flooring over time. Protecting the flooring from furniture, sharp objects, excessive moisture, and direct sunlight are all essential steps to keep in mind. With these tips in mind, homeowners can enjoy their vinyl flooring for many years. Additionally, it is important to note that vinyl flooring should be installed on a clean and level surface. Any existing flooring should be removed and the subfloor should be properly prepared before installation. It is also recommended to acclimate the vinyl flooring to the room’s temperature and humidity for at least 48 hours before installation.
During installation, make sure to use the proper adhesive or click-lock system as recommended by the manufacturer. Follow the manufacturer’s instructions for installation techniques, including seam sealing if necessary. Allow the flooring to fully cure before moving furniture or heavy objects onto it.
Regular maintenance and cleaning will help extend the lifespan of your vinyl flooring. By following these tips, you can keep your vinyl flooring looking beautiful and in top condition for years to come.