You will find several ways to approach cleaning concrete floor, based on its look, whether it centrally located within or outside, if the concrete were sealed and the current state of its of cleanliness. Polished concrete floors today has been one of the most popular options in every house and commercial constructions.
Here are Images about How To Concrete Floors Residential
How To Concrete Floors Residential
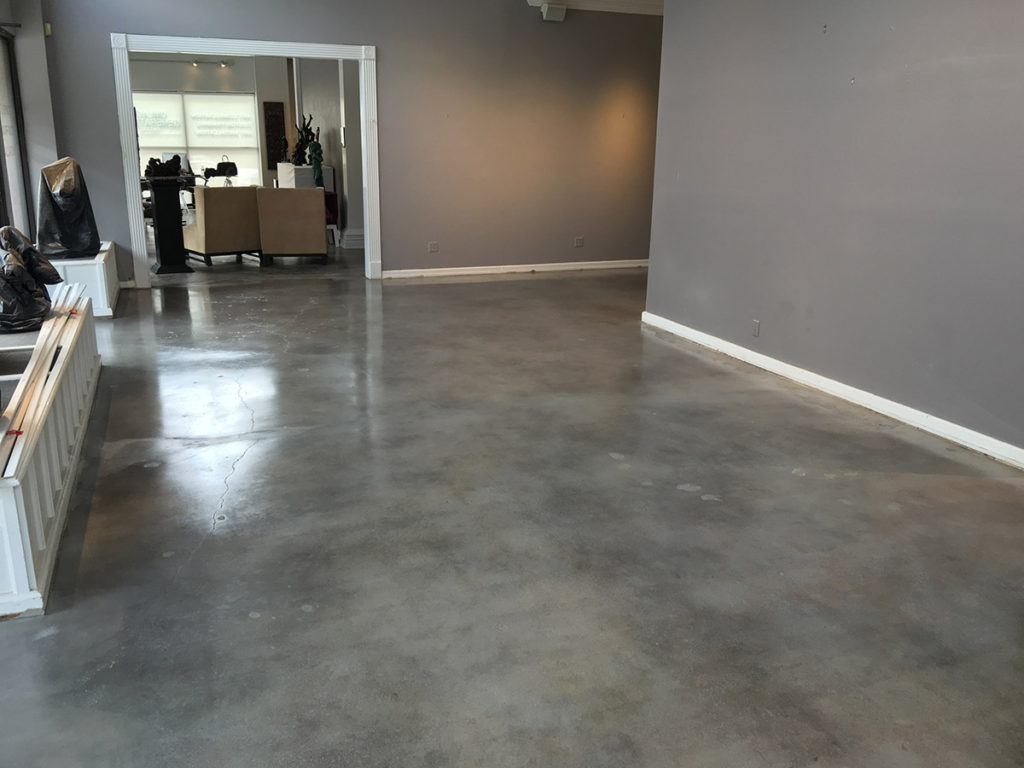
Even if you might be able to keep the floor war of yours with radiant floor heating fitted, if you do not have this alternative as well as concrete flooring generally is a bit of cool. Polished concrete floors, long consigned to done basements and business-related spaces, are making well-deserved inroads into residential houses.
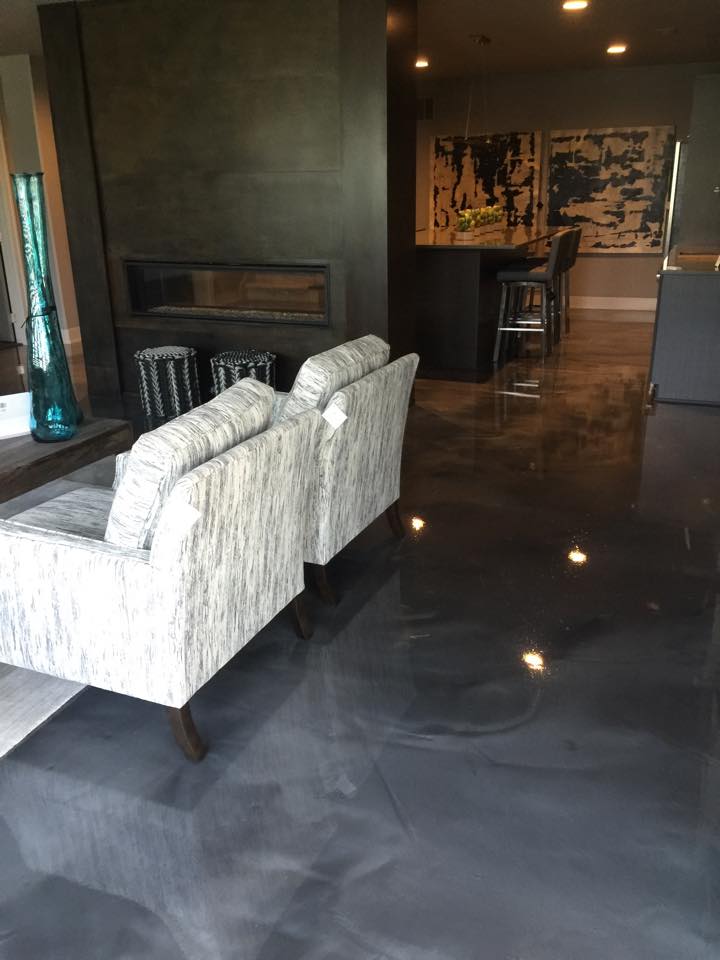
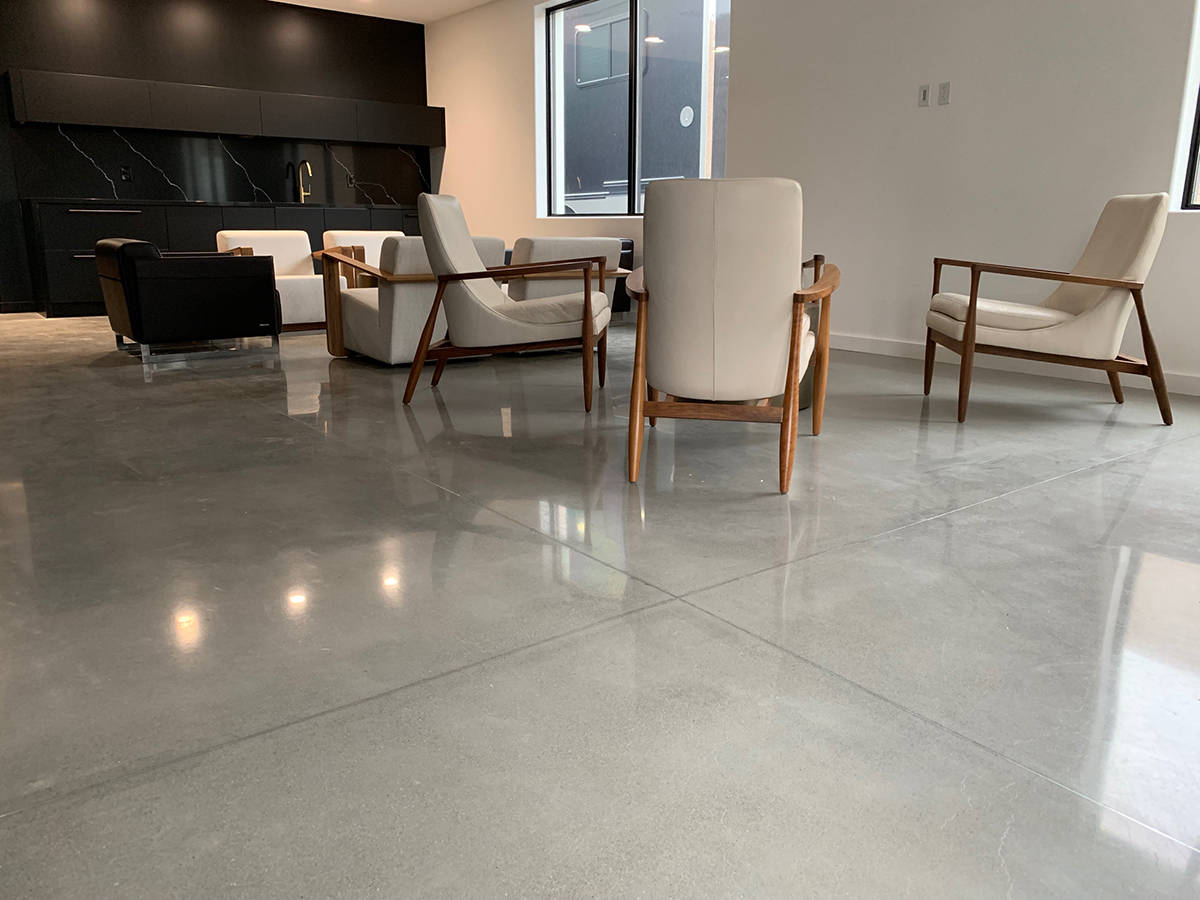
Concrete Polishing Services ⋆ All About Polished Concrete

In fact concrete floors aren't something new, the way these were always around. Among the reasons concrete polishing floors are going up in demand is since they eliminate additional costs which could occur with a new build. Below are actually some of the pros to building your new home with flooring of polished concrete or exposing the concrete floors of your current house.
Images Related to How To Concrete Floors Residential
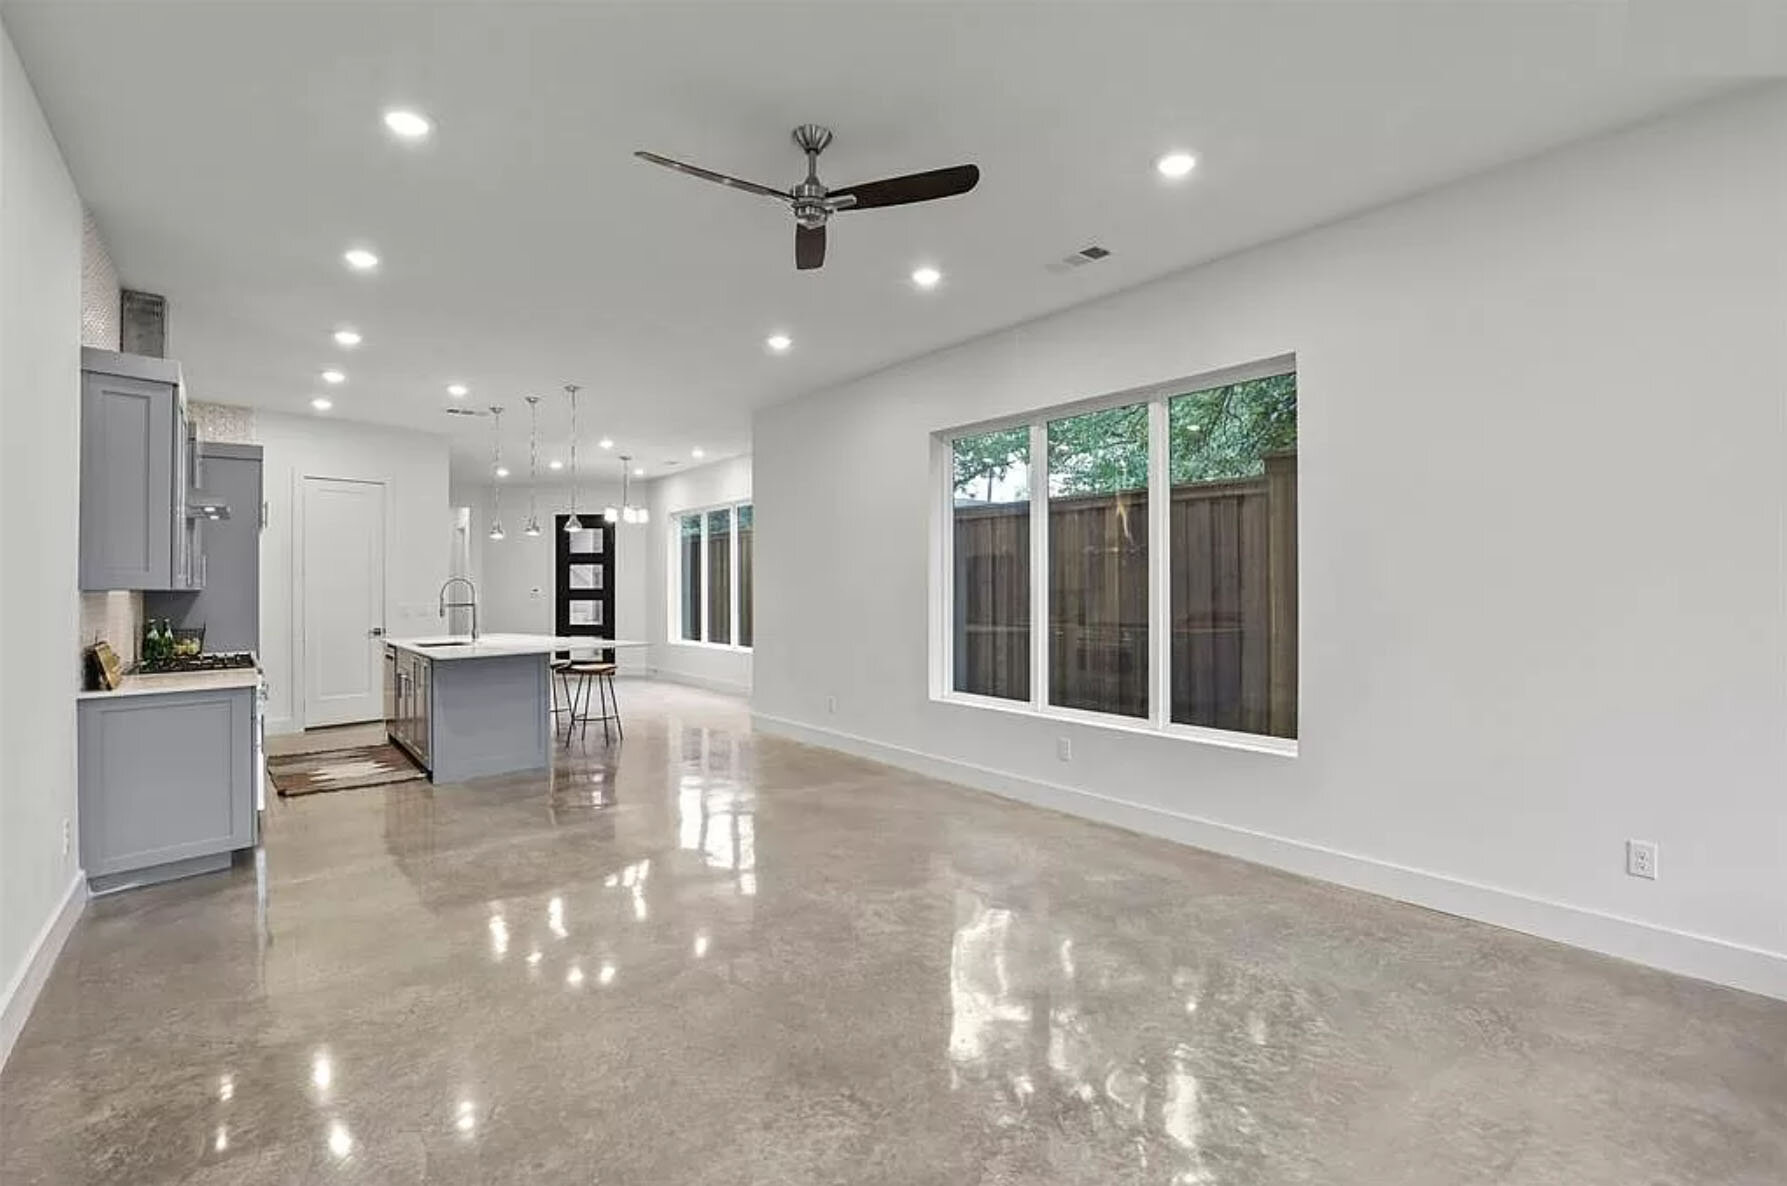
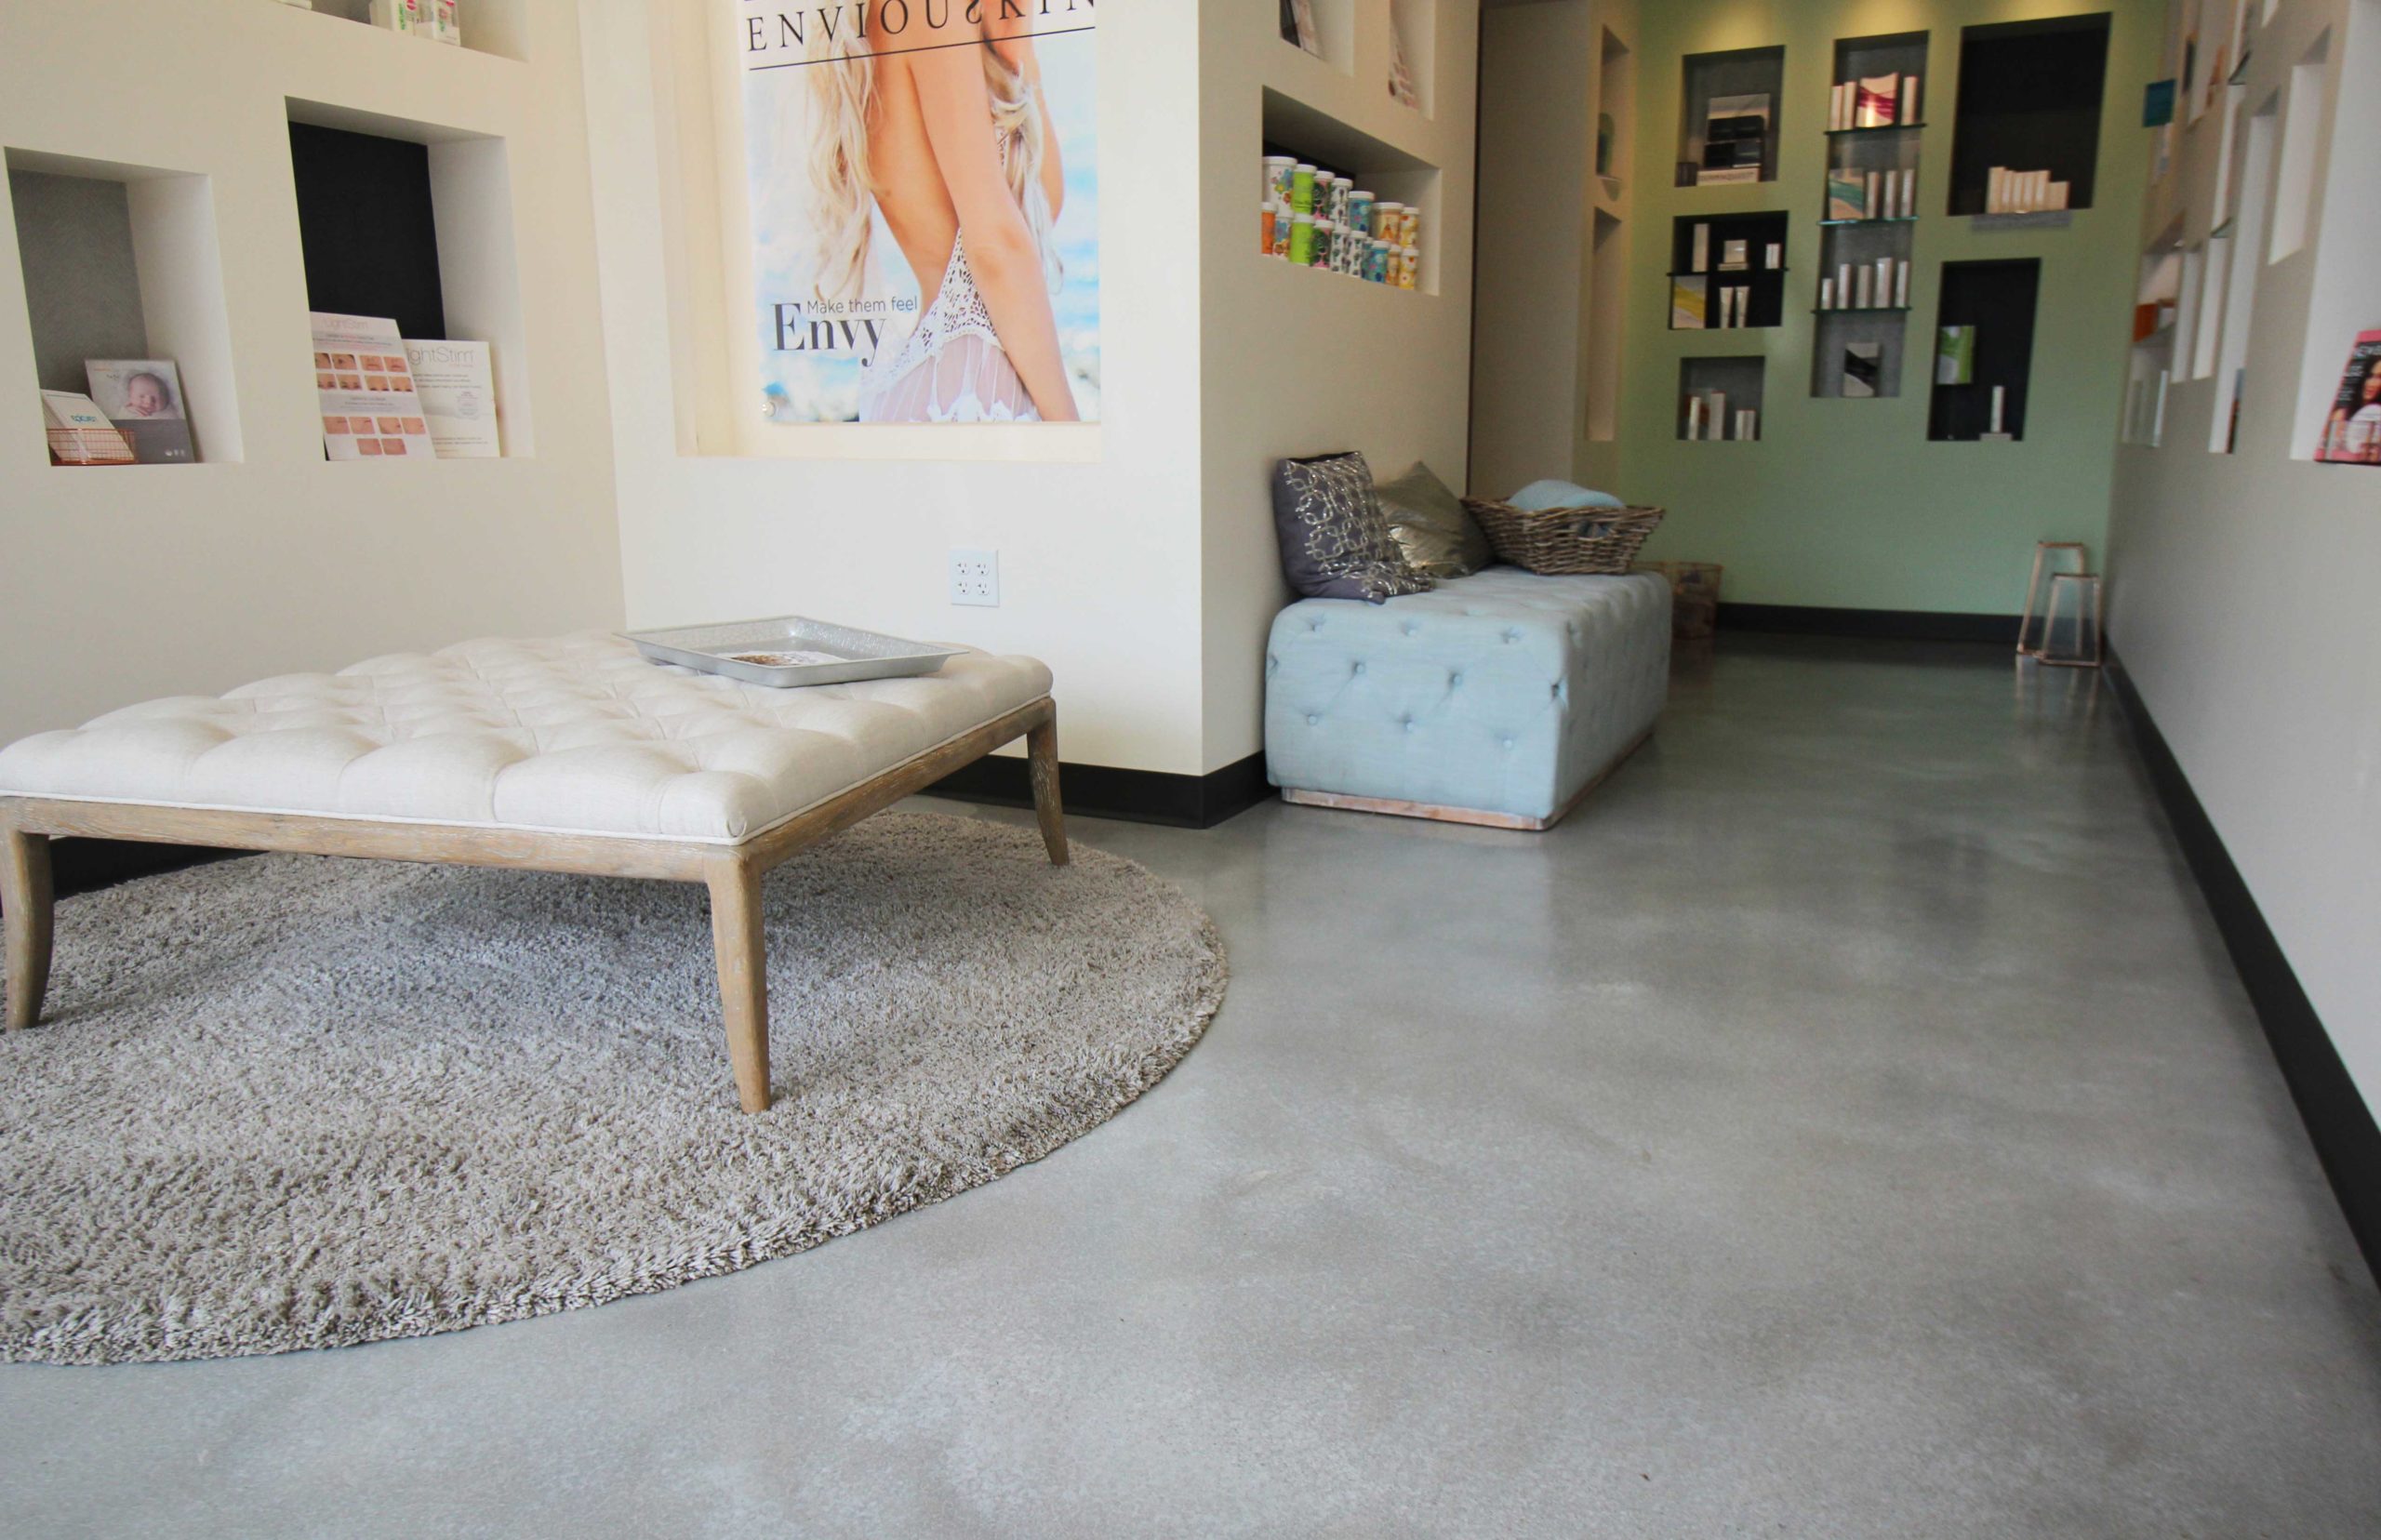
Residential u2014 MissionCrete

10 Benefits of Atlanta Polished Concrete Floors u2014 Grindkings Flooring

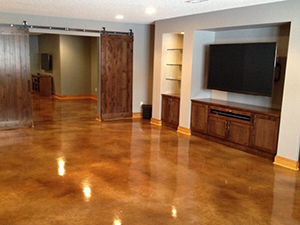
Blog – Residential Concrete Floors: The Next Big Thing
Polished Concrete: Safer, Stronger, and Faster u2014 Craftsman
Concrete Floors Residential u0026 Commercial Concrete Flooring

Concrete Floors – Pros u0026 Cons of Concrete Flooring – Concrete Network

Polished Concrete Floor Installation – JRI
Residential Concrete Grind u0026 Seal Floors – Life Deck Coating
Polished Concrete Floors – What Is Concrete Polishing? – Concrete

ACI Flooring – Concrete Polishing Palm Springs California ACI
17 Residential Polished Concrete Flooring ideas polished

Craftsman Concrete Floors – Texas Polished Concrete
Related articles:
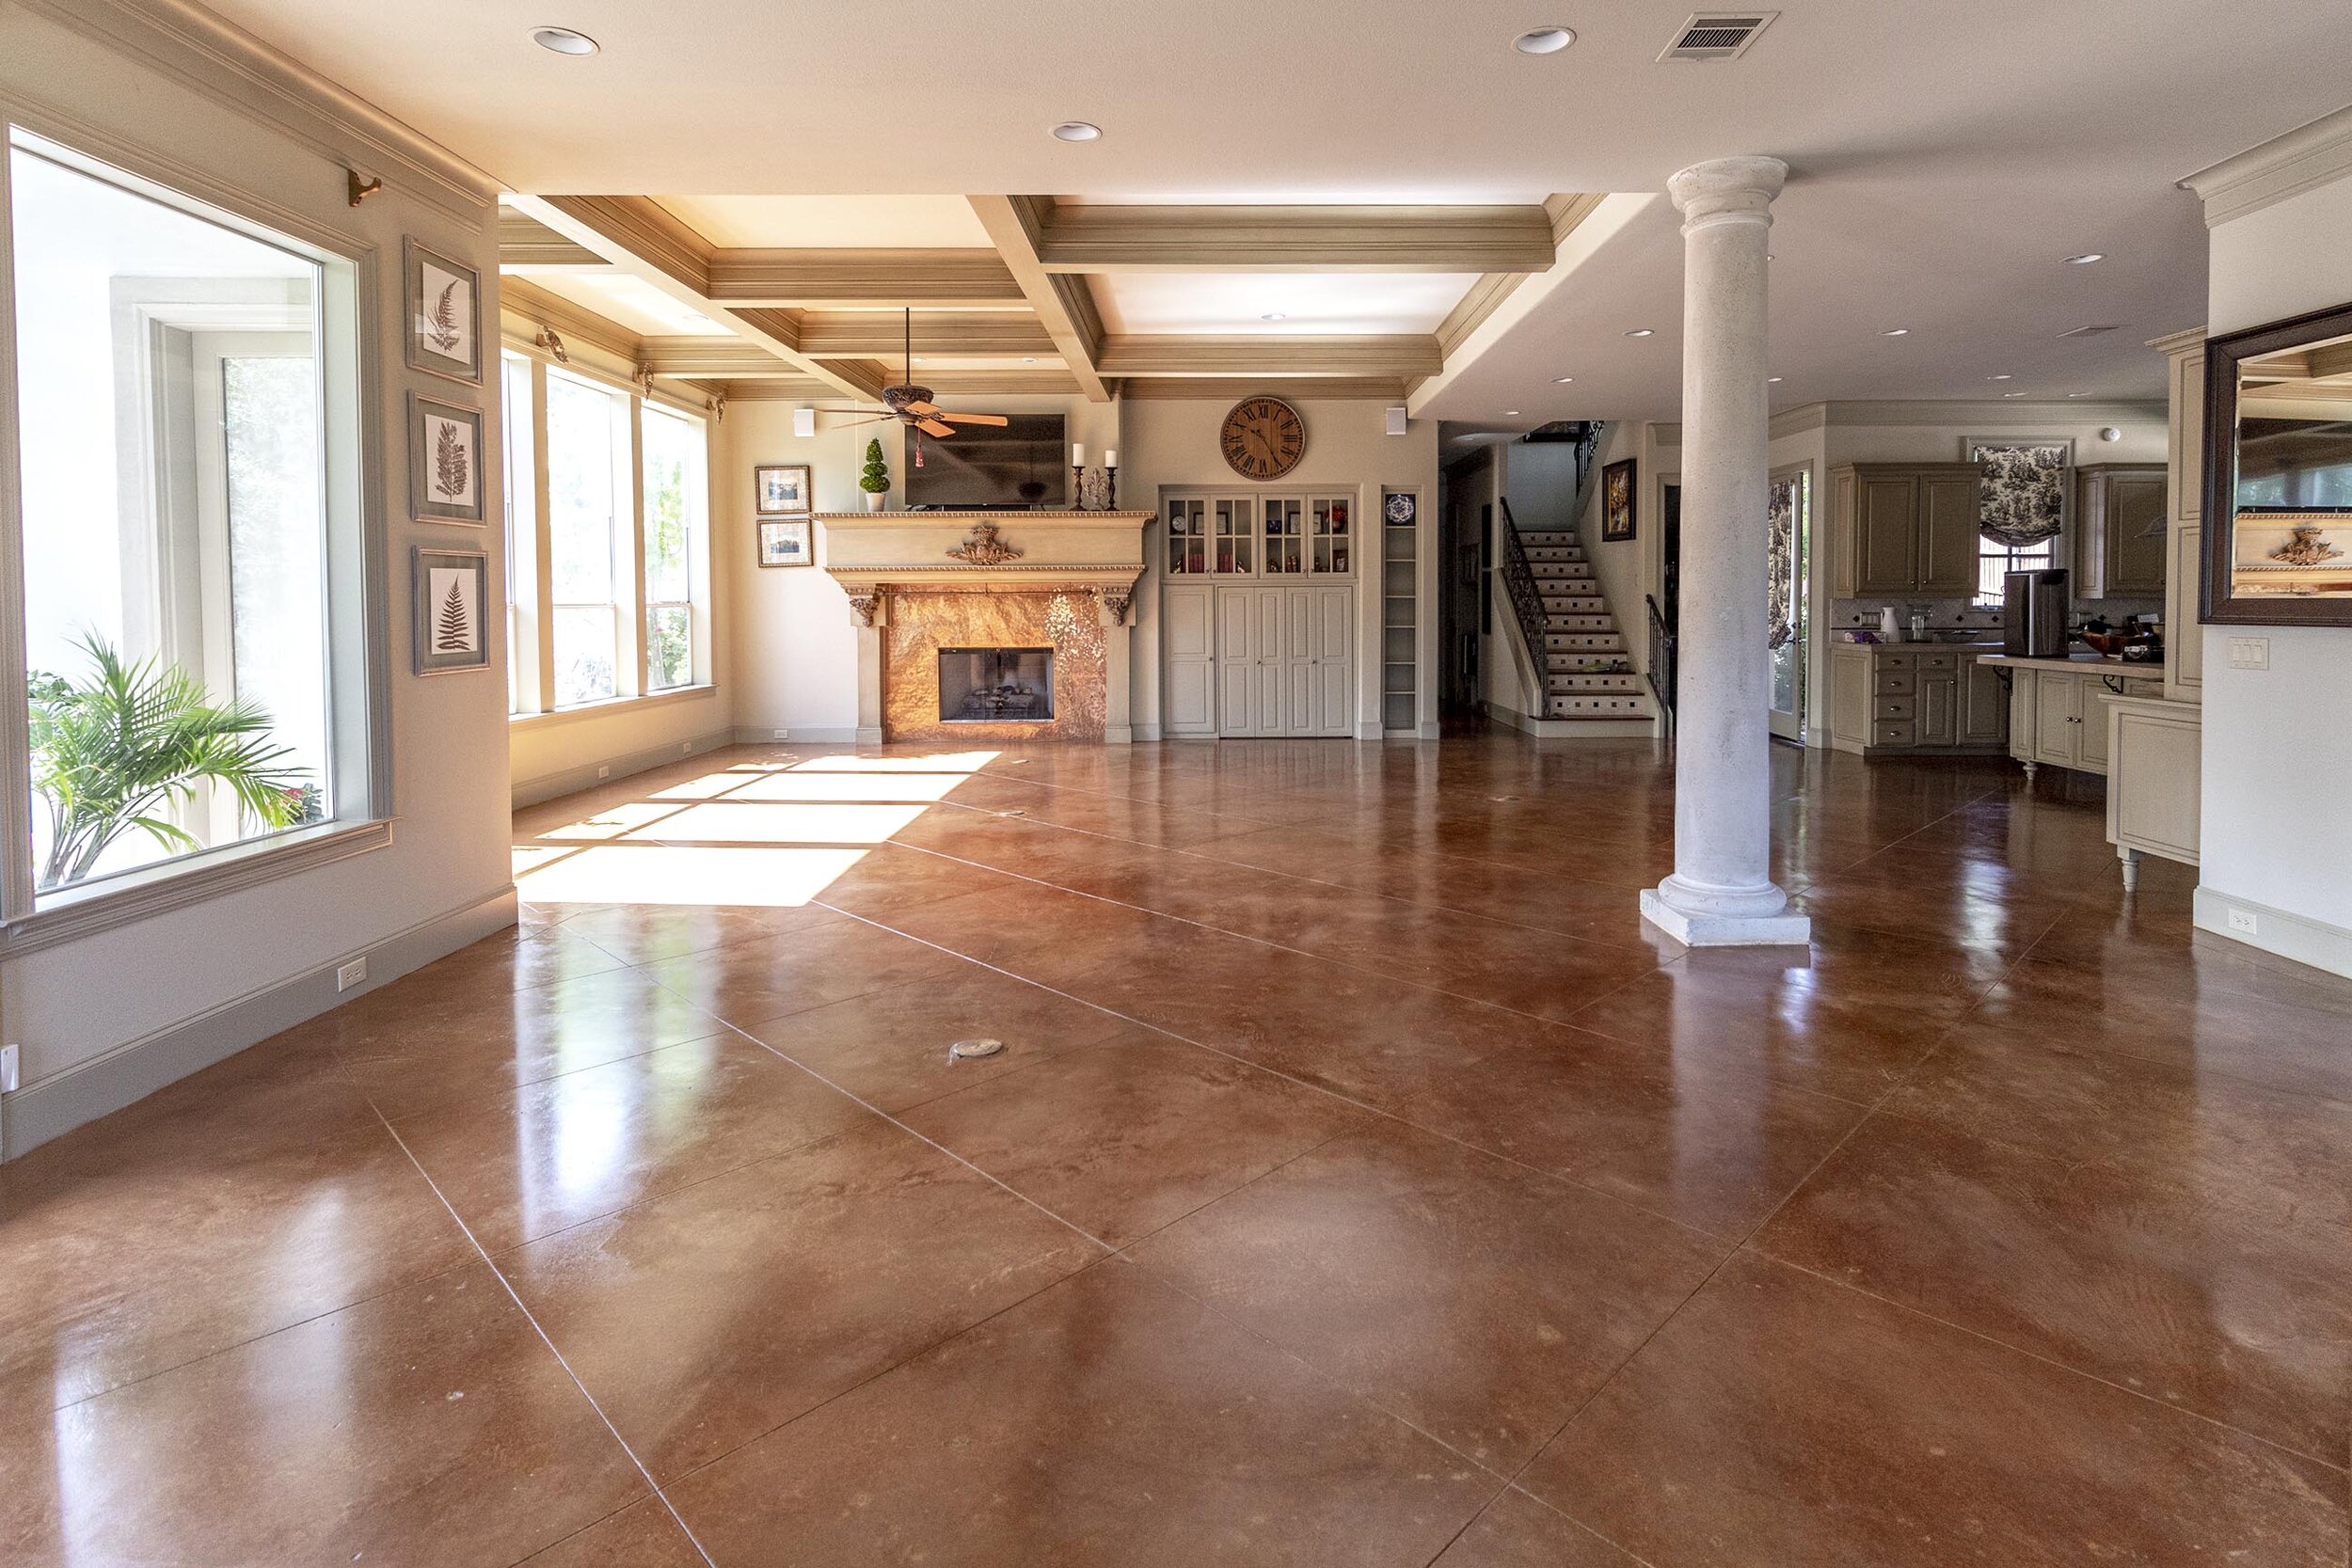
- Stained Concrete Floors Design
- Decorative Concrete Floors
- Acid Stained Concrete Floors
- Polished Concrete Floor In Bathroom
- Concrete Floor Stain And Polish
- White Mold On Concrete Floor
- Polished Concrete Floor
- Polished Concrete Floor Cleaning
- Staining Concrete Floors Indoors Yourself
- Flooring Options For Concrete Floors
How To Concrete Floors Residential
Concrete floors are a popular choice for residential spaces due to their durability, versatility, and low maintenance requirements. Whether you are considering installing concrete floors in your new home or renovating an existing space, it is important to understand the process and techniques involved. In this article, we will provide you with a step-by-step guide on how to concrete floors in residential settings, along with some frequently asked questions and detailed answers.
1. Planning and Preparation:
Before starting the concrete floor installation process, thorough planning and preparation are essential. Here are the key steps involved:
a) Assess the Subfloor: Check the condition of the existing subfloor or base where you intend to install the concrete floor. Ensure it is stable, level, clean, and free from any debris or loose materials.
b) Determine Thickness: Decide on the desired thickness of your concrete floor. This will depend on various factors such as the intended use of the space and load-bearing requirements. Typically, residential concrete floors range from 2 to 4 inches thick.
c) Moisture Testing: Conduct a moisture test on the subfloor to ensure it is dry enough for concrete installation. Excessive moisture can lead to issues such as cracking or delamination of the concrete.
d) Choose Concrete Mix: Select an appropriate type of concrete mix based on your specific requirements. Common options include regular concrete mix, high-strength mix for heavy-duty applications, or fiber-reinforced mix for added strength.
e) Gather Tools and Materials: Make sure you have all the necessary tools and materials ready before starting the project. This may include a mixer or wheelbarrow, trowels, concrete float, edging tools, levels, protective gear (gloves, goggles), reinforcement materials (if required), and plastic sheeting for curing.
FAQs:
Q1: Can I install concrete floors over an existing floor?
A1: Yes, you can install concrete floors over an existing floor as long as the subfloor is stable and in good condition. However, it is important to note that the added height of the new concrete floor may impact door clearances and transitions to adjacent rooms.
Q2: What precautions should I take if installing concrete floors on upper levels?
A2: When installing concrete floors on upper levels, it is crucial to consider the weight-bearing capacity of the structure. Consult a structural engineer or building professional to ensure the load is properly supported.
2. Surface Preparation:
Once you have completed the planning stage, it’s time to prepare the surface for concrete installation. Follow these steps:
a) Clean the Subfloor: Remove any dirt, dust, or debris from the subfloor using a broom or vacuum cleaner. Ensure there are no loose materials that could interfere with the bonding of the concrete.
b) Repair Cracks or Holes: Fill any cracks or holes in the subfloor using a suitable patching compound. Smooth out the patched areas and allow them to dry completely before proceeding.
c) Apply Bonding Agent: If your existing subfloor is smooth or non-porous, applying a bonding agent will enhance adhesion between the concrete and subfloor. Follow the manufacturer’s instructions for application.
d) Install Vapor Barrier (if necessary): In areas prone to moisture, such as basements or ground-level floors, consider installing a vapor barrier before pouring concrete. This helps prevent moisture-related issues like mold growth or flooring damage.
e) Place Expansion Joints: Determine where expansion Joints will be needed in the concrete floor and mark their locations on the subfloor. Expansion joints allow for movement and prevent cracking in the concrete.
f) Level the Subfloor: Use a level to ensure the subfloor is flat and even. If necessary, use a self-leveling compound to correct any uneven areas.
3. Concrete Installation:
Now that the surface is prepared, you are ready to pour and finish the concrete. Follow these steps:
a) Mix Concrete: Prepare the concrete mix according to the manufacturer’s instructions. Use a mixer or wheelbarrow to mix the concrete thoroughly.
b) Pour Concrete: Start pouring the concrete into the designated area, working in small sections at a time. Use a shovel or concrete pump to distribute the concrete evenly.
c) Spread and Level: Use a concrete float or trowel to spread and level the concrete. Work from one end of the section to the other, ensuring an even thickness and smooth surface.
d) Finish Surface: Once the concrete is leveled, use a trowel or finishing tool to create the desired texture or finish on the surface. This can include smoothing, broom finishing, or applying decorative patterns.
e) Cure Concrete: Cover the freshly poured concrete with plastic sheeting or a curing compound to prevent moisture loss during the curing process. Follow recommended curing times before subjecting the floor to heavy use.
f) Clean Up: Clean your tools and equipment promptly after finishing. Dispose of any excess or unused concrete properly according to local regulations.
4. Maintenance and Care:
To ensure the longevity and durability of your concrete floor, follow these maintenance and care guidelines:
a) Regular Cleaning: Sweep or vacuum the concrete floor regularly to remove dirt and debris. Use a mild detergent and water for deeper cleaning when necessary.
b) Avoid Harsh Chemicals: Avoid using harsh chemicals or abrasive cleaners on the concrete surface, as they can damage or discolor the floor.
c) Protect the Surface: Place rugs or mats in high-traffic areas or under heavy furniture to protect the concrete surface from scratches or dents.
d) Address Spills Promptly: Clean up spills immediately to prevent staining. Use a neutral pH cleaner for any stains that are difficult to remove.
e) Periodic Sealing: Depending on the type of concrete used, periodic sealing may be necessary to maintain the appearance and protect against moisture penetration. Follow manufacturer’s recommendations for sealing products and frequency.
F) Repair Cracks: Inspect the concrete floor regularly for any cracks or damage. Repair any cracks promptly to prevent further deterioration and potential tripping hazards. Use a concrete patching compound or epoxy filler for small cracks, or consult a professional for larger repairs.
g) Avoid Heavy Impact: Avoid dropping heavy objects or dragging sharp objects across the concrete floor, as it can cause damage or cracking.
h) Protect from Moisture: Keep the concrete floor dry and free from standing water, as excess moisture can lead to mold growth or weakening of the concrete.
i) Regular Inspections: Conduct regular inspections of the concrete floor to identify any potential issues early on and address them promptly.
J) Maintain temperature and humidity levels: Extreme temperature changes and high humidity levels can affect the integrity of the concrete floor. Maintain a stable temperature and humidity level in the space to prevent any damage.
k) Avoid using sharp objects: Do not use sharp objects, such as knives or scissors, directly on the concrete floor as they can scratch or gouge the surface.
l) Use furniture pads: Place furniture pads or felt protectors under the legs of furniture to prevent them from scratching or denting the concrete floor.
m) Avoid dragging heavy objects: When moving heavy objects, avoid dragging them across the concrete floor. Lift and carry them instead to prevent any damage.
n) Prevent water accumulation: Ensure proper drainage in areas where water may accumulate, such as near doorways or in basements, to prevent water damage to the concrete floor.
o) Follow manufacturer’s instructions: If you have any specific instructions from the manufacturer of your concrete floor, be sure to follow them for maintenance and care to ensure its longevity and durability.