But in case you have spending budget go which is small for vinyl sheets, as it's less in cost than tiles. Because vinyl is tough and hardwearing, it is the ideal floor for a region that can be used frequently, or a home with children or animals. Make sure that the area in which you intend to install it's totally free of soil, protruding anything or perhaps objects else that makes it less than smooth.
Images Related to Vinyl Floor Tiles DIY
Vinyl Floor Tiles DIY

Vinyl floors installation may sound very easy to do but in case you are not close to the expected mistakes, just call a team of professionals and they would be prepared to provide you assistance. FHA requirements are a minimum of ten mils but the best flooring styles offer up to thirty mils for optimum protection. Sweep away from the dirt from the floor of yours on a regular basis to prevent it from hurting the vinyl floor of yours.
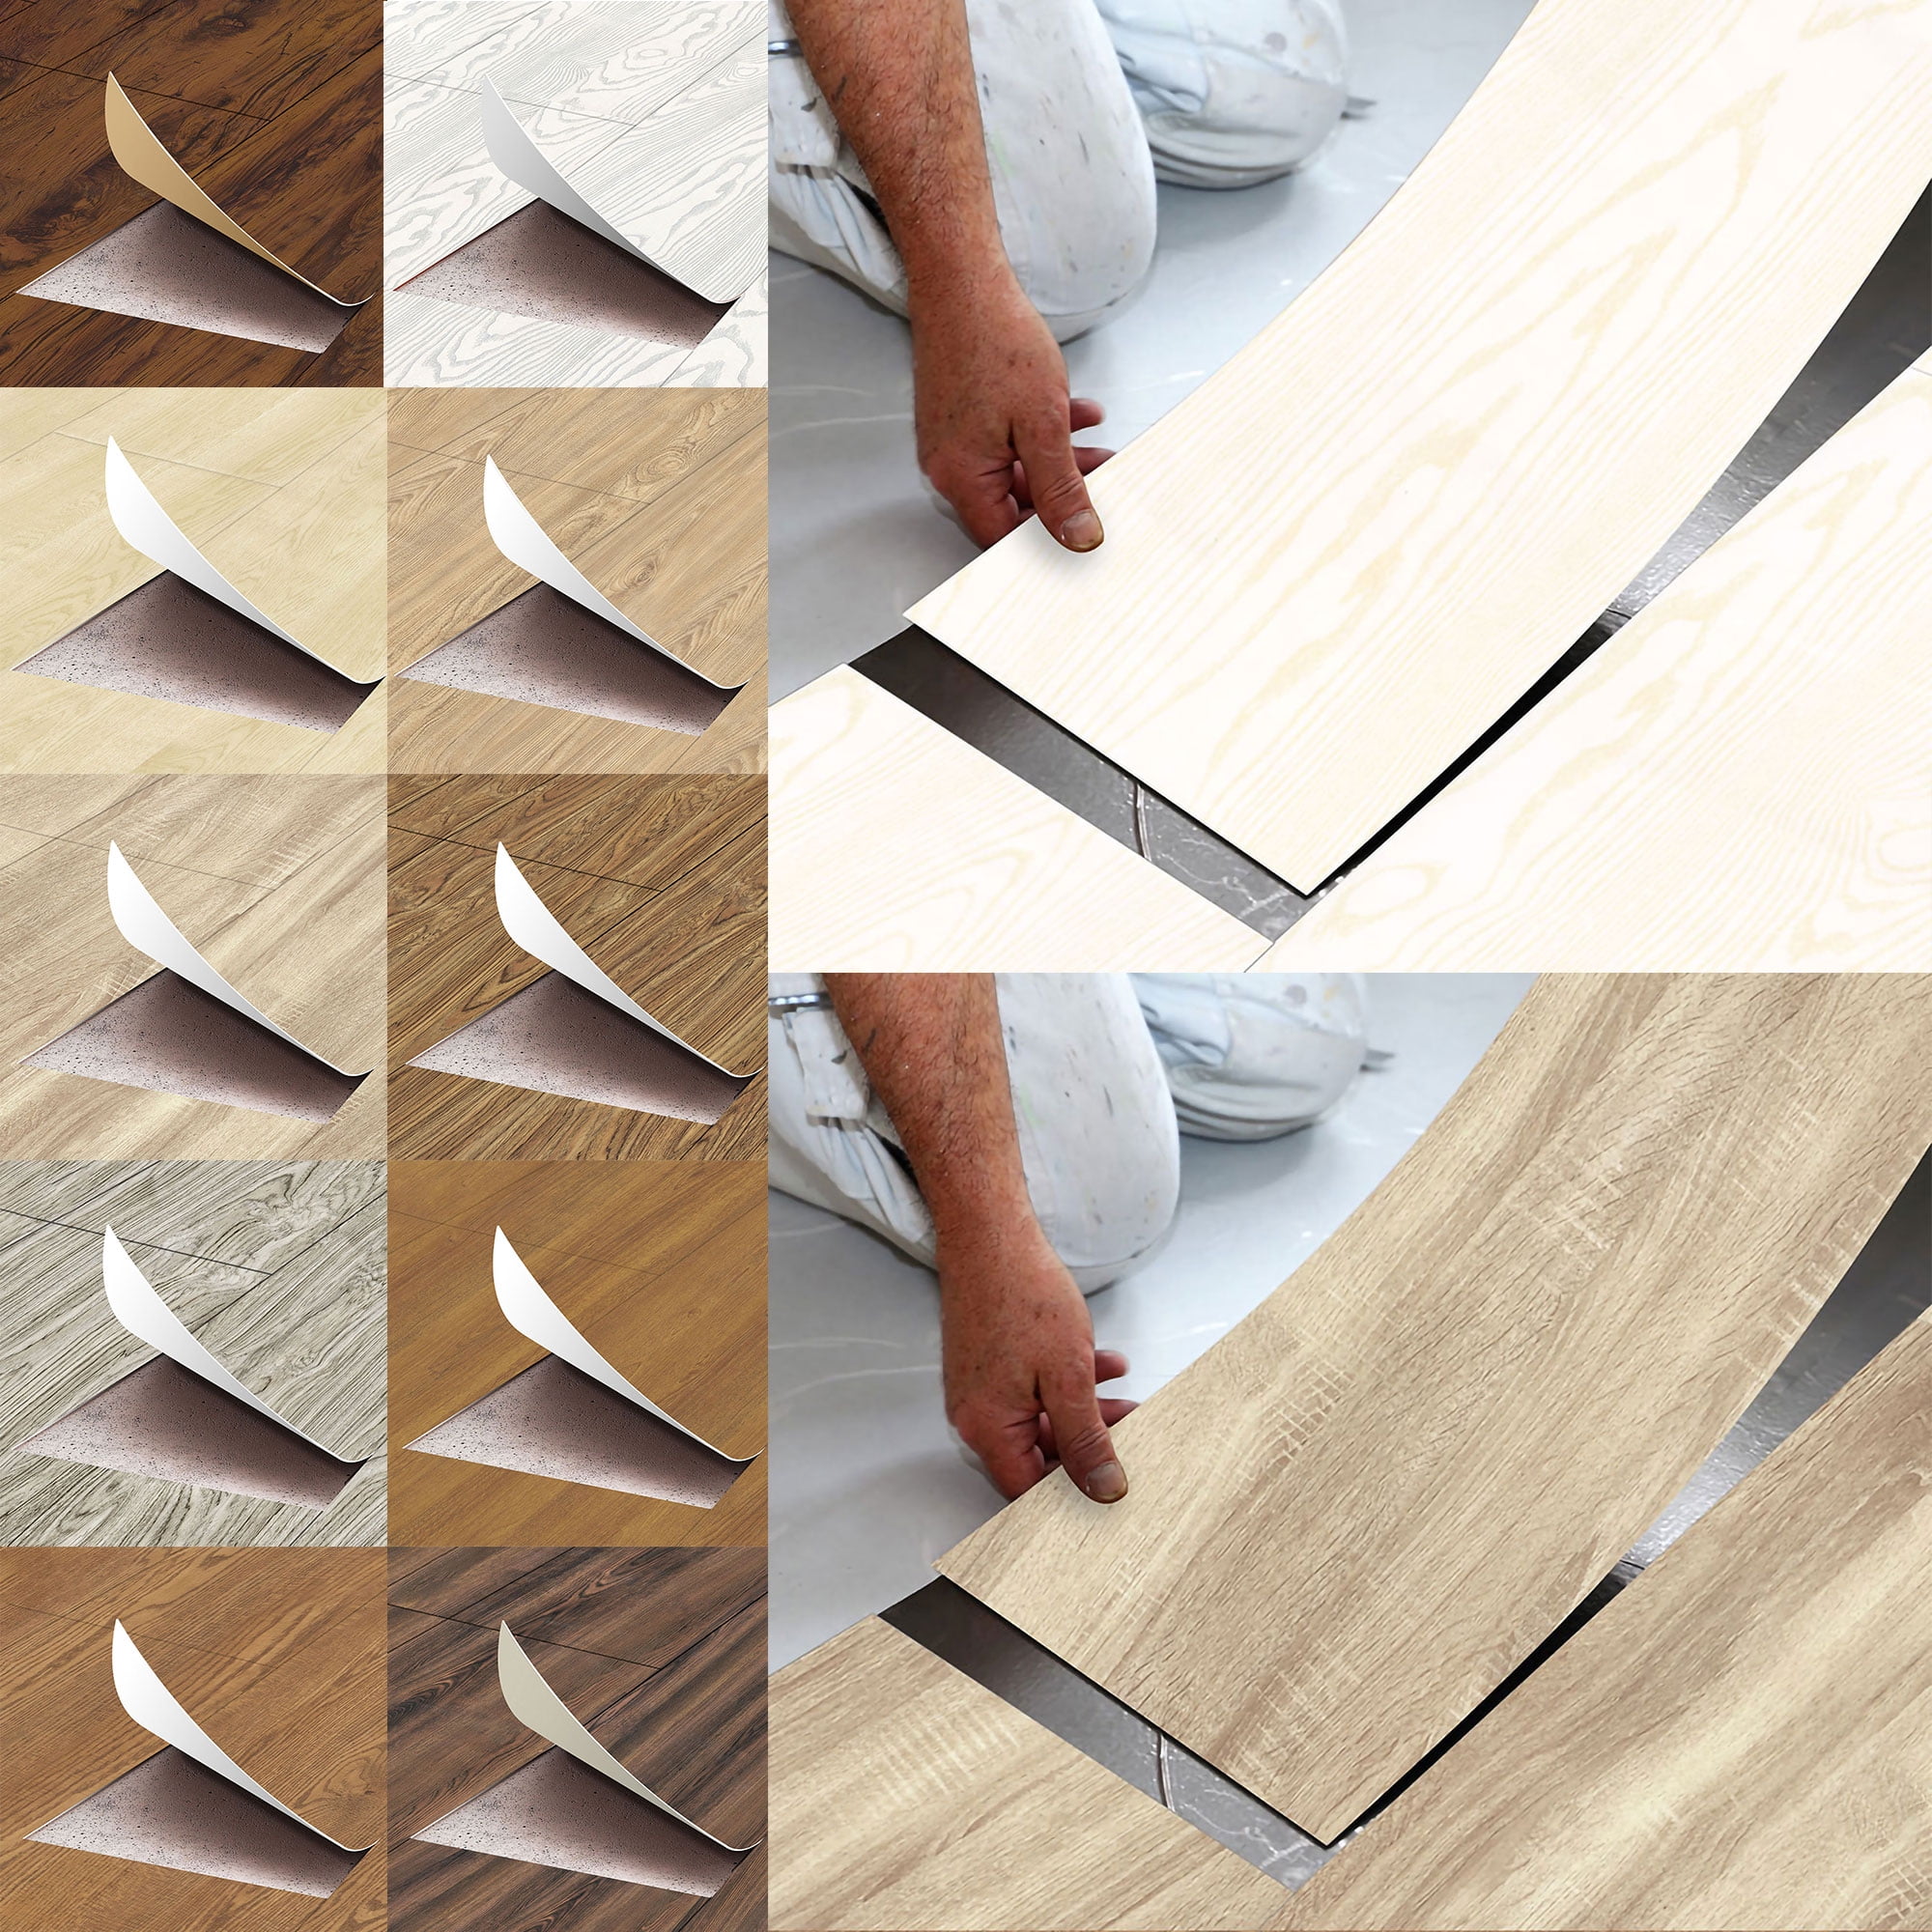
118u0027u0027x7.87″ Vinyl Floor Planks Adhesive Floor Tiles, Kitchen Bathroom DIY Decor Environmental-Friendly
Vinyl has gone through wonderful modern changes. The ultimate layer is called a "wear layer", and also it is also made from vinyl. Traditionally, vinyl type flooring is mostly chosen because it's cheap and easy to put in but quite a few households find them to be really thin, bad to walk on as well as that it's seemingly cheap-looking. The thicker the wear level, the greater long lasting the floor will be.
The Best Peel-and-Stick Vinyl Tile Projects on Pinterest – Kate

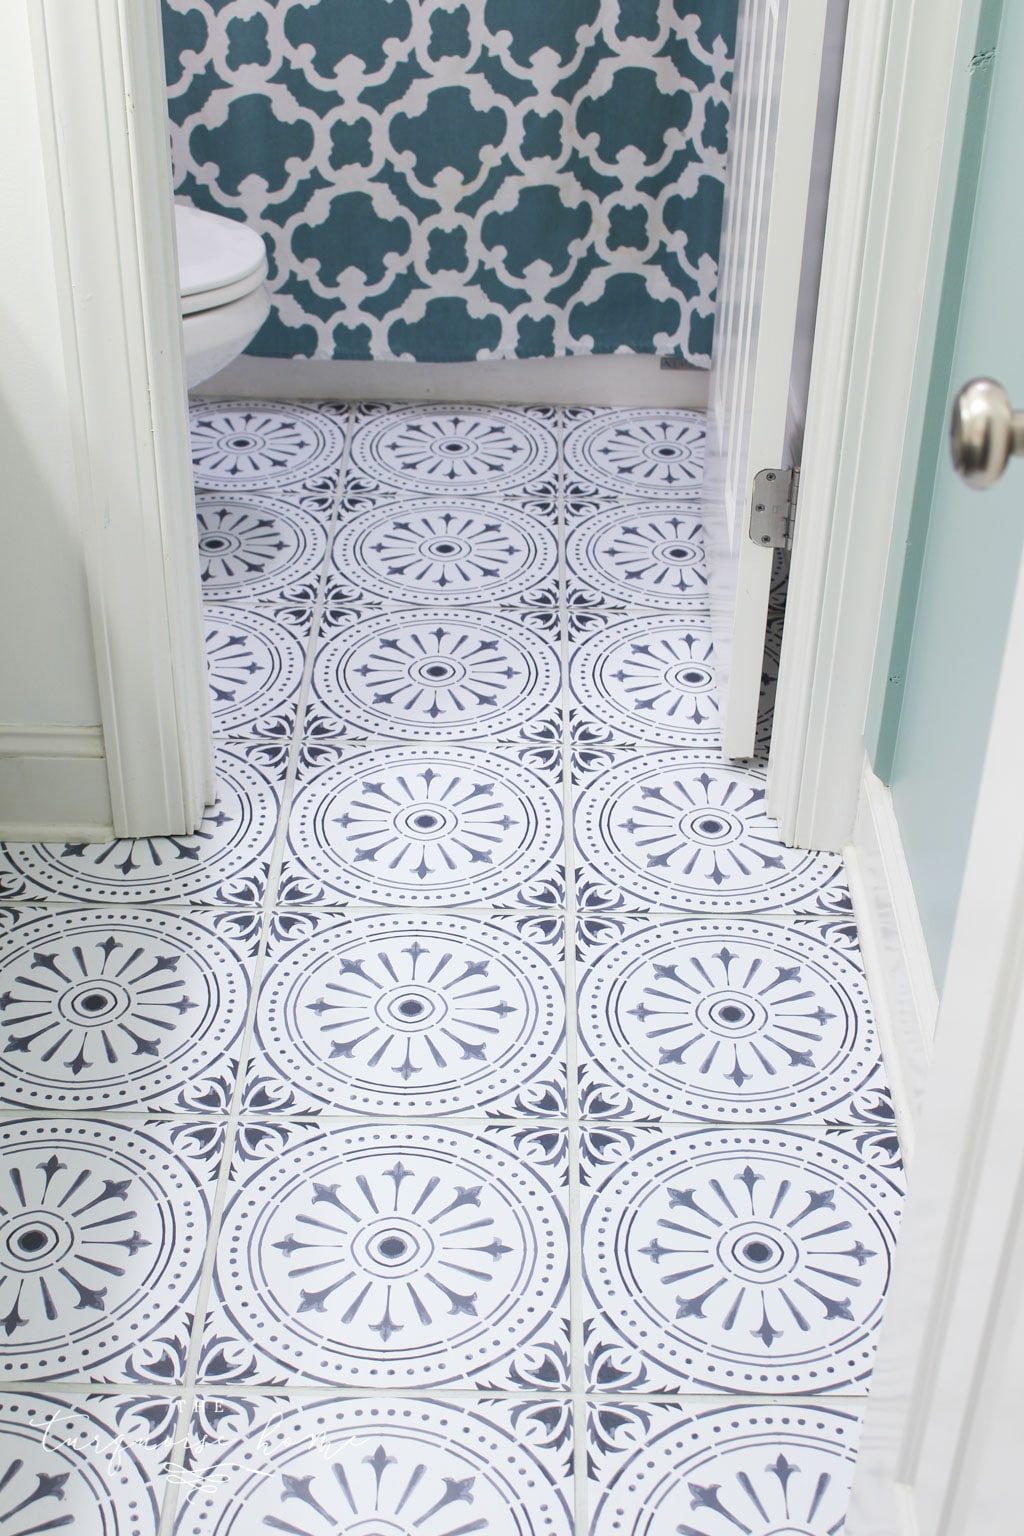
DIY Peel and Stick Vinyl Floor Tile – The Turquoise Home
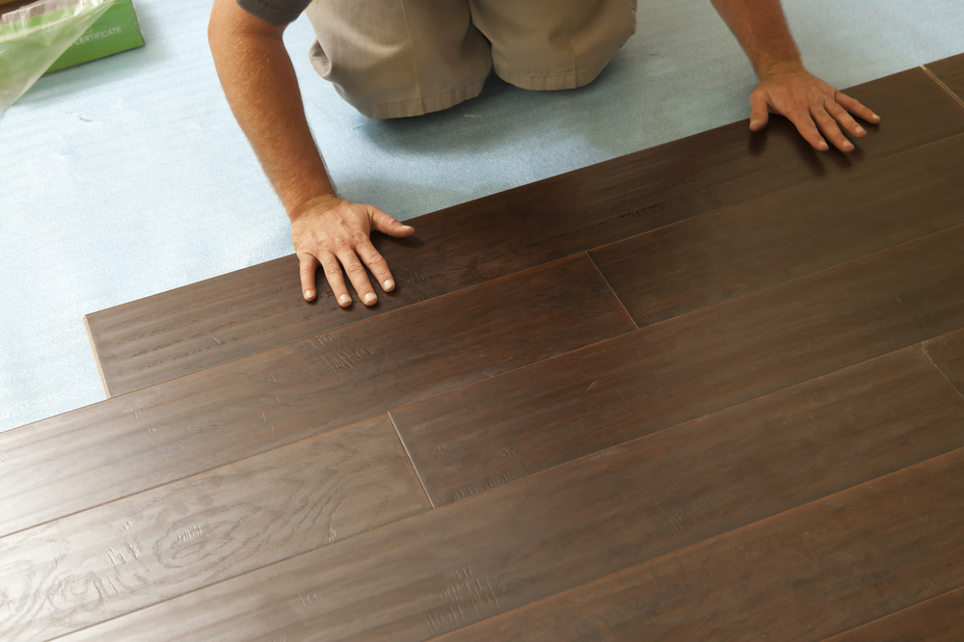
How to Install Vinyl Plank Flooring as a Beginner Home

DIY Vinyl Flooring for Your Home in Singapore
CUH 118u0027u0027x7.87″ Vinyl Floor Planks Adhesive Floor Tiles, Kitchen Bathroom DIY Decor Environmental-Friendly
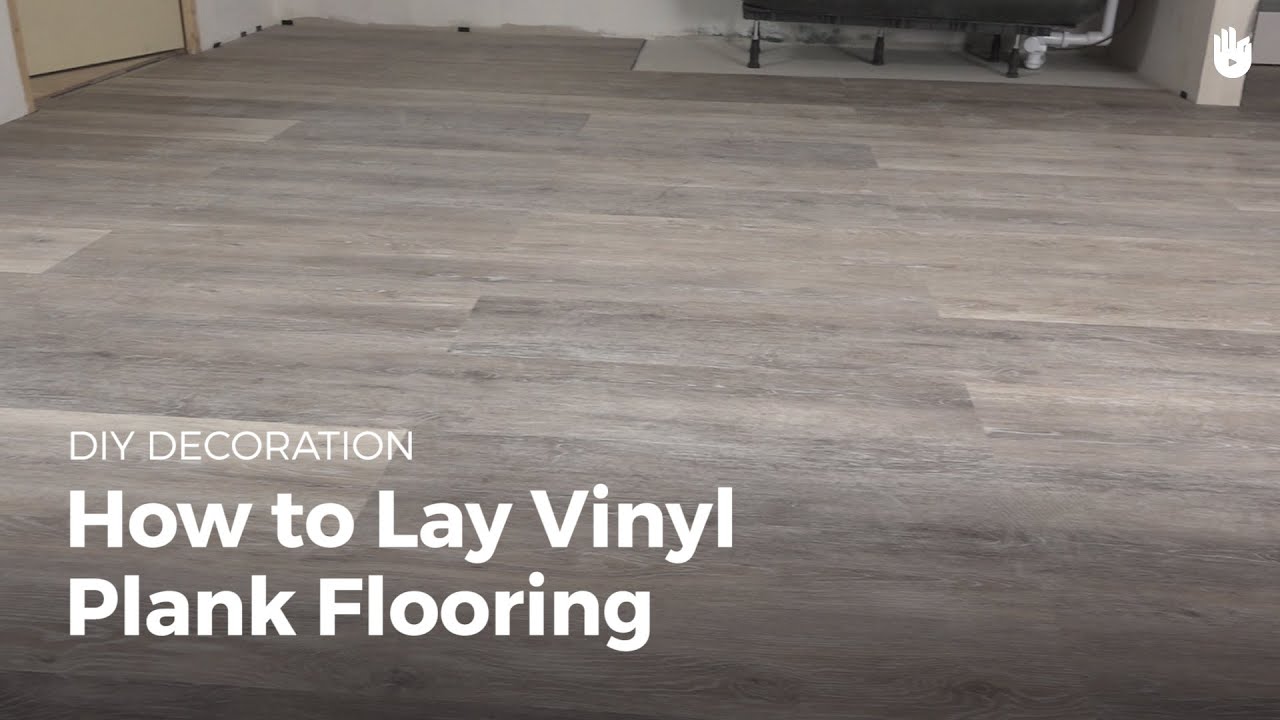
How to Lay Vinyl Flooring DIY Projects
LUCiDA SURFACES Luxury Vinyl Flooring Tiles-Peel and Stick Floor Tile for DIY Installation-36 Wood-Look Planks-Kiln-BaseCore-54 Sq. Feet

Luxury Vinyl Flooring Tiles by Lucida USA Interlocking Floor Tile for DIY Installation 10 Wood-Look Planks Bark TruCore 24.5 Sq. Feet

Art3d Peel and Stick Floor Tile Vinyl Wood Plank Samples Set of 6

118u0027u0027x7.87″ Vinyl Floor Planks Adhesive Floor Tiles, Kitchen Bathroom DIY Decor Environmental-Friendly

Easiest 5 DIY Flooring Solutions: Learn to Install Flooring On
Easy to Install DIY Vinyl Floor Tile Waterproof Self Adhesive

Related articles:
- Vinyl Flooring Bathroom Tile
- Modern Vinyl Flooring
- Funky Vinyl Flooring
- Vinyl Flooring For Kitchen
- Vintage Look Vinyl Flooring
- Kitchen Vinyl Floor Tiles Ideas
- Vinyl Flooring With Wood Look
- Waterproof Vinyl Flooring
- Vinyl Flooring For Cheap
- How To Remove Vinyl Flooring
Vinyl Floor Tiles DIY: An Easy and Affordable Home Improvement Project
Introduction:
Are you tired of your dull and worn-out flooring? Looking to give your home a fresh and stylish makeover? Look no further than vinyl floor tiles! Vinyl floor tiles are an excellent choice for DIY enthusiasts who want to transform their space without breaking the bank. In this article, we will guide you through the process of installing vinyl floor tiles yourself, providing you with detailed instructions, tips, and FAQs to ensure a successful project.
1. Choosing the Right Vinyl Floor Tiles:
Before diving into the installation process, it’s crucial to select the right vinyl floor tiles for your space. Here are some factors to consider:
a) Style and Design: Vinyl floor tiles come in a wide range of styles, colors, and patterns. Whether you prefer a classic wood look or a contemporary geometric design, there is a vinyl tile option to suit every taste.
b) Thickness: The thickness of the vinyl tile will determine its durability and resistance to wear and tear. Thicker tiles are more suitable for high-traffic areas like hallways and kitchens.
c) Installation Method: There are two main types of vinyl floor tiles – peel-and-stick and click-lock. Peel-and-stick tiles are self-adhesive and easy to install, making them ideal for beginners. Click-lock tiles require interlocking edges and are more time-consuming to install but offer a seamless finish.
FAQs:
Q: Can I install vinyl floor tiles over existing flooring?
A: In most cases, yes! Vinyl floor tiles can be installed over various surfaces such as concrete, plywood, or existing vinyl flooring. However, it’s essential to ensure that the subfloor is smooth, clean, and free from any imperfections that may affect the installation process.
Q: Are vinyl floor tiles suitable for wet areas like bathrooms?
A: Yes! Vinyl floor tiles are water-resistant and can withstand moisture, making them an excellent choice for bathrooms and kitchens. However, it’s crucial to choose vinyl tiles specifically designed for wet areas to ensure their longevity.
2. Preparing the Subfloor:
Proper preparation of the subfloor is crucial for a successful vinyl floor tile installation. Follow these steps:
a) Clean the Subfloor: Remove any dust, dirt, or debris from the subfloor using a broom or vacuum cleaner. Ensure that the surface is completely dry before proceeding.
b) Leveling the Subfloor: If your subfloor has any uneven areas or imperfections, it’s necessary to level it. Use a self-leveling compound to fill in any gaps or depressions, following the manufacturer’s instructions.
c) Removing Baseboards: If you have baseboards installed, remove them carefully using a pry bar or putty knife. This step will allow for a neater and more professional-looking installation.
FAQs:
Q: Can I install vinyl floor tiles over carpet?
A: No, it is not recommended to install vinyl floor tiles directly over carpet. Carpet acts as a cushioning material and may cause the tiles to shift or not adhere properly. It’s best to remove the carpet before installing vinyl floor tiles.
Q: Do I need underlayment for vinyl floor tile installation?
A: In most cases, underlayment is not required for vinyl floor tile installation. However, if your subfloor is uneven or prone to moisture issues, using an underlayment can provide additional stability and protection.
3. Measuring and Planning:
Before diving Into the installation process, it’s essential to measure the area and plan the layout of your vinyl floor tiles. Follow these steps:
a) Measure the Area: Use a measuring tape to determine the length and width of the room. Multiply these measurements to find the total square footage.
b) Account for Wastage: It’s recommended to add around 10% to your total square footage to account for wastage, cutting, and any mistakes that may occur during installation.
c) Plan the Layout: Consider the direction in which you want your vinyl floor tiles to run. It’s generally recommended to install them parallel to the longest wall in the room for a visually appealing look. Use a chalk line or straight edge to mark reference lines on the subfloor.
FAQs:
Q: How do I calculate how many vinyl floor tiles I need?
A: To calculate the number of vinyl floor tiles needed, divide the total square footage of the area by the coverage area of one tile. Be sure to account for wastage by adding around 10% extra.
Q: Should I start tiling from the center of the room?
A: It’s not necessary to start tiling from the center of the room. However, starting from a reference line or in a corner can help ensure a straight and even installation.
4. Installing Vinyl Floor Tiles:
Now that you have prepared your subfloor and planned your layout, it’s time to start installing your vinyl floor tiles. Follow these steps:
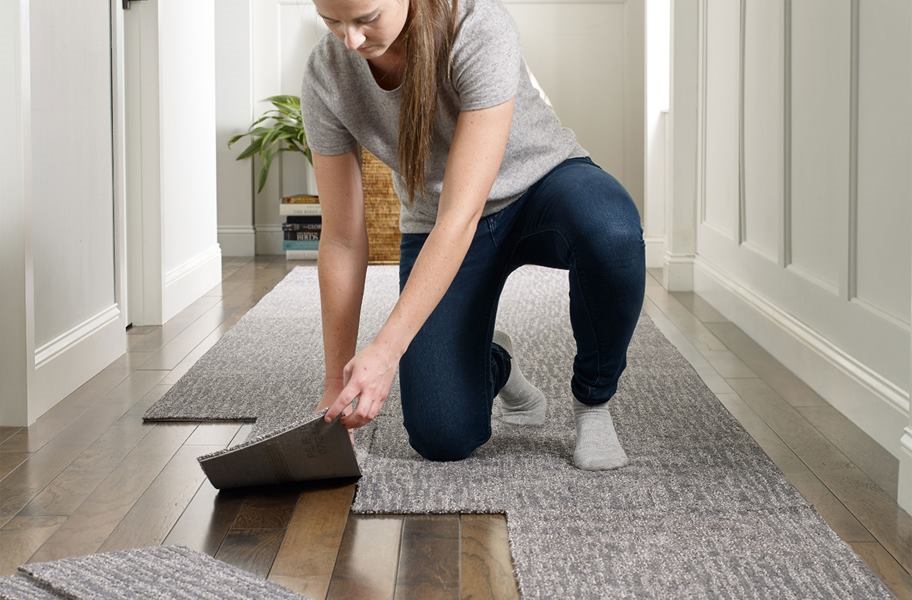
a) Begin at a Reference Line: Start at one end of your reference line or in a corner of the room. Peel off the backing of a peel-and-stick tile or click-lock the first tile into place, following the manufacturer’s instructions.
b) Continue Installing Tiles: Place each tile tightly against the previous one, ensuring they are aligned and level. Press down firmly to ensure proper adhesion or engage the click-lock mechanism for click-lock tiles.
c) Cut Tiles as Needed: Use a utility knife or vinyl tile cutter to cut tiles to fit around obstacles such as doorways or pipes. Measure carefully and make precise cuts for a professional finish.
d) Fill in the Gaps: If there are any gaps between tiles or along the edges of the room, you can use caulk or baseboard molding to fill them in and create a finished look.
FAQs:
Q: How do I cut vinyl floor tiles?
A: To cut vinyl floor tiles, use a utility knife with a sharp blade or a vinyl tile cutter. Score the tile along the desired cutting line, then bend it back to snap it cleanly along the score line.
Q: Can I walk on vinyl floor tiles immediately after installation?
A: It’s best to wait at least 24 hours before walking on newly installed vinyl floor tiles. This allows time for the adhesive to fully set and ensures a durable and long-lasting installation.
5. Maintenance and Care:
To keep your vinyl floor tiles looking their best, follow these maintenance tips:
a) Regular Cleaning: Sweep or vacuum your vinyl floor tiles regularly to remove dirt and debris. For deeper cleaning, use a damp mop with a mild vinyl floor cleaner.
b) Avoid Harsh Chemicals: Avoid using abrasive cleaners, bleach, or ammonia-based products on your vinyl floor tiles, as they can damage the surface. Stick to gentle cleaning solutions specifically designed for vinyl flooring.
c) Protect from Scratches: Place felt pads under furniture legs to prevent scratches when moving or rearranging items. Use caution when using rolling chairs or appliances to avoid damaging the tiles.
d) Wipe up Spills Promptly: Vinyl floor tiles are water-resistant, but it’s still important to wipe up spills promptly to prevent any potential damage or staining.
e) Avoid Excessive Sunlight: Direct and prolonged exposure to sunlight can fade and discolor vinyl floor tiles over time. Consider using curtains or blinds to protect your floors from excessive UV rays.
FAQs:
Q: Can I use a steam mop on vinyl floor tiles?
A: It’s generally not recommended to use a steam mop on vinyl floor tiles, as the high heat and moisture can damage the adhesive and cause the tiles to lift or warp. Stick to traditional mopping methods with a damp mop instead.
Q: How long do vinyl floor tiles last?
A: The lifespan of vinyl floor tiles can vary depending on factors such as quality, durability, maintenance, and foot traffic. On average, well-maintained vinyl floor tiles can last anywhere from 10-20 years or more.