Many master installers have the time to help you tile at a fantastic discount, especially when they are installing the tile flooring. Many of the possible choices are stock items therefore you will not need to wait for a particular order to come in. You are able to use a tile cutter or perhaps a glasscutter for small tasks, but for huge projects you may have to have a wet saw.
Images Related to Tile Flooring Video
Tile Flooring Video
Buy them pre-cut to the requirements of yours since they require a diamond wheel for cutting. It is going to take a couple of hours before the mortar is completely dried out. For a number of individuals garage tile flooring is the only choice and in addition they look at it as the most suitable choice. Knowing the type of subfloor you will be putting in ceramic tile flooring over is important. The styles tones of theirs are light grey to solid black.
How to Install Ceramic Tile

Specialized removal may be required, but often one that you are able to stay away from by increasing the floor. This form of tile is the economical way to have the look of granite or maybe marble floors. You’ll have to be careful enough to deal with a damp tile saw or utility knife. The next phase of your ceramic tile flooring surfaces set up is actually the adequate measuring of the floor of yours and your tiles.
How to Lay Floor Tiles

How to tile a floor part 1: preparation
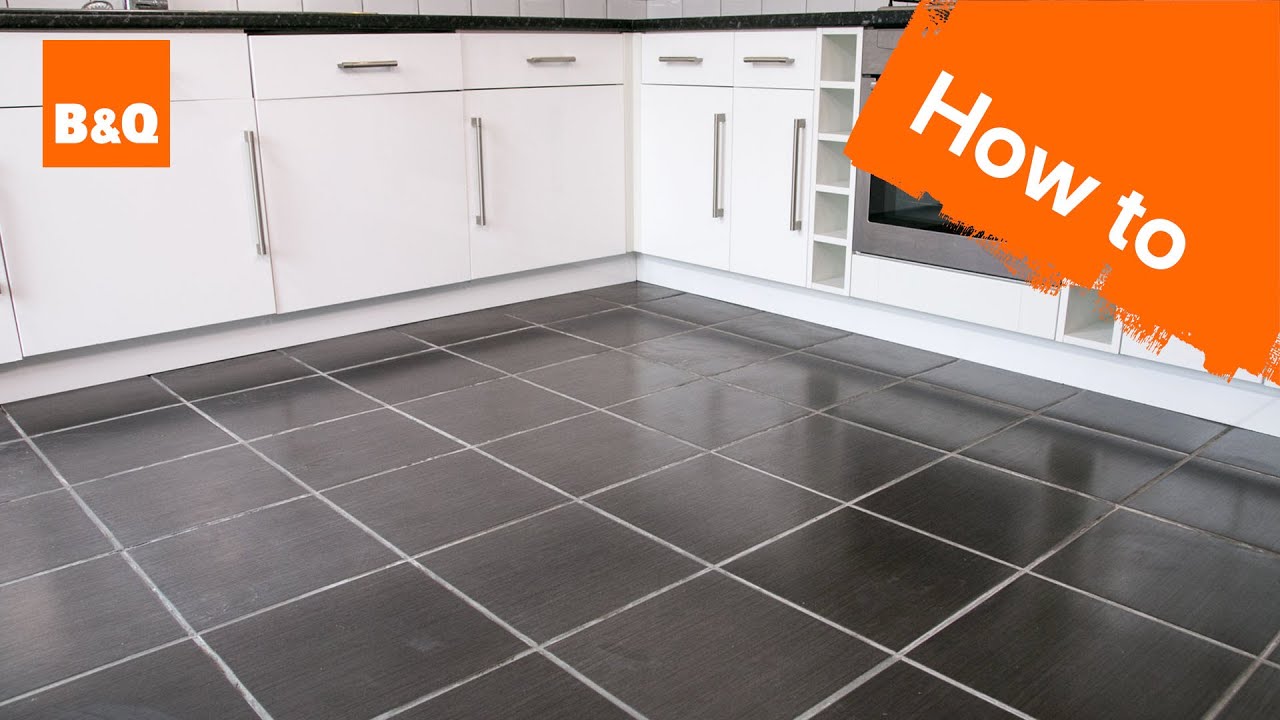
How to Lay Floor Tiles – Flooring – How To Videos and Tips at The

Free Tiling Stock Video Footage Download 4K HD 797 Clips

30X60cm Anti Slip Rustic Ceramic Tile for Floor Wall Decoration

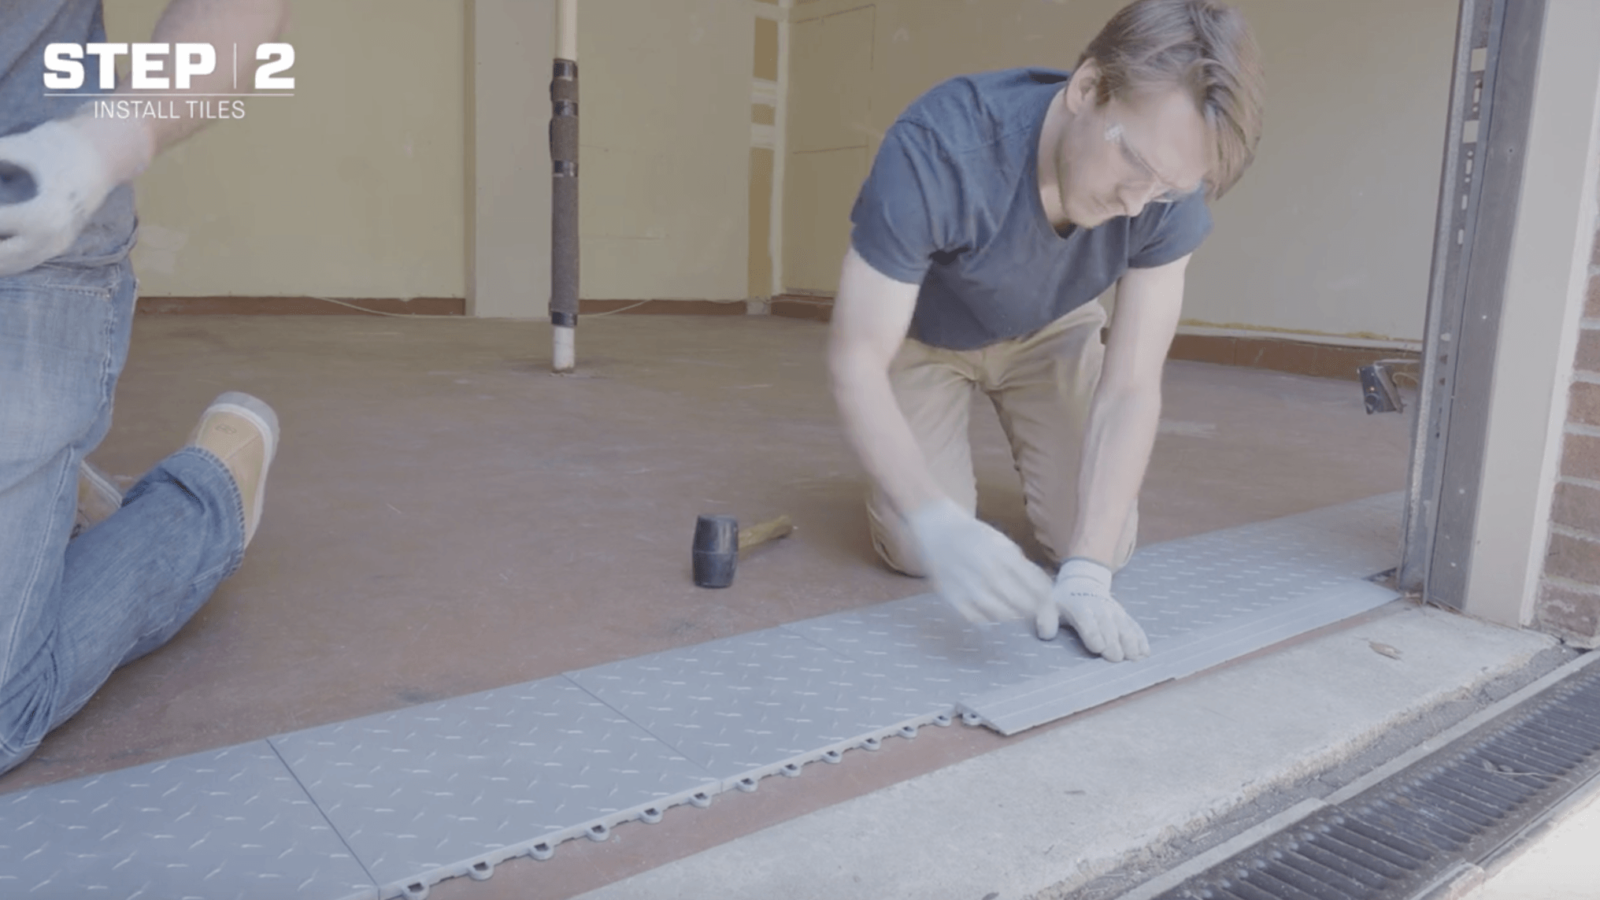
How to Install Foam Tiles Made Easy

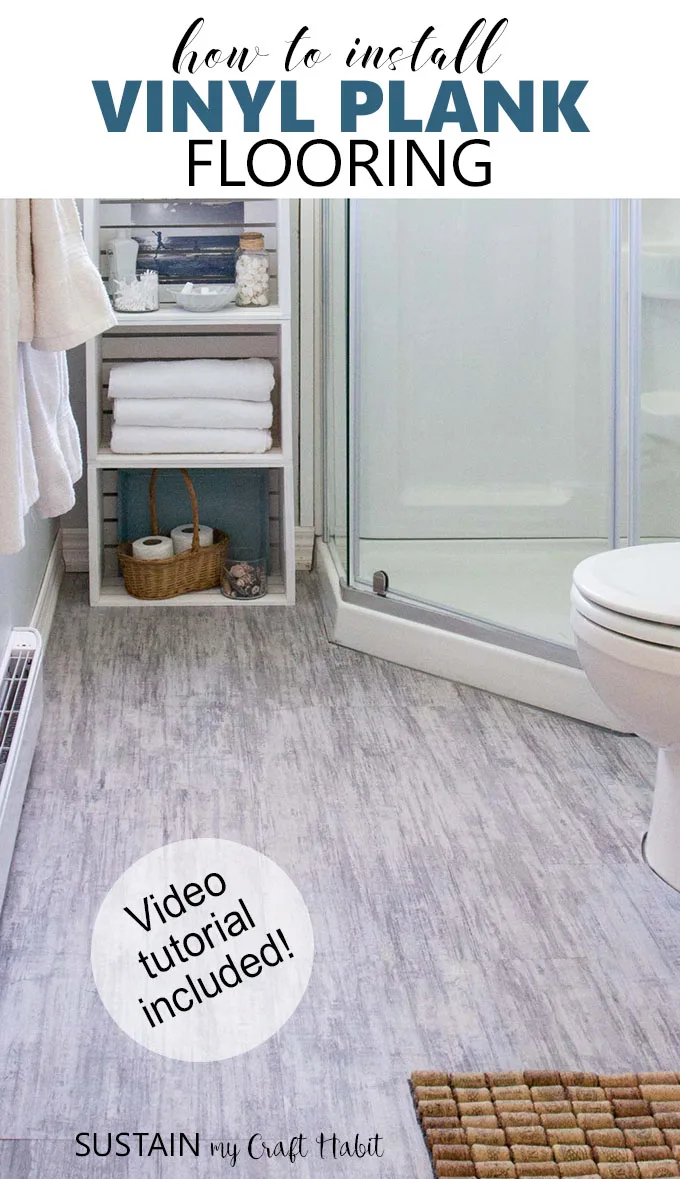
How to Install Vinyl Plank Flooring [Video Tutorial] u2013 Sustain My
Wood Flooring Tile Isometric Graphics In Video Games And Pixel Art

Ceramic tiles Stock Video Footage – 4K and HD Video Clips

How To Tile A Garage Floor Video » The Money Pit
Floating Tile Flooring – Ready For Prime Time?
/Installing-Ceramic-Floor-Tile-86464768-56a4a0555f9b58b7d0d7e391.jpg)
2 Carpet Installation Layout and Seaming

Related articles:
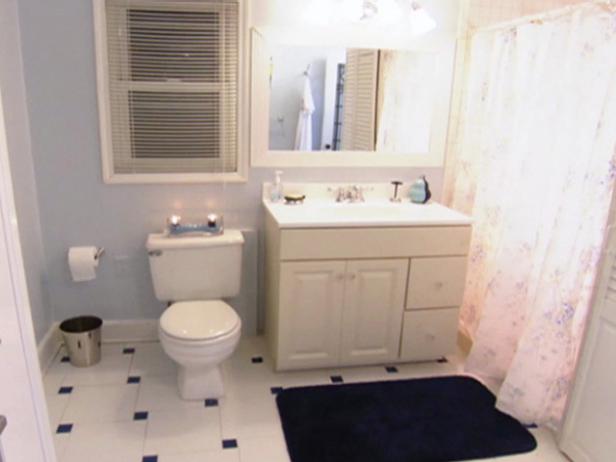
- Vintage Bathroom Floor Tile Patterns
- Bathroom Floor Tile DIY
- Limestone Bathroom Floor Tiles
- Bathroom Floor Porcelain Tile
- Concrete Bathroom Floor Ideas
- White Bathroom Ceramic Tiles
- Bathroom Floor Baseboard
- Rustic Bathroom Flooring Ideas
- Bathroom Flooring Options
- Bamboo Bathroom Flooring Ideas
Tile Flooring Video: The Ultimate Guide to Perfecting Your Installation
Introduction:
When it comes to renovating or upgrading your home, choosing the right flooring can make all the difference. Tile flooring is a popular choice for its durability, versatility, and timeless appeal. However, the installation process can be quite complex and intimidating for beginners. That’s where tile flooring videos come in handy. In this comprehensive guide, we will delve into the world of tile flooring videos, exploring their benefits, providing step-by-step instructions, and answering some commonly asked questions.
Benefits of Using Tile Flooring Videos:
1. Visual Learning Experience:
One of the primary advantages of using tile flooring videos is that they offer a visual learning experience. Watching a video allows you to see the entire installation process in action, making it easier to grasp the techniques and methods involved. You can observe each step closely and understand how to properly handle tools, mix adhesives, lay tiles, and grout effectively.
FAQ: Are there different types of tile flooring videos available?
Answer: Yes, there are various types of tile flooring videos available depending on the specific type of tile being installed (such as ceramic, porcelain, or natural stone) and the method of installation (such as thin-set or mortar bed). It’s essential to choose a video that matches your specific project requirements.
2. Detailed Instructions:
Tile flooring videos provide detailed instructions that guide you through the entire installation process. From preparing the subfloor to applying grout sealant, each step is explained thoroughly with clear demonstrations. These videos often include close-up shots and zoom-ins to ensure you don’t miss any important details.
FAQ: Can I follow a tile flooring video even if I have no prior experience?
Answer: Yes! Tile flooring videos are designed to cater to both beginners and experienced individuals. They break down complex processes into simple steps that anyone can follow with proper attention and care.
3. Troubleshooting Tips:
In addition to providing step-by-step instructions, tile flooring videos often include troubleshooting tips. These videos highlight common problems that may arise during the installation process and offer solutions to overcome them. Whether it’s dealing with uneven subfloors, cutting tiles to fit irregular spaces, or preventing grout haze, these videos provide valuable insights that can save you time and effort.
FAQ: What if I encounter a problem that is not addressed in the video?
Answer: If you come across a problem that is not covered in the video, it’s best to consult a professional or seek guidance from online forums and communities dedicated to tile flooring. They can provide personalized advice based on your specific situation.
Step-by-Step Guide to Tile Flooring Installation:
Now that we understand the benefits of using tile flooring videos, let’s dive into a step-by-step guide for a successful installation. Each section will detail the necessary tools, materials, and techniques required for that particular step.
1. Preparing the Subfloor:
To ensure a long-lasting tile installation, it is crucial to prepare the subfloor properly. This step involves removing any existing flooring, cleaning the surface thoroughly, and addressing any structural issues.
Tools needed: Pry bar, scraper, vacuum cleaner.
Materials needed: Protective goggles, gloves, knee pads.
Techniques:
– Start by removing all furniture and appliances from the room.
– Carefully remove the existing flooring using a pry bar and scraper.
– Use a vacuum cleaner to remove any debris and dust.
– Inspect the subfloor for cracks or uneven sections. If Any issues are found, they should be addressed before proceeding with the tile installation.
2. Applying a Tile Backer Board:
A tile backer board is a necessary layer that provides stability and prevents moisture damage. This step involves measuring, cutting, and securing the backer board to the subfloor.
Tools needed: Measuring tape, utility knife, circular saw, drill/driver.
Materials needed: Tile backer board, screws, backer board tape.
Techniques:
– Measure the dimensions of the room and cut the backer board accordingly with a utility knife or circular saw.
– Lay out the cut pieces of backer board on the subfloor and mark their positions.
– Drill pilot holes in each corner of the marked areas.
– Apply a layer of thinset mortar to the subfloor using a trowel.
– Place the backer board on top of the thinset mortar and press it down firmly.
– Secure the backer board to the subfloor by driving screws through the pilot holes.
– Cover all seams between backer boards with backer board tape and thinset mortar to create a solid surface.
3. Planning Tile Layout:
Before installing tiles, it’s important to plan out their layout to ensure a visually appealing result. This step involves measuring and marking guidelines for tile placement.
Tools needed: Measuring tape, chalk line, level.
Materials needed: Pencil or marker.
Techniques:
– Measure and mark the center point of each wall using a measuring tape and pencil/marker.
– Use a chalk line to connect the center points of opposite walls, creating two intersecting lines that divide the room into four quadrants.
– Adjust the position of the lines if necessary to ensure equal-sized tiles along the edges.
– Use a level to check that the lines are straight and level.
– Dry-fit some tiles along the lines to visualize the layout and make any necessary adjustments.
– Make additional marks or guidelines as needed for specific tile patterns or designs.
4. Applying Thinset Mortar:
Thinset mortar is used to adhere the tiles to the backer board. This step involves mixing and applying the mortar in small sections.
Tools needed: Mixing paddle, bucket, trowel, notched trowel.
Materials needed: Thinset mortar, water.
Techniques:
– Read and follow the manufacturer’s instructions for mixing thinset mortar carefully. Typically, it involves adding water to the powder until it reaches a thick, creamy consistency.
– Mix the thinset mortar in small batches to prevent it from drying out before use.
– Apply a layer of thinset mortar on a small section of the backer board using a trowel. The size of the section will depend on your working speed and tile installation technique.
– Use the notched side of the trowel to create grooves in the mortar. The size of these grooves should match the size of the notches on your trowel.
– Press each tile firmly into place along the guidelines or marks, twisting slightly to ensure strong adhesion.
– Continue applying thinset mortar and installing tiles in small sections, working your way out from the center of the room.
5. Cutting and Fitting Tiles:
Inevitably, some tiles will need to be cut and fit around edges, corners, or obstacles. This step involves measuring, marking, and cutting tiles to fit these areas.
Tools needed: Tile cutter, tile saw, tile nippers.
Materials needed: Safety goggles, pencil or marker.
Techniques:
– Measure the area where a tile needs to be placed and mark the corresponding tile accordingly.
– Use a tile cutter or tile saw to make straight cuts on ceramic or porcelain tiles. Score the surface of the tile along the marked line, then snap it along a support edge.
– For irregular cuts or curves, use tile nippers to gradually nibble away small pieces until the desired shape is achieved.
– Remember to wear safety goggles when cutting tiles to protect your eyes from flying debris.
6. Grouting:
Grout is used to fill in the gaps between tiles and create a finished look. This step involves mixing and applying grout to the tiled surface.
Tools needed: Grout float, grout sponge, bucket.
Materials needed: Grout powder, water.
Techniques:
– Read and follow the manufacturer’s instructions for mixing grout carefully. Typically, it involves adding water to the powder until it reaches a thick consistency.
– Mix the grout in small batches to prevent it from drying out before use.
– Use a grout float to apply the grout diagonally across the tiled surface, pressing it into the gaps and ensuring full coverage.
– Remove excess grout from the tile surface by holding the grout float at a 45-degree angle and scraping it across the tiles.
– Wait for the grout to partially set, usually around 10-15 minutes, then use a damp grout sponge to wipe off any remaining haze or residue.
7. Sealing:
Sealing the tile and grout is an optional but recommended step to protect against stains and moisture damage. This step involves applying a sealant to the tiled surface.
Tools needed: Paintbrush, cloth.
Materials needed: Tile and grout sealer.
Techniques:
– Read and follow the manufacturer’s instructions for the specific sealant carefully.
– Apply the sealant evenly to the tile and grout using a paintbrush, making sure to cover all surfaces.
– Allow the sealant to dry according to the manufacturer’s instructions, usually around 24 hours.
– Wipe off any excess sealant with a clean cloth.
Following these steps will help ensure a successful tile installation. Remember to take your time, work carefully, and consult professional advice if needed.