Grout the ceramic tile floor surfaces, and clean off any grout which gets on the tile. You are able to change the accessory flooring by removing it and replacing them with the brand new ones. They require two times as rigid a floor as ceramic. To start off of all try not to work with any sort of abrasive as it may print chafing on the floor. The tiles could be snapped by hand or even with floor tile nippers, tile cutters or using a damp saw.
Images Related to Tile Floor Toilet
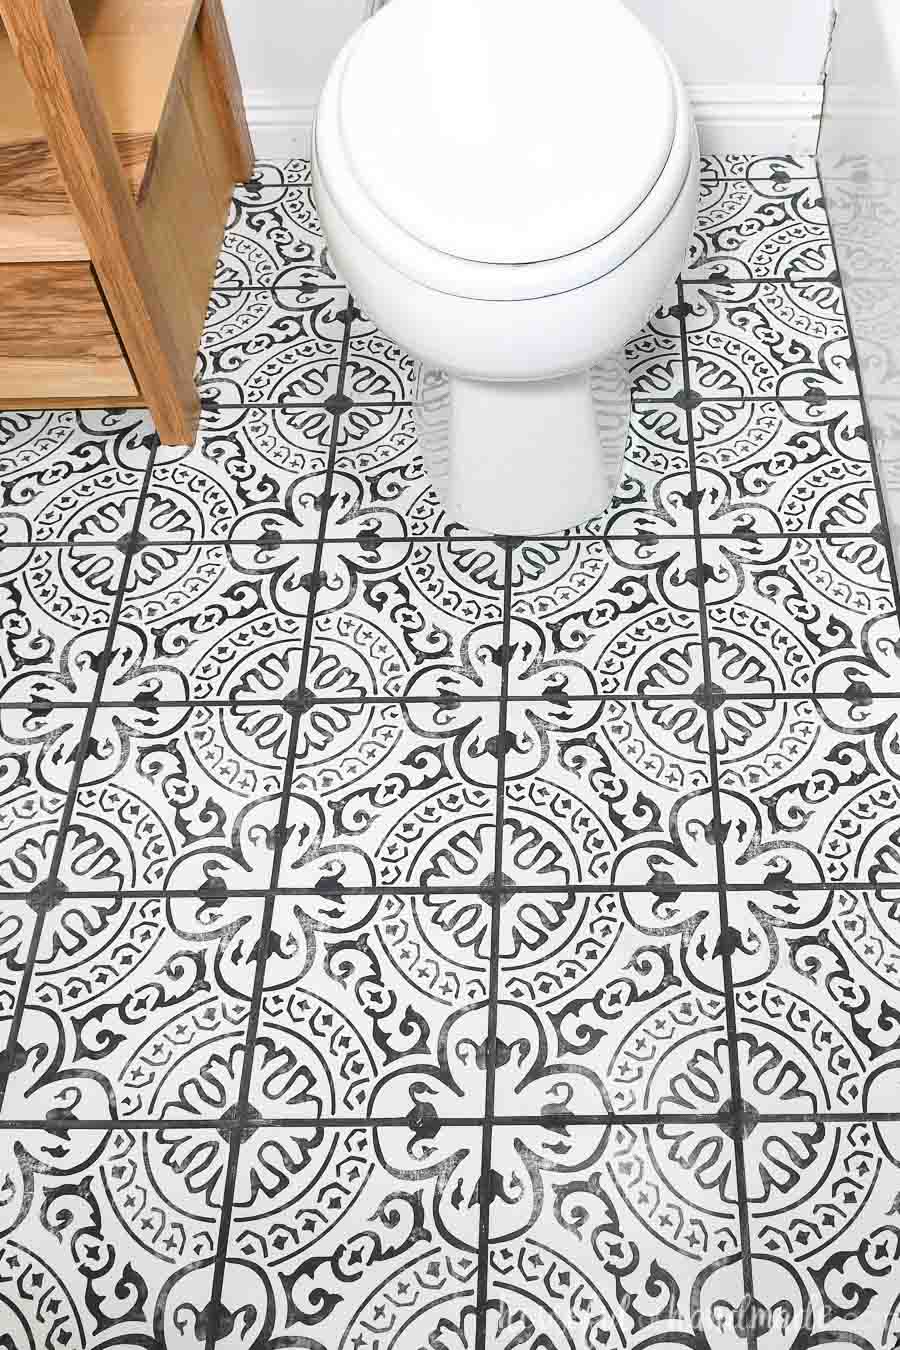
Tile Floor Toilet
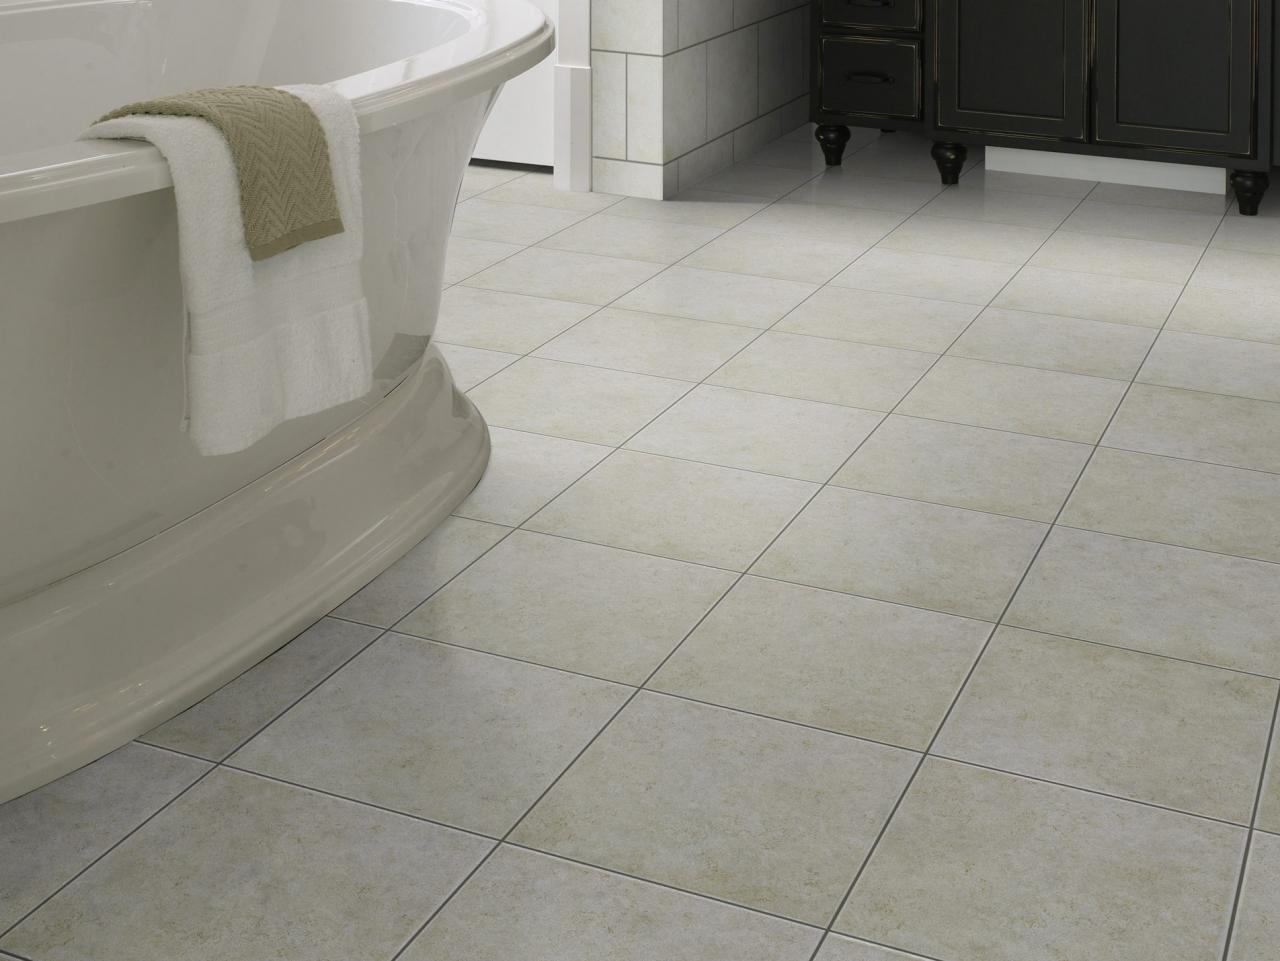
As soon as you’ve your tile, you can pre cut tiles which will be positioned at the sides of the floor if the tile is simply too large. In reality, tile floors are several of probably the most durable one available at the moment! This particular flooring type even can be purchased in a massive range of colors and designs.
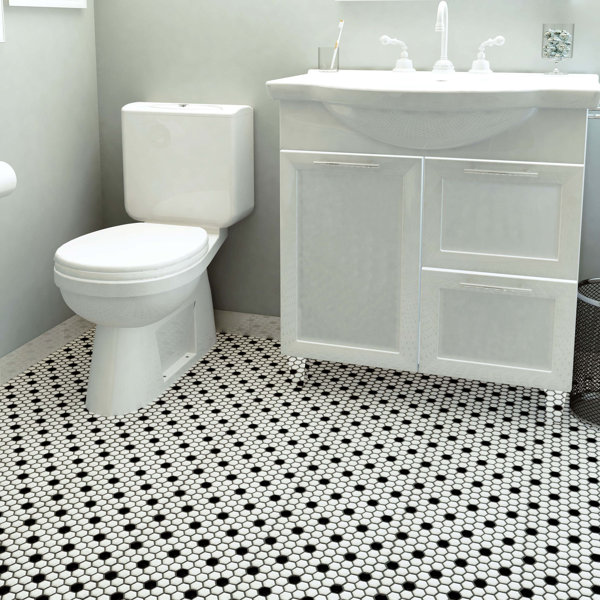
Wayfair Bathroom Tile Youu0027ll Love in 2022
And compare their prices on which you are able to have cheaper rate for the marble tiles you decide on. Nip off the surface side intelligently to a marked line and after that remove the basic lower sections at will. In reality, they likely just knew it had to be completed as well as told you about it at the coming of the project. You can buy a system from a home improvement store for a single car garage, which could quickly set you back $500 plus.
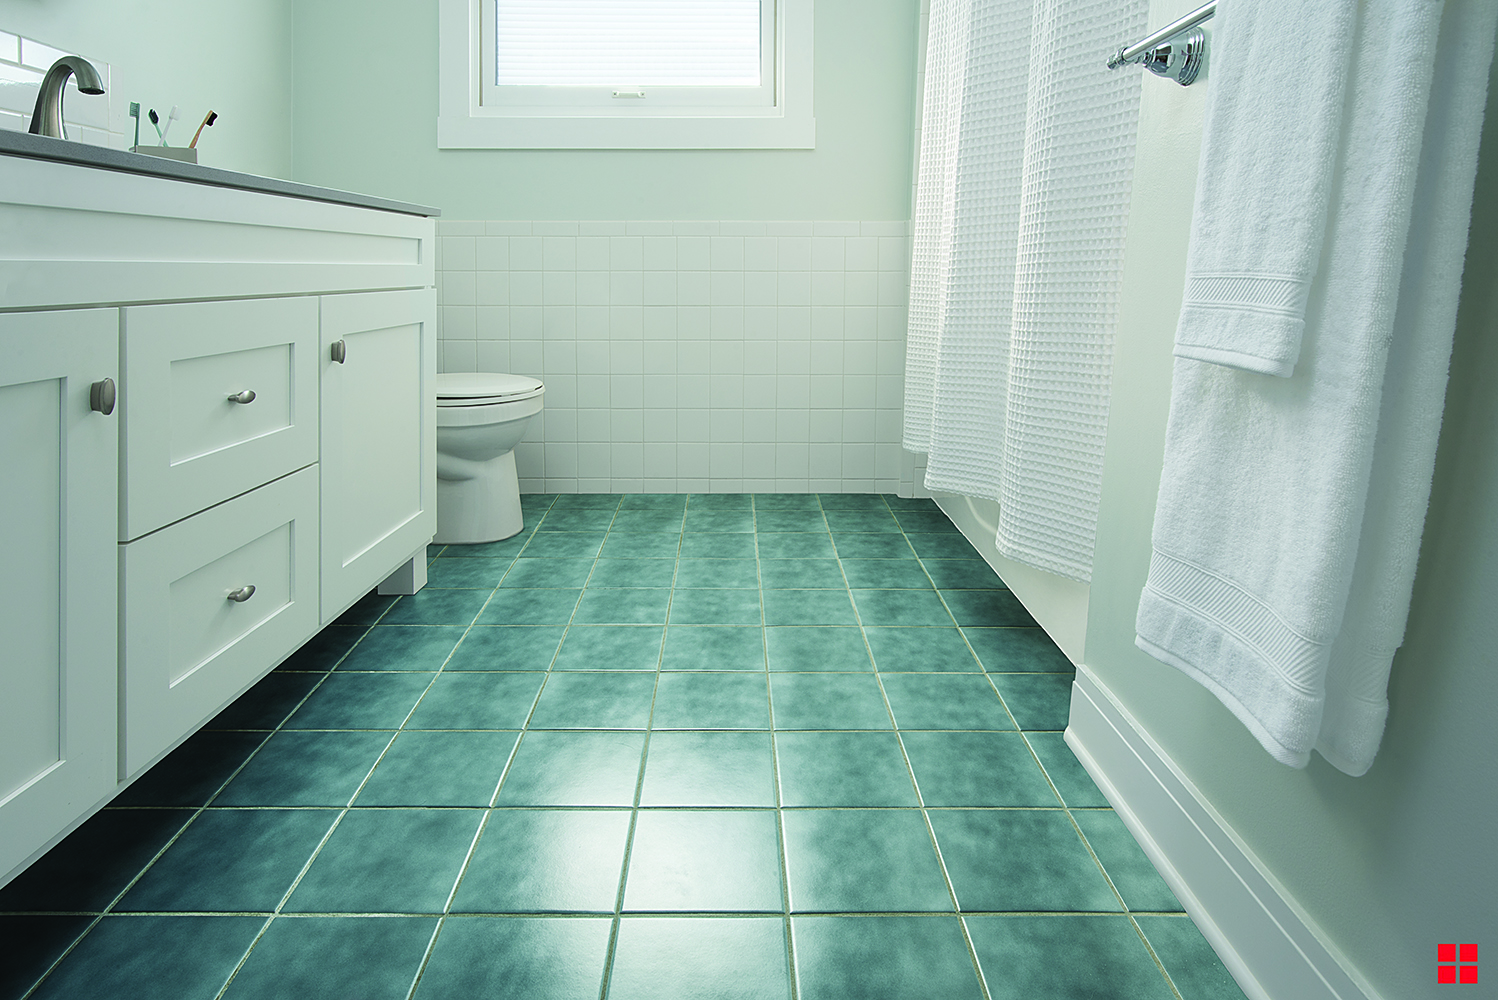
DIY Painted Bathroom Floor
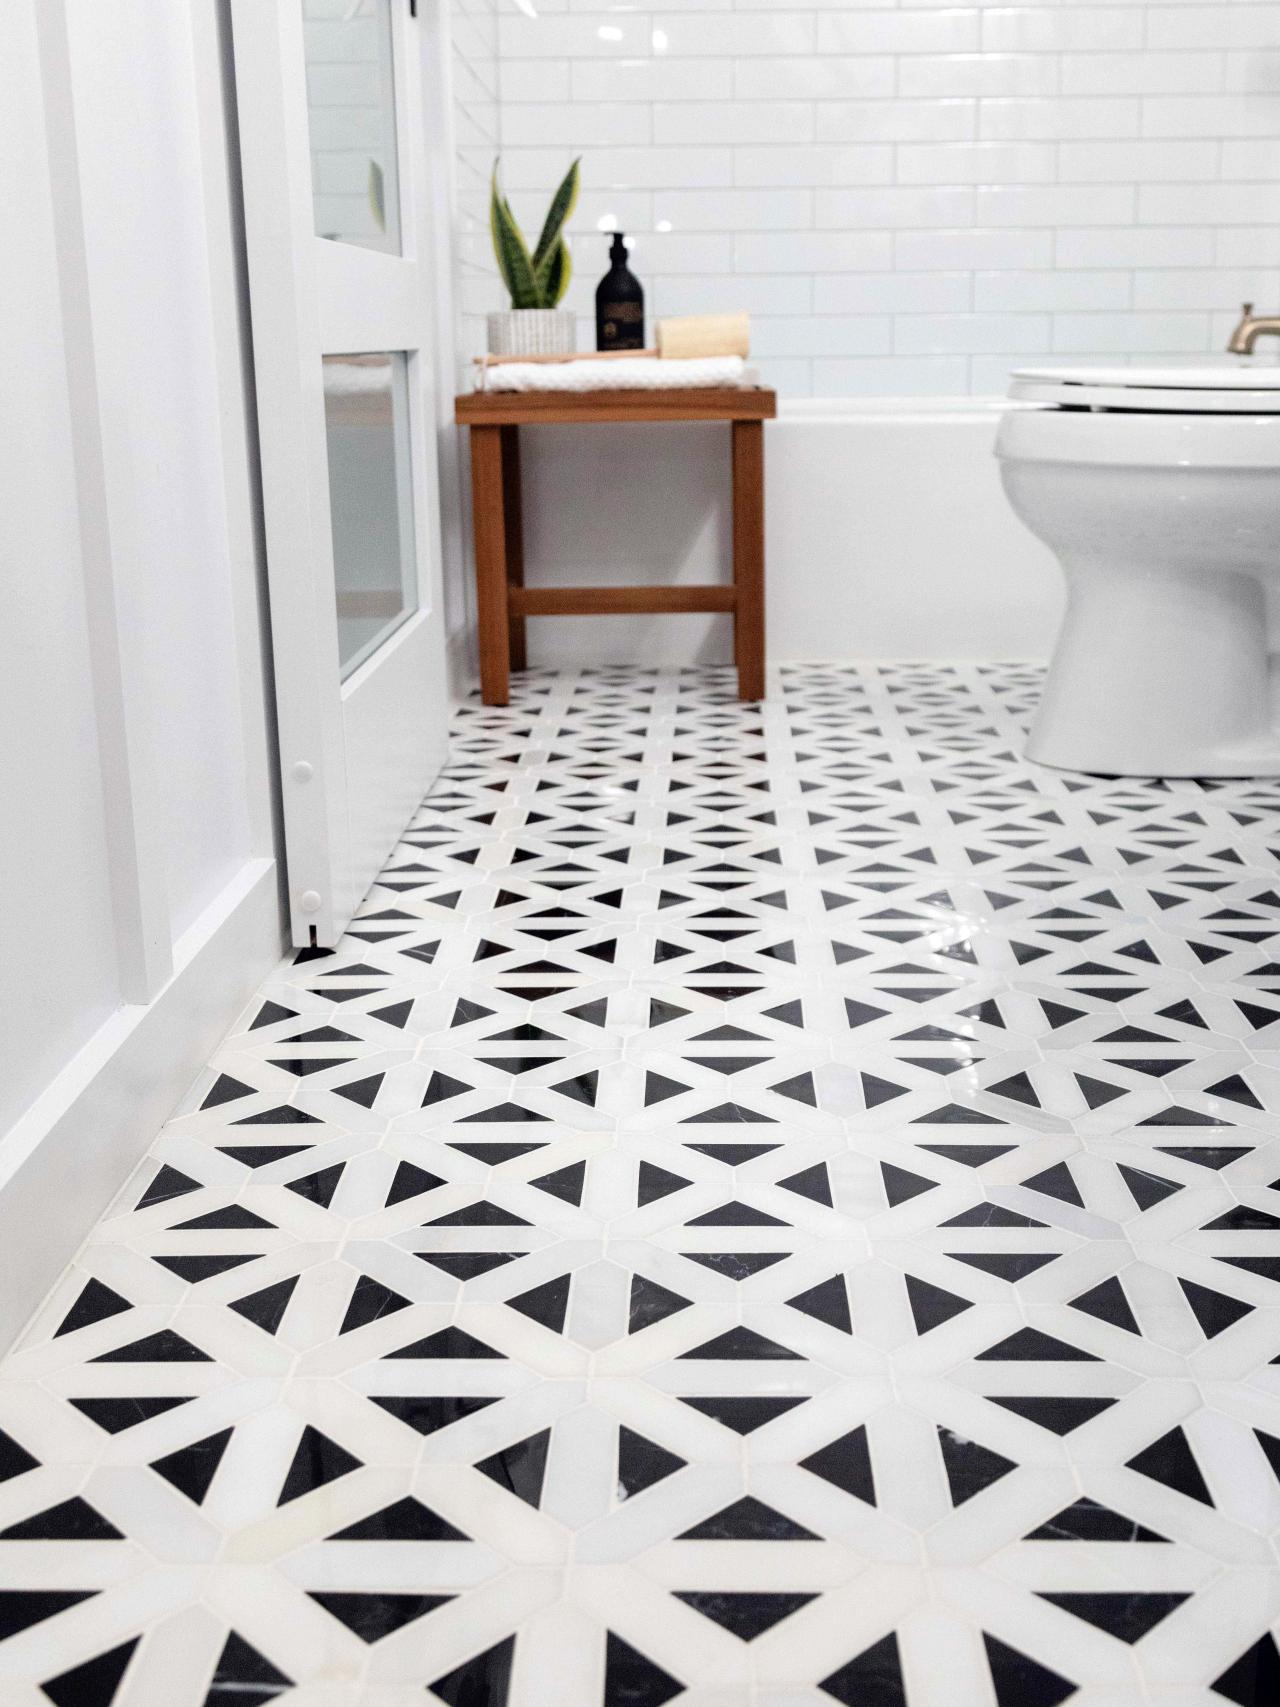
Big Tile or Little Tile? How to Design for Small Bathrooms and
Laying Floor Tiles in a Small Bathroom – Houseful of Handmade
The Best Flooring Options for Bathrooms – This Old House
:no_upscale()/cdn.vox-cdn.com/uploads/chorus_image/image/66476967/20_master_bath.7.jpg)
Diagonal Tile Layout Installation Basics
/Bathroomtile-GettyImages-168324184-abdeab6f19e849fdae1fda9e76ca2eab.jpg)
How To Tile a Bathroom Floor The Home Depot

How to Lay a Tile Floor HGTV
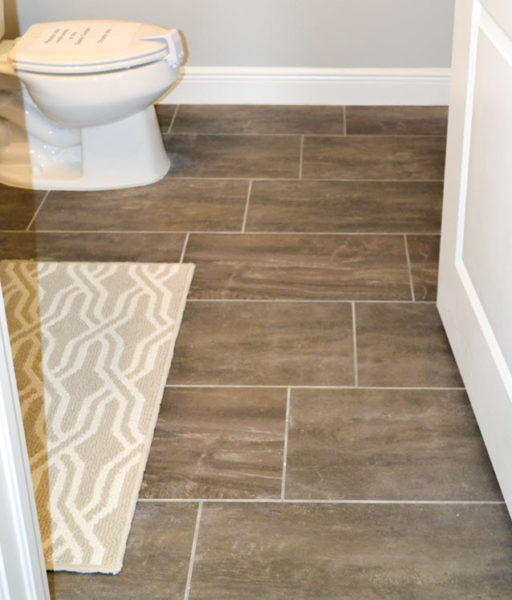
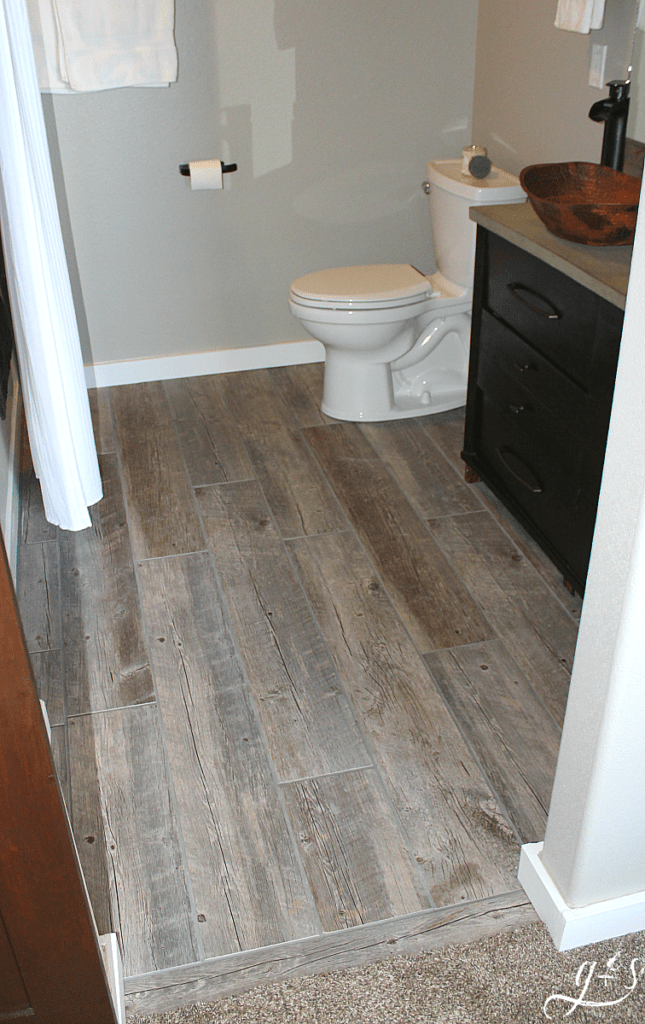
Plank Tile Bathroom Flooring – HappiHomemade with Sammi Ricke
How to Tile a Bathroom Floor with Wickes

How To Update Your Bathroom Floor Tiles – 6 DIY ideas

Hexagonal Floor Tile Stickers Non-Slip Gray Decal Peel and Stick for Kitchen Bedroom Bathroom Balcony, Waterproof Vinyl
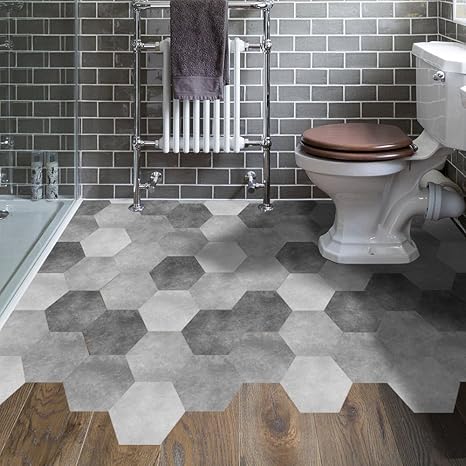
These Bathrooms Prove Hexagon Floor Tile Is Stunning

Related articles:
- Bathroom Floor Baseboard
- Rustic Bathroom Flooring Ideas
- Bathroom Flooring Options
- Bamboo Bathroom Flooring Ideas
- Small Bathroom Floor Tile Patterns Ideas
- Choosing Bathroom Floor Tile
- Dark Wood Bathroom Floor
- Bathroom Flooring Choices
- Mosaic Bathroom Floor Tile Design
- Epoxy Resin Bathroom Floor
Installing a Tile Floor Toilet: A Comprehensive Guide
A tile floor toilet is a stylish and hygienic choice for any bathroom. Installing a tile floor toilet correctly ensures that it will last for years to come and look beautiful in the process. This comprehensive guide will walk you through all the steps of installing a tile floor toilet, from selecting the right materials to completing the installation.
Materials Needed
Before starting the installation process, make sure you have all the necessary materials. You will need a toilet, tiling tools, tile adhesive, grout, and a sealant.
Preparing the Site
The next step is to prepare the site for installation. Start by measuring the area where you plan to install the toilet. Use a level to ensure that the area is even and flat. Next, remove any existing tiles or other obstacles in the area. Finally, use a damp cloth to clean the area and ensure that it is free from dust and dirt before beginning.
Laying the Tiles
Once you have prepared the site, it’s time to start laying down the tiles. Start by spreading a thin layer of adhesive over the area you’re working with. Next, lay down your tiles one by one, making sure that they are evenly spaced and aligned with each other. Once you’ve laid out all your tiles, let them dry completely before moving on to the next step.
Fitting the Toilet
When your tiles are dry, it’s time to fit the toilet onto them. Measure out where you want your toilet to go and mark it off with a pencil. Then use a drill to make holes in this marked area for your toilet bolts. Place your toilet onto the tiles and use a wrench to tighten up the bolts into place. Make sure that your toilet is level and secure before continuing on with grouting.
Grouting
Grouting is an important step in installing a tile floor toilet as it ensures that all of your tiles stay together over time. Start by spreading grout between each tile and ensuring that it’s evenly distributed. Let the grout dry completely before moving on to sealing.
Sealing
Sealing your tile floor toilet is an important final step in protecting it from dirt and moisture damage over time. Apply a sealant over all of your tiles using a paintbrush or roller and make sure that all of them are evenly covered. Let your sealant dry completely before enjoying your newly installed tile floor toilet!
FAQs
Q: What type of sealant should I use?
A: The type of sealant you use depends on what kind of tiles you are using for your tile floor toilet. Generally speaking, an acrylic sealant is best for ceramic or porcelain tiles while polyurethane sealants are best for stone or natural stone tiles.
Q: How long should I let my grout dry?
A: Most kinds of grout require 24 hours of drying time before you can move on with sealing or finishing up installation. It’s important to give your grout enough time to cure properly in order for it to be effective in protecting your flooring from water damage over time.