Nevertheless, you may possibly be on a budget or even a passionate DIY wish and enthusiast wish to setup the tiles yourself, so have a look at this phase by phase guide to ceramic tile for the floor flooring set up. For regular washing, damp mopping does the technique. Cost of garage tile flooring is able to add up, that is one of the drawbacks inflicted on our method. It can instantly change the appearance of any floor.
Images Related to Peel And Stick Vinyl Tile Floor Prep
Peel And Stick Vinyl Tile Floor Prep
You'll need a number of hours, with regards to the size of the floor, of course, if the floor is actually a bathroom and you have children, a next bath room which they can use could are available in handy, as a couple of hours are needed for the mortar to dry out. You can furthermore blend the tiles within the home with those outside, for instance on your terrace.
How to Lay a Vinyl Tile Floor – This Old House
/cdn.vox-cdn.com/uploads/chorus_asset/file/19493864/howto_vinylfloor_05.jpg)
Additionally, picking stain-resistant grout is almost certainly a good idea for tile in a kitchen where spills commonly occur. Beyond that, it is readily available in a number of sizes, colors, and styles. If any boards need changing, does it at the time, because the brand new tile floor will cover the subfloor forever. Putting in ceramic tile flooring straight to your vinyl or maybe linoleum subfloor surfaces is significantly discouraged.
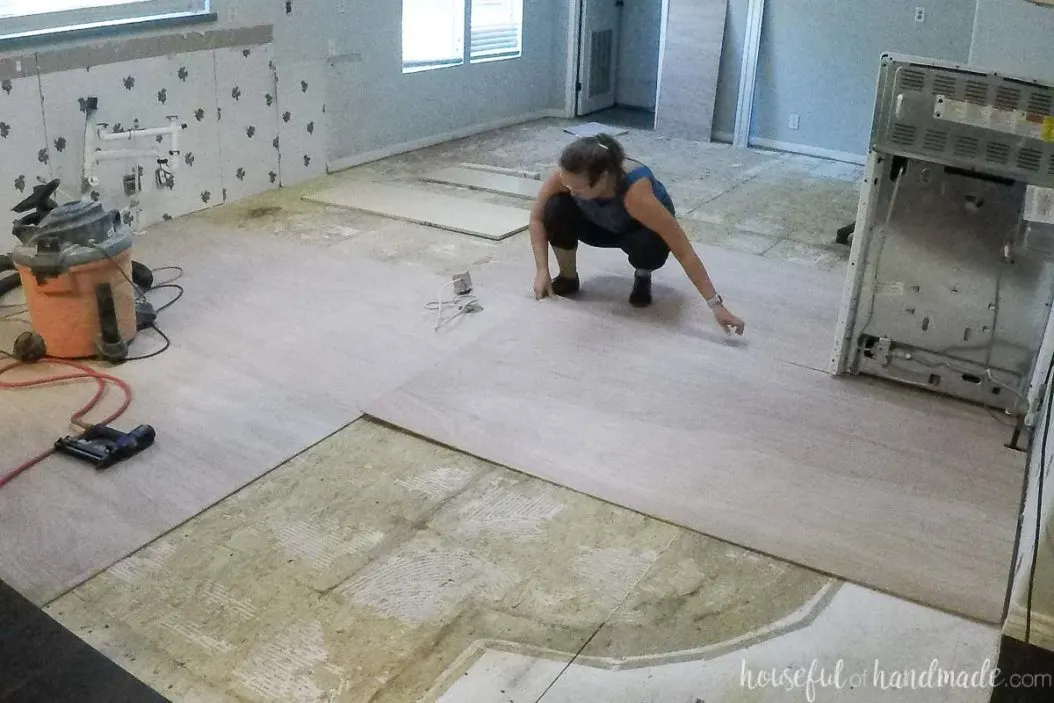
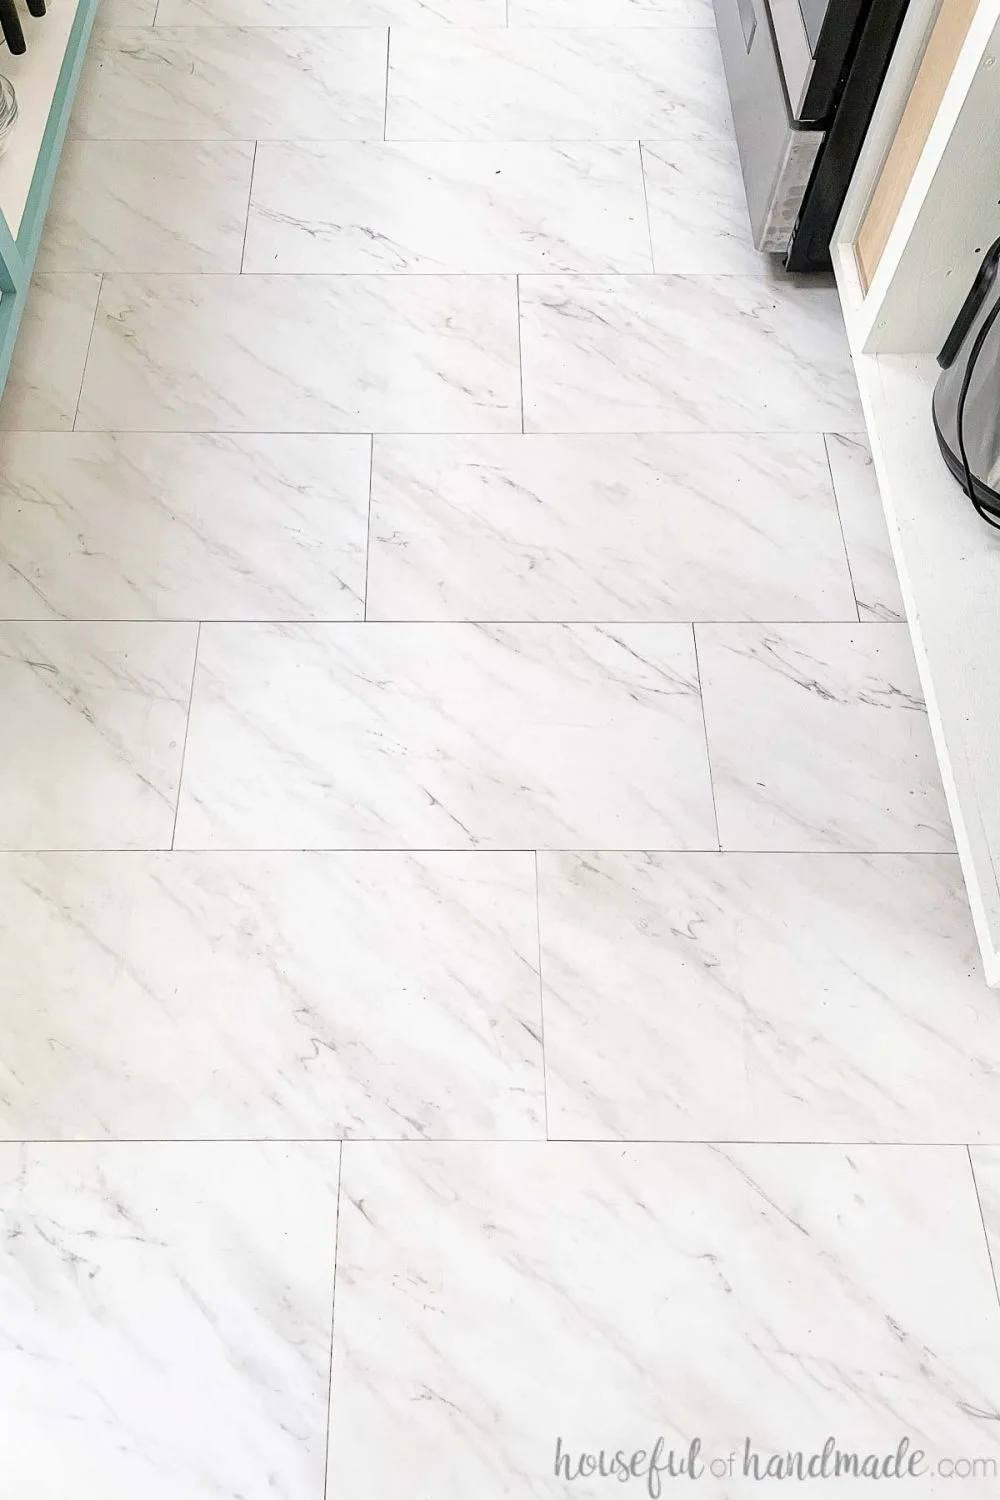
How to Install Peel and Stick Vinyl Tiles – Houseful of Handmade
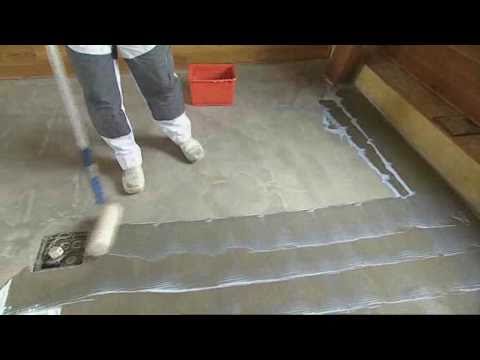
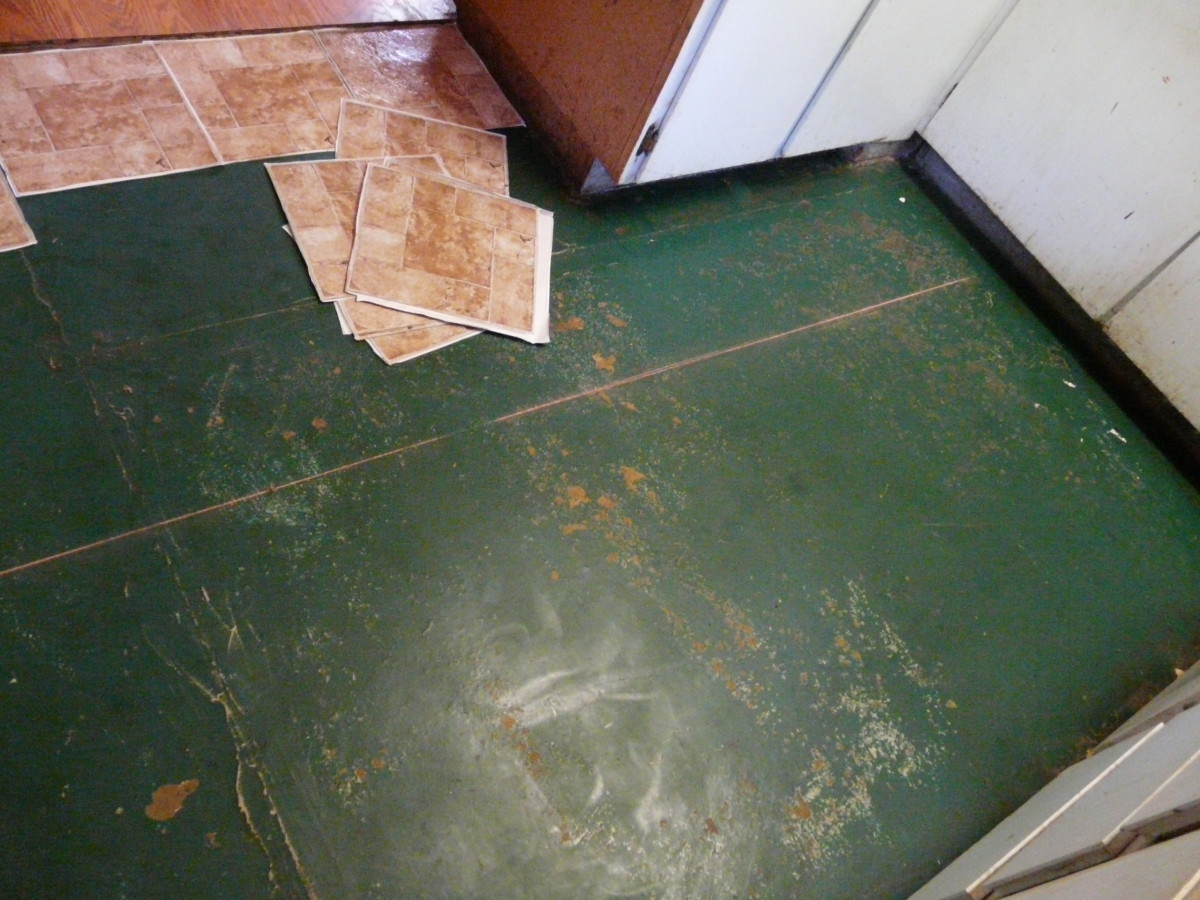
How to prepare your floor for Stepper Self adhesive vinyl flooring
How to Prepare a Floor for Peel u0026 Stick Tile

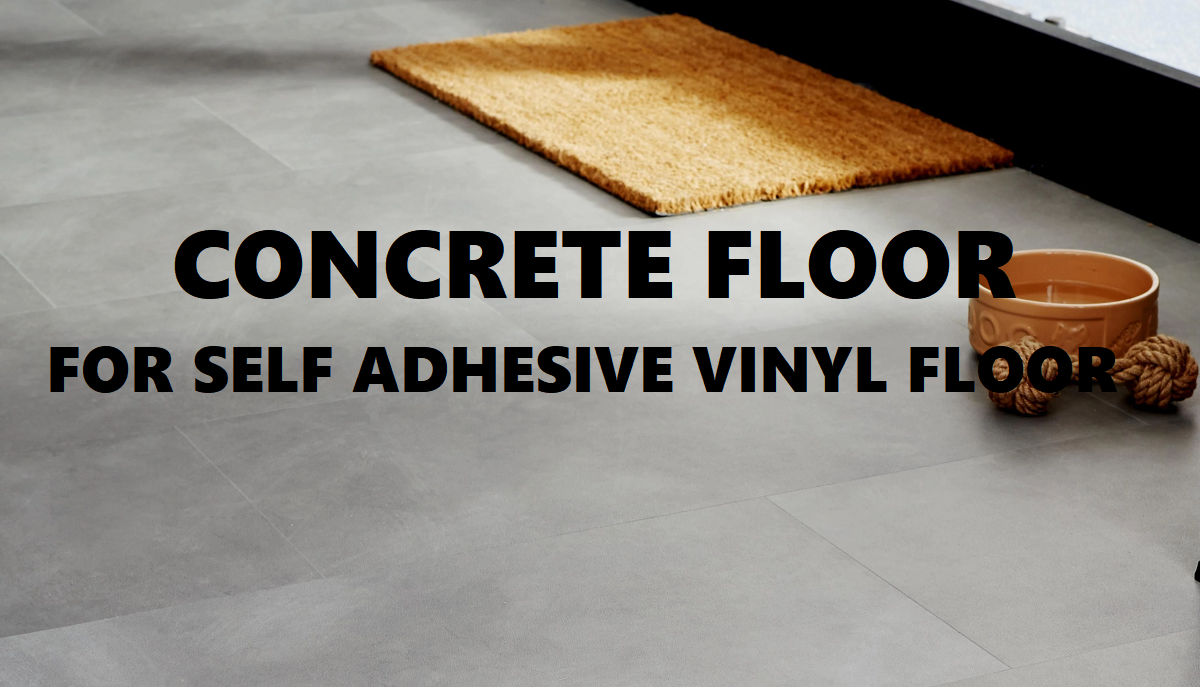
How To Prepare Concrete Floor For Self Adhesive Vinyl Tiles (Peel
Installing Your Peel-and-Stick Vinyl Tile Floor

Sub-floor Preparation for Installing Your Peel-and-Stick Vinyl Tile Floor

Peel and Stick Vinyl Floor Tile Ultimate Guide: Pros u0026 Cons, Cost

How to Install Peel and Stick Vinyl Tiles – Houseful of Handmade
FloorPops Peel u0026 Stick Vinyl Floor Tiles Review u0026 Tips Home
How to Lay a Vinyl Tile Floor – This Old House
/cdn.vox-cdn.com/uploads/chorus_asset/file/19494102/color_gutters_illo_web_1.jpg)
How to Install Peel and Stick Vinyl Tile Over Linoleum

How to Lay Peel-and-Stick Vinyl Tile Flooring – Dengarden
Related articles:
- Vintage Bathroom Floor Tile Patterns
- Bathroom Floor Tile DIY
- Limestone Bathroom Floor Tiles
- Bathroom Floor Porcelain Tile
- Concrete Bathroom Floor Ideas
- White Bathroom Ceramic Tiles
- Bathroom Floor Baseboard
- Rustic Bathroom Flooring Ideas
- Bathroom Flooring Options
- Bamboo Bathroom Flooring Ideas
Peel and stick vinyl tile flooring is a popular choice for many homeowners due to its ease of installation and durability. However, proper preparation of the subfloor is crucial to ensure a successful installation that will last for years to come. In this article, we will discuss the important steps involved in preparing your subfloor for peel and stick vinyl tile installation.
Subfloor Inspection:
Before you begin installing peel and stick vinyl tile flooring, it is essential to inspect the subfloor thoroughly. Remove any existing flooring materials such as carpet, laminate, or tile to expose the subfloor. Check for any signs of moisture or water damage, unevenness, or cracks. Address any issues before proceeding with the installation to ensure a smooth and level surface for the new flooring.
FAQs:
Q: Do I need to remove old adhesive residue from the subfloor before installing peel and stick vinyl tiles?
A: Yes, it is important to remove any old adhesive residue from the subfloor as it can affect the adhesion of the new tiles. Use a scraper or adhesive remover to clean the surface thoroughly before proceeding with the installation.
Subfloor Preparation:
After inspecting the subfloor, it is time to prepare it for the peel and stick vinyl tile installation. Start by filling any cracks or gaps with a self-leveling compound to create a smooth and even surface. Sand down any high spots using a sander to ensure that the subfloor is level.
FAQs:
Q: Can I install peel and stick vinyl tiles over existing vinyl flooring?
A: It is not recommended to install peel and stick vinyl tiles over existing vinyl flooring as it may not provide a stable base for the new tiles. Remove the old vinyl flooring before proceeding with the installation.
Priming the Subfloor:
Once the subfloor has been leveled and cleaned, it is important to prime it before installing peel and stick vinyl tiles. A primer will help improve adhesion and prevent moisture from seeping through the subfloor. Apply a thin layer of primer using a roller or brush and allow it to dry completely before proceeding with the installation.
FAQs:
Q: Do I need to let the primer dry completely before installing peel and stick vinyl tiles?
A: Yes, it is crucial to allow the primer to dry completely before laying down the new tiles. This will ensure proper adhesion and prevent any issues with shifting or peeling.
Acclimating the Tiles:
Before installing the peel and stick vinyl tiles, it is recommended to acclimate them to the room where they will be installed. Leave the tiles in their packaging in the room for at least 48 hours to allow them to adjust to the temperature and humidity levels of the space.
FAQs:
Q: How long should I acclimate peel and stick vinyl tiles before installation?
A: It is best to acclimate the tiles for at least 48 hours before installation to ensure proper adhesion and prevent any issues with expansion or contraction.
Layout Planning:
Before starting the installation process, plan out the layout of your peel and stick vinyl tiles. Begin by finding the center point of the room and laying out a grid using chalk lines or spacers. This will help you determine where to start installing the tiles and ensure a symmetrical layout.
FAQs:
Q: Should I start installing peel and stick vinyl tiles in a corner of the room?
A: It is recommended to start installing peel and stick vinyl tiles in the center of the room for a more balanced layout. Work your way out Wards from the center to the edges, following your planned layout for a professional finish.
Installing Peel and Stick Vinyl Tiles:
Now that you have prepared the subfloor, primed it, acclimated the tiles, and planned out your layout, it is time to start installing the peel and stick vinyl tiles. Begin by removing the backing from one tile and carefully placing it in the desired position on the subfloor. Press down firmly on all edges and corners to ensure proper adhesion. Continue this process, working your way outwards from the center of the room, following your planned layout.
FAQs:
Q: How do I cut peel and stick vinyl tiles to fit around corners or obstacles?
A: To cut peel and stick vinyl tiles to fit around corners or obstacles, use a utility knife or scissors to carefully trim the tiles to the desired shape. Make sure to measure accurately before cutting to ensure a precise fit.
Finishing Touches:
After all the peel and stick vinyl tiles have been installed, use a roller or hand roller to firmly press down on all tiles to ensure proper adhesion. Check for any loose edges or corners and press them down securely. Trim any excess material along the edges of the room using a utility knife for a clean finish.
FAQs:
Q: Can I walk on peel and stick vinyl tiles immediately after installation?
A: It is best to wait at least 24 hours after installation before walking on peel and stick vinyl tiles to allow them to set properly. Avoid moving heavy furniture or appliances onto the newly installed flooring for at least 48 hours to prevent any shifting or peeling.
By following these steps and tips, you can successfully install peel and stick vinyl tiles in your space for a durable and stylish flooring solution. Enjoy your new floors! Remember, if you have any doubts or concerns during the installation process, don’t hesitate to consult with a professional or the manufacturer’s guidelines for further assistance. Proper installation is key to ensuring the longevity and performance of your peel and stick vinyl tiles. Good luck with your project! If you have any further questions or need assistance with installing peel and stick vinyl tiles, feel free to reach out to us. We are here to help ensure your project is successful and that you are satisfied with the results. Thank you for choosing peel and stick vinyl tiles for your flooring needs!