Lots of individuals are actually getting away from carpeting because of the dust mites which can accumulate in the carpet, thus the possibilities are limitless as to where and how you can put in tile flooring. After cleaning you are able to then start to move the majority of your furniture in, then take a seat, relax and admire the rewards of the hard work of yours.
Images Related to Tile Floor And Wall Joint
Tile Floor And Wall Joint

There are many ways to learn more and more tile floors. Take a damp cloth and then give it a mild wipe. Carpet can hold up to a bit of bending, vinyl tile can flex as well as bend a bit, hardwood floors can bend a bit too, but if tile or perhaps stone is actually subjected to forces that push in two different directions at one time, it doesn't know how to bend.
How to Tile a Bathroom Floor and Walls – BestLife52

You are able to sometimes get cost list on all the kind of marble floor tiles. You can obtain or perhaps checkout books and videos, and you can talk with hardware store personnel. Installation of your tiles is now complete. They are okay to be broken by first scoring each side with a full glass cutter, after which snapped having a pair of pliers. This might be quite a big job, and at times even a surprise work.
Balcony section – floor tile covering – joint with wall Sealing

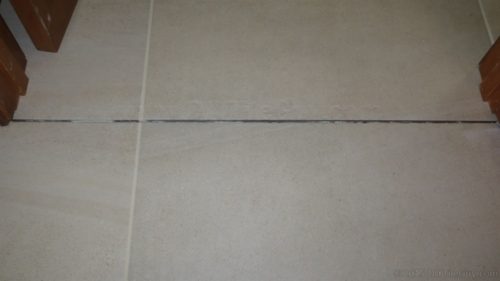
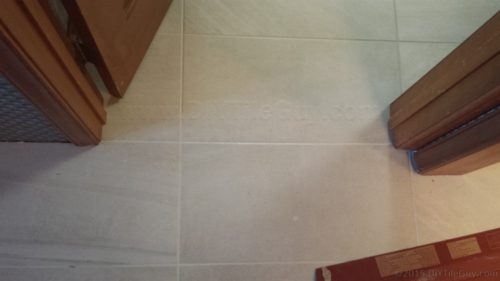
Every Tile Installation Needs: Movement Joints DIYTileGuy
What grout to use for tiled shower floor to wall joint? Terry
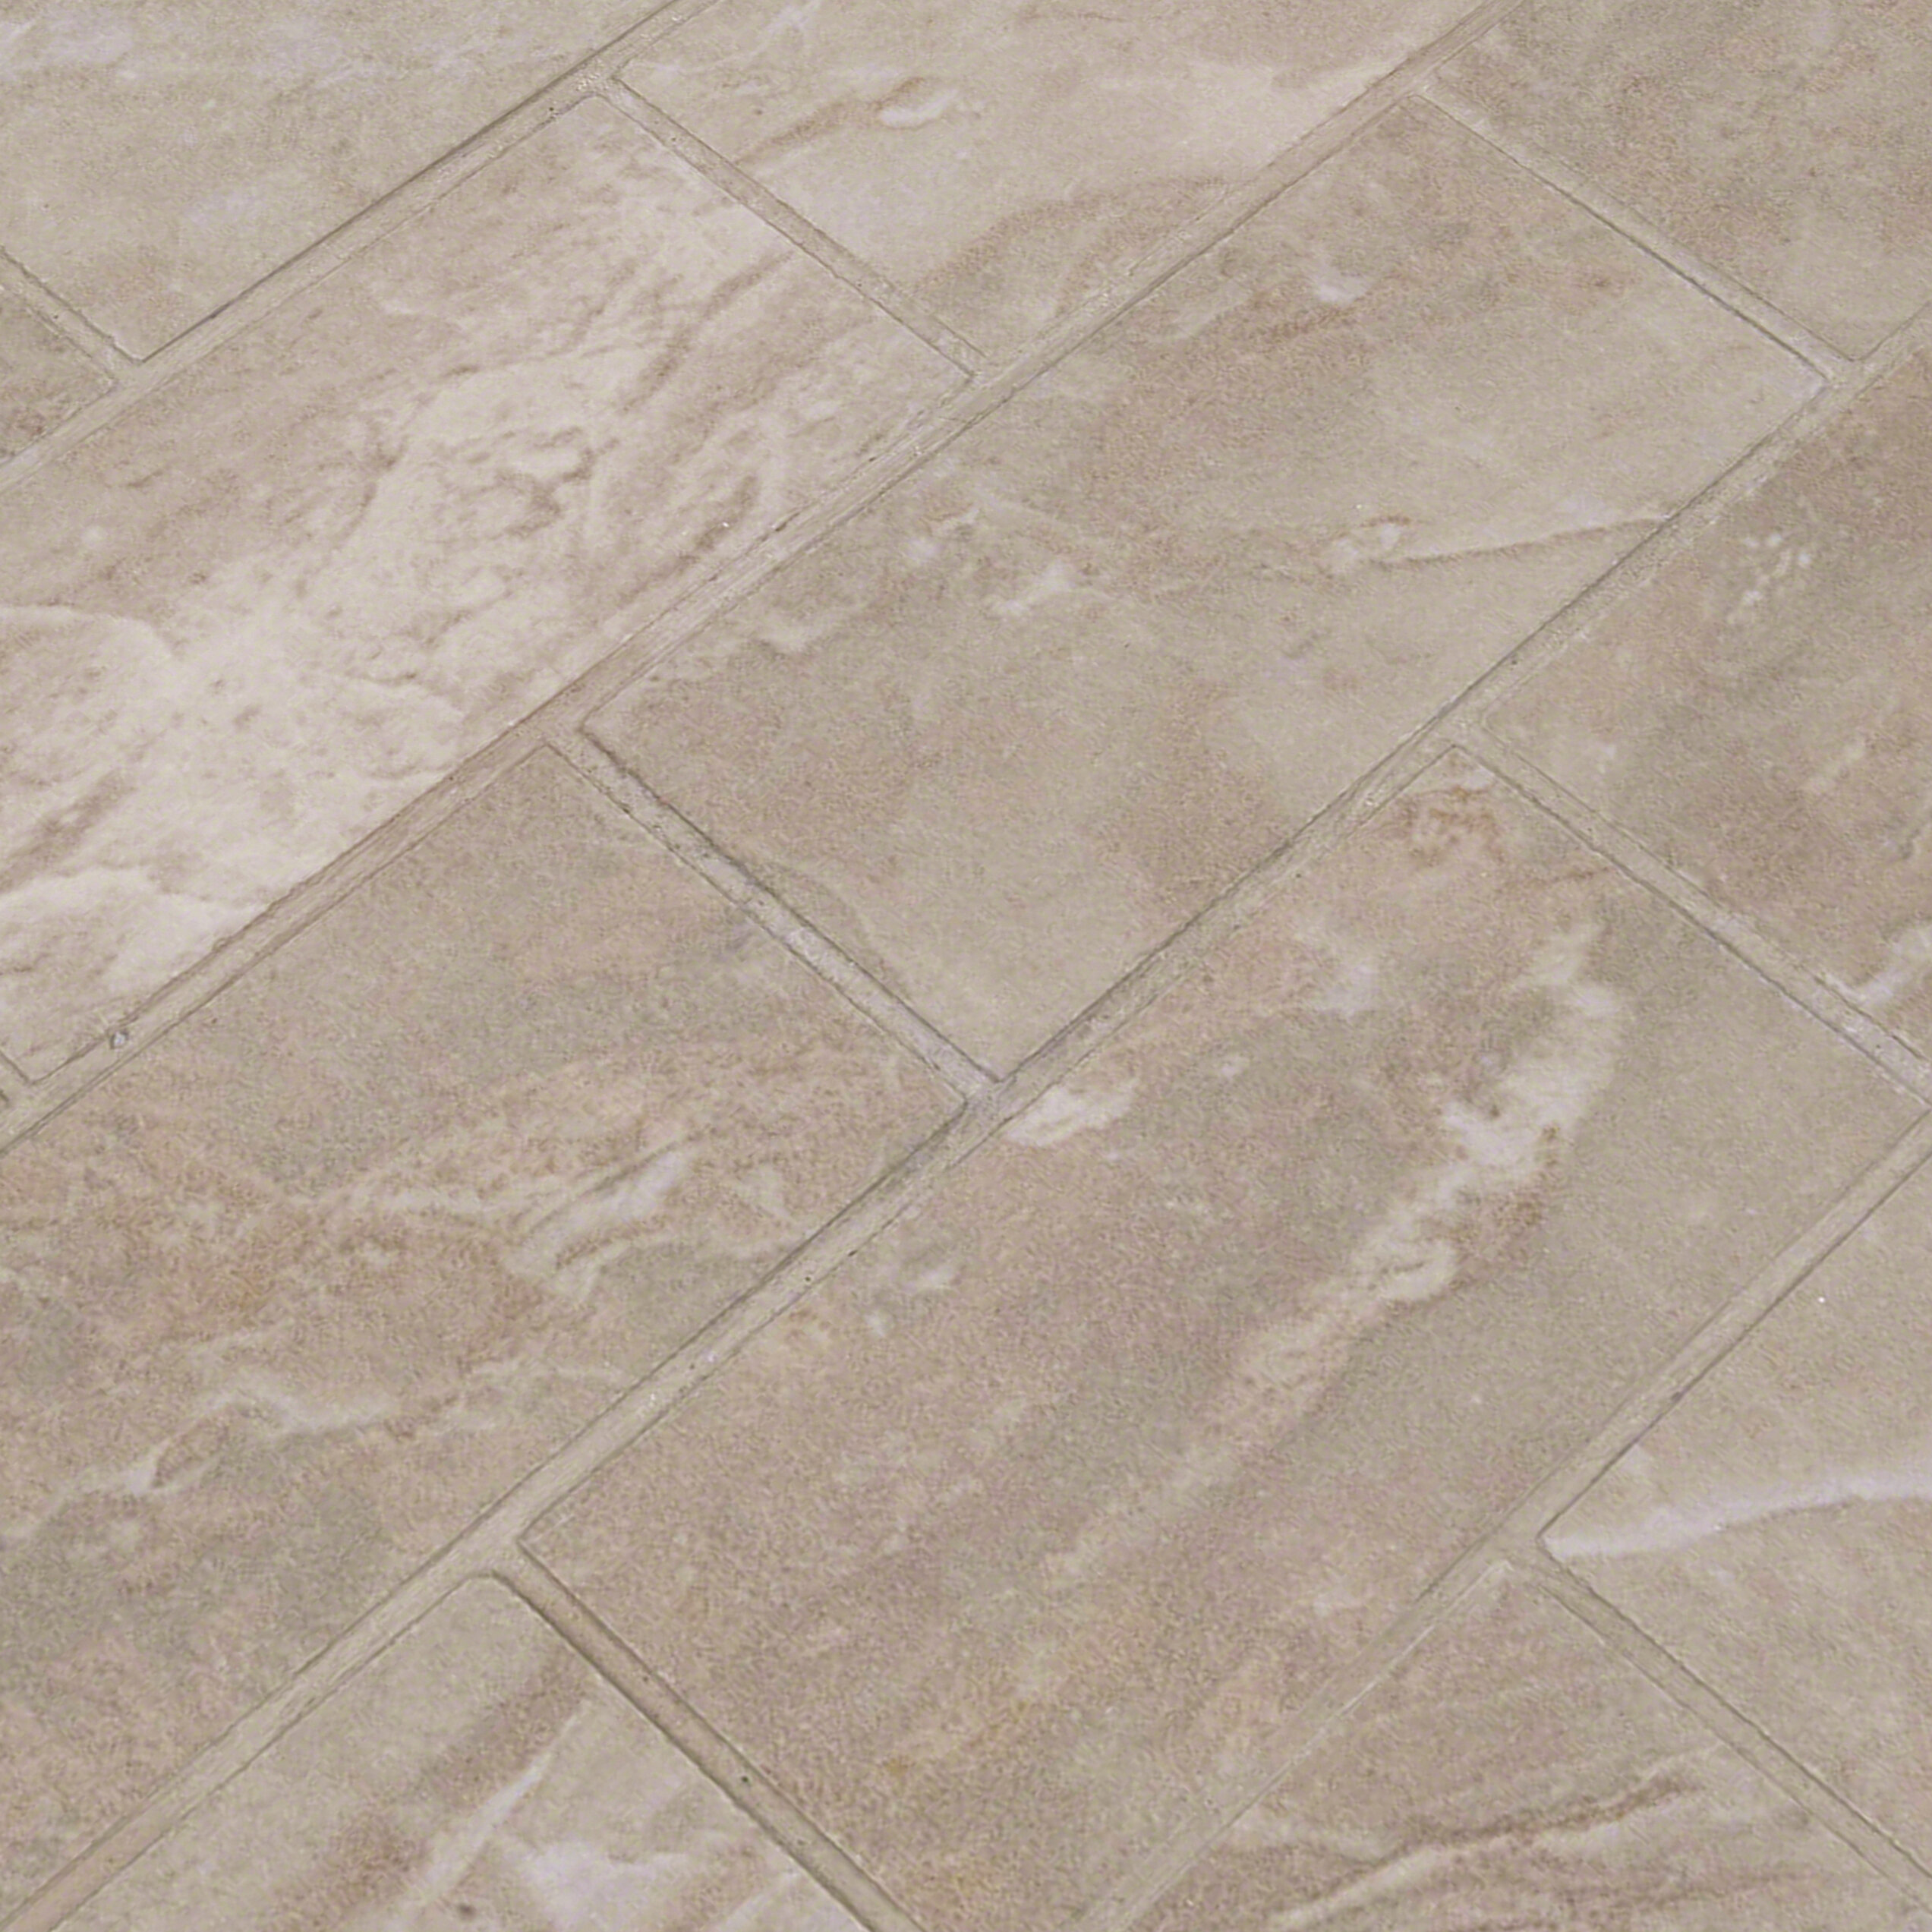
Pietra Carrara 2″ x 4″ Porcelain Brick Joint Wall u0026 Floor Tile
Movement Joint Profiles Profiles schluter.com

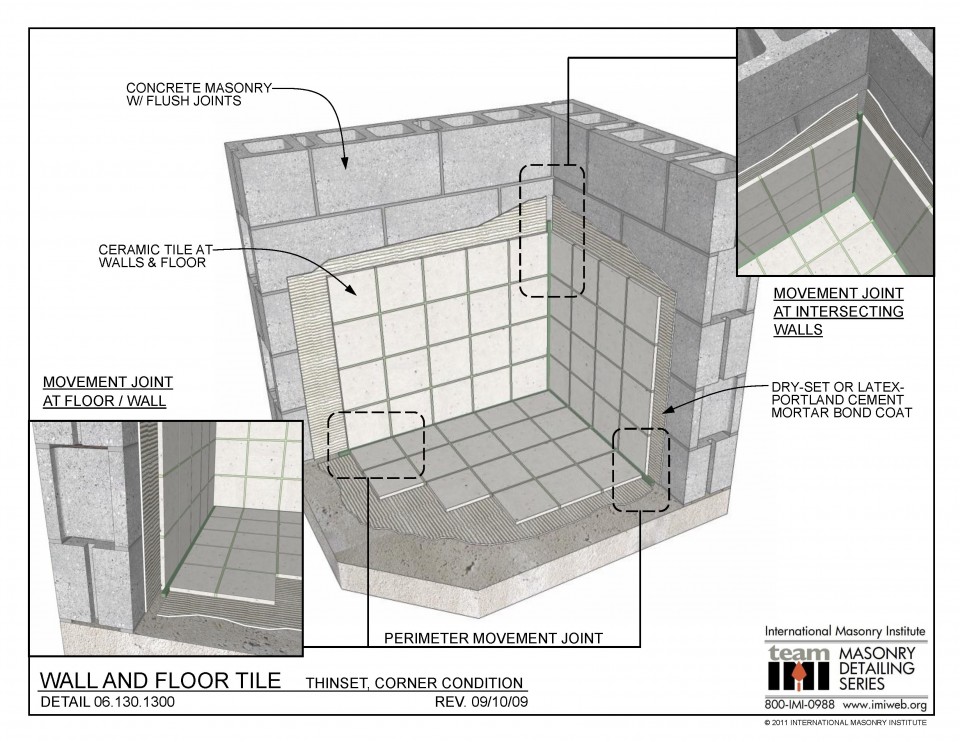
Bricklayer Archives Page 4 of 6 International Masonry Institute
Installing Floor Trim – Fine Homebuilding

Getting the edge on tiles BRANZ Build

Every Tile Installation Needs: Movement Joints DIYTileGuy
What grout to use for tiled shower floor to wall joint? Terry
Reasons for Cracked Floor and Wall Tile
/reasons-why-tile-floor-is-cracked-1822645-hero2-d370ff4a97b548b78daba6117abe6519.jpg)
What is a u0027Soft Jointu0027 and When to use One The Floor Elf

Related articles:
- Vintage Bathroom Floor Tile Patterns
- Bathroom Floor Tile DIY
- Limestone Bathroom Floor Tiles
- Bathroom Floor Porcelain Tile
- Concrete Bathroom Floor Ideas
- White Bathroom Ceramic Tiles
- Bathroom Floor Baseboard
- Rustic Bathroom Flooring Ideas
- Bathroom Flooring Options
- Bamboo Bathroom Flooring Ideas
Tile floor and wall joints are a necessary part of any tiling job, allowing two different surfaces to be securely joined together. From a functional point of view, they help create a watertight seal between the two surfaces, preventing water from seeping in and causing damage. But tile joints can also be an aesthetic feature, adding texture, color and interest to the overall design. Read on to learn more about different types of tile floor and wall joints, as well as tips for installation.
Types of Tile Floor and Wall Joints
One of the most popular types of tile floor and wall joints is the grout joint. This type of joint is created by filling a crack between tiles with a cement-based material called grout. Grout is available in a variety of colors and can be used to create an aesthetic effect, such as an eye-catching contrast between tiles. Another popular type of joint is the caulk joint, which is created by filling the gap between two tiles with a flexible sealant. Caulk is usually used when there is movement between the two surfaces (such as in a shower), as it creates a more flexible seal that can accommodate movement without cracking.
Finally, some tile floors feature expansion joints, which are gaps left un-filled between tiles to allow for expansion or contraction due to temperature changes. Expansion joints are typically filled with foam or rubber designed specifically for tile installations.
Tips for Installing Tile Floor and Wall Joints
When installing tile floor and wall joints, it’s important to choose the right materials for the job. For example, grout should be matched to the type of tile being used; some types of grout may not be suitable for certain types of tiles. Additionally, when installing caulk or expansion joints, make sure to use products that are specifically designed for tiling projects.
It’s also essential to prepare the surfaces properly before installing tile floor and wall joints. This includes cleaning them thoroughly with a mild detergent and ensuring that any existing cracks or gaps are filled in before continuing with installation. Once the surface is prepared, it’s time to install the joint itself. Make sure to follow manufacturer instructions closely to ensure proper installation.
Finally, after installing tile floor and wall joints, make sure to seal them properly with a high quality sealant. This will help protect them from moisture and keep them looking their best over time.
Conclusion
Tile floor and wall joints are an essential part of any tiling job, providing both functional benefits and aesthetic interest. When installing these joints, it’s important to choose the right materials for the project, prepare surfaces properly and follow manufacturer instructions closely. Additionally, make sure to seal the joints with a high quality sealant once installation is complete. By following these steps carefully, you can ensure that your tile floor and wall joints will look great and last for years to come!