Everybody loves a neatly decorated bath room and what better way to do it than by making use of mosaic bathroom floor tiles? These tiles can be cut into any kind of design or placed around patters like swirls, waves, circles, triangles etc. If you want a stylish bath room, think about natural stone tiles for the floors. Stone flooring are long lasting however expensive.
Here are Images about How To Tile A Bathroom Shower Floor
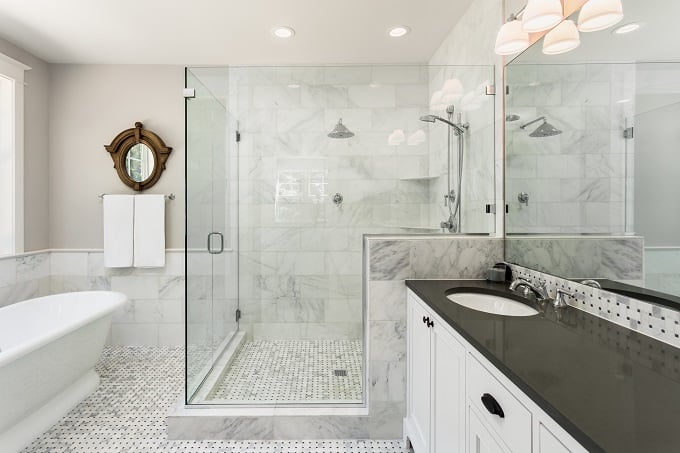
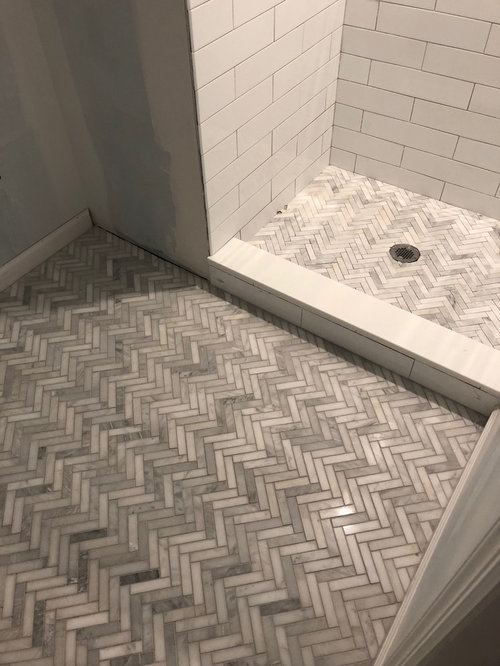
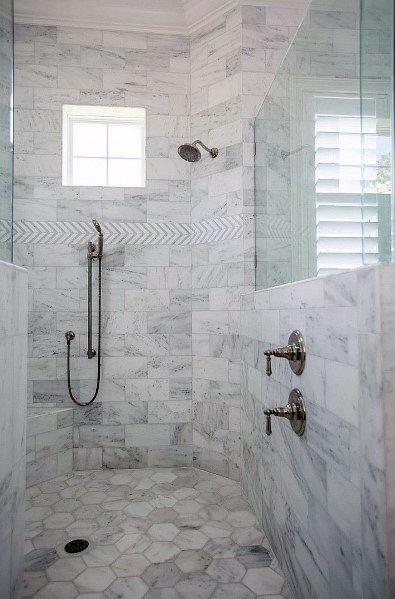
How To Tile A Bathroom Shower Floor

In the event you decide to do your floor in a single solid color, use colored grout which contrasts with the color of the tile. Choose prints which merge well with the theme of the bathroom and also the home in general. Simple, affordable, tough, durable and water resistant, these tiles are a good option for just about any sort of bathroom.
How to Build a Shower Pan u0026 Install a Tile Floor – HomeAdvisor
Engineered wood is made of a combination of genuine wood veneer and plywood and is more humidity proof than solid wood. They could possibly be arranged to form a job of art. Owing to these issues, you can find many capabilities that the bathroom flooring material of yours should possess. Vinyl may not be the very first choice of flooring for a lot of people.
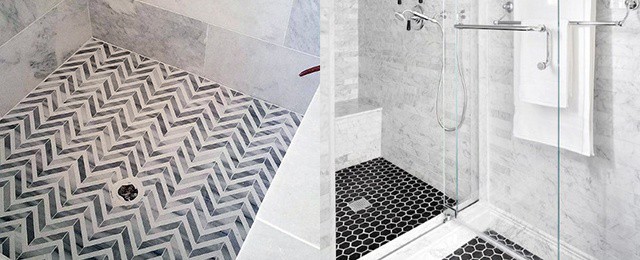
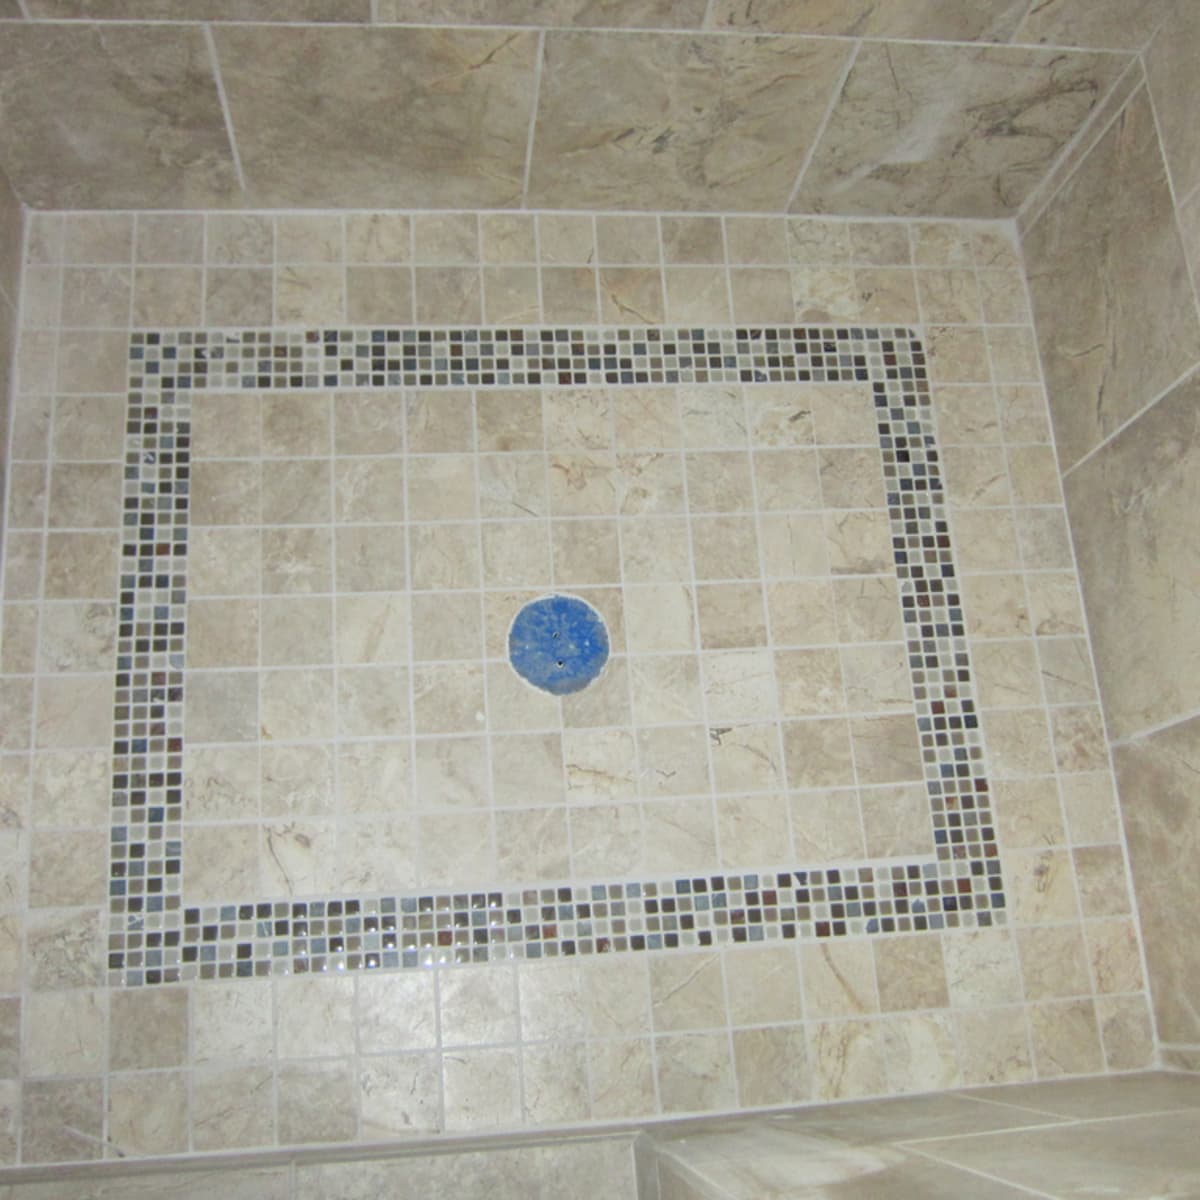
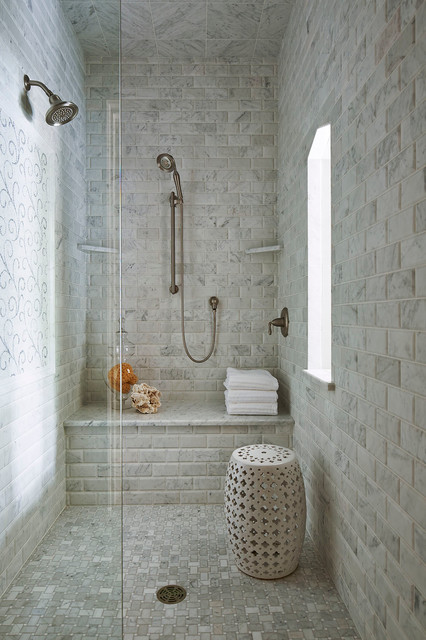
Images Related to How To Tile A Bathroom Shower Floor
6 Mistakes to Avoid with Shower Tile Daltile

How to Tile a Shower Floor Hunker

10 Best Shower Floor Tiles in 2021: the Ultimate Guide

Top 50 Best Shower Floor Tile Ideas – Bathroom Flooring Designs
Using a Tile Shower Pan to Create a Bold Trendy Shower Marazzi USA

How to Slope a Shower Floor With Mortar: A Pro Guide – Dengarden
If At First You Donu0027t SucceedA Shower Floor Tale u2014 The Grit and

Your Guide to Shower Floor Materials
help – bathroom floor tile running in different directions
Top 50 Best Shower Floor Tile Ideas – Bathroom Flooring Designs
The Benefits of a Curbless Shower – Plank and Pillow

Earth tone tile shower floor – Tile Shower Sales u0026 Installation

Related articles:
- Vintage Bathroom Floor Tile Patterns
- Bathroom Floor Tile DIY
- Limestone Bathroom Floor Tiles
- Bathroom Floor Porcelain Tile
- Concrete Bathroom Floor Ideas
- White Bathroom Ceramic Tiles
- Bathroom Floor Baseboard
- Rustic Bathroom Flooring Ideas
- Bathroom Flooring Options
- Bamboo Bathroom Flooring Ideas
Tiling a bathroom shower floor can be a challenging but rewarding DIY project. With the right tools, materials, and techniques, you can transform your shower into a stylish and functional space. In this article, we will guide you through the steps to tile a bathroom shower floor like a pro.
Preparing the Surface:
Before you start tiling, it’s essential to prepare the surface properly. Make sure the shower floor is clean, dry, and free of any debris or old tiles. If needed, remove the existing tiles using a chisel and hammer. Next, check the subfloor for any cracks or uneven areas. If necessary, patch up any imperfections with a cement-based filler and sand down any high spots.
FAQs:
Q: Do I need to waterproof the shower floor before tiling?
A: Yes, it’s crucial to waterproof the shower floor to prevent water damage. You can use a waterproofing membrane or a liquid waterproofing product to seal the surface.
Choosing the Right Tiles:
When selecting tiles for your shower floor, consider factors such as size, material, and slip resistance. Opt for smaller tiles (such as mosaic or penny tiles) for better traction in wet conditions. Porcelain or ceramic tiles are popular choices for shower floors due to their durability and low maintenance requirements.
FAQs:
Q: Can I use natural stone tiles for my shower floor?
A: While natural stone tiles can add a luxurious touch to your shower, they are not recommended for high-moisture areas like showers. Natural stones are porous and prone to staining and water damage.
Laying the Tiles:
Start by dry-fitting the tiles on the shower floor to plan out the layout and ensure a proper fit. Use tile spacers to maintain consistent spacing between tiles. Mix thin-set mortar according to the manufacturer’s instructions and apply it to small sections of the floor using a trowel. Press each tile into place firmly, making sure they are level and aligned correctly.
FAQs:
Q: How do I cut tiles to fit around corners or obstacles?
A: You can use a tile cutter or wet saw to cut tiles to size. For curved cuts or intricate shapes, consider using tile nippers or a tile file.
Grouting and Sealing:
After all the tiles are in place and the mortar has dried, it’s time to grout the joints between the tiles. Mix grout according to the manufacturer’s instructions and apply it with a rubber float, pressing it into the gaps. Use a grout sponge to wipe away excess grout and smooth out the joints. Allow the grout to cure for at least 24 hours before sealing it with a grout sealer to prevent staining and moisture penetration.
FAQs:
Q: How often should I reseal my grout?
A: It’s recommended to reseal grout annually to maintain its appearance and protect it from water damage.
Finishing Touches:
Once the grout sealer has dried, your tiled shower floor is almost complete. Install any necessary trim pieces or edging along the perimeter of the floor for a polished look. Finally, give your new shower floor a thorough cleaning with a mild detergent and water solution to remove any leftover grout residue or dirt.
FAQs:
Q: Can I use abrasive cleaners on my tiled shower floor?
A: Avoid using harsh chemicals or abrasive cleaners on tiled surfaces as they can damage the finish over time. Stick to gentle cleaning solutions for routine maintenance And avoid scrubbing too vigorously to prevent scratching the tiles.
In conclusion, installing a tiled shower floor can be a rewarding DIY project that adds beauty and functionality to your bathroom. By selecting the right tiles, properly laying them, grouting and sealing them, and finishing with trim pieces, you can create a stylish and durable shower floor that will stand the test of time. Remember to follow manufacturer guidelines and consult with professionals if needed to ensure a successful installation. Overall, a tiled shower floor can provide a luxurious and durable option for your bathroom. Just be sure to choose the right type of tiles for high-moisture areas, follow proper installation techniques, and maintain the floor regularly to keep it looking its best. With proper care and maintenance, your tiled shower floor can provide a stylish and functional addition to your home for years to come. Remember, if you have any doubts or concerns during the installation process, don’t hesitate to seek advice from professionals or refer to manufacturer guidelines. Taking the time to do the job correctly will ensure a beautiful and long-lasting tiled shower floor that you can enjoy for years to come. So, roll up your sleeves, gather your tools, and get ready to transform your bathroom with a stunning tiled shower floor!