Vacuuming is a good idea to sweeping since it allows the debris and dust to be pulled from involving the boards, but utilize a vacuum with a bare flooring attachment, not much of a beater bar, which can damage the wood. Making use of an unapproved wax with strong cleaning solutions prints out counter productive outcomes damaging hardwood floor surfaces material surfaces, of that can become long term.
Here are Images about Prefinished Hardwood Floor Filler
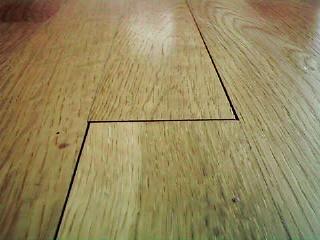
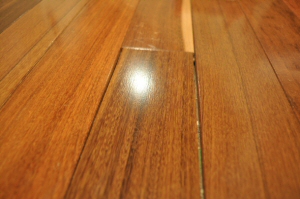
Prefinished Hardwood Floor Filler

The greater this surface contamination is left on the floor, the more deeply embedded the trash gets and this causes more damage to the finish. You need the flooring to be at a proper moisture level for your home/interior climate which is mostly between 6 9 % moisture content. Other debris and dust on the surface of hardwood flooring gets ground directly into the finish, and this also causes floors to dull over time.
Hardwood Flooring Filler – Prefinished, Unfinished Floors

Furthermore, your local hardwood floor contractors are going to have expert wood flooring sales and service representatives on duty that will help you design custom wood flooring! Right now there are virtually a huge selection of wood inlay styles as well as patterns to select from. Installing hardwood flooring is actually a major financial commitment that pays off in a big way in the end. And, the floating flooring is easier to maintain.
Images Related to Prefinished Hardwood Floor Filler
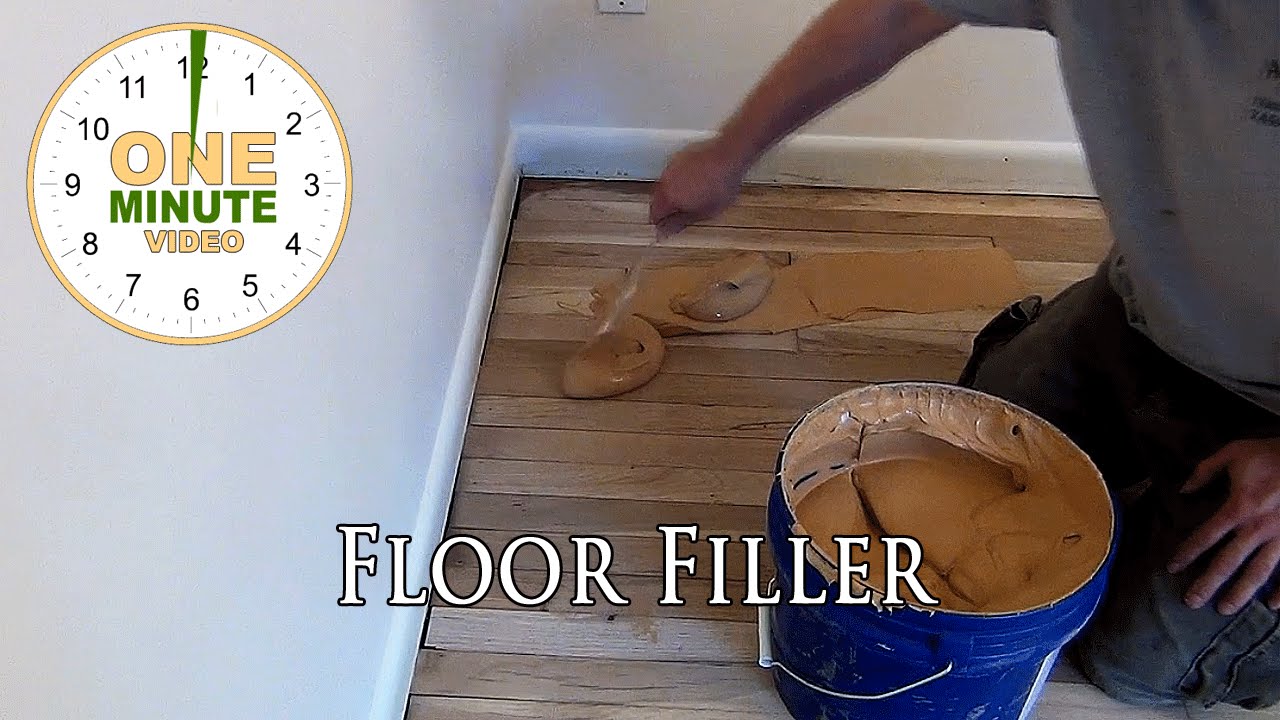
How To Choose and Use Fillers on Wood Floors
Hardwood Flooring Filler – Prefinished, Unfinished Floors
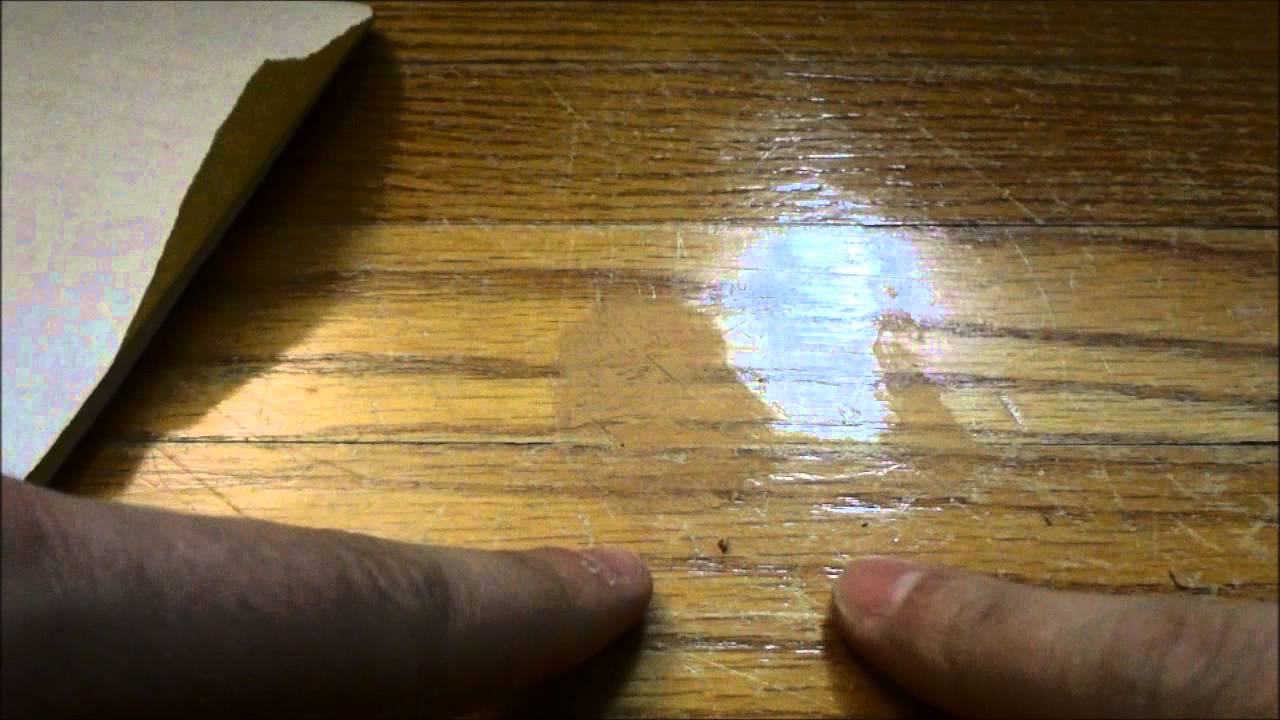
How To Fix Gouges, Dents, And Deep Scratches In Hardwood Floors
Can You and Should You Fix Gaps in Engineered Hardwood Floors
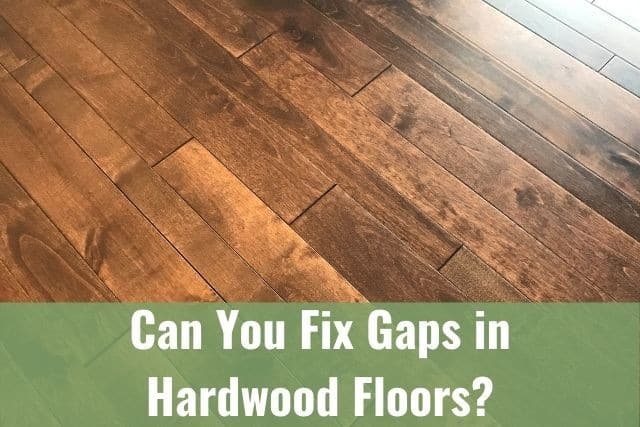
Dealing with Gaps in Hardwood Floors
How To Easily Fix Dents in Hardwood Floor » ESB Flooring
Finished Wood Floors : Woodwork u0026 Carpentry

How To Fill In Gaps Between Hardwood Flooring With Wood Filler

Related articles:
- Hardwood Floor Finish Brands
- Hand Scraped Hardwood Flooring
- Home Hardwood Floor
- Hardwood Floor Deep Cleaner
- Engineered Hardwood Floor
- Cherry Hardwood Flooring Reviews
- Hardwood Floor Cleaning And Refinishing
- Wide Plank Pine Hardwood Flooring
- Hardwood Flooring Designs Photos
- Hardwood Floor Selection Guide
Prefinished Hardwood Floor Filler: The Ultimate Solution for Seamless Flooring
Introduction:
When it comes to hardwood flooring, achieving a flawless finish is crucial. Whether you are installing new hardwood floors or refinishing existing ones, prefinished hardwood floor filler is a game-changer. This innovative product offers a seamless solution for filling gaps, cracks, and imperfections, resulting in a smooth and beautiful floor surface. In this article, we will explore the benefits, application techniques, frequently asked questions, and tips for using prefinished hardwood floor filler.
I. Understanding Prefinished Hardwood Floor Filler:
Prefinished hardwood floor filler is a specially formulated compound designed to fill gaps and imperfections in prefinished hardwood floors. Unlike traditional wood putty or fillers, prefinished floor filler is specifically manufactured to blend seamlessly with prefinished flooring materials, providing a near-perfect match that is virtually undetectable.
FAQs:
Q1. Why should I use prefinished hardwood floor filler instead of regular wood putty?
A1. Regular wood putty may not match the color, sheen, or texture of your prefinished hardwood floors, leading to noticeable patches on the surface. Prefinished floor filler, on the other hand, is specifically designed to blend seamlessly with the existing finish, ensuring an almost invisible repair.
Q2. Can I use prefinished hardwood floor filler on unfinished floors?
A2. No, prefinished floor filler is specifically formulated for use on prefinished hardwood floors. For unfinished floors, it is recommended to use traditional wood putty or fillers that can be sanded and stained to match the desired finish.
II. Benefits of Prefinished Hardwood Floor Filler:
1. Seamless Finish: One of the primary benefits of using prefinished hardwood floor filler is its ability to create a seamless finish. The compound is carefully crafted to match the color and sheen of your existing flooring material, ensuring that the repaired areas blend in seamlessly with the rest of the floor.
2. Time-Saving: Traditional methods of filling gaps or repairing imperfections in hardwood floors can be time-consuming. With prefinished floor filler, you can significantly reduce the time and effort required for repairs. The ready-to-use nature of this product eliminates the need for extensive preparation or drying time.
3. Durability: Prefinished hardwood floor filler is designed to withstand daily wear and tear, ensuring that the repaired areas remain intact for years to come. This durability is especially important in high-traffic areas where the floor is prone to frequent use and potential damage.
4. Easy Application: Applying prefinished hardwood floor filler is a straightforward process that can be completed by both professionals and DIY enthusiasts. The compound comes in a tube or tub, ready to be applied directly onto the damaged area using a putty knife or other suitable tools.
FAQs:
Q1. Can I apply prefinished hardwood floor filler without professional assistance?
A1. Yes, prefinished floor filler is user-friendly and can be applied by homeowners. However, it is essential to follow the manufacturer’s instructions carefully and ensure proper surface preparation before application.
Q2. How long does prefinished hardwood floor filler take to dry?
A2. The drying time for prefinished floor filler may vary depending on factors such as temperature and humidity levels. Generally, it takes around 24 hours for the filler to fully cure and dry before sanding or further finishing work can be performed.
III. Application Techniques for Prefinished Hardwood Floor Filler :
1. Prepare the Surface: Before applying prefinished hardwood floor filler, ensure that the damaged area is clean and free from dust or debris. Use a vacuum or broom to remove any loose particles from the surface.
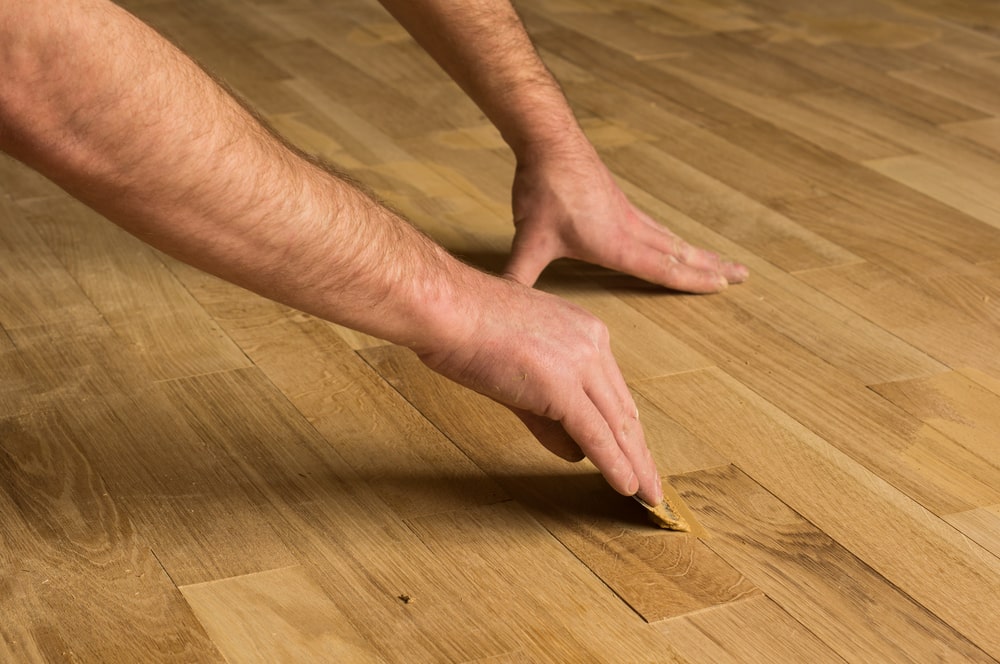
2. Apply the Filler: Squeeze a small amount of prefinished floor filler onto the damaged area. Use a putty knife or similar tool to spread the filler evenly over the surface, ensuring that it fills in all gaps or imperfections.
3. Smooth the Surface: After applying the filler, use a putty knife or a damp cloth to smooth out the surface and remove any excess filler. Ensure that the repaired area is level with the surrounding flooring.
4. Allow to Dry: Allow the prefinished floor filler to dry completely according to the manufacturer’s instructions. This typically takes around 24 hours, but drying time may vary depending on environmental conditions.
5. Sand and Finish: Once the filler is dry, you can lightly sand the repaired area to create a smooth finish. Be careful not to sand too aggressively as this can damage the surrounding finish. After sanding, apply a suitable finish or topcoat to ensure that the repaired area matches the rest of the floor.
6. Clean Up: Clean up any leftover filler or tools using water or a recommended cleaning solvent. Dispose of any waste materials properly according to local regulations.
Note: It is always recommended to test the prefinished hardwood floor filler on a small, inconspicuous area before applying it to larger or more visible sections of your flooring. This will help ensure that you are satisfied with the color match and overall result before proceeding with larger repairs. Some suitable tools for applying prefinished hardwood floor filler include a putty knife or similar tool for spreading the filler, a damp cloth or sponge for smoothing the surface, and sandpaper for sanding the repaired area. Additionally, a vacuum or broom may be needed to clean the surface before application, and water or a recommended cleaning solvent can be used for clean-up.