Benefits of Engineered Hardwood Floor Installation Floating
Easy Installation: One of the major advantages of installing engineered hardwood floors in a floating manner is the ease of installation. Unlike traditional hardwood floors that require nailing or gluing down each individual plank, floating installation involves interlocking the planks together over a foam underlayment. This method is relatively quick and straightforward, making it a popular choice for DIY enthusiasts.
Versatility: Engineered hardwood floors installed in a floating manner can be installed over a variety of subfloors, including concrete, plywood, and existing flooring. This versatility allows homeowners to easily upgrade their existing floors without the need for extensive subfloor preparation or removal of the existing floor covering.
Stability: Floating installation provides enhanced stability for engineered hardwood floors. The interlocking mechanism used in this method allows the planks to expand and contract with changes in temperature and humidity, reducing the risk of warping or cupping. Additionally, the foam underlayment provides a cushioning effect that helps to absorb impact and reduce noise.
Cost-effective: Floating installation can be a cost-effective option for homeowners looking to install engineered hardwood floors. With this method, there is no need for expensive adhesives or nails, reducing the overall installation cost. Additionally, the ease of installation means that homeowners can save money by opting for a DIY installation rather than hiring a professional.
Ease of Replacement: Another benefit of floating installation is the ease of replacing damaged planks. If a plank gets scratched or damaged, it can be easily removed and replaced without the need for extensive repairs. This can save homeowners both time and money in the long run.
Step-by-Step Guide to Engineered Hardwood Floor Installation Floating
1. Prepare the Subfloor:
Before starting the installation process, ensure that the subfloor is clean, dry, and level. Remove any existing flooring materials and check for any imperfections or unevenness.
2. Acclimate the Flooring:
Engineered hardwood flooring needs time to adjust to the temperature and humidity of the installation area. Leave the flooring planks in the room for at least 48 hours to allow them to acclimate properly.
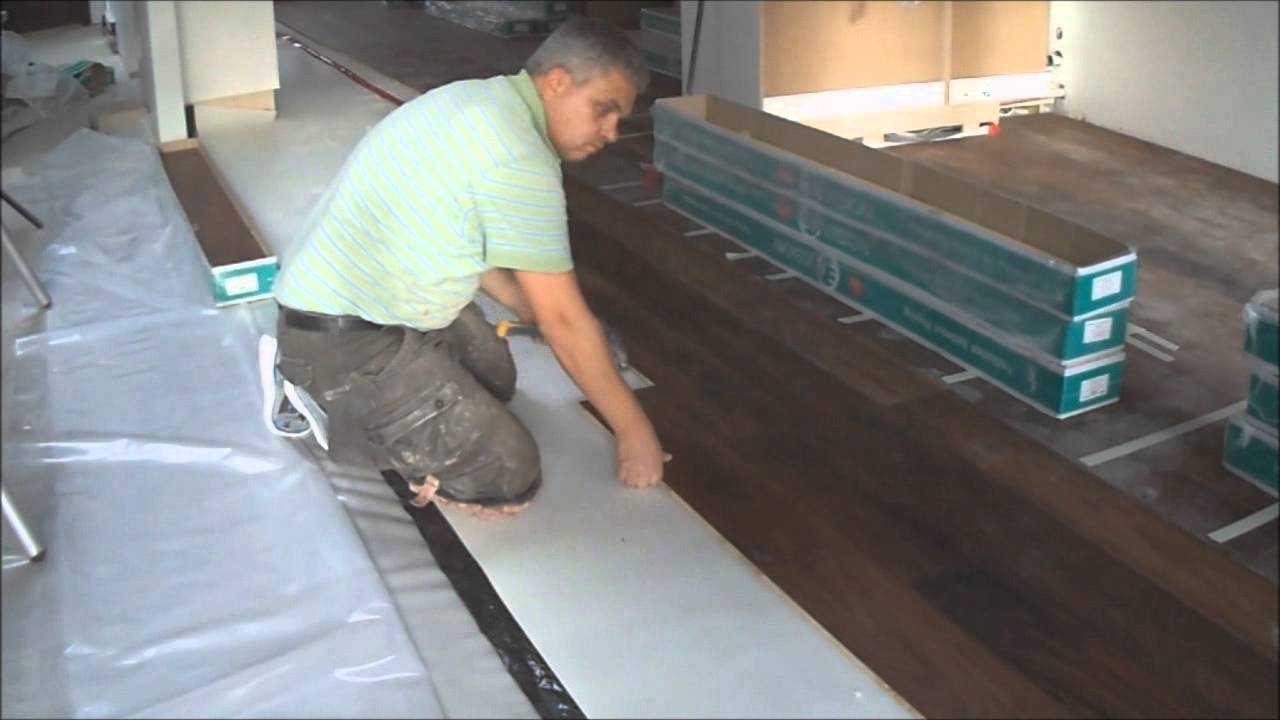
3. Lay the Underlayment:
Install an underlayment to provide a smooth surface and reduce noise. Roll out the underlayment material, ensuring it covers the entire floor area. Trim any excess material and tape the seams together.
4. Plan the Layout:
Determine the direction in which you want to lay the flooring planks. Consider the natural light source and the shape of the room. Start laying the planks from the longest, straightest wall for a visually appealing result.
5. Install the First Row:
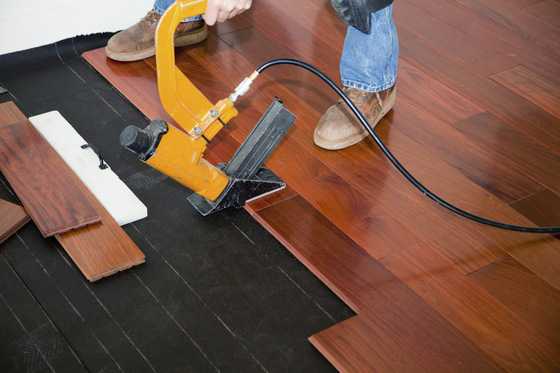
Begin by placing the first plank along the starting wall, leaving a 1/4-inch gap between the plank and the wall. Use spacers to maintain this gap. Ensure the plank is level and secure it by nailing it or using an adhesive.
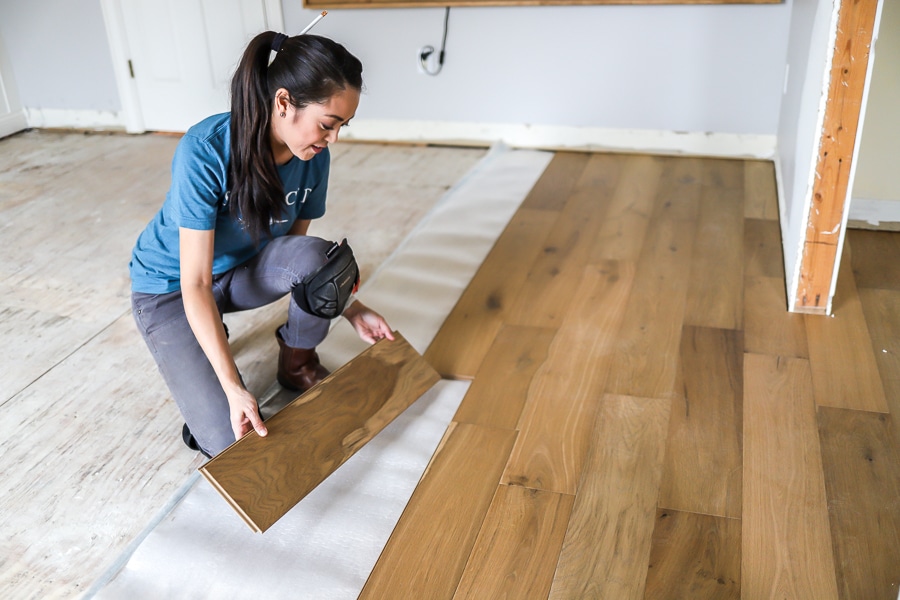
6. Continue with Subsequent Rows:
Install the next row by connecting the tongue and groove edges of the planks. Apply a small amount of wood glue to the groove if necessary. Use a tapping block and a mallet to fit the planks tightly together. Stagger the end joints between rows for a more stable installation.
7. Cut and Fit the Planks:
Measure and cut the planks to fit around obstacles such as doorways, vents, or corners. Use a circular saw or a jigsaw to make precise cuts. Leave a 1/4-inch expansion gap around all fixed objects.
8. Complete the Installation:
Continue installing the planks row by row until you reach the final row. Measure and cut the last row to fit, ensuring there is a 1/4-inch gap between the plank and the wall. Use a pull bar to connect the final row to the previous row, ensuring a tight fit.
9. Install Baseboards and Trim:
Once the flooring installation is complete, reinstall the baseboards or install new ones to cover the expansion gap. Use a nail gun or adhesive to secure them in place.
Tips for Maintaining Engineered Hardwood Floors Installed with Floating Method
Regular Cleaning Routine
To keep your engineered hardwood floors installed with the floating method in pristine condition, establish a regular cleaning routine. Sweep or vacuum the floor regularly to remove any dirt, dust, or debris that can scratch the surface.
Avoid Excessive Moisture
Engineered hardwood floors are more resistant to moisture than solid hardwood floors, but it is still important to avoid excessive moisture. Clean up any spills or water immediately to prevent damage to the floor. Use a damp mop for cleaning, but make sure it is not soaking wet.
Use Protective Mats and Pads
Place protective mats or rugs in high-traffic areas, such as near entryways or in front of kitchen sinks, to prevent scratches and wear on your engineered hardwood floors. Additionally, use felt pads under furniture legs to avoid any potential damage when moving or rearranging furniture.
Avoid Harsh Cleaning Products
When cleaning your engineered hardwood floors, avoid using harsh cleaning products that can damage the finish or leave behind residue. Instead, use a manufacturer-approved cleaner or a mixture of mild soap and water.
Be Mindful of Sunlight Exposure
Direct and prolonged exposure to sunlight can cause fading and discoloration of your engineered hardwood floors. Use blinds, curtains, or UV-protective films on windows to minimize the amount of sunlight that reaches the floor.
Maintain Humidity Levels
Engineered hardwood floors can expand or contract with changes in humidity levels. To prevent excessive expansion or contraction, maintain a stable indoor humidity level between 35% and 55% throughout the year. Use a humidifier or dehumidifier if necessary.
Take Precautions with Pets
Pets can potentially scratch or damage engineered hardwood floors. Keep their nails trimmed and place mats or rugs in areas where they frequently walk or rest to protect the floor’s surface.
Schedule Regular Professional Maintenance
Consider scheduling regular professional maintenance for your engineered hardwood floors installed with the floating method. Professionals can inspect and address any issues or concerns, ensuring the longevity and durability of your floors.

Floating Engineered Hardwood Floor and Laminate Installation How To Mryoucandoityourself
How To Install Click Lock Engineered Hardwood Flooring
Related articles: