If there's one space in the home you want to make sure that you do right, it's the basement. There are applications which are many for a basement & look plays a major aspect in just how much time will be spent in this particular space of the home of yours. This tends to prevent additional seepage and help the coloring to adhere.
Here are Images about Porcelain Tile For Basement Floor
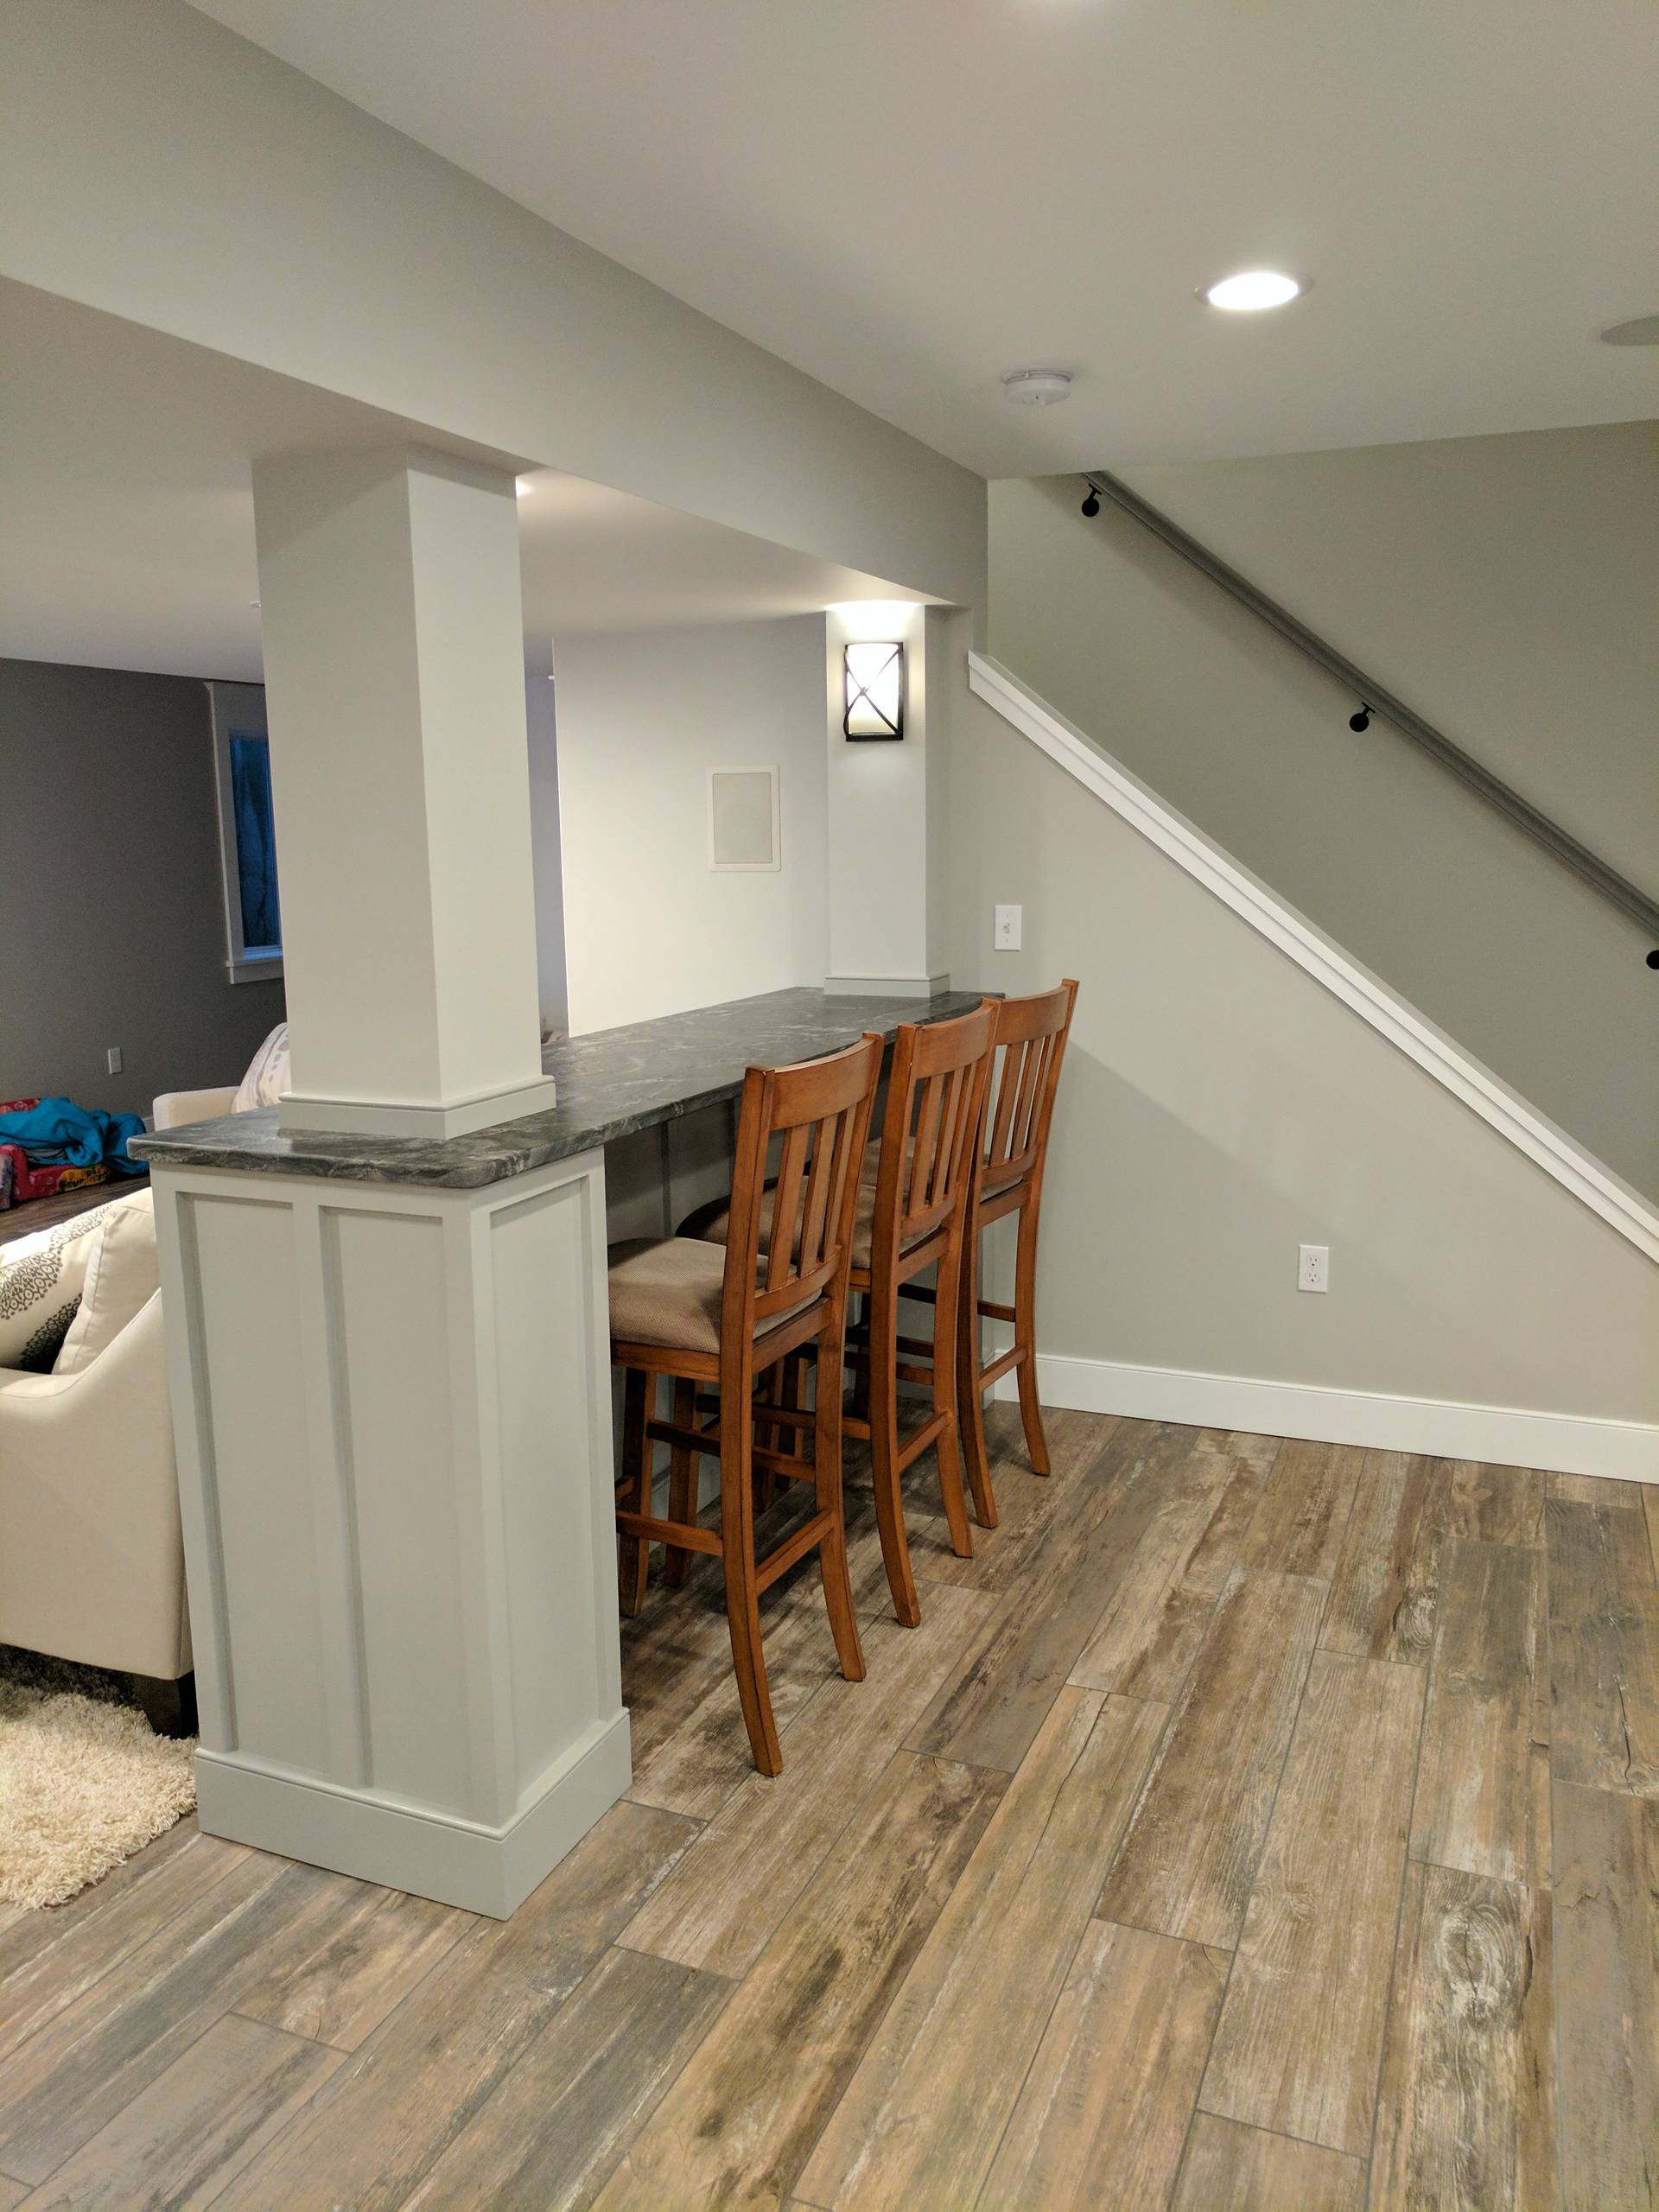
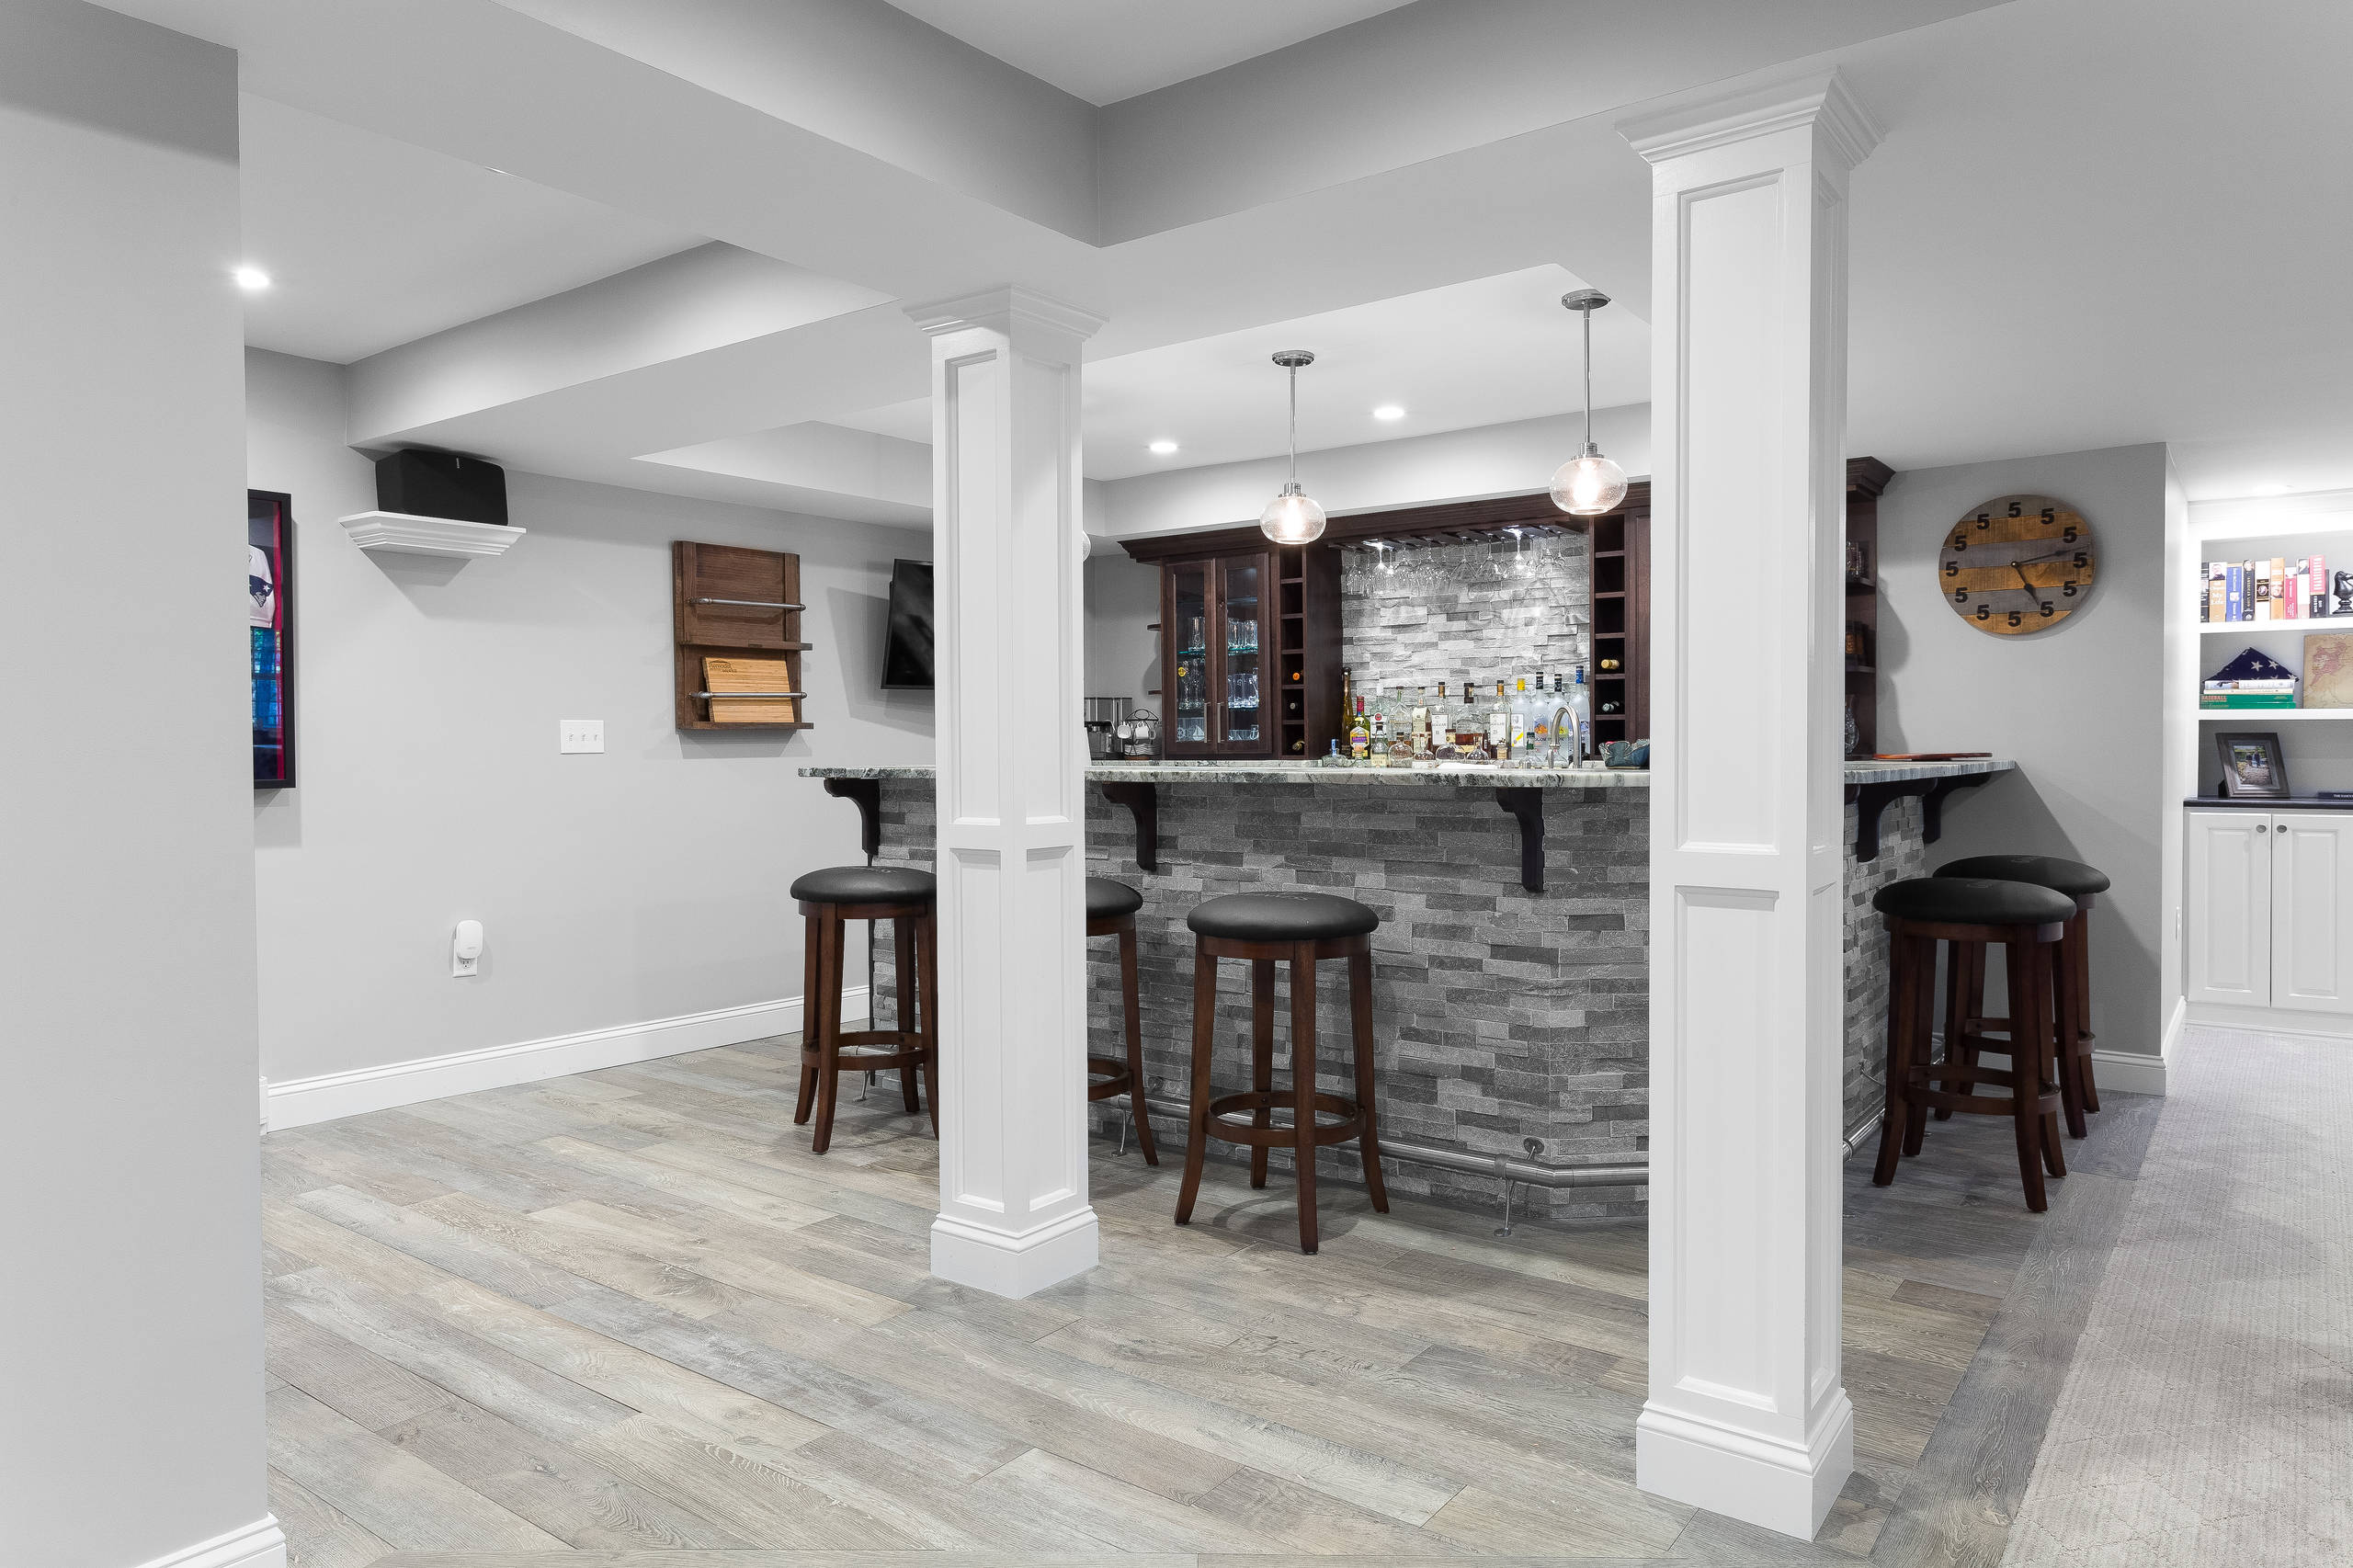
Porcelain Tile For Basement Floor
:max_bytes(150000):strip_icc()/basement-flooring-ideas-1821693_sheet_vinyl-5eb105549de3436fa46397980e7078d4.jpg)
To begin with, it's one spot in the home of yours which frequently experiences leaks. Before selecting just beginning with your basement flooring preparation, there are some things that you need to check. You are able to in addition search for some engineered laminate or hardwood flooring that has been developed to better handle humidity changes.
75 Porcelain Tile Basement Ideas Youu0027ll Love – March, 2022 Houzz
As they are underground, and we are living in a relatively moist atmosphere, and basements are vulnerable to mold damage. You will find a selection of options on the market for covering up your garage or basement floor, including an epoxy coating or perhaps a roll-out rubber mat, but the most durable and one of the most seductive is actually a polyurea covering. That's common and fine of course.
Images Related to Porcelain Tile For Basement Floor
75 Porcelain Tile Basement Ideas Youu0027ll Love – March, 2022 Houzz
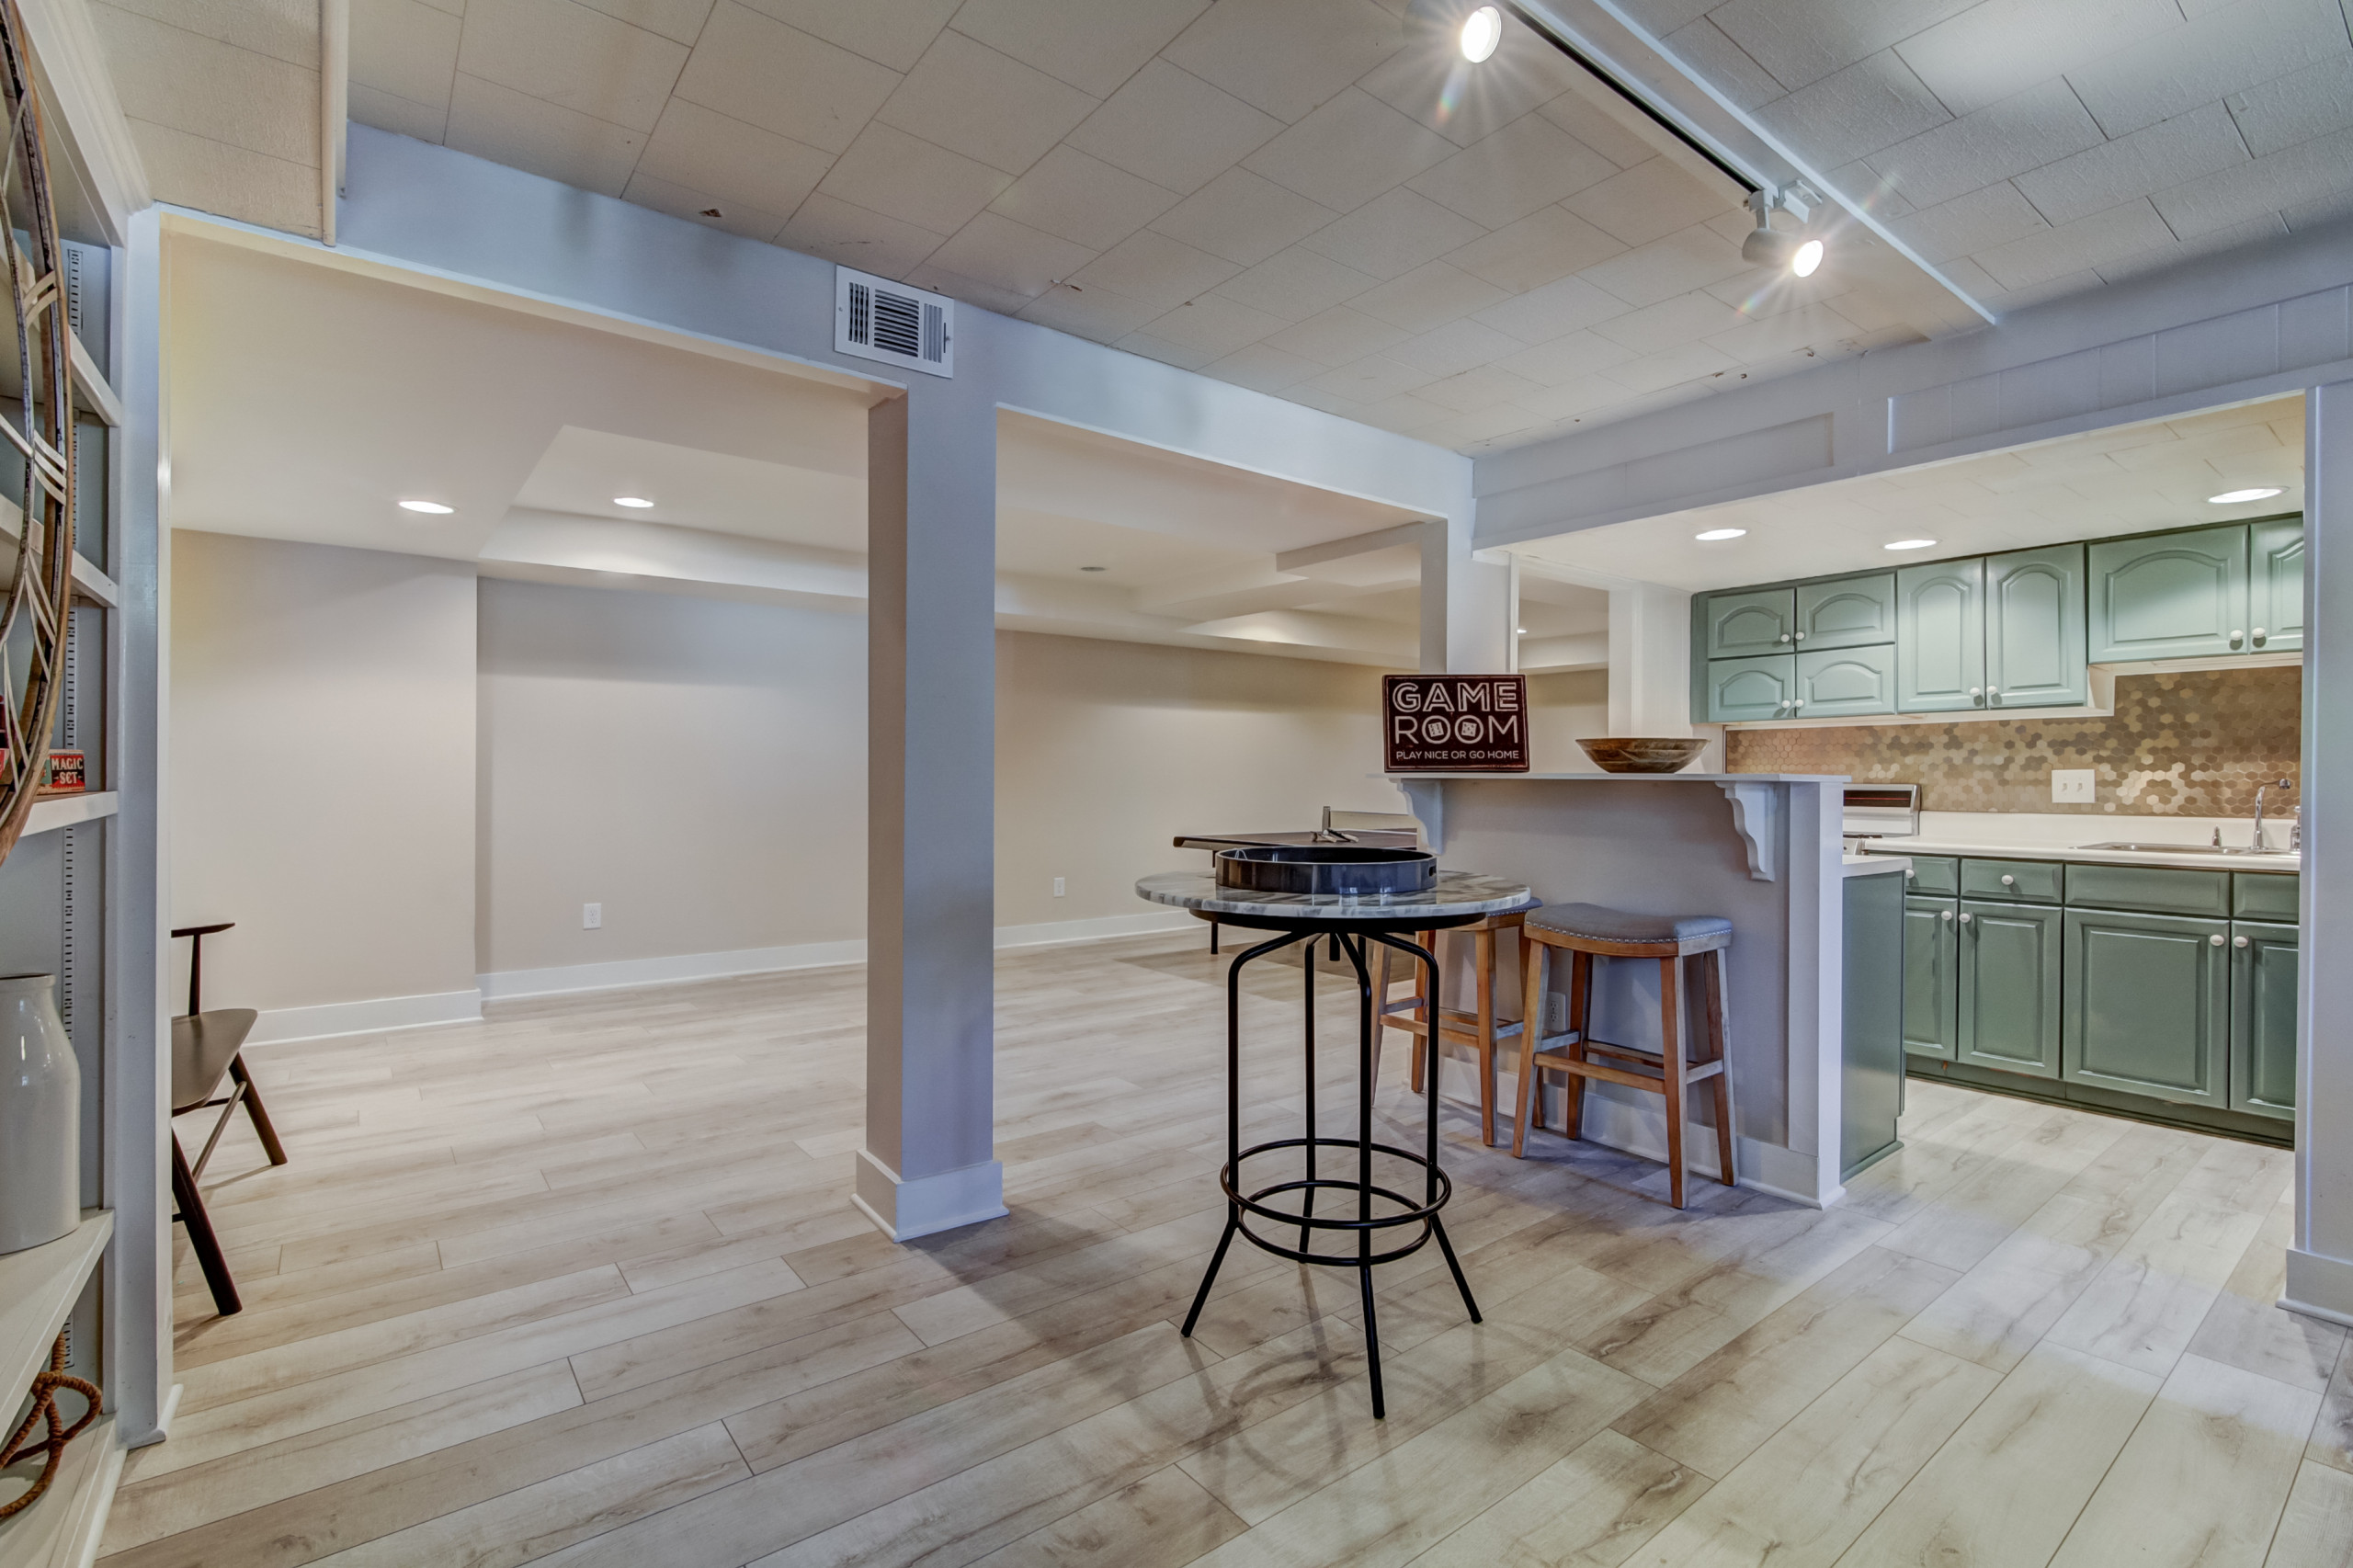
2020 Best Flooring Options for Your Basement – HomeAdvisor
Ceramic Basement Flooring Tiles
/Basementwithceramictile-GettyImages-171577549-597c136eaad52b001010359e.jpg)
75 Porcelain Tile Basement Ideas Youu0027ll Love – March, 2022 Houzz
![]()
Porcelain Tile Flooring by Mannington :: Discover Adura, Adura Max

Basement Tile: Best Flooring Options – St. Louis Tile Company

31 Basement floor tile ideas basement flooring, tile floor

Florim USA Milled 12 x 24 Porcelain Floor and Wall Tile at Menards®

Porcelain Tiles Vs Ceramic Tiles [Pros and Cons]

Tile Floor Design Ideas Floor design, Floor tile design, Modern

The Best Basement Flooring Options – Flooring Inc
Porcelain Wood Look Floor Tile Basement Ideas u0026 Photos Houzz
Related articles:
- Stained Concrete Basement Floor
- Finishing Basement Floor
- Refinish Concrete Basement Floor
- Best Flooring For Basement
- Basement Gym Flooring Ideas
- Laminate Flooring In Basement
- Basement Concrete Floor Sweating
- Basement Floor Finishing Ideas
- Painting Unfinished Basement Floor
- Unique Basement Flooring
Porcelain Tile For Basement Floor: A Durable and Stylish Choice
Introduction:
Choosing the right flooring for your basement is crucial as it not only affects the overall aesthetics of the space but also its durability and functionality. Porcelain tile has emerged as a popular choice for basement floors due to its exceptional qualities. In this article, we will explore the benefits of using porcelain tile for basement floors, discuss its installation process, maintenance requirements, and address some frequently asked questions.
Benefits of Porcelain Tile for Basement Floors:
1. Durability:
One of the primary reasons why homeowners opt for porcelain tile in their basements is its remarkable durability. Porcelain tile is made from dense clay fired at high temperatures, resulting in a highly durable material that can withstand heavy foot traffic and resist scratches and stains. This makes it an ideal choice for basements that are prone to moisture and potential flooding.
2. Moisture Resistance:
Basements are notorious for being damp and prone to moisture-related issues. Porcelain tile is highly resistant to water absorption, making it an excellent choice for basement floors. Unlike other flooring options such as carpet or hardwood, porcelain tiles do not absorb moisture, preventing the growth of mold or mildew and ensuring a healthier living environment.
3. Versatility in Design:
Porcelain tiles offer a wide range of design options, allowing homeowners to create a basement space that matches their personal style and preferences. Whether you prefer a sleek modern look or a more traditional aesthetic, there is a porcelain tile design available to suit your taste. Additionally, porcelain tiles can mimic the appearance of other materials such as wood or natural stone, providing you with endless possibilities when it comes to creating your desired look.
4. Easy Maintenance:
Maintaining a clean and well-maintained basement floor can be challenging, especially in high-traffic areas. However, porcelain tile makes this task much more manageable. Its non-porous surface prevents dirt and stains from penetrating, making it easy to clean with regular sweeping and occasional mopping. Unlike other flooring options that require specialized cleaning products, porcelain tile can be cleaned using mild soap and water, saving you time and money in the long run.
5. Cost-Effective:
While porcelain tile may have a higher upfront cost compared to other flooring options, its long-term durability and low maintenance requirements make it a cost-effective choice for basement floors. Investing in porcelain tile ensures that your basement floor will withstand the test of time without requiring frequent repairs or replacements.
Installation Process of Porcelain Tile for Basement Floors:
Installing porcelain tile in your basement requires careful planning and execution to ensure a successful and long-lasting result. Here is a step-by-step guide to the installation process:
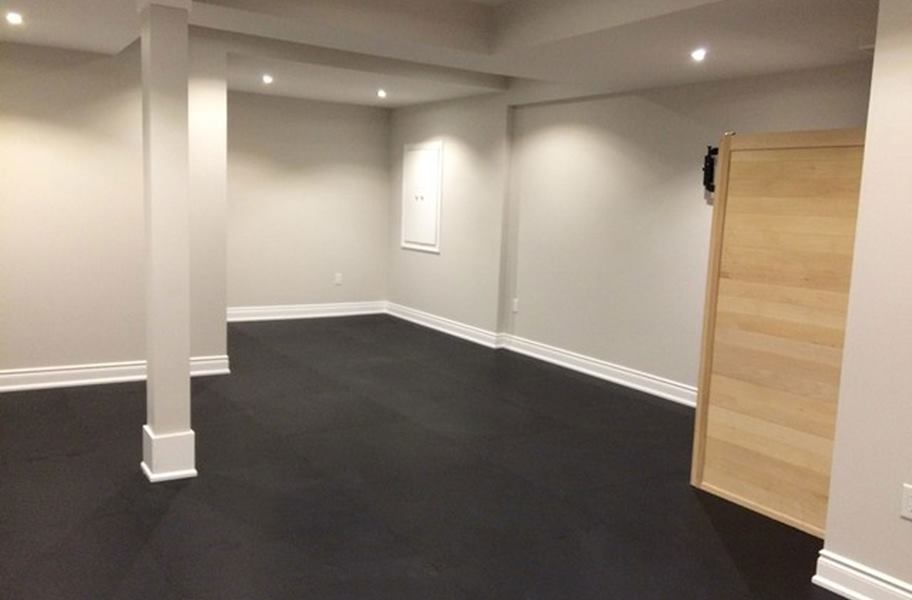
1. Prepare the Surface:
Before installing porcelain tile, it is crucial to ensure that the basement floor surface is clean, dry, and level. Any cracks or unevenness should be addressed before proceeding with the installation. Additionally, it is recommended to apply a waterproofing membrane or moisture barrier to prevent any potential moisture-related issues.
2. Measure and Layout:
Measure the dimensions of your basement floor accurately to determine the amount of porcelain tile needed. It is advisable to purchase slightly more tiles than necessary to account for any mistakes or future repairs. Once you have the tiles, lay them out on the floor in your desired pattern to ensure they fit properly and create an even layout.
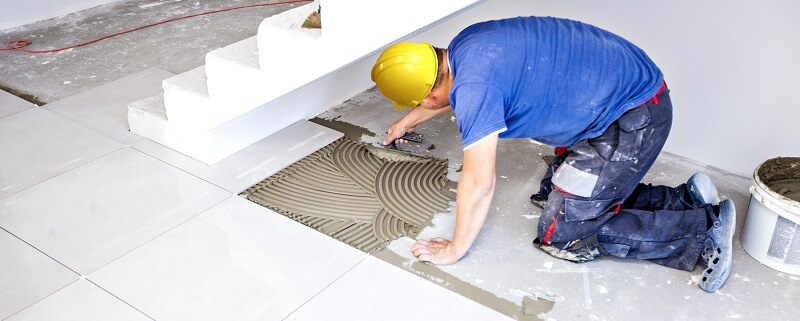
3. Apply Thin-set Mortar:
Using a notched trowel, spread a layer of thin-set mortar onto the prepared floor surface In small sections. Work in manageable areas to ensure that the mortar does not dry out before the tiles are laid. The mortar should be spread evenly and have a consistent thickness to provide a stable base for the tiles.
4. Lay the Tiles:
Place the porcelain tiles onto the thin-set mortar, starting at one corner of the room. Press each tile firmly into place, using a slight twisting motion to ensure good adhesion. Use tile spacers to maintain consistent spacing between each tile and create even grout lines. Continue laying the tiles in a row-by-row manner, making sure to periodically check for levelness and adjust as necessary.
5. Cut Tiles as Needed:
Inevitably, you will encounter areas where full-sized tiles will not fit. In these cases, use a tile cutter or wet saw to trim the tiles to the appropriate size and shape. Take accurate measurements and make precise cuts to ensure a seamless look.
6. Allow Time for Drying:
Once all the tiles are laid, allow the thin-set mortar to dry completely according to the manufacturer’s instructions. This process typically takes 24-48 hours, but it may vary depending on environmental conditions. Avoid walking on or applying any weight to the tiles during this drying period.
7. Apply Grout:
After the thin-set mortar has dried, mix grout according to the manufacturer’s instructions. Using a grout float, spread the grout over the entire tiled surface, making sure to fill in all the spaces between tiles. Remove any excess grout with a damp sponge before it dries. Allow the grout to cure for the recommended time before proceeding.
8. Seal the Grout (optional):
To further protect your basement floor from moisture and stains, consider applying a grout sealer. This step is optional but can help prolong the lifespan of your porcelain tile floor.
9. Enjoy Your New Porcelain Tile Basement Floor:
Once the grout and any sealer have fully cured, your porcelain tile basement floor is ready to be enjoyed. Regular cleaning and maintenance will help keep it looking beautiful for years to come. Overall, it is advisable to purchase slightly more tiles than necessary to account for any mistakes or future repairs. Additionally, laying out the tiles on the floor before installation will ensure they fit properly and create an even layout.
The next step is to apply thin-set mortar using a notched trowel. It is recommended to work in small sections to prevent the mortar from drying out before the tiles are laid. The mortar should be spread evenly and have a consistent thickness to provide a stable base for the tiles.
Once the mortar is applied, start laying the porcelain tiles, starting from one corner of the room. Press each tile firmly into place using a slight twisting motion for good adhesion. Tile spacers should be used to maintain consistent spacing between each tile and create even grout lines. It is important to periodically check for levelness and adjust as necessary.
In areas where full-sized tiles do not fit, use a tile cutter or wet saw to trim them to the appropriate size and shape. Accurate measurements and precise cuts are essential for a seamless look.
After all the tiles are laid, allow the thin-set mortar to dry completely according to the manufacturer’s instructions. This typically takes 24-48 hours, but it may vary depending on environmental conditions. During this drying period, it is important to avoid walking on or applying any weight to the tiles.
Once the thin-set mortar has dried, mix grout according to the manufacturer’s instructions and spread it over the entire tiled surface using a grout float. Make sure to fill in all spaces between tiles and remove any excess grout with a damp sponge before it dries. Allow the grout to cure for the recommended time before proceeding.
Optionally, consider applying a grout sealer to further protect your basement floor from moisture and stains.
Finally, once the grout and any sealer have fully cured, your porcelain tile basement floor is ready to be enjoyed. Regular cleaning and maintenance will help keep it looking beautiful for years to come.